If you want to customize, please see the TIPS for detailed usage and what parts are included.
Explanation of classroom 3D that can be customize
https://tips.clip-studio.com/ja-jp/articles/10368
Since you can do customize, you can create various classroom designs, and if there are multiple schools such as not only the main character's school but also your friend's school or a rival school, this one is fine.
It can also be made into a retro classroom.
I think it would be a good idea to make it look like an old wooden classroom to make a difference in the era.
There are also some examples of layouts.
Try hiding it from the object list, adjusting the object scale, and so on.
In addition, we have prepared materials that are easy to finish for monochrome documents, so you can create elaborate backgrounds in a short time.
↓ The texture part can be easily adjusted with auto action and color threshold.
The image is an example of a Japanese-style room made of a different material.
For details on how to use it, please see ↓ Tips here.
Explanation of texture extraction auto action shortening finishing time
https://tips.clip-studio.com/ja-jp/articles/10237
How to prepare textured 3D materials after LT conversion
https://tips.clip-studio.com/ja-jp/articles/9256
Depending on the style, a light background is good, so if you don't need textures, you can turn off "use texture" from rendering settings and the texture will not be displayed.
We put trash cans and lockers with lids so that we don't have to add the contents as much as possible.
The lid can also be hidden.
I think that about 10 minutes from the start of LT conversion per frame will be a reasonable background.
I think the operation is not light, but I think it works well on the iPad.
There is no particular stress in camera operation, but there was a little waiting time when pasting 3D material on the canvas or when converting LT.
When I was placing 4 classrooms, desks and chairs 3D in one file, I sometimes fell off during LT conversion on iPad.
LT conversion example
The detection accuracy is 100, and texture extract line is turned on.
Only the curtain part masks the line, but other than that, there is no addition or correction.
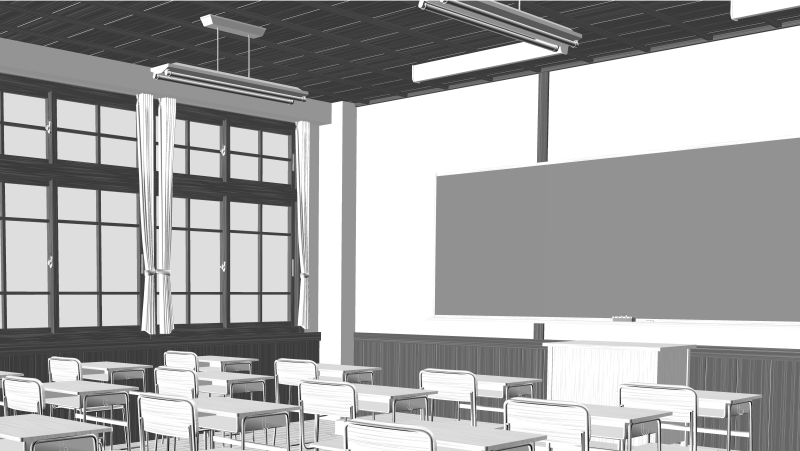
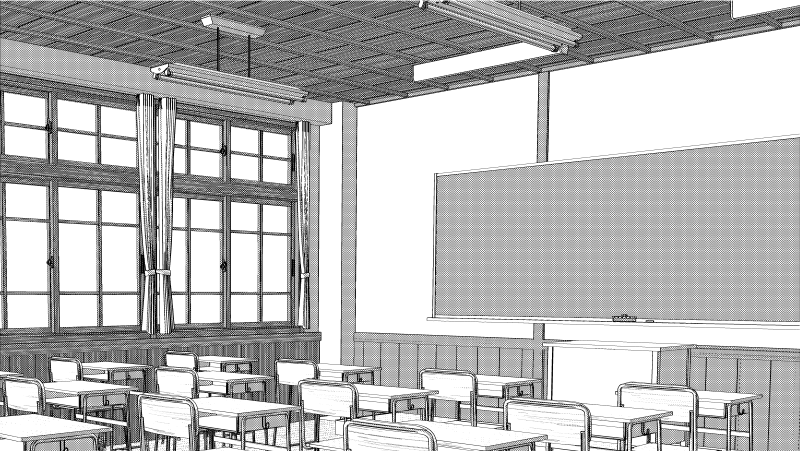
↓ Add textures created and adjusted with auto action
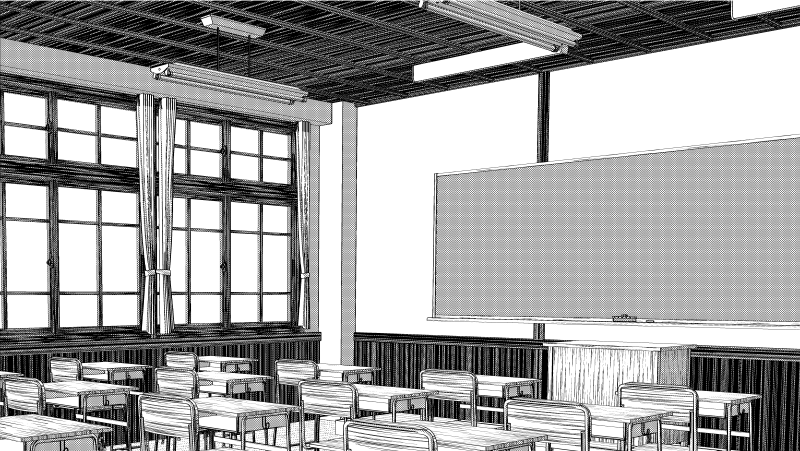
↓ This example only masks the curtain part without adding texture.
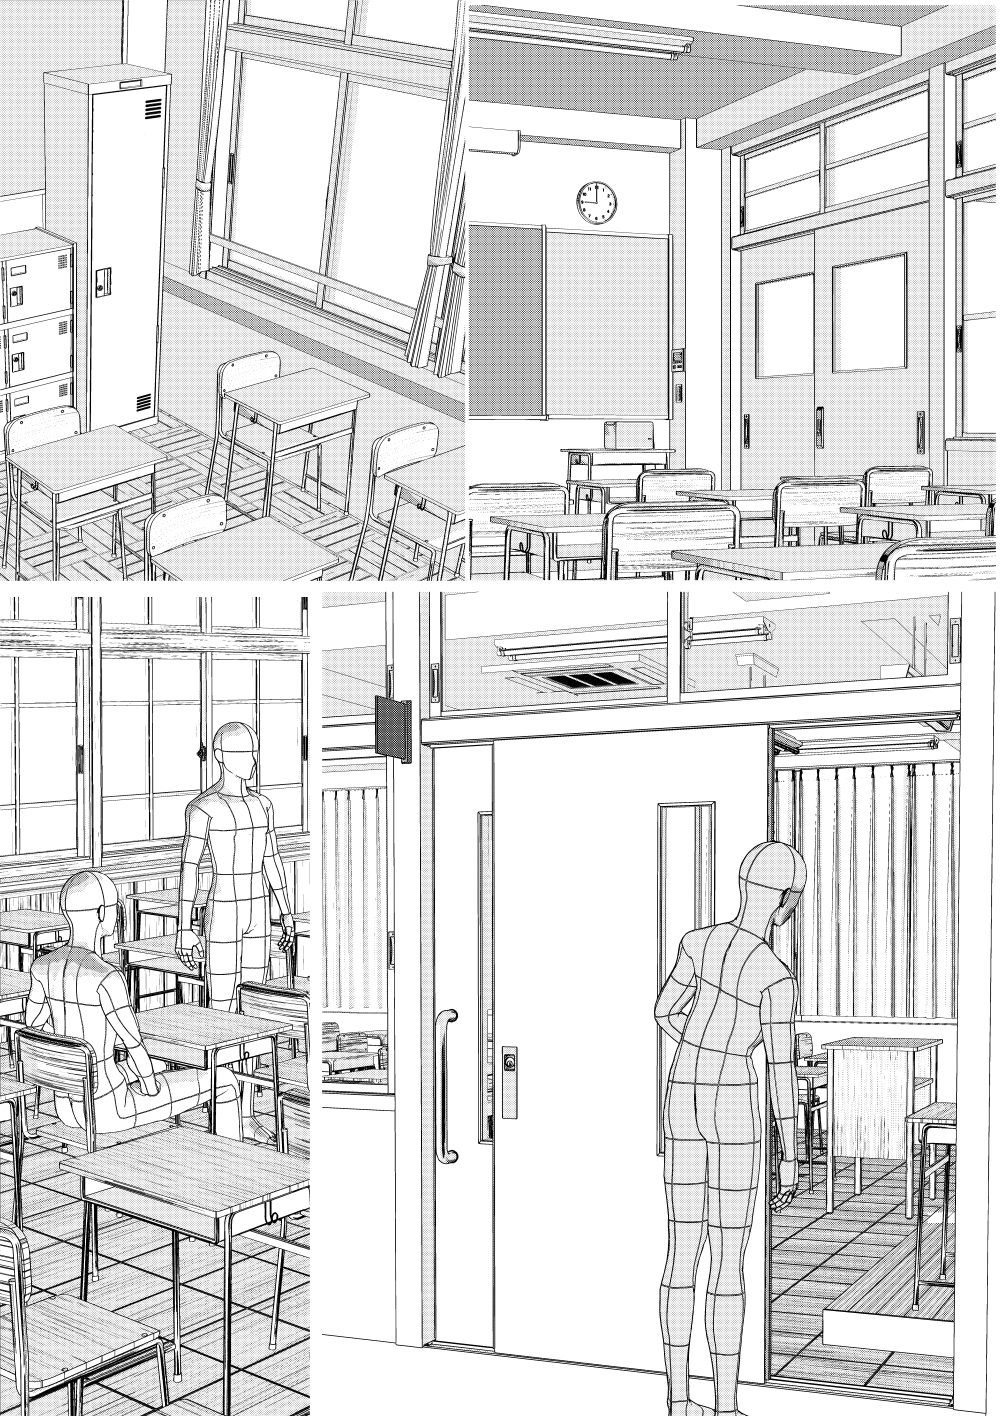
The line needs a little adjustment only for the curtain, but it looks pretty good with a detection accuracy of 100 and a texture outline.
For curtains, use the material for select color gamut and reduce the selection after create selection the curtain part.
I think that if you mask the outline layer based on that, you can manage it to a certain extent.
Try using texture outlines, relying on tone, or adding a little.
In the above figure, the outline is simply masked and disappears, and only the outline of the texture is visible.
I think that a detection accuracy of about 70 is good for curtain line drawing, but other lines may disappear quite a bit, so the above method is recommended.
If the detection accuracy is 70, the blue line part will disappear, so the detection accuracy is recommended to be 100.
The materials are 6 classrooms and 3 desks and chairs.
The layout consists of 5 classrooms and 2 desks and chairs.
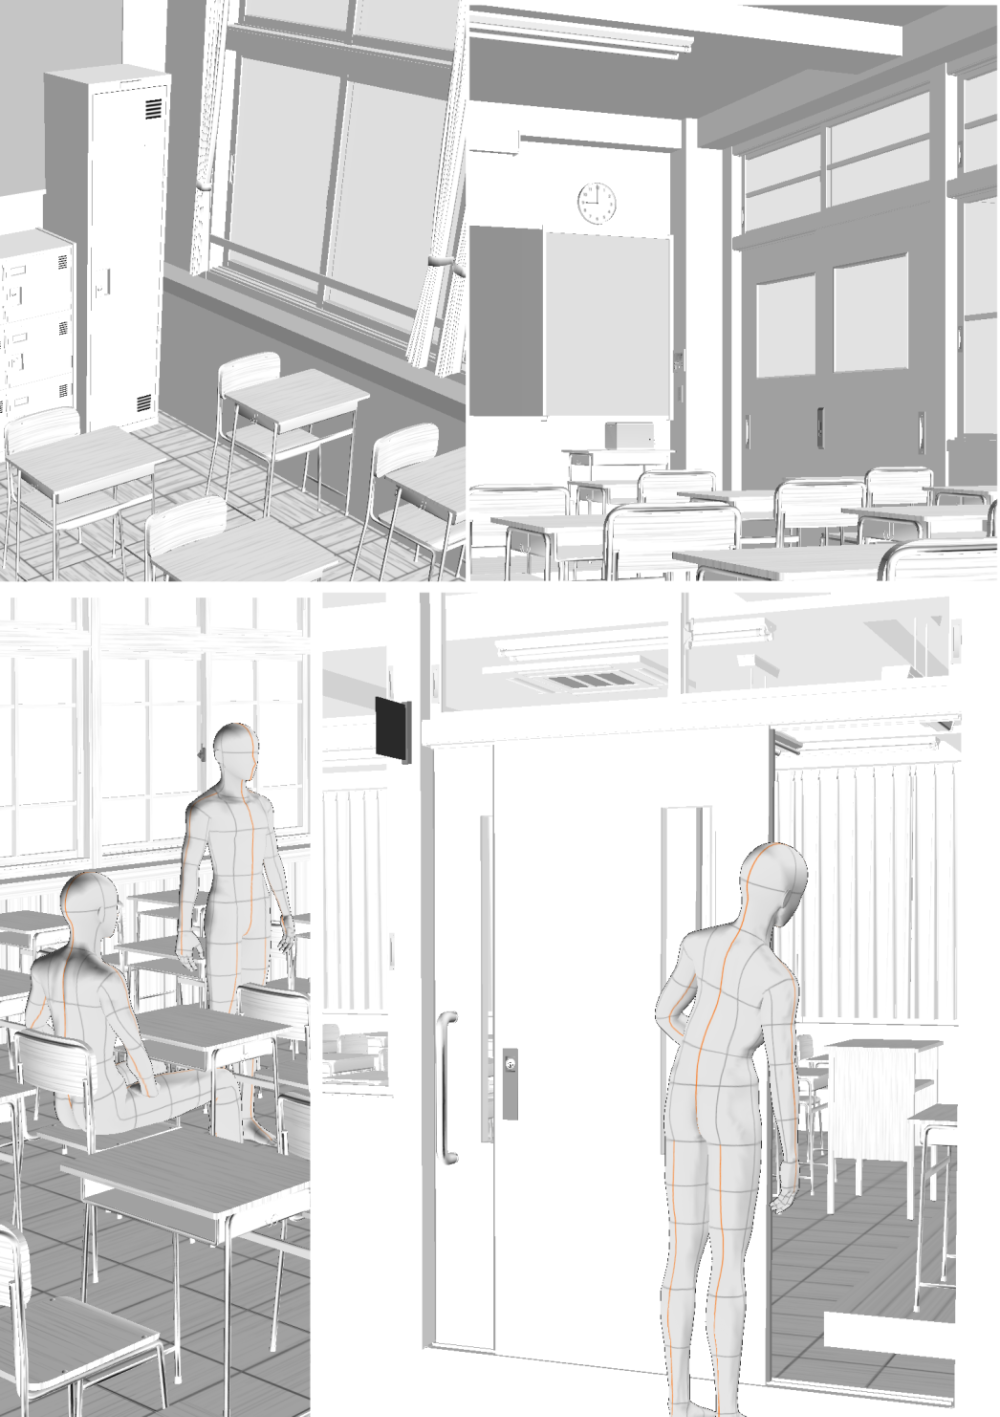
Movable classrooms can move the hands of the clock.
The window side can be tinkered with the window sill.
The door to the veranda can also be displayed.
There are also various decorations to show and hide.
The corridor side has several door designs.
You can also freely decide whether the corridor is blocked by a window or a wall.
It can also be a hinged door.
When using a hinged door, rotate it with the manipulator.
The design of the door is quite tweakable, so the windows and vents can be transformed with object scale to your liking.
If the wood grain is displayed in the material, please forgive the wood grain as it will collapse when scaled.
The desk and chair are made of different materials, so please use them together.
If the value of the location information is the same, the position of the classroom 3D and the desk and chair 3D will match.
If you drag and drop it on the canvas, the added 3D material will be placed at the dropped position, so the position will not match.
Please paste from the red frame icon.
Desks and chairs can get stuck when displaying the pillars of the classroom. In that case, please adjust the position according to the design of the classroom.
Problems that you get into may occur as you make various customize possible.
For example, please note that if you display the lower decoration, the outlet will fit in.
We apologize for the inconvenience, but please adjust the position if you notice it.


