



・ If you use the drawn frilled material, it will float from the picture ...
・ I want to draw the lines by hand even if it takes a lot of time. But the structure is difficult ...
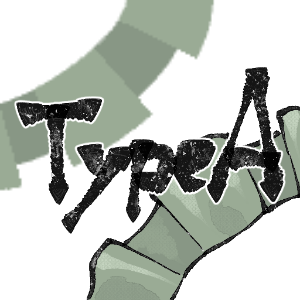
It is a brush only for drafts and rough sketches that simplify the shape of the frills for such occasions.
・描き込まれたフリルの素材を使うと絵から浮いてしまう…
・線は手間がかかっても手描きしたい。でも構造が難しい…
そんなときのためのフリルの形状を単純化した下書きやラフスケッチの為だけのブラシです。


Standard スタンダード
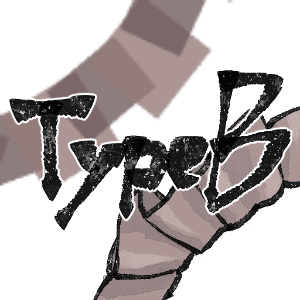
Almost in front ほぼ正面
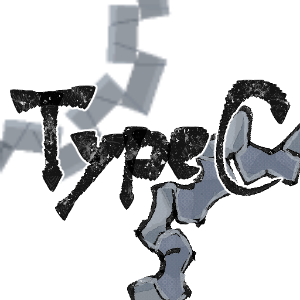
Stepped 階段状
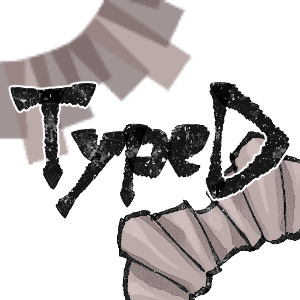
Bonus Ribbon オマケリボン






Other materials by 道化麗氏


Popular “Material catalog” materials


New materials








-
 MVP ◆This user has contributed greatly to the management of the community, by posting many great responses to the questions asked. Once every three months, MVPs are determined based on the points earned during that period and will be recognized accordingly.
 -
 New Valuable Player (NVP) ◆These are the next-best contributors to the community after MVPs. This is awarded to users who have not yet won an MVP award, based on the number of points they have earned.
 -
 Official Expert ◆Chosen out of all MVP awardees, who are already proof of excellence, this is a testimony of outstanding correspondence in the community. After careful screening, they are appointed by CELSYS and assume their position.Note: Formally called “Evangelists”
 -
 Official Moderator of CELSYS ◆Moderators are official CELSYS staff members who are fluent in Japanese as well as various other languages. Moderators are not experts on the software or illustration, so they are not able to directly answer your questions. However, moderators provide communication and language support to ensure that everyone can smoothly communicate with each other.
 -
 CELSYS official accountThe Official Administrator Account