



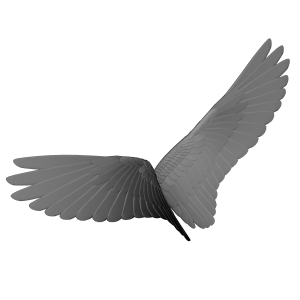
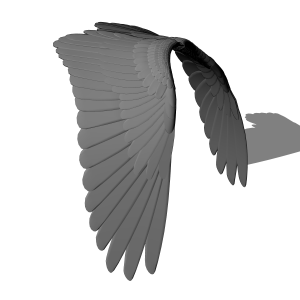
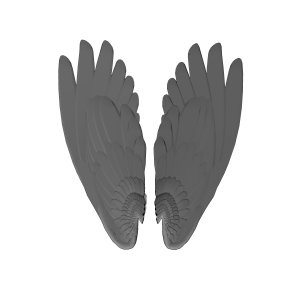
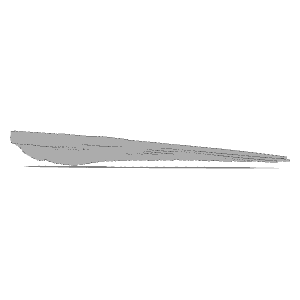
This is a 3D model of movable wings (left and right).
I have a habit of moving it.
It refers to the general flow of bird feathers, but it is not accurate, so it is recommended to use Atari or reference only.
可動式の羽(左右)の3Dモデルです。
動かし方に癖があります。
一般的な鳥の羽根の流れを参考にしていますが、正確ではないためアタリや参考程度の使用を推奨します。
◆ Sample image

◆ Model details
▽Introduction
After downloading, display the feather you want to use (left/right) on the canvas.
As shown in the image below, you will see a model with a twisted pose.

Press "Apply pose material to model" and select "Feather Default Pose 1" or "Feather Default Pose 2" downloaded together. (There is no big difference between these two types, so please choose the one you like)
The right will be the pose of the feather after application.

How to move
Like the wings of a realistic bird, you can move the feathers in three places with bones + emphasis on silhouette.

The moving part at the base (upper left image) is twisted, so if you want to adjust the overall direction of the wing, select the feather itself from the "object list" and rotate it.

In addition, under normal conditions, the range of motion of the blades is limited. Please uncheck "joint angle limit" from "Pose Basic".

Although it is simple, the pose of the image below is included, so you can select and adjust your favorite pose from "Apply pose material to model" in the same way as when introducing feathers.
(From upper left, "Feathers closed", "Wings ajar open", "Feathers flapping 1", "Feather flapping 2")

Especially after applying the pose, if the height of the wings is different on the left and right, check the position and rotation of the image below and set the value to 0.
If you want to separate the left and right sides, operate the X value of the position.

◆LT conversion example (pose "feather closed" "feather flapping 2")


◆サンプル画像
◆モデル詳細
▽導入について
ダウンロード後、使用したい羽(左 / 右)をキャンバス上で表示させてください。
下画像のように、ポーズが捻じれたモデルが表示されます。
『ポーズ素材をモデルに適用』を押し、一緒にダウンロードされている『羽 デフォルトポーズ1』もしくは『羽 デフォルトポーズ2』を選択してください。(この二種類に大きな差はありませんので、お好きな方を選択してください)
右が適用後の羽のポーズになります。
▽動かし方について
リアルな鳥の羽のように、骨のある三か所+シルエット重視で羽先を動かせます。
一番根元の可動部(左上画像)は捻じれているため、羽の全体的な方向を調整したい場合は『オブジェクトリスト』などから羽自体を選択して、回転させてください。
また、通常状態では羽根の可動域に制限があります。『ポーズ基本』から『関節角度制限』のチェックを外してください。
簡易的ですが下画像のポーズを同梱しているので、羽導入時と同じように『ポーズ素材をモデルに適用』からお好きなポーズを選択して調整することも可能です。
(左上から『羽 閉じ』・『羽 半開き』・『羽 はばたき1』・『羽 はばたき2』)
特にポーズ適用後、左右で羽の高さが違う場合は下画像の位置や回転も確認、数値を0にしてください。
左右を離したい場合は、位置のX値を操作してください。
◆LT変換例(ポーズ『羽 閉じ』『羽 はばたき2』)
Category 1 カテゴリ1



Other materials by _雨宮_


Popular “Material catalog” materials


New materials


Badges
-
 MVP ◆This user has contributed greatly to the management of the community, by posting many great responses to the questions asked. Once every three months, MVPs are determined based on the points earned during that period and will be recognized accordingly.
 -
 New Valuable Player (NVP) ◆These are the next-best contributors to the community after MVPs. This is awarded to users who have not yet won an MVP award, based on the number of points they have earned.
 -
 Official Expert ◆Chosen out of all MVP awardees, who are already proof of excellence, this is a testimony of outstanding correspondence in the community. After careful screening, they are appointed by CELSYS and assume their position.Note: Formally called “Evangelists”
 -
 Official Moderator of CELSYS ◆Moderators are official CELSYS staff members who are fluent in Japanese as well as various other languages. Moderators are not experts on the software or illustration, so they are not able to directly answer your questions. However, moderators provide communication and language support to ensure that everyone can smoothly communicate with each other.
 -
 CELSYS official accountThe Official Administrator Account