



This is a set of brushes that can draw wave caustics (patterns of refracted light) and auto action to add distortion. 波のコースティクス(屈折した光の模様)が描けるブラシと、歪みを加えるオートアクションのセットです。
- Caustics brushes reflect main drawing color.
- The auto action is adjusted exclusively for this brush and is not suitable for other uses.


- "Weak" means that the wave swings less and has a weak blur.
- "Strong" means that the wave swings a lot and has a strong blur.


- 「コースティクス」のブラシは、メイン描画色が反映されます。
- オートアクションは、このブラシ専用として調整している為、その他の用途には向いていません。
- 「弱」は波の揺れ方が小さく、弱いぼかしがかかります。
- 「強」は波の揺れ方が大きく、強いぼかしがかかります。
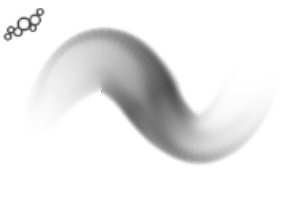
Brushes ブラシ
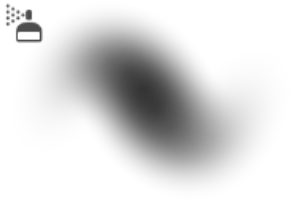
auto action オートアクション
Update history
2026/08/13 auto action: There was a mistake in the setting of "Strong", so it was corrected. 2026/08/13:オートアクション「強」の設定にミスがあった為、修正しました。
Old version



Other materials by 飴宮くろま


Popular “Material catalog” materials


New materials





-
 MVP ◆This user has contributed greatly to the management of the community, by posting many great responses to the questions asked. Once every three months, MVPs are determined based on the points earned during that period and will be recognized accordingly.
 -
 New Valuable Player (NVP) ◆These are the next-best contributors to the community after MVPs. This is awarded to users who have not yet won an MVP award, based on the number of points they have earned.
 -
 Official Expert ◆Chosen out of all MVP awardees, who are already proof of excellence, this is a testimony of outstanding correspondence in the community. After careful screening, they are appointed by CELSYS and assume their position.Note: Formally called “Evangelists”
 -
 Official Moderator of CELSYS ◆Moderators are official CELSYS staff members who are fluent in Japanese as well as various other languages. Moderators are not experts on the software or illustration, so they are not able to directly answer your questions. However, moderators provide communication and language support to ensure that everyone can smoothly communicate with each other.
 -
 CELSYS official accountThe Official Administrator Account