



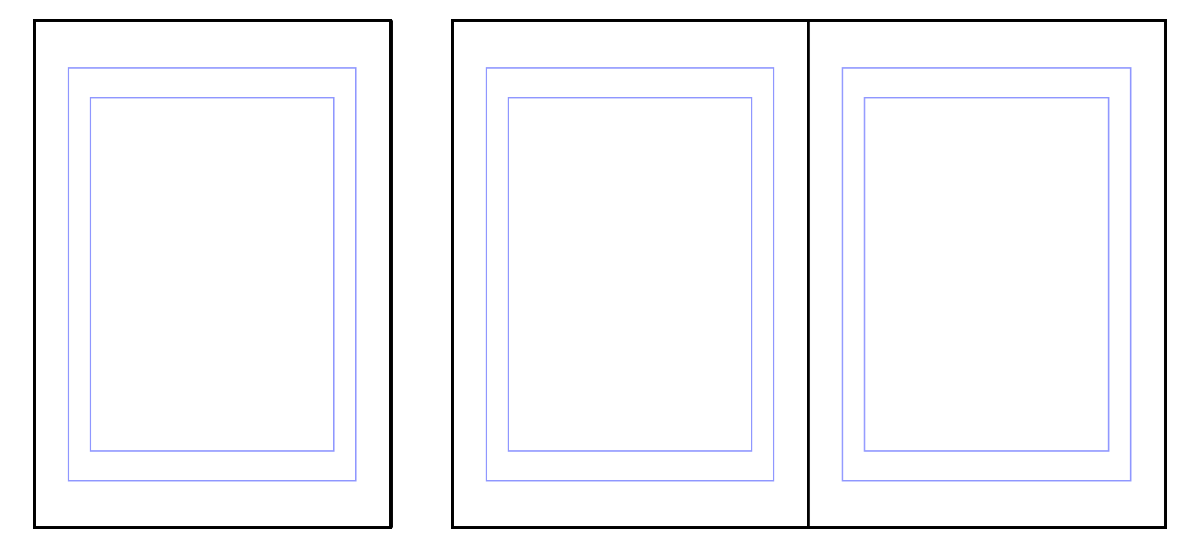
This is a set for watching storyboards all at once. For the cut cable, I made it with Clute A5 size as the default setting. If you don't like the cut line, cover it with white or change it to your own taste.
How to use AutoAction
Note: In cases marked □ and ■, forced shutdown may occur depending on the device. Please save several times in advance before running.
0. First, transfer the storyboards onto a canvas sized 14.80 x 21.00 cm 600 DPI (A5).
Even if you don't use A5 size, run in A5 size and then change the canvas resolution just before entering line art, so don't be disappointed.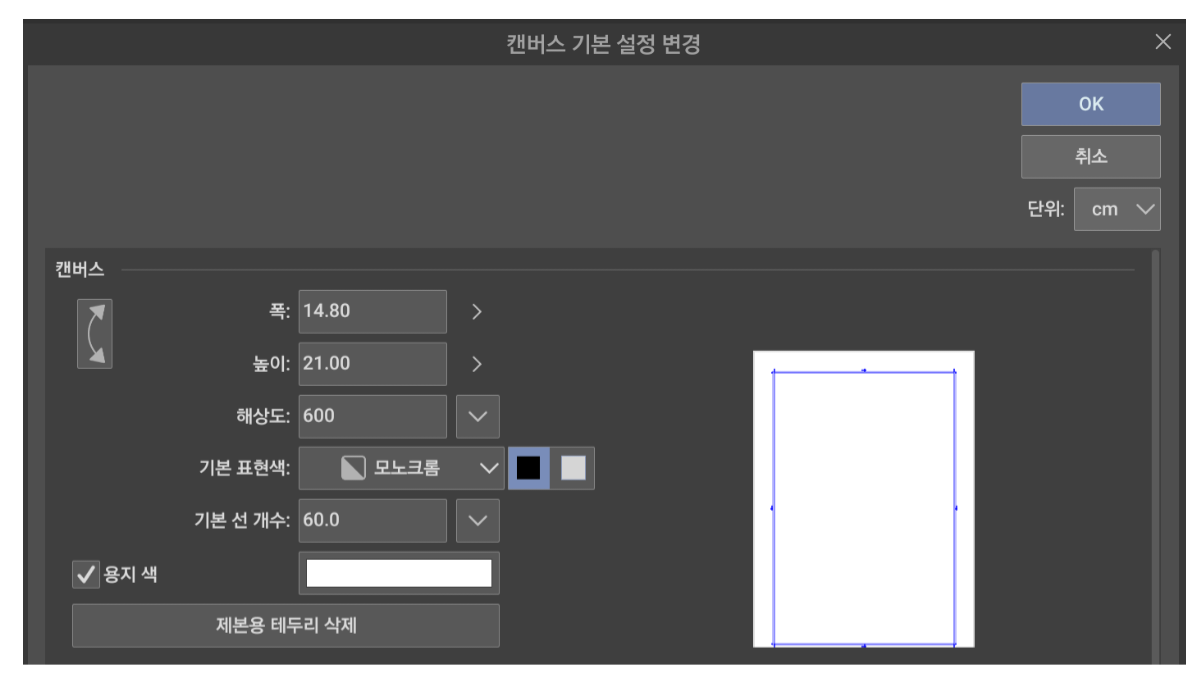
1. Select both the included image and the layer where you draw the storyboards (whether Lester/Vector/Folder) at the same time. At this time, the image must be exactly the size and ratio provided.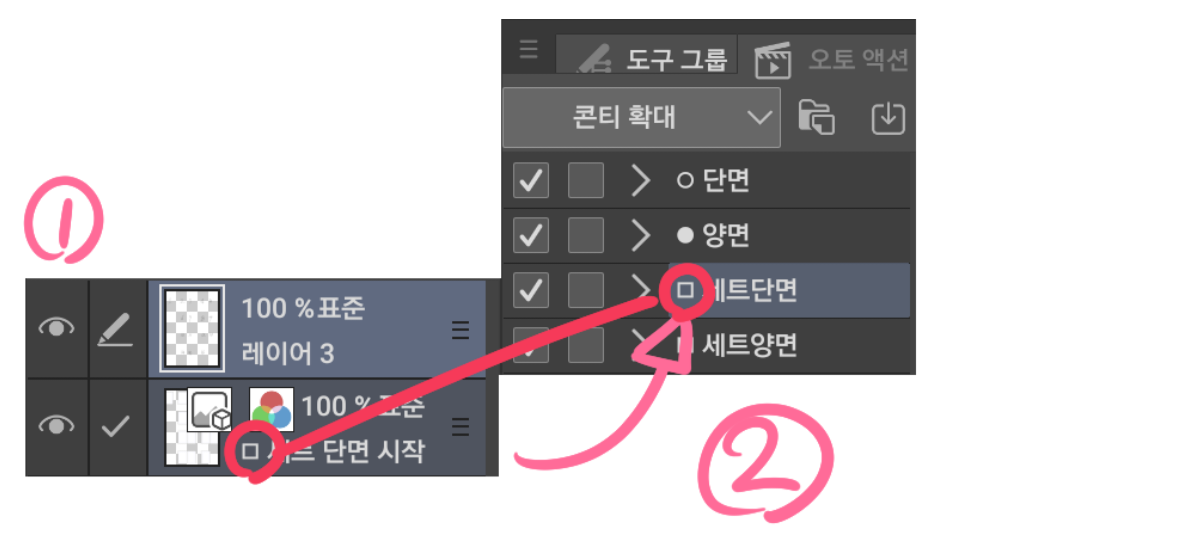
2. Execute AutoAction.
AutoAction can be executed in the same shape as the image you used.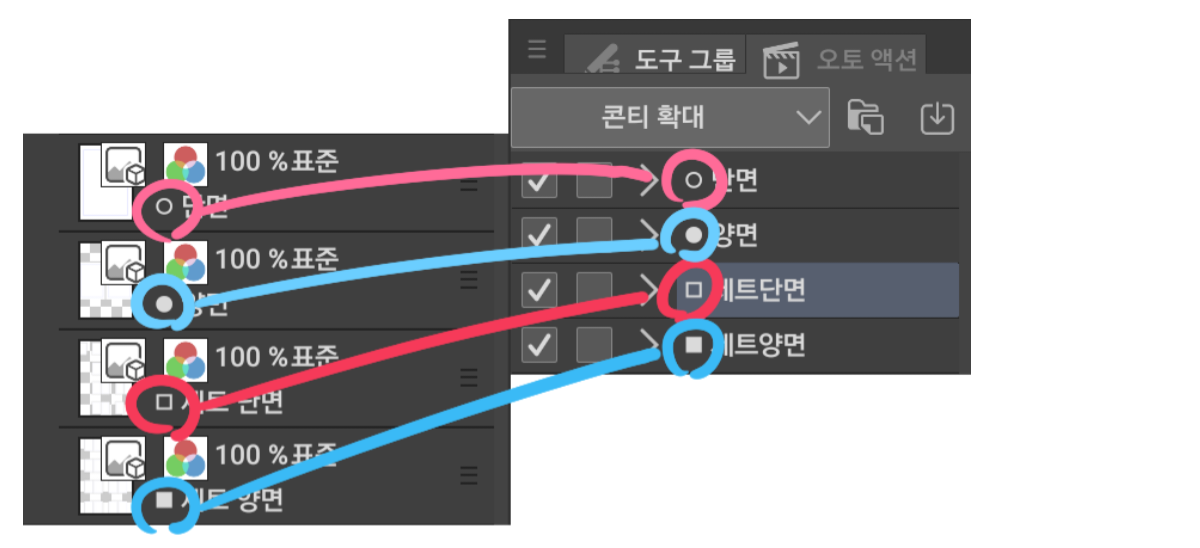
If you wait until it's finished, it will be finished like this. (The black border in the example is for distinction, but in reality, everything is cut off.)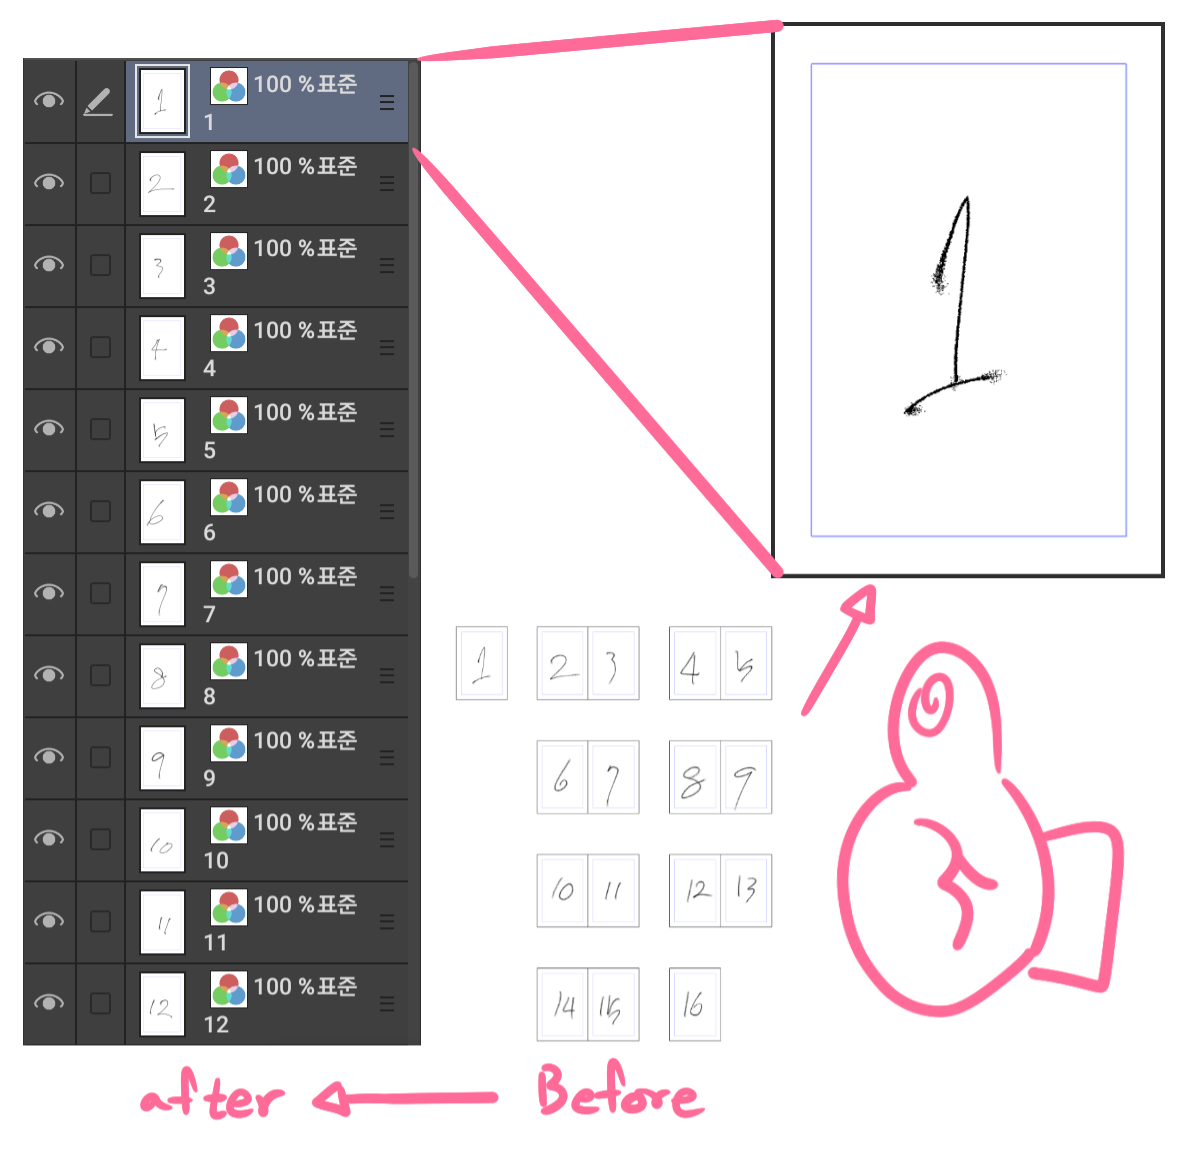
콘티를 한번에 보기 위한 세트입니다. 재단선은 클튜 A5 사이즈 기본 세팅으로 만들었어요. 만약 재단선이 마음에 안 들면 하얀색으로 덮어버리거나 본인의 취향대로 바꾸세요.
오토액션 사용 방법
주의: □와 ■의 경우 기기에 따라 강제 종료가 될 수도 있습니다. 미리 여러 번 저장한 뒤 실행해주세요.
0. 먼저 14.80 x 21.00 cm 600DPI (A5) 사이즈 캔버스에 콘티를 옮겨주세요.
A5 크기를 쓰지 않아도, A5 사이즈로 실행한 뒤 선화에 들어가기 직전에 캔버스 해상도를 바꾸면 되니 실망하지 마세요.
1. 포함된 화상이미지와 콘티를 그린 레이어(레스터/벡터/폴더 무관)를 동시에 선택합니다. 이때 화상이미지는 제공된 크기와 비율 그대로여야합니다.
2. 오토액션을 실행합니다.
오토액션은 사용한 화상이미지와 같은 모양으로 실행하면 됩니다.
완료될 때까지 기다리면 이렇게 완성됩니다. (예시의 검은 테두리는 구분을 위한 것이고 실제로는 모두 잘려나갑니다)
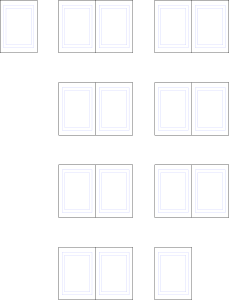
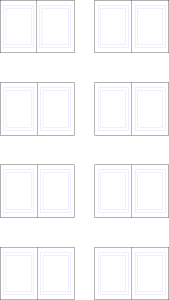
Mini Template + AutoAction 미니 템플릿 + 오토액션









Other materials by tto_iya


Popular “Material catalog” materials


New materials





Badges
-
 MVP ◆This user has contributed greatly to the management of the community, by posting many great responses to the questions asked. Once every three months, MVPs are determined based on the points earned during that period and will be recognized accordingly.
 -
 New Valuable Player (NVP) ◆These are the next-best contributors to the community after MVPs. This is awarded to users who have not yet won an MVP award, based on the number of points they have earned.
 -
 Official Expert ◆Chosen out of all MVP awardees, who are already proof of excellence, this is a testimony of outstanding correspondence in the community. After careful screening, they are appointed by CELSYS and assume their position.Note: Formally called “Evangelists”
 -
 Official Moderator of CELSYS ◆Moderators are official CELSYS staff members who are fluent in Japanese as well as various other languages. Moderators are not experts on the software or illustration, so they are not able to directly answer your questions. However, moderators provide communication and language support to ensure that everyone can smoothly communicate with each other.
 -
 CELSYS official accountThe Official Administrator Account