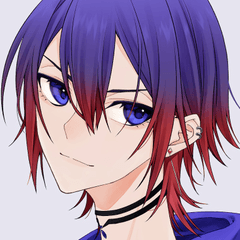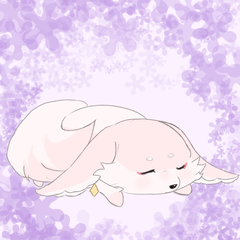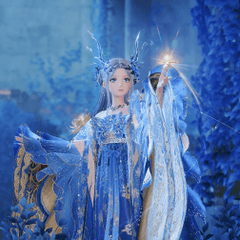

Convert to jewel style auto action 宝石風に変換するオートアクション
There are three types of auto action to convert layers into gemstone style. It will be a reasonably transparent gem, so you can see through the illustration below. With auto action for distortion of the image under the gem.
【Notes】
- It is a auto action with many processes. We recommend that you save the canvas before running the auto action.
- I am using the functions added in PAINT Ver.4.0.
- Do not change the checkbox displayed in the auto action.
- If you press cancel in the middle, delete the folder in the process of creation and run the auto action again.

〈Gemified A~C〉
- Prepare a layer that integrates only the parts you want to make into gems. Make the layer as completely opaque as possible. It can be a color layer, a monochrome layer, or multiple colors. It doesn't matter if you have anti-aliasing or not.
- Save the canvas.
- Select the layer you want to convert and perform your preferred auto action.
- There will be several pop-ups along the way. The thickness of the gem is made by the process of image 2~4 above. Adjust 2~3 so that the inside is white and the outside is black. Determine the roughness of the cut with 4.
- In auto action, up to 5 steps are made. Draw highlights on the screen layer in the folder and you're done. If you want to make a highlight easier, draw with an airbrush and run a crystal filter on it.
- Adjust the opacity of each layer to your liking.
〈For jewelry background〉
- Hide gems.
- Save the canvas.
- Run the auto action. It runs with any layer selected.
- Clip the layer made of auto action on top of the layer before geminizing.
Sample on a black and white background ↓

レイヤーを宝石の原石風に変換するオートアクション3種類です。それなりに透明な宝石になるので、下のイラストが透けます。宝石の下の画像の歪み用のオートアクション付き。
【注意事項】
- 工程が多いオートアクションです。オートアクションの実行前にキャンバスを保存しておくことをおすすめします。
- PAINT Ver.4.0で追加された機能を使用しています。
- オートアクションに表示されているチェックボックスは変更しないでください。
- 途中でキャンセルを押してしまった場合は作成途中のフォルダを消し、オートアクションを再び実行してください。

〈宝石化A~C〉
- 宝石にしたい部分だけを統合したレイヤーを用意します。なるべく完全に不透明なレイヤーにしてください。カラーレイヤーでも、モノクロレイヤーでも、複数色でも大丈夫です。アンチエイリアスの有無は問いません。
- キャンバスを保存します。
- 変換するレイヤーを選択し、好みのオートアクションを実行します。
- 途中で何回かポップアップが出ます。上記画像2~4の工程で宝石の厚みを作ります。2~3にかけて内側が白く外側が黒いグラデーションになるように調整します。4でカットの荒さを決めます。
- オートアクションでは5の工程まで作られます。フォルダ内のスクリーンレイヤーにハイライトを描いて完成です。簡単にハイライトを作る場合は、エアブラシで描き、それに水晶フィルターを実行します。
- 好みで各レイヤーの不透明度を調整してください。
〈宝石化背景用〉
- 宝石を非表示にします。
- キャンバスを保存します。
- オートアクションを実行します。どのレイヤーを選択した状態でも実行されます。
- 宝石化する前のレイヤーの上に、オートアクションで作られたレイヤーをクリッピングします。
白と黒の背景に乗せた時の見本↓


