

It is a tool that I made as much as possible fill less effort. なるべく手間を少なく塗りつぶしできる様に作ったツールです。
Click → ② to the part you want to paint ① to erase the place where it was over, two bucket tools to do, and a set of three pens to connect the part that is a big interruption of ③ line drawing.
I'm tired of selection to sew the gap of a line with a wall paint.
I'm tired of Chimachima the Chimachima part after painting with a brush.
Please try it.
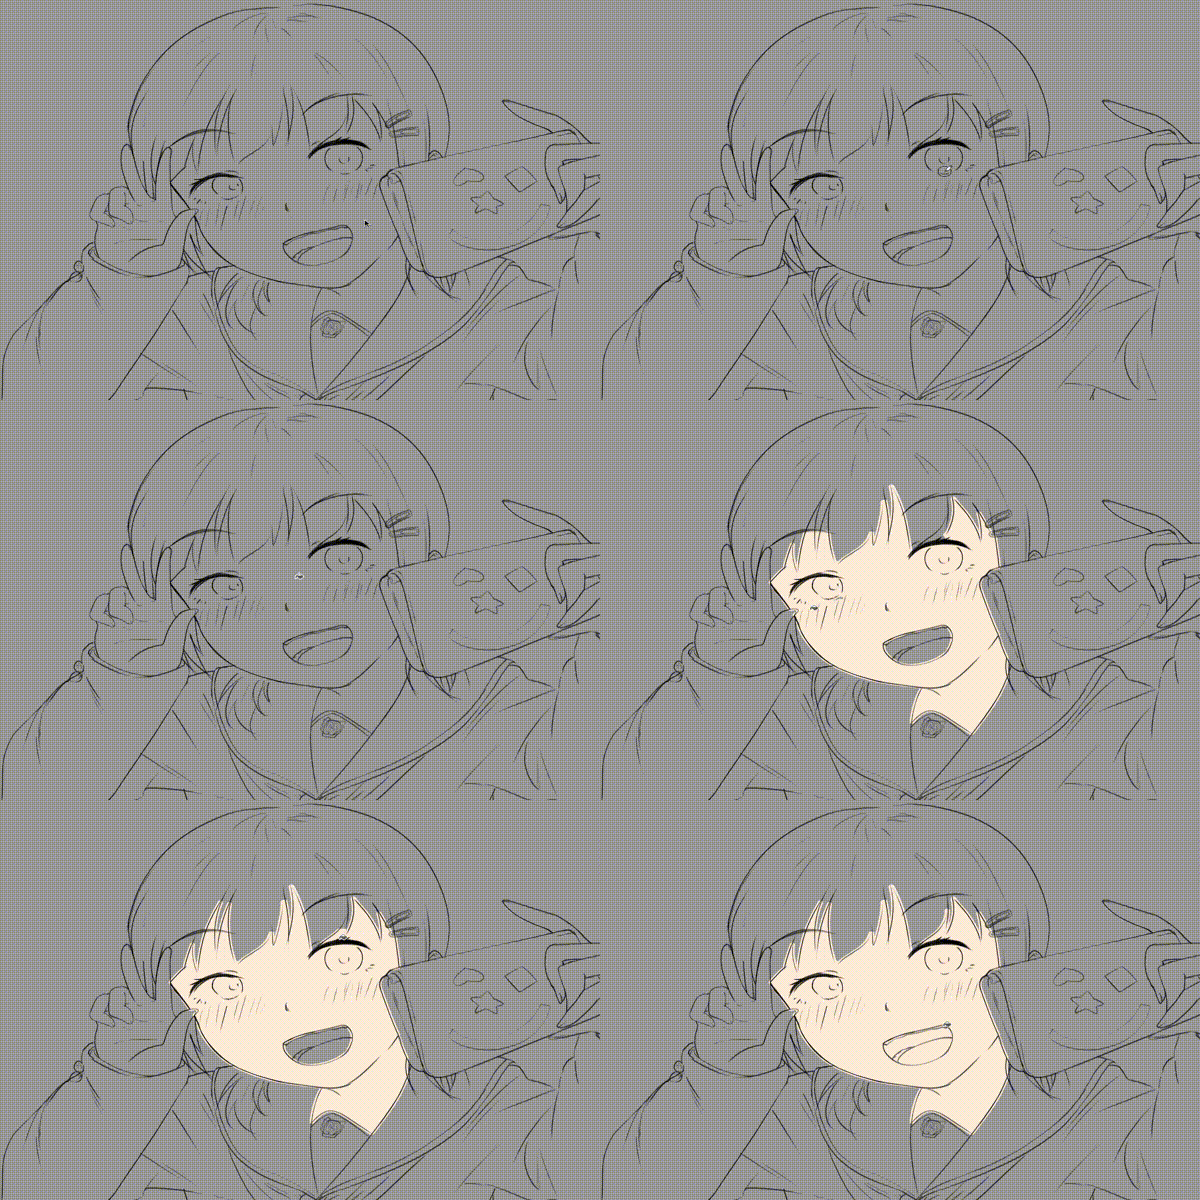
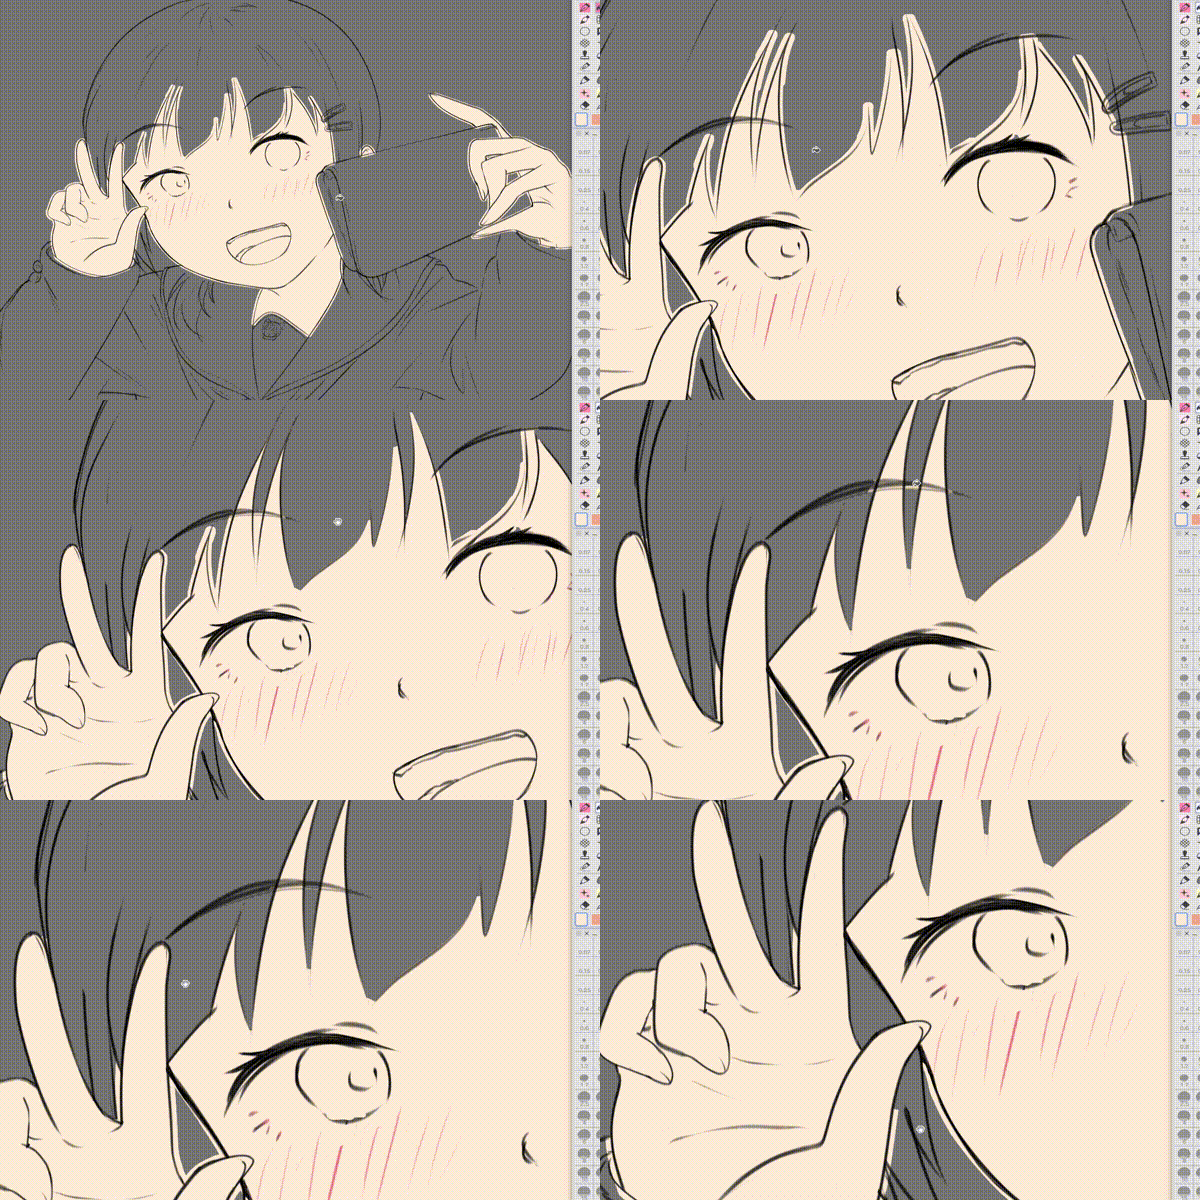
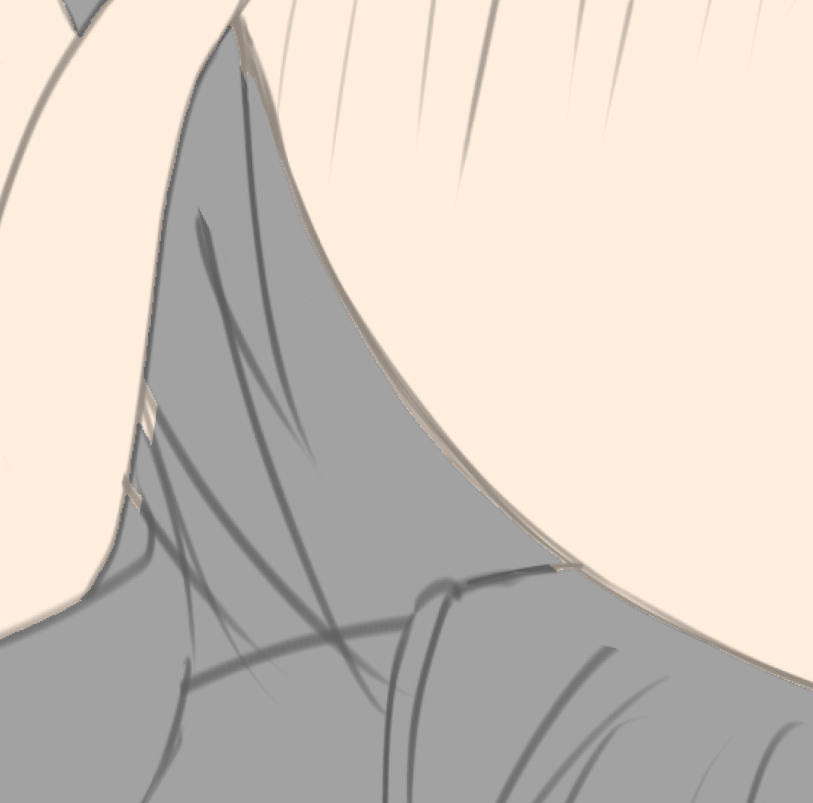
⬛️ reference layer fill tools
1. set as reference layer a line-drawing layer(folder-enabled) .
2. Drag or click where you want to paint with the reference layer fill tool.

※ It is set from the line of the reference layer to protrude-like.
It is because a small gap between lines Seruseru in the width of the setting of the overflow.
⬛️ reference layer the eraser tool
3. If you fail to fill in the "reference layer disappear" tool
Click on the outside of the protruding area.

I can paint it to the bottom of the line drawing comparatively.

But keep in mind that if you make line drawing as one layer, it may spread even to the part which does not want to be painted .
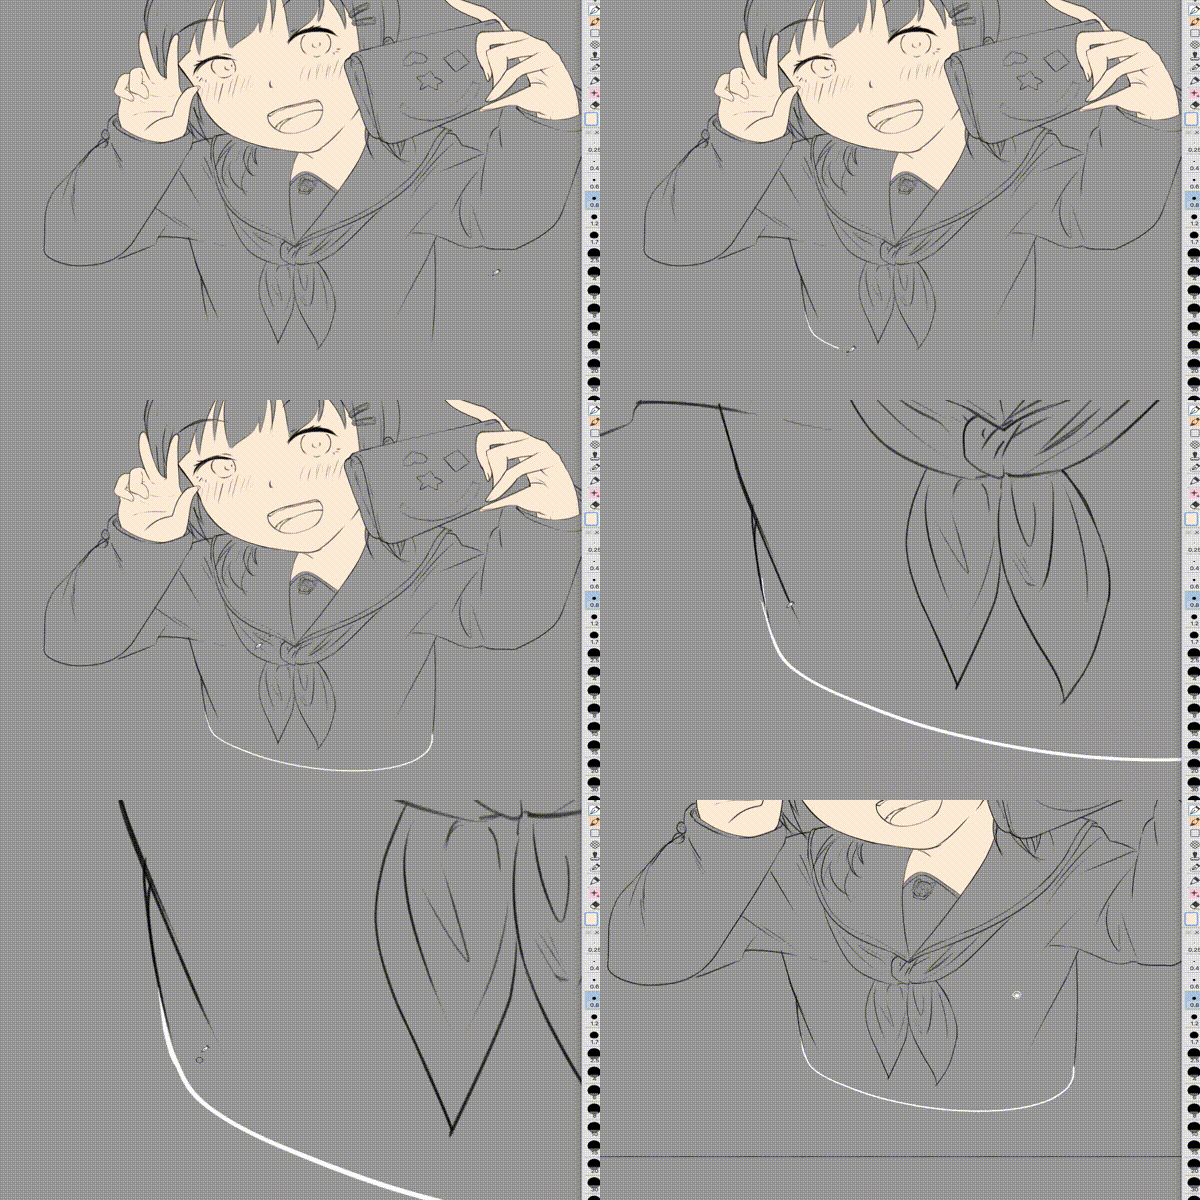
⬛️ White Enclosure Tool
The part where the line is interrupted greatly like the video below is
Use the "White enclosure" pen tool to write the lines.

The color is made to be white.
Because the ink setting is "background", it does not suffer on the main line even if I draw directly to the line drawing layer.
If you want to write to a drawing layer directly, you must "replace brightness with transparency" after drawing. The lines that you wrote will disappear.
-If you do not want to rasterize because you are required to "Listarise" first in case of vector layer,
I think it's better to put line art in a folder → add new layer in a folder and reference layer the folder.
Discard or hide layers after fill.
①塗りたい部分にクリック→②はみ出したところを消す、を行う2つのバケツツールと、③線画の大きく途切れている部分を繋げる用のペンの3個セットです。
「囲い塗りで線のスキマを縫うように選択範囲するのは疲れた・・」
「塗った後のちまちました部分をブラシでちまちま直すの疲れた・・」
という方はお試しください。


⬛️参照レイヤー塗りつぶしツール
1.線画レイヤー(フォルダーも可)を参照レイヤーに設定します。
2.「参照レイヤー塗りつぶし」ツールで塗りたいところをドラッグorクリックします。

※参照レイヤーの線からはみ出る様に設定してあります。
線同士の小さいスキマもはみ出し設定の幅分で塗り潰せるからです。
⬛️参照レイヤーはみ出し消しツール
3.だいたい塗りつぶせたら「参照レイヤーはみ出し消し」ツールで
はみ出た部分の外側をポンポンとクリックしていきます。

わりと線画の下まで塗れます。

ですが、線画を一つのレイヤーにしておくと塗られたくない部分にまで塗り広がる場合もあるのでご注意を。
⬛️白囲い用ツール
下の動画のように大きく線が途切れている部分は、
「白囲い用」ペンツールを使って線を書き足します。

・色は白になるようにしてあります。
・インク設定が”背景”になっているので、線画レイヤーに直接描いても主線に被りません。
・線画レイヤーに直接書き足す場合は、描いた後に「輝度を透明度に置換」してください。書き足した線が消えます。
・ベクターレイヤーの場合は先に「ライスタライズ」を要求されるので、ラスタライズしたくない場合は、
「線画をフォルダーに入れる→フォルダー内で新規レイヤーで書き足し→フォルダーを参照レイヤーにする」の方が良いと思います。
塗りつぶしたあとはレイヤーを破棄したり非表示にしたりしてください。
Bucket Tool バケツツール


