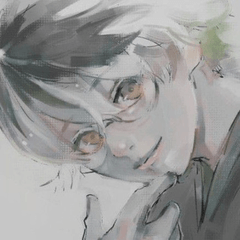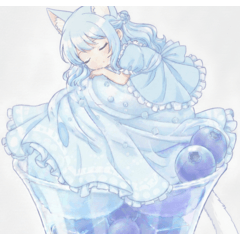

■ "Super simple Glow Effect +" ■
Light is hitting the atmosphere + the saturation of the boundary portion of the dark is high [light +]
Adjust blur condition by numerical value for changing Light + Gaussian values
Just like the previous one, the selection duplicate layer and Gaussian processing.
When there is a color in the border of light and shade, I am glad somehow.
I tried to make a boundary of high saturation by rough tactics. I don't care about accuracy.
It's rather cumbersome to pick out a check box for Gaussian adjustment
Also included for changing Gaussian values (the action itself is exactly the same).
First, consolidate display layers or merge copies of visible layers
Making the integrated layer for processing
Layer name to base .
1) Select the range you want to brighten the integrated layer "base" auto action play
2) Two layers of "light" and "+" are generated so that each opacity is adjusted
In, voila.
It is a good idea to make the original image darker.
Because it is a simple action, the finish is reasonable.
Please try it in a kimochi that is generous.

■「超シンプル グロー効果+」■
・光が当たってる雰囲気+明暗の境界部分の彩度が高い「Light+」
・ぼかし具合を数値で調整「Light+ ガウス値変更用」
前回のものと同様、選択範囲のレイヤーを複製してガウス処理しているだけです。
明暗の境目に色が入っていると何となく嬉しいので
乱暴な手口で高彩度の境界を作ってみました。精度は気にしない。
ガウス調整のためのチェックボックスを拾い出すのが割と面倒なので
「ガウス値変更用」も同梱しました(アクション自体は全く同じものです)。
まず「表示レイヤーを統合」または「表示レイヤーのコピーを統合」で
加工のための統合レイヤーを作り
レイヤー名を 「base」 にします。
1) 統合レイヤー「base」の明るくしたい範囲を選択してオートアクション再生
2) 「light」と「+」の2つのレイヤーが生成されるので それぞれ不透明度を調整
で、出来上がり。
元画像は暗めに作っておくといい感じ。
簡易的なアクションなので仕上がりはそれなりです。
おおらかなキモチでお試しください。


