And data
Template format Tutorial.
Size: Vertical post card 600 dpi
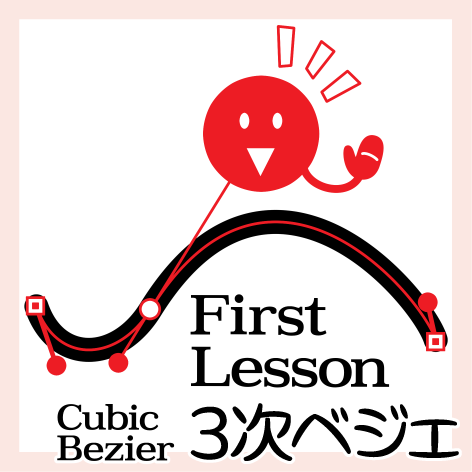
I wanted to get used to the cubic bezier operation.
Cubic bezier is a really useful tool!
* How to use
Create a file with a vertical postcard (600 dpi, a single page) and place it there.
Yasukatsu steps appear.
Use the Layer palette to proceed.
Hides the second tier file one at a time.
You can click on the eye icon to hide it.
If you go all the way to the end, hide the file and move on to the next file (step).
The large file is "start up", Step 1, Step 2, Supplement, and four.
Draw 〉 is vector layer. Here is the practice draw.
Body text is customize available
The text is in text format, although it is in Japanese.
You can pick and find unfamiliar words, replace them with translations, and make your hands easier to use.
I think you can understand what the basic operation of cubic bezier is like.
Once you get used to it, you will be able to acquire the know-how that is open to many.
Especially cubic bezier ribbon brushes can really show their true performance.
Please try to use [cubic bezier] to broaden the range of your creations ♪

・データ
テンプレート形式のチュートリアルです。
サイズ:タテ型ポストカード 600 dpi
3次ベジェの操作に慣れて欲しい一心で作りました。
3次ベジェは本当に便利なツールなんですよ〜!
*使い方
タテ型のポストカードでファイル( 600 dpi 、単頁)を作り、そこへ配置してください。
実作の手順が現れます。
進行にはレイヤーパレットを使います。
2層目のファイルを1つずつ非表示にします。
目のアイコンをクリックすれば非表示にできます。
最後まで進んだら大元のファイルを非表示にして、次のファイル( step )へ進みます。
大ファイルは〈 start up 〉〈 step 1 〉〈 step 2 〉〈 supplement 〉の4つです。
〈 Draw 〉はベクターレイヤーです。ここで練習の描画をします。
本文テキストはカスタマイズ可
本文は日本語ですが、テキスト形式になっています。
慣れない言葉を抜き出して検索する、翻訳したものに置き換える、など、使いやすいように手を加えることができます。
3次ベジェの基本的な操作がどういう感じか、理解してもらえると思います。
慣れてきたら、たくさん公開されているノウハウも身につけられるようになると思います。
特にリボンブラシは、3次ベジェでこそ本領が発揮できます。
創作の幅を広げるためにも是非[3次ベジェ]を使ってみてください♪


