"예술 도난을 억제하고 워터 마크를 사용해!"
기본
이들은 온라인 공유 또는 커미션/클라이언트 작업을 수행하기 위한 WIP(진행 중인 작업) 아트웍을 워터마크하는 이미지 자료입니다.
고객에게 업데이트를 스네이닝할 때 커미션에 이 것을 사용합니다. 에셋도 같은 방식으로 사용할 수 있습니다. 이것이 이 자산의 주요 목적입니다.
사용 방법
A. 다운로드 폴더에서 워터마크를 선택하고 재질 창에서 "캔버스에 자료를 붙여 넣기"를 드래그 앤 드롭하거나 클릭합니다.
캔버스에 표시되면 불투명도, 레이어 색상, 블렌딩 모드, 타일링 및 각도를 수동으로 변경할 수 있습니다.
B. 대각선 스타일 이미지[sample.2.5a] 및 [sample.2.5b]는 용지 크기(예:) A6, A5, A4, An...). 따라서 캔버스가 이퀄리티(일명)인 경우. "완벽한 사각형") 또는 B-용지 크기로 캔버스에 맞게 아래 단계를 수행하십시오.
- 이미지 재질 선택
- 이미지를 선택하는 동안 작업 도구를 사용합니다.
- 도구 속성 창(메뉴 탭>WINDOW> 도구 속성으로 이동)으로 이동하여 "가로세로 비율 유지"
- "위치 조정"을 찾아 "센터"를 선택합니다.
- 너비(W) 또는 높이(H)를 조정하여 더 크거나 작게 만듭니다.
- 크기를 조정할 때 동일한 비율을 유지하려면 "가로세로 유지"
항목
텍스트는 검고 투명하며 불투명도는 기본적으로 30 %입니다. 캔버스에 이미지 자료를 붙여넣은 후 불투명도, 레이어 색상 및 블렌딩 모드를 변경할 수 있습니다.
샘플.2.1 | Opactiy: 30%, 보통, 기울어진 45°
샘플.2.2 | Opactiy: 30%, 보통, 기울어진 45°
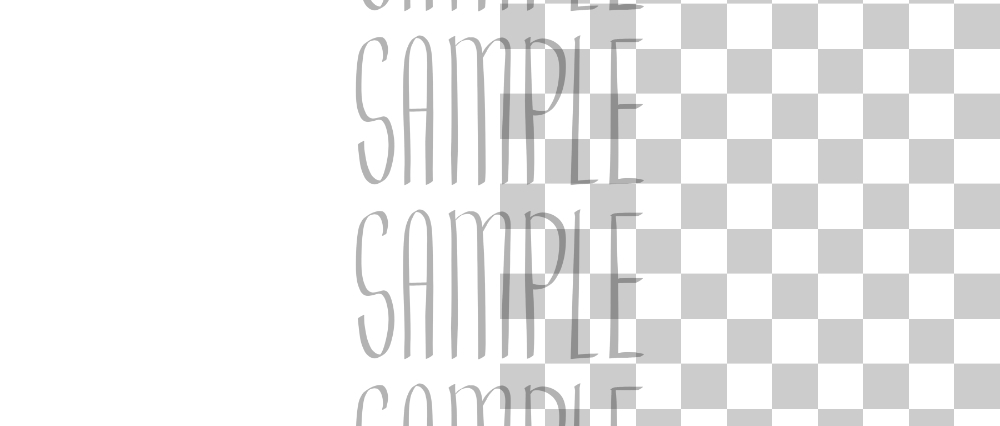
샘플.2.3 | 오편: 30%, 보통, 수직타일
샘플.2.4 | 오편: 30%, 보통, 타일로 수평(대각선으로 용지 크기에 맞음)

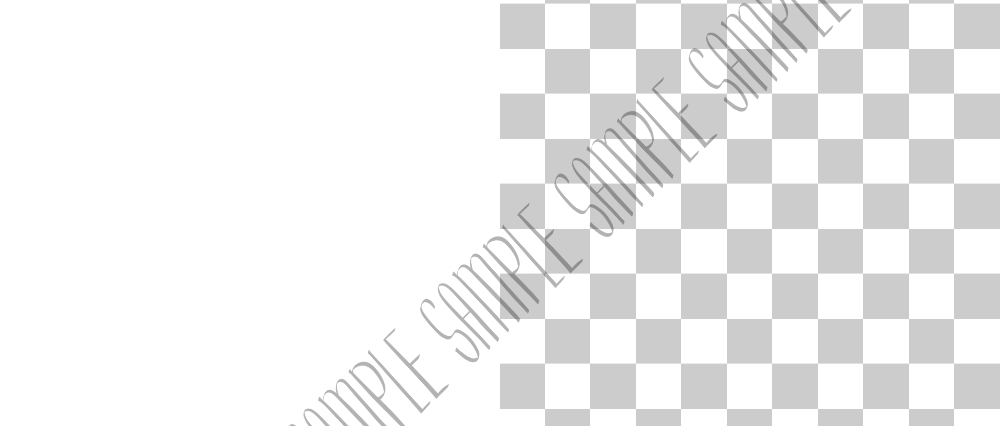
샘플.2.5a | 오편: 30%, (보통), 대각선 스타일
샘플.2.5b | 오편: 30%, 정상, 대각선 스타일
샘플.2.보너스 | Opactiy: 30%, 정상, 곡선
샘플.3+ 버전 | 불투명도: 30%, 일반, 타일이 없는
당신은 당신이 원하는 그러나 그것을 타일 수 있습니다, 도구 속성 창에서 설정을 변경!
신청
다음은 이러한 워터마크를 사용하는 방법에 대한 예입니다. 당신은 같은 작업을 수행하고 그것으로 실험 할 수 있습니다. 이러한 각 샘플에 대해 불투명도, 레이어 색상 및 블렌딩 모드를 변경했습니다. 당신이 그들과 함께 할 수있는 조합의 톤이있다, 그래서 재미를!
이 작품들은 모두 저에 의해 만들어진 작품입니다.
왼쪽 위부터 아래쪽으로 의 이미지는 웹코믹 사쿠라의 날(여기에서 확인→http://sakuraday-4-seasons.the-comic.org)에서 나온 것입니다.
나는 여기에 워터 마크를 남용 한 것 같다, 하지만 그래서 당신은 그것을 적용하는 방법과 그것을 과장하지 않는 방법을 볼 수 있습니다.
중요하다
- 이러한 이미지 재질의 거의 모든 기본적으로 불투명도 @30%,블렌딩 모드: Normal. [sample.2.0] 유형은 100% 불투명도입니다.캔버스에 붙여넣은 후 불투명도, 레이어 색상, 각도 및/또는 블렌딩 모드를 변경할 수 있습니다.
- 이미지 재질을 캔버스 크기로 조정하려면 "사용 방법" 섹션, 파트 B를참조하십시오.
- 이러한 워터마크는 캔버스 크기로 자동으로 확장됩니다. 캔버스가 얼마나 크고, 작고, 넓거나, 키가 큰지는 중요하지 않습니다. 필요한 경우 조정하십시오.
- 캔버스가 5000픽셀 이상인 경우 이미지 재질이 흐릿해 보일 수 있습니다. 그것은 중요하지 않습니다. 이것은 워터 마킹을위한 것이고 인쇄하지 않기 때문에 그 목적을 충족시다. 그래도 버그가 있는 경우 도구 속성 창에서 보간 메서드를 사용해 보십시오.
결론
저는 프리랜서이며 고객의 미리 보기를 위해 WIP에 워터마크를 사용합니다. 클라이언트가 전액 지불하지 않은 경우 예술의 완전하고 깨끗한 해상도를 보내지 마십시오! 나는 전적으로 그들의 첫 번째 커미션을수행하는 초보자 예술가에게이 조언을 지지합니다. 다시: 당신이 전액 지불되지 않은 경우 그것의 전체 영광과 해상도에 작품을 보내지 마십시오! 워터 마크를 넣어, 예술 도난을 억제.
안전한 예술가를 유지! 제안하려는 오류 나 자산 아이디어에 대해 DM 또는 내 프로필의 소셜 링크를 통해 저에게 연락하십시오. 평화 밖으로.
--IVA, 2020
"Deter Art Theft, Use Watermarks!"
BASICS
These are image materials to watermark your WIPs (work-in-progress) artworks for sharing online or in doing commissions/client-work.
I use this for my commissions when I sned updates to my clients. You can use the assets in the same way too. That is the main purpose of this asset.
HOW TO USE
A. Select the watermark from Downloads folder, and either drag & drop OR click "paste material into canvas"from the materials window.
After it appears on your canvas, you can manually change the opacity, layer colour, blending mode, tiling, and angle.
B. The diagonal style images, [sample.2.5a] & [sample.2.5b], were made for A paper sizes (eg. A6, A5, A4, An...). So if your canvas is equaliteral (aka. "perfect square") or in B-paper size, do the steps below to fit it to your canvas:
- select the image material
- use the Operation tool while selecting the image
- go to the tool property window (go to menu tab>WINDOW> Tool Property) and tick OFF "Keep Aspect Ratio"
- look for "Adjust Position" and select "Center"
- adjust the width(W) or height(H) to make it bigger or smaller
- if you want to keep the same ratio when resizing, tick ON the "Keep Aspect Ratio"
ITEMS
The text is black and transparent, the opacity is at 30% by default. You can change the opacity, layer colour, and blending mode after pasting the image material on your canvas.
Sample.2.0 | Opactiy: 100%, Normal
Sample.2.1 | Opactiy: 30%, Normal, tilted 45°
Sample.2.2 | Opactiy: 30%, Normal, tilted 45°
Sample.2.3 | Opactiy: 30%, Normal, tiled Vertically
Sample.2.4 | Opactiy: 30%, Normal, tiled Horizontally (diagonally fits A paper sizes)

Sample.2.5a | Opactiy: 30%, (Normal), Diagonal style
Sample.2.5b | Opactiy: 30%, Normal, Diagonal style
Sample.2.BONUS | Opactiy: 30%, Normal, Curved
Sample.3+ versions | Opacity: 30%, Normal, un-tiled
you can tile it however you want, change settings in tool property window!
APPLICATION
Below are examples on how I use these watermarks. You can do the same and experiment with it. I changed the opacity, layer colour, and blending mode for each of these samples; there are a ton of combinations you can do with them, so have fun!
These are all artworks created by me.
the images from the top to the bottom left are from my webcomic Sakura Day (check it here→http://sakuraday-4-seasons.the-comic.org), all art above are drawn by me.
I seem to have abused the watermarks here, but only so you can see how to apply it and how not to overdo it hehe.
IMPORTANT
- Almost all of these image materials are by default opacity @30%, blending mode: Normal. The [sample.2.0] type is at 100% opacity.You can change the opacity, layer colour, angle, and/or blending mode after pasting it to your canvas.
- To adjust the image material to your canvas size, please refer to "HOW TO USE" section, part B.
- These watermarks will automatically scale to your canvas size. Doesn't matter how big, small, wide, and/or tall your canvas is. Do adjust if necessary.
- If your canvas is more than 5000 pixels, the image material might look blurry. That is not important. Since this is for watermarking and not printing, it fulfills its purpose. If that still bugs you, try playing with the Interpolation Method in the Tool Property window.
CONCLUSION
I'm a freelancer and I use watermarks on my WIPs for my clients's preview. Don't send the full & clean resolution of your art if the client hasn't paid in full! I wholly endorse this advice to newbie artists doing their first commissions. again: Please DO NOT send the artwork in it's full glory & resolution when you have not been paid in full! Put a watermark, deter art theft.
Keep safe artists! For any errors or asset ideas you wanna suggest, DM me or contact me via the social links in my profile. Peace out.
--IVA, 2020


