


【Discount】3D Apartment A (height adjustable, lit / full size) (【割引中】3DアパートA(高さ調整可・ライティング済/実寸大)) 【割引中】3DアパートA(高さ調整可・ライティング済/実寸大)
Content ID:2308115
-
7


【Limited time discount】
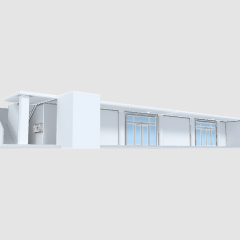
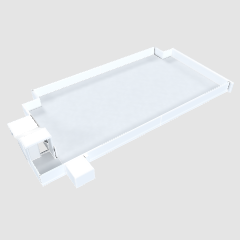
This is a 3D model of an apartment that has been lit and can be changed in height.
--Main features-----------------------------
・You can change the height.
・ Various exteriors have been reproduced (residence doors can be opened and closed)
・ Since it is already lit, you can reproduce the apartment like a thumbnail without any special editing.
---------------------------------------
【期間限定割引中】
ライティング済・高さを変更できるアパートの3Dモデルです。
--主な特徴-----------------------------
・高さを変更できます
・様々なエクステリアを再現しました(住居ドアは開閉可)
・ライティング済なので、特に編集することなくサムネのようなアパートを再現できます
---------------------------------------


Category 1 カテゴリ1



Other materials by ヨワタリJAWS


Popular “Material catalog” materials


New materials





-
 MVP ◆This user has contributed greatly to the management of the community, by posting many great responses to the questions asked. Once every three months, MVPs are determined based on the points earned during that period and will be recognized accordingly.
 -
 New Valuable Player (NVP) ◆These are the next-best contributors to the community after MVPs. This is awarded to users who have not yet won an MVP award, based on the number of points they have earned.
 -
 Official Expert ◆Chosen out of all MVP awardees, who are already proof of excellence, this is a testimony of outstanding correspondence in the community. After careful screening, they are appointed by CELSYS and assume their position.Note: Formally called “Evangelists”
 -
 Official Moderator of CELSYS ◆Moderators are official CELSYS staff members who are fluent in Japanese as well as various other languages. Moderators are not experts on the software or illustration, so they are not able to directly answer your questions. However, moderators provide communication and language support to ensure that everyone can smoothly communicate with each other.
 -
 CELSYS official accountThe Official Administrator Account