



It is a tool that easily draws evenly spaced vertical lines created for use in background shadows, etc.
You can also switch to diagonal or horizontal lines by adjusting the angle of the line.
* 2026/8/11 Added "Shadow line with extraction" and "starting and ending shadow line"
背景の影などに使用するために作成した、簡単に等間隔の縦線を描くツールです。
線の角度を調整することで斜め線や横線にも切り替えられます。
* 2026/8/11 「抜きあり影線」「入り抜き影線」を追加しました


Shadowline tool 影線ツール
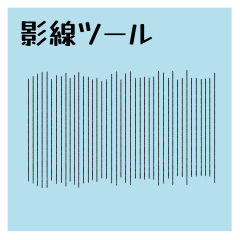
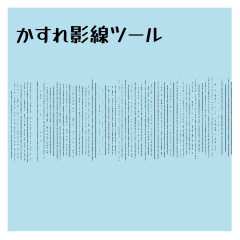
Add 追加
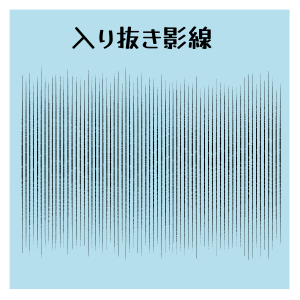
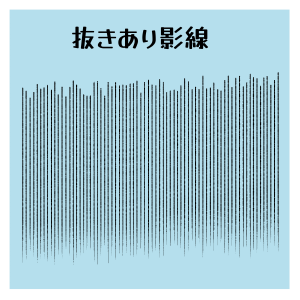
Update history
2026.8.11 Update/"Shadow line with clipping" and "starting and ending shadow line" have been added. 2026.8.11 アップデート/「抜きあり影線」「入り抜き影線」を追加いたしました。



Other materials by karasuka


Popular “Material catalog” materials


New materials





-
 MVP ◆This user has contributed greatly to the management of the community, by posting many great responses to the questions asked. Once every three months, MVPs are determined based on the points earned during that period and will be recognized accordingly.
 -
 New Valuable Player (NVP) ◆These are the next-best contributors to the community after MVPs. This is awarded to users who have not yet won an MVP award, based on the number of points they have earned.
 -
 Official Expert ◆Chosen out of all MVP awardees, who are already proof of excellence, this is a testimony of outstanding correspondence in the community. After careful screening, they are appointed by CELSYS and assume their position.Note: Formally called “Evangelists”
 -
 Official Moderator of CELSYS ◆Moderators are official CELSYS staff members who are fluent in Japanese as well as various other languages. Moderators are not experts on the software or illustration, so they are not able to directly answer your questions. However, moderators provide communication and language support to ensure that everyone can smoothly communicate with each other.
 -
 CELSYS official accountThe Official Administrator Account