

It is an awning-type tent attached to the storefront. 5 sizes are created, each with 7 different decorations and many colors 店先についているオーニングタイプのテントです。5サイズ作成、それぞれ7種類の先の飾りと多くの色を用意しています
HM store tent 2 (awning type)


 (Semicircle (default layout))
 (Semicircle long)
 (cut)
(cut)
 (cut length)
 (Straight)
 (Wave)
 (wavelength)


It is an awning-type tent attached to the storefront. I created it with Blender geometry nodes.
5 sizes are created, each with 7 different decorations and many colors


(By default, it is solid red, not red-white)
It's a supportive guy who is broken behind the back like this.
object configuration
It looks like this: You can also hide each
The tip is a fluttering white bar at the junction of the main tent. If you don't need it, you can hide it.
I think it is okay to hide the back parts if it is an angle that cannot be seen or a super distant view.

In Defo, only a fluttering semicircle is displayed in the layout settings. You can show other guys from the object list, but this time I've prepared a layout choice

If you press the second bar from the right of this bar that appears with the object selected, the following options will appear.

 (Semicircle (default layout))
 (Semicircle long)
 (cut)
(cut) (cut length)
 (Straight)
 (Wave)
 (wavelength)
Size and color
Available in 5 sizes. From the front
For 1 frontage (width 2045mm, depth 1m)
For frontage 1.5 (width 2980mm, depth ... Left 1m, Right 1.5m)
For 2 frontages (width 3890mm, depth ... Left 1m, Right 1.5m)

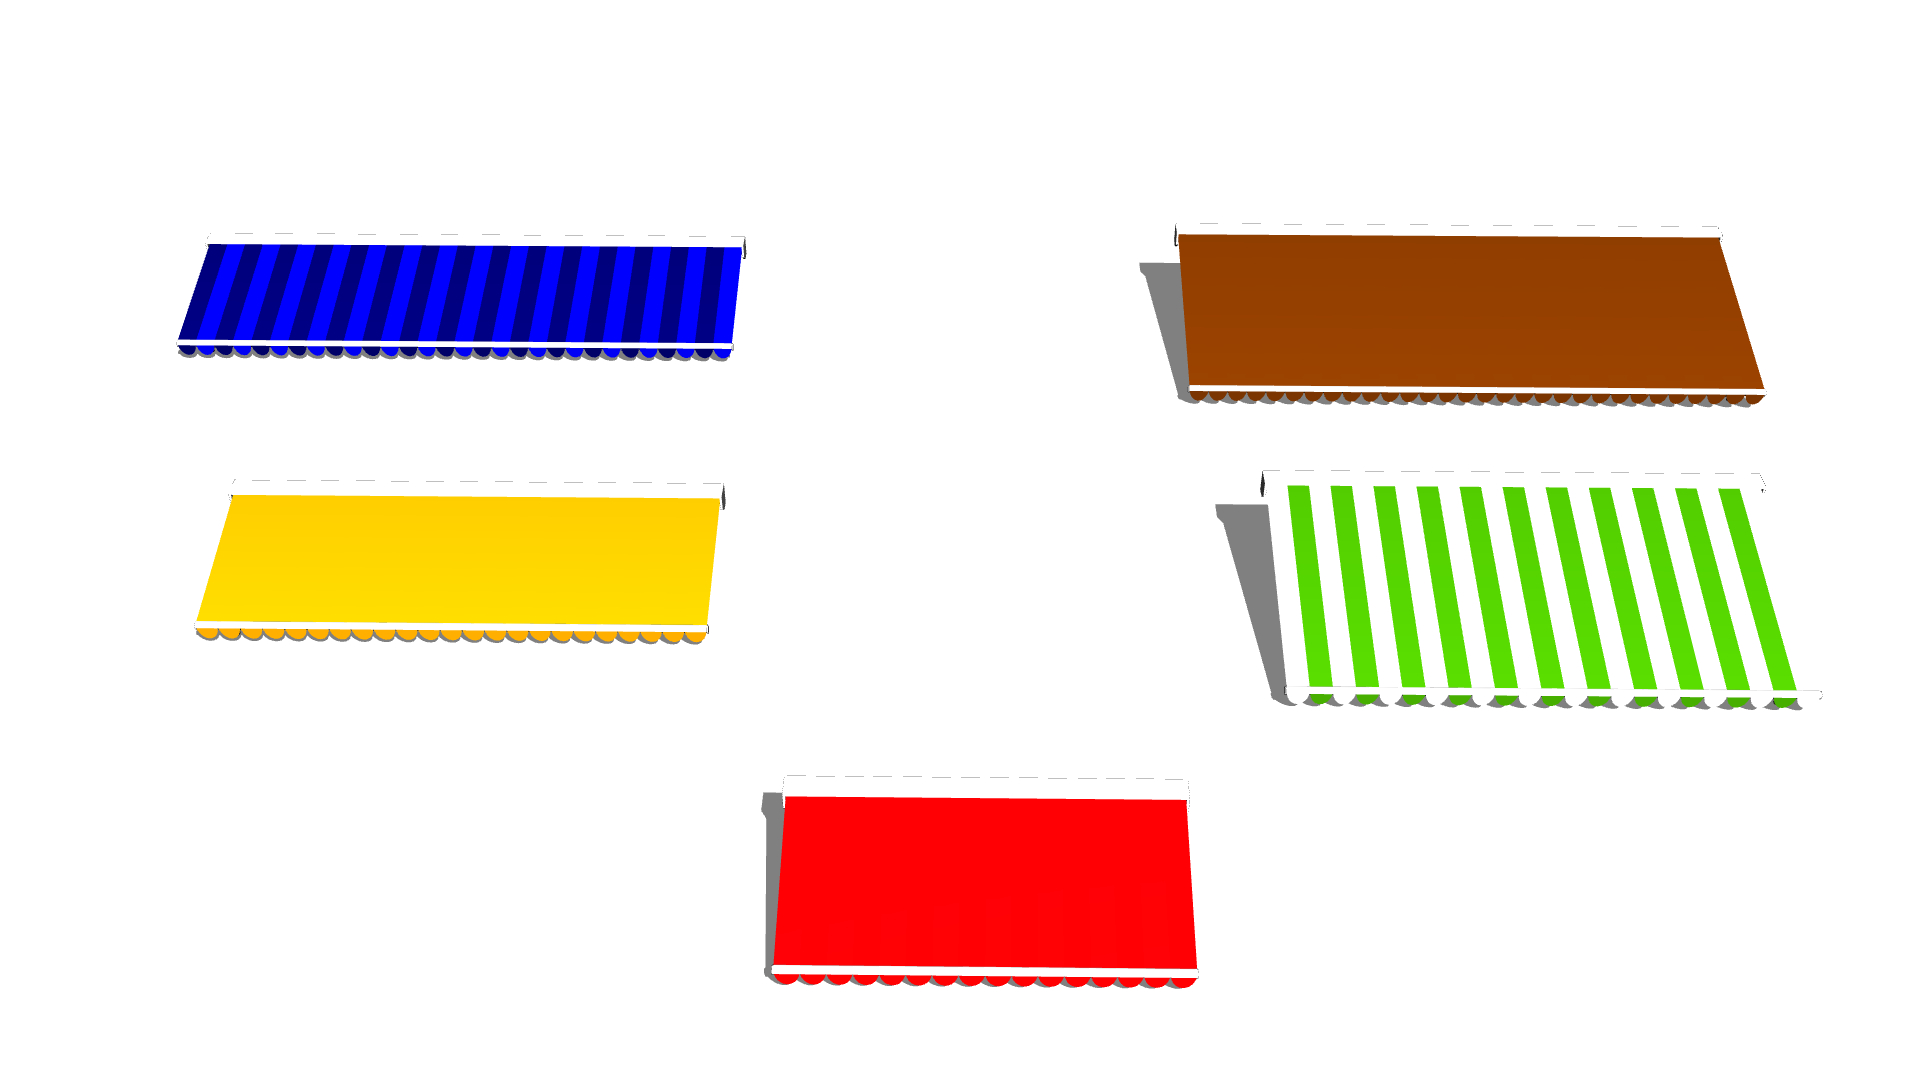
I just made too much color

Click the third icon from the right of this bar to bring up a variety of choices.
If the color does not suit you, change it to the mask at the bottom and adjust it by taking selection.

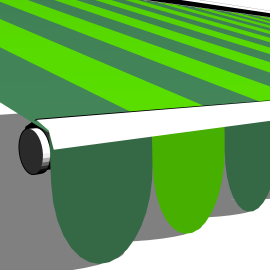
Precautions when displaying the back side (back culling)

You need to be a little careful when composing the back side.
In order to reduce the number of polygons, the tent fabric part is not thickened, and the color does not come out beautifully like ↑ in a normal setting.
Sorry to trouble you, but please adjust as follows
(I HOPE YOU WILL BE ABLE TO SET IT IN CLIPSTUDIO MODELLER...)
Select tent object > open rendering settings
In the dialog that appears, "Backface Calling" should be checked, so uncheck this check.


Now the color is reflected on the back as well.
3DLT
Let's try 3DLT the following object (postcard height 350dpi canvas)


Not toned


If you add a tone, it will also pick up the color of the tent fabric and toning it, so if you don't like it, we recommend that you set the material to "all white" and make it 3DLT.
hm店舗テント2(オーニングタイプ)
(半円(初期レイアウト))
(半円長)
(切れ)
(切れ長)(ストレート)
(波)
(波長)
店先についているオーニングタイプのテントです。Blenderのジオメトリ―ノードでつくりました。
5サイズ作成、それぞれ7種類の先の飾りと多くの色を用意しています
(デフォルトでは赤白ではなく赤一色です)
こういう背後で折れている支えのあるやつですね
オブジェクト構成
以下のようになっています。それぞれ非表示にすることもできます
先押さえはひらひらと本体テントのつなぎ目にある白いバーです。不要なら非表示にしてOKです
裏パーツも見えない角度や超遠景の場合は非表示で構わないと思います
デフォではレイアウト設定でひらひら半円のみ表示されるようになっています。オブジェクトリストから他のやつを表示してもいいですが、今回はレイアウトの選択肢を用意しました
オブジェクトを選択した状態で出てくるこのバーの右から二つ目を押すと以下のような選択肢が出てきます
(半円(初期レイアウト))(半円長)(切れ)(切れ長)(ストレート)(波)(波長)サイズと色
5サイズあります。手前から
間口1間用(幅2045mm,奥行1m)
間口1.5間用(幅2980mm,奥行…左1m、右1.5m)
間口2間用(幅3890mm,奥行…左1m、右1.5m)
色はついつい作りすぎてしまいました
このバーの右から3つ目のアイコンをクリックするとずらっと選択肢が出てきます。
しっくりくる色がない場合は下の方にあるマスクにいったん変更し選択範囲を取って調整するなどしてください
裏面表示時の注意(バックカリング)
裏面を映す構図の場合少し注意が必要です。
ポリゴン数削減のためテント布地部分は厚みをつけておらず、普通の設定では↑のようにはきれいに色が出ません。
お手数ですが以下のように調整してください
(CLIPSTUDIO MODELLERで設定できるようになるといいのですが…)
テントオブジェクトを選択>レンダリング設定を開く
出てくるダイアログで「バックフェースカリング」のチェックが入っているはずなのでこのチェックを外す
これで裏面にも色が反映されるようになりました
3DLT
以下のオブジェクトを3DLTしてみます(ポストカード縦350dpiのキャンバスにて)
トーンは付けていません
トーンを付けるとテント布地の色も拾ってトーン化してしまいますので、それを好まない場合はマテリアルを「全白」にして3DLT化することをお勧めします
Category 1 カテゴリ1
-
HM Store Tent 2 - Arm for 2 frontages 1.5m hm店舗テント2-間口2間用アーム1.5m
-
HM store tent 2 - arm for 2 frontages 1m hm店舗テント2-間口2間用アーム1m
-
HM Store Tent 2 - Frontage 1.5 Arm 1.5m hm店舗テント2-間口1.5間用アーム1.5m
-
HM Store Tent 2 - Frontage 1.5 Arm 1m hm店舗テント2-間口1.5間用アーム1m
-
HM Store Tent 2 - Arm for 1 frontage 1m hm店舗テント2-間口1間用アーム1m


Other materials by はるまき


Popular “Material catalog” materials


New materials


Badges
-
 MVP ◆This user has contributed greatly to the management of the community, by posting many great responses to the questions asked. Once every three months, MVPs are determined based on the points earned during that period and will be recognized accordingly.
 -
 New Valuable Player (NVP) ◆These are the next-best contributors to the community after MVPs. This is awarded to users who have not yet won an MVP award, based on the number of points they have earned.
 -
 Official Expert ◆Chosen out of all MVP awardees, who are already proof of excellence, this is a testimony of outstanding correspondence in the community. After careful screening, they are appointed by CELSYS and assume their position.Note: Formally called “Evangelists”
 -
 Official Moderator of CELSYS ◆Moderators are official CELSYS staff members who are fluent in Japanese as well as various other languages. Moderators are not experts on the software or illustration, so they are not able to directly answer your questions. However, moderators provide communication and language support to ensure that everyone can smoothly communicate with each other.
 -
 CELSYS official accountThe Official Administrator Account