

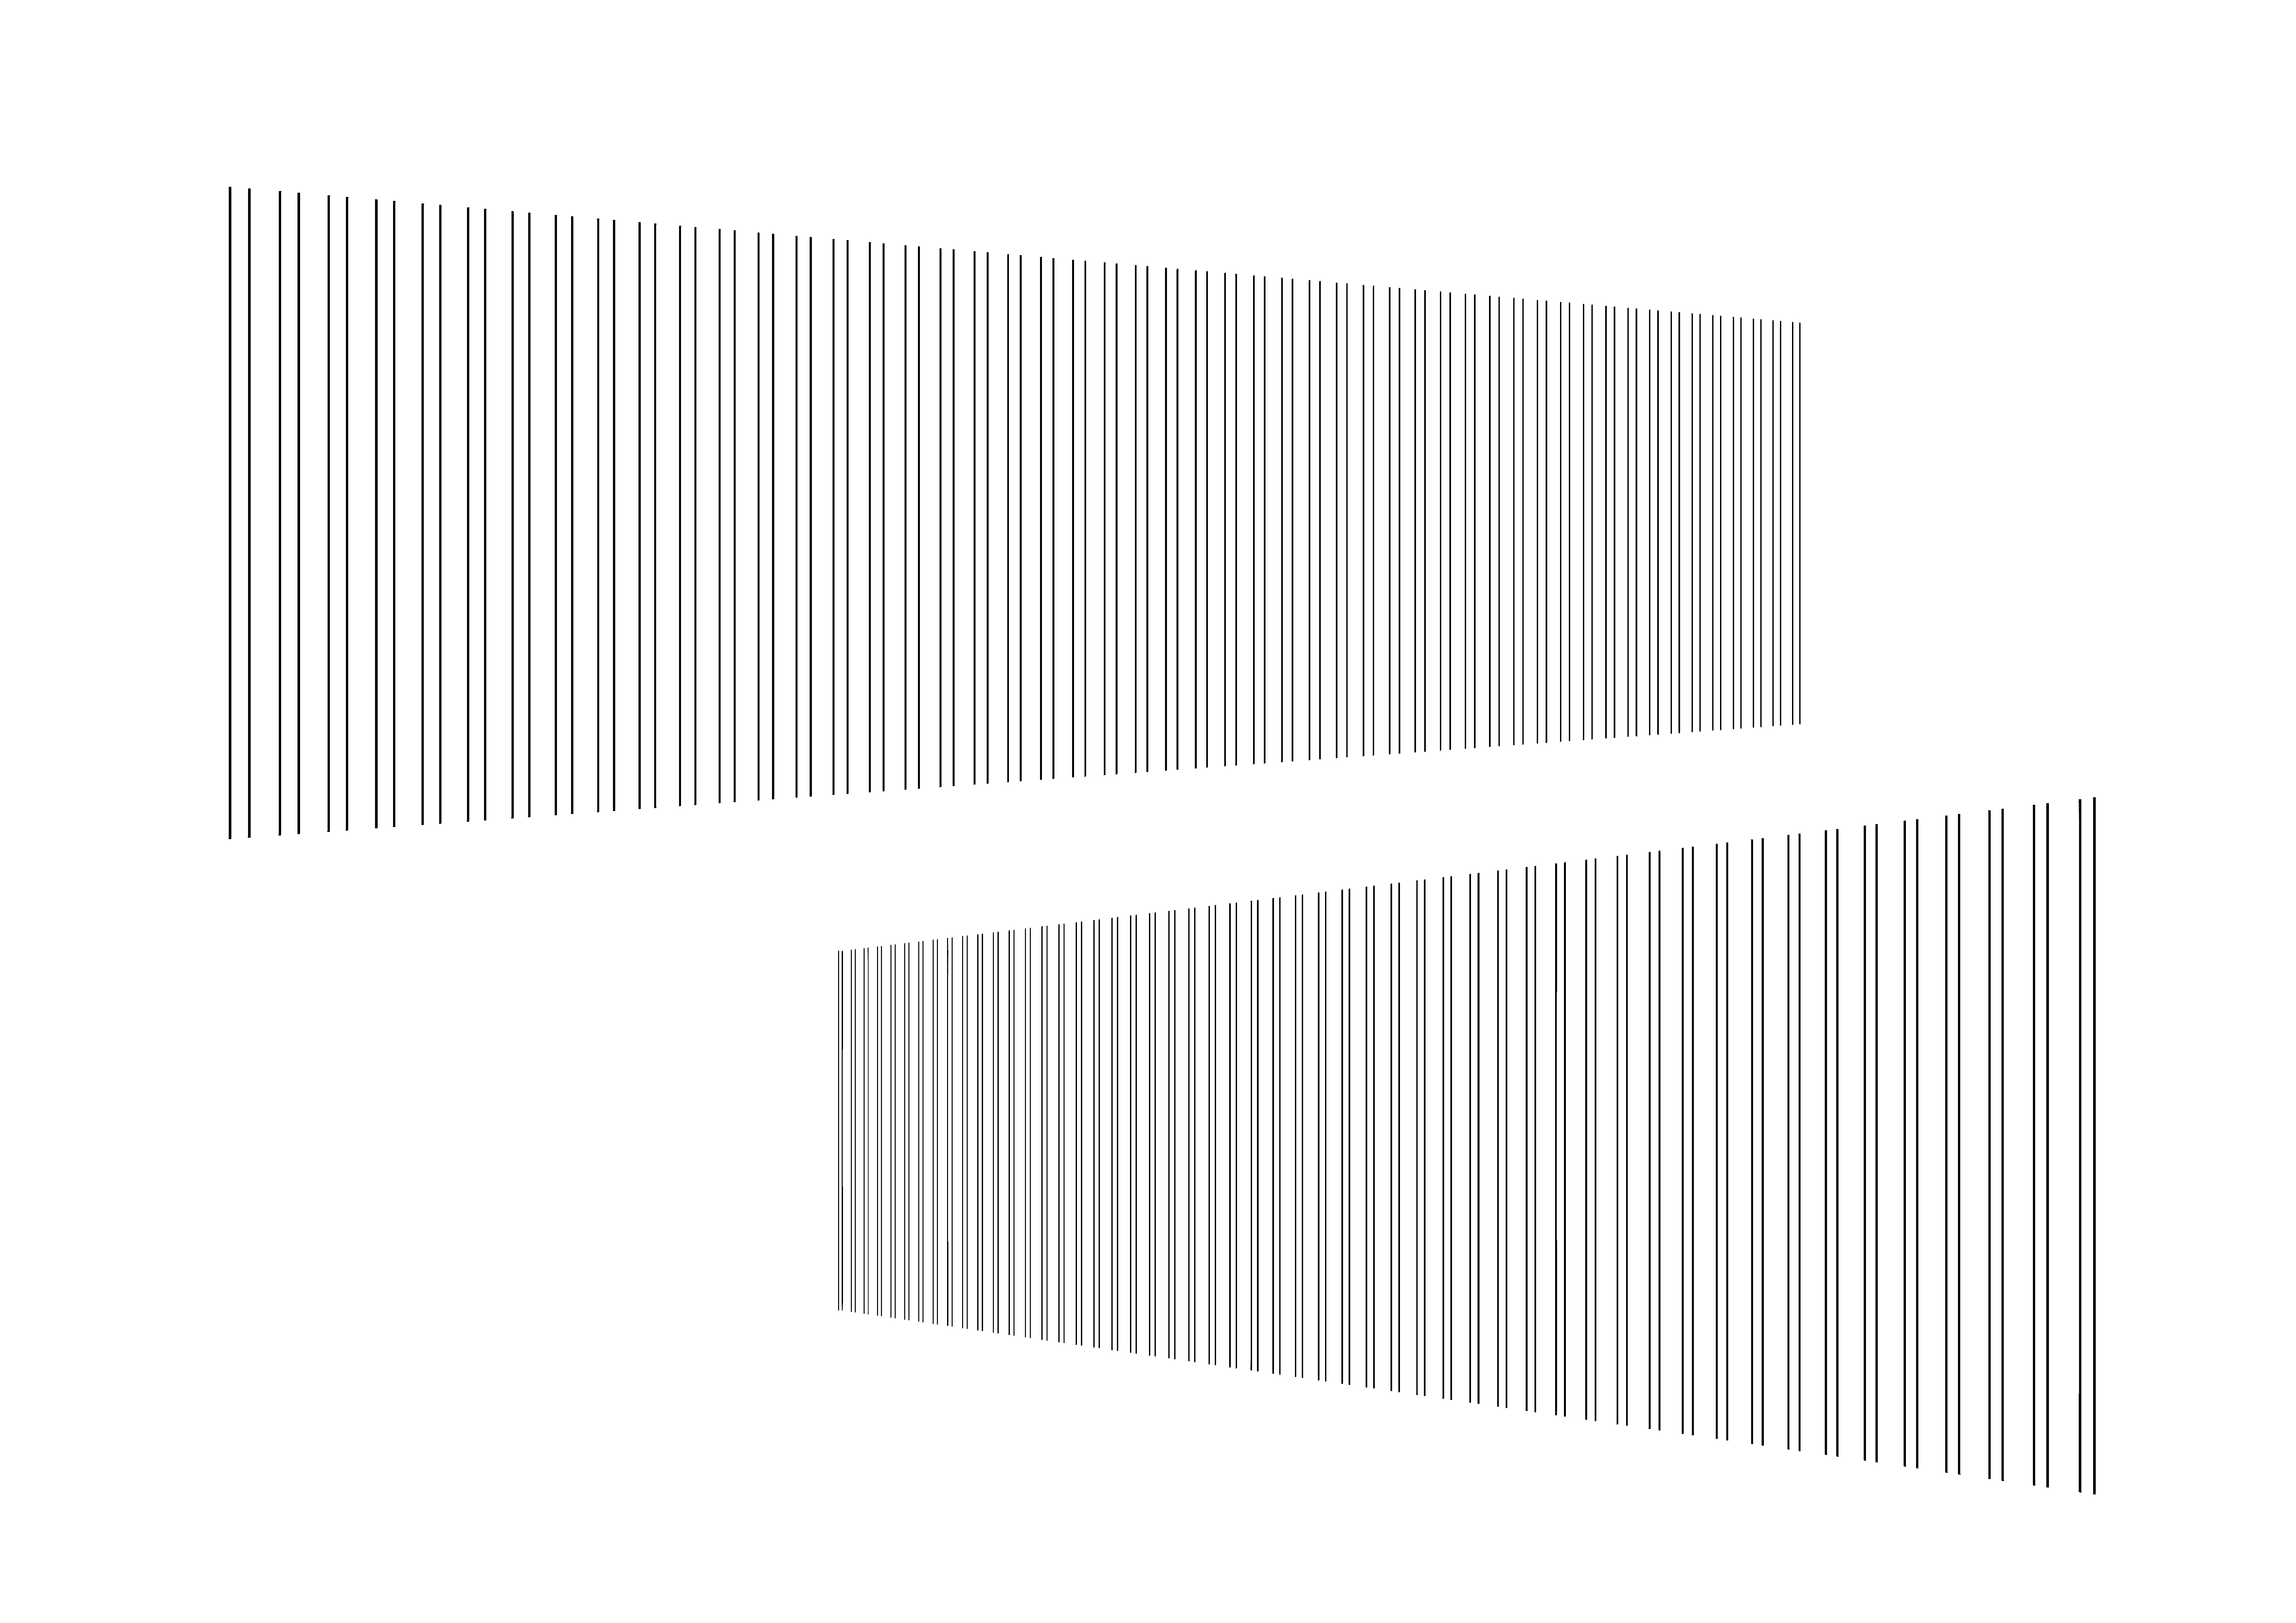
Vector lines for drawing fences. If you place the four sides of the selection in the free transform along the Perth line, you will have a fence along the Perth. 柵を描くためのベクター線です。自由変形で選択範囲の4辺を、パース線に沿うように配置すると、パースに沿った柵ができます。
use
1. Delete
Let's delete the parts we don't need. It is advisable to check if only one side of the fence remains. The height can be managed by deformation, so adjust only the number of fences.
* If there is an unerased residue, the selection will not be removed well. It is recommended to check with a border.
2. Take selection
Take selection with the menu [Edit] → transform → free transform.
3、Deformation
Place the perspective so that the four sides of the selection are lined up.
Hold down the Shift key while rotating to rotate in 45-degree increments.
In the case of two-point perspective, if you move the corner of the selection while holding down the Shift key, it will move vertically, so let's use it when placing it.
4. Line change
If you want to change all lines
Hold down the Ctrl key and tap a layer to select all lines and change the line width and line type from the object.
When to use the correct line width tool
In the case of two-point perspective, I think it is better to leave the process whole line checked. Just as it tapers towards the back of the perth, it tapers towards the back of the perspective after a few times, giving a sense of perspective.
In the case of a close-up view, thickening the line on the shadow side of the fence creates a three-dimensional effect.
5. Finished!
Please adjust the horizontal bars of the fence, texture, hatching, etc. to fit each pattern.
The image below is an example of usage. In this image, there is a separate thin fence. If you search for "even fence thin vector line", it will come up. Download it if necessary.

使い方
1、削除
不要な部分を削除しましょう。柵の片側だけが残ってないか確認することをお勧めします。高さは変形でなんとかなるので、柵の本数だけ調整しましょう。
※消し残しがあると選択範囲がうまく取れません。フチなどで確認することを推奨します。
2、選択範囲を取る
メニュー[編集]→変形→自由変形で選択範囲を取ります。
3、変形
パースに選択範囲の4辺が沿うように配置します。
Shiftキーを押しながら回転すると45度ずつ回転します。
2点透視の場合、選択範囲の角をShiftキーを押しながら移動すると垂直移動するので、配置するときに活用しましょう。
4、線変更
全ての線を変更したい場合
Ctrlキーを押しながらレイヤーをタップすると、すべての線が選択され、オブジェクトから線幅や線の種類の変更ができます。
線幅修正ツールを使う場合
二点透視の場合、線全体に処理のチェックをつけたままにするほうがいいと思います。パースの奥に向かって細くなるように、何回かするとパースの奥に向かって細くなり、遠近感が出ます。
近景の場合、柵の影側の線を太くすると、立体感が出ます。
5、完成!
柵の横棒などを付けたり、テクスチャやハッチング等、各々絵柄に合うように調整してください。
下画像は使用例です。この画像にある、細い柵は別にあります。「均等柵細ベクター線」で検索すると出てきます。必要ならばダウンロードしてください。


Other materials by 植物Shokubutsu


Popular “Image material” materials


New materials


Badges
-
 MVP ◆This user has contributed greatly to the management of the community, by posting many great responses to the questions asked. Once every three months, MVPs are determined based on the points earned during that period and will be recognized accordingly.
 -
 New Valuable Player (NVP) ◆These are the next-best contributors to the community after MVPs. This is awarded to users who have not yet won an MVP award, based on the number of points they have earned.
 -
 Official Expert ◆Chosen out of all MVP awardees, who are already proof of excellence, this is a testimony of outstanding correspondence in the community. After careful screening, they are appointed by CELSYS and assume their position.Note: Formally called “Evangelists”
 -
 Official Moderator of CELSYS ◆Moderators are official CELSYS staff members who are fluent in Japanese as well as various other languages. Moderators are not experts on the software or illustration, so they are not able to directly answer your questions. However, moderators provide communication and language support to ensure that everyone can smoothly communicate with each other.
 -
 CELSYS official accountThe Official Administrator Account