About the base layer of
(1) Fill (fill)
(1) Select the layer →new layer→fill.
(2) Choose a color.
(I chose black here)
(3) The following layers are created.
(4) Create a new multiply layer below the fill layer and clip the fill layer.
(5) Now you have a black fill folder.
(6) Use "Fill (refer other layers)" with "White" to fill this layer surrounded by yellow.
Note: Please note that if you use a normal filled layer, there will be parts that cannot be filled depending on the size of the image.
(7) If you choose pink in (2), it will look like this.
(2) toning
(1) Select a tone →new layer→ the layer.
(2) Since the simple tone settings will appear, determine the number, concentration, type, and angle.
(3) You will have a layer of tones like this.
(4) Just like fill, create a new multiply layer and clip it.
(3) Gradient
(1) Select a gradient →new layer→ the layer.
(2) A gradient selection will appear, so choose or make a gradient you like.
(3) A layer like this is created.
(4) Create a new multiply layer and clip it.
(4) Use tones
(1) Put the tone in the layer list.
(2) Create a new multiply layer and clip it.
Creation and registration of
(1) Create a layer template based on the basics so far.
First, create a new image.
In the layer list, only the layer template folder for registration is selected.
(monochrome)
The inside of the layer template looks like this.
(2) Close the folder.
(3) Create a material image with another image.
200×200px png
For clarity, please include the character name.
(4) Select a folder for the layer template and register the material.
Editorial → material registration→template
(5) Material name
material image (call from the folder mark in the right corner)
Choosing a location to save material
Add search tags, PNs, etc.
OK
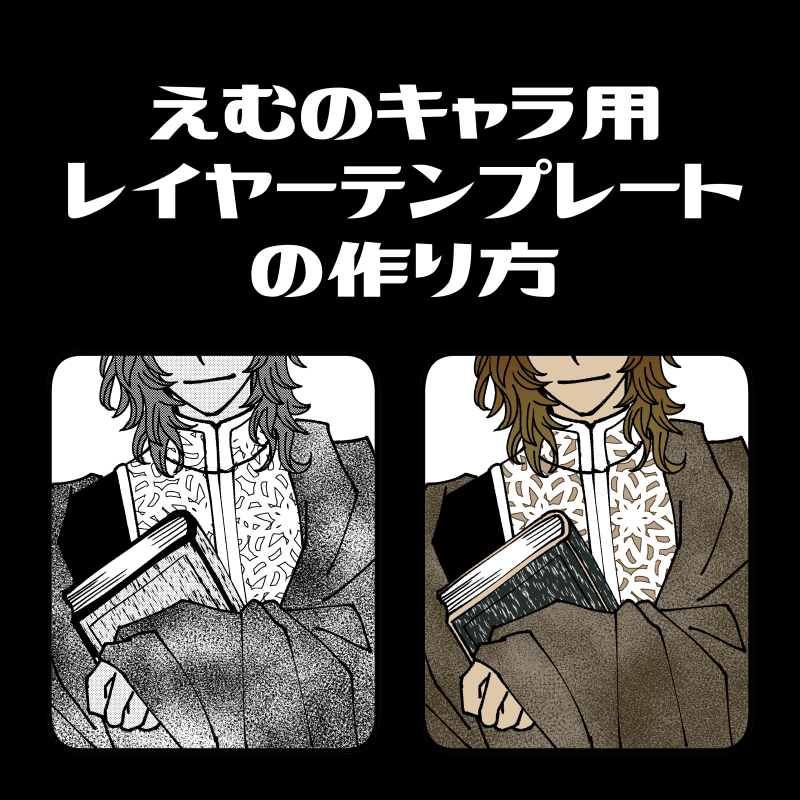
a dwarf Mr./Ms. colored with M layer template (monochrome).
(Color)
I also made "M layer template (color)".
It is a dwarf colored with the above layer template.

<レイヤーテンプレートの基本レイヤーについて>
①塗り潰す(べた塗り)
(1)レイヤー→新規レイヤー→べた塗りを選択。
(2)色を選ぶ。
(ここでは黒を選びました)
(3)下記のレイヤーが作られます。
(4)べた塗りレイヤーの下に新たな乗算レイヤーを作成し、ベタ塗りレイヤーをクリッピングします。
(5)これで、黒のべた塗りフォルダができました。
(6)この黄色で囲んだレイヤーに「白」で「ぬり潰し(他レイヤーを参照)」を使って、塗り潰します。
(注)普通の塗り潰しただけのレイヤーだと、画像の大きさによって、塗り潰せない箇所が出てきますので、注意してください。
(7) (2)でピンクを選ぶと、こういう形になります。
②トーン化
(1)レイヤー→新規レイヤー→トーンを選択。
(2)簡易トーン設定が出るので、線数や濃度、種類、角度を決めます。
(3)このようなトーンのレイヤーができあがります。
(4)べた塗りと同じように、新たな乗算レイヤーを作成し、クリッピングします。
③グラデーション
(1)レイヤー→新規レイヤー→グラデーションを選択。
(2)グラデーションの選択が出てくるので、好きなグラデーションを選ぶか、作るかします。
(3)このようなレイヤーができあがります。
(4)新たな乗算レイヤーを作成し、クリッピングします。
④トーンを使う
(1)トーンをレイヤー一覧に入れます。
(2)新たな乗算レイヤーを作成し、クリッピングします。
<レイヤーテンプレートの作成・登録>
①今までの基本を元に、レイヤーテンプレートを作成します。
まず、新しい画像を作成。
レイヤー一覧の中は、登録用のレイヤーテンプレートフォルダのみにします。
(モノクロ)
レイヤーテンプレートの中はこのようになっています。
②フォルダを閉じます。
③別の画像で素材のイメージを作成します。
200×200px png
分かりやすいように、キャラ名など入れてください。
④レイヤーテンプレート用のフォルダを選択し、素材登録します。
編集→素材登録→テンプレート
⑤素材名
素材のイメージ(右隅にあるフォルダのマークから呼び出します)
素材保存先の選択
検索用タグ、PN等を入れます
OK
<見本> Mレイヤーテンプレート(モノクロ)で色付けした小人さんです。
(カラー)
「Mレイヤーテンプレート(カラー)」も作ってみました。
<見本2>
上記のレイヤーテンプレートで色塗りした小人です。
<見本3>
<見本4>


