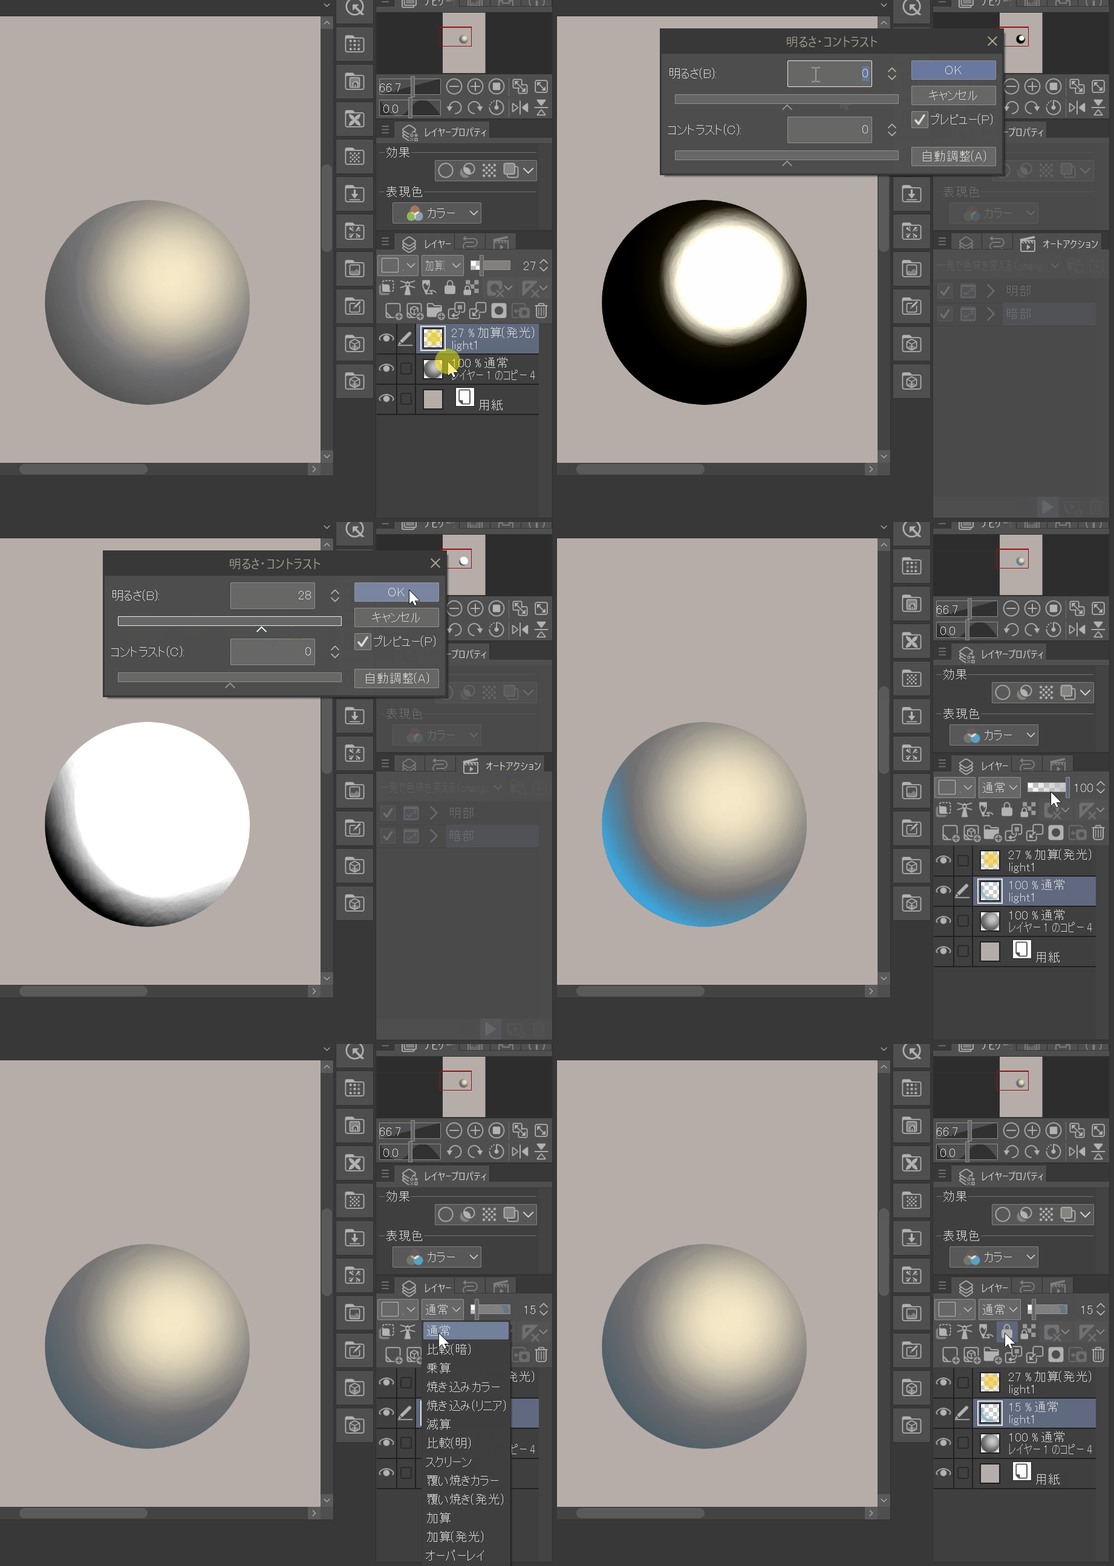

Just press to change the color of the light part or dark area with one shot. The final result is layer sharing, so you can adjust the layer mode, color and strength freely. The default results are: orange, dark area: Blue, layer mode is usually 100% opacity.
Photo [tonal correction-replace color] is a substitute for the function. It can be dressed in a local, precise color, unlike gradient map or other methods.


How to use it is almost the same as the material which was up a long time [light emission effect] and [for the boundary coloring thick paint with a single shot]. Brightness and contrast adjustment window comes out as follows GIF. The final color is the white part/black portion of the monochrome image shown in the preview. Please adjust freely according to your needs.
Play the Ming action and adjust the layer:

Playing the "dark" action and adjusting the layer:

Adjust the color of each layer with CTRL + U

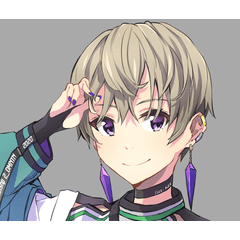
Example of use:


押すだけで一発で明部や暗部の色を変えます。最後の結果はレイヤー分けていますので、レイヤーモードや色と強さは自由に調整できます。デフォルト結果は明部:オレンジ、暗部:青、レイヤーモード通常、不透明度100%です。
フォトショの【色調補正――色の置き換え】機能の代用品です。グラデーションマップなどの方法と違う、局所的に、精確な色で着彩できます。


使用方法は昔アップした素材【一発で境界色付け厚塗り用】や【一発で発光エフェクト】とほぼ同じです。下記GIFの通り途中明度とコントラスト調整ウィンドウが出ます。最後はプレビューで表示されているモノクロ画像の白い部分/黒い部分に色を付けます。ニーズに応じて自由に調整ください。
「明部」アクションの再生とレイヤーの調整:

「暗部」アクションの再生とレイヤーの調整:

ctrl+Uで各レイヤーの色を調整

使用例:


