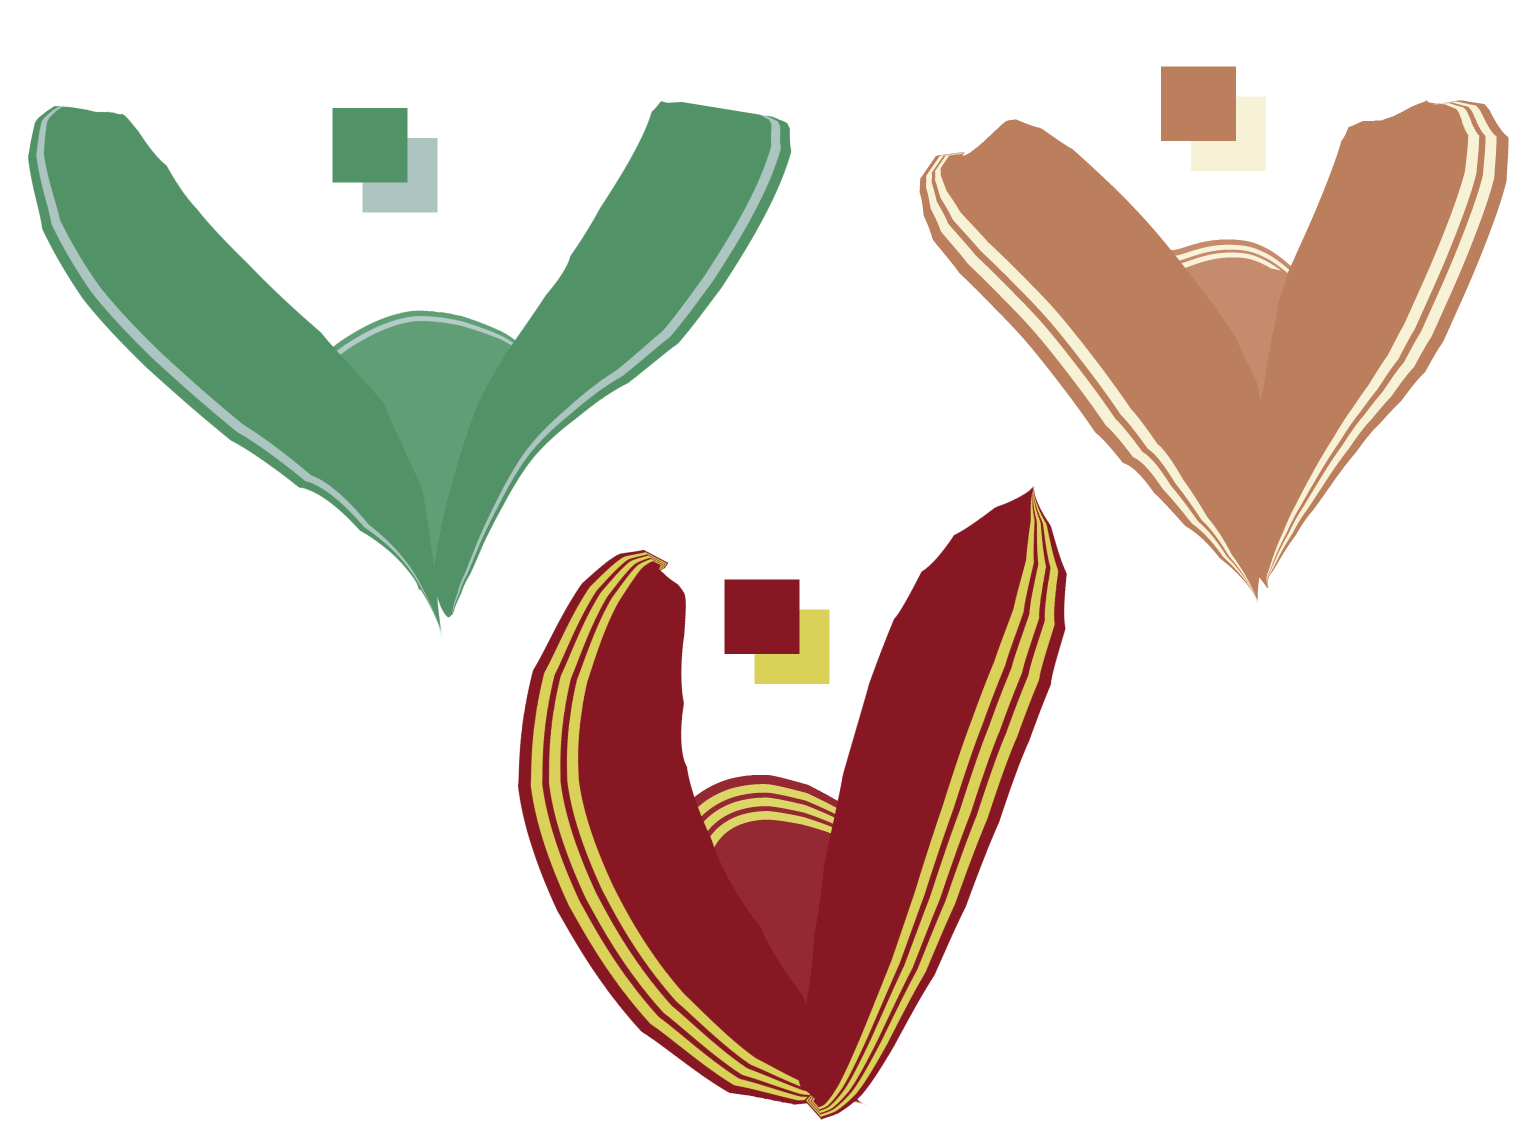

A better brush (set) for creating quick and easy sailor outfit collars.
Here is an updated version of the collar brushes. Hopefully these look much better!


As with the previous brush, the sub color is the stripes, and the main color is the rest of it. Here is a basic look at the brushes:

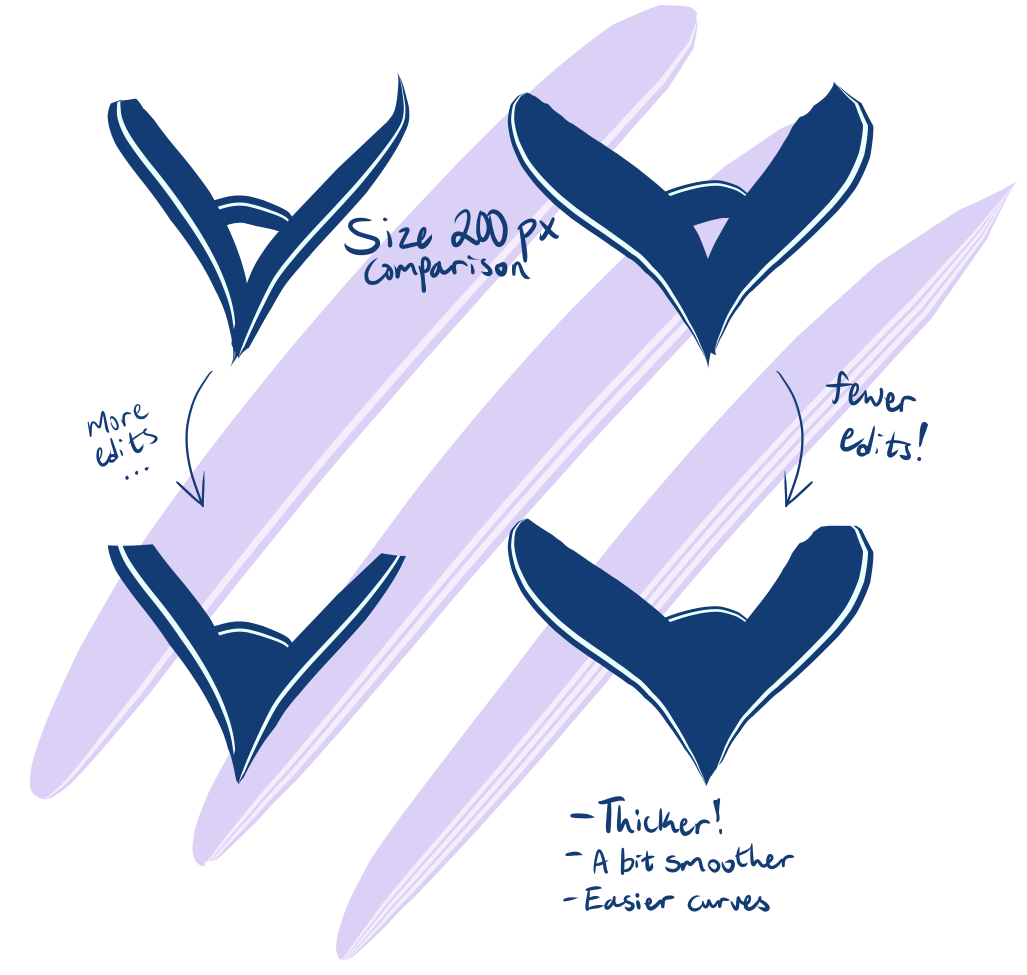
Here is a side-by-side comparison of the old vs. the new.

The little guide still mostly rings true, except the brush end will not be as pointy anymore. The shoulder ends will also be thicker.
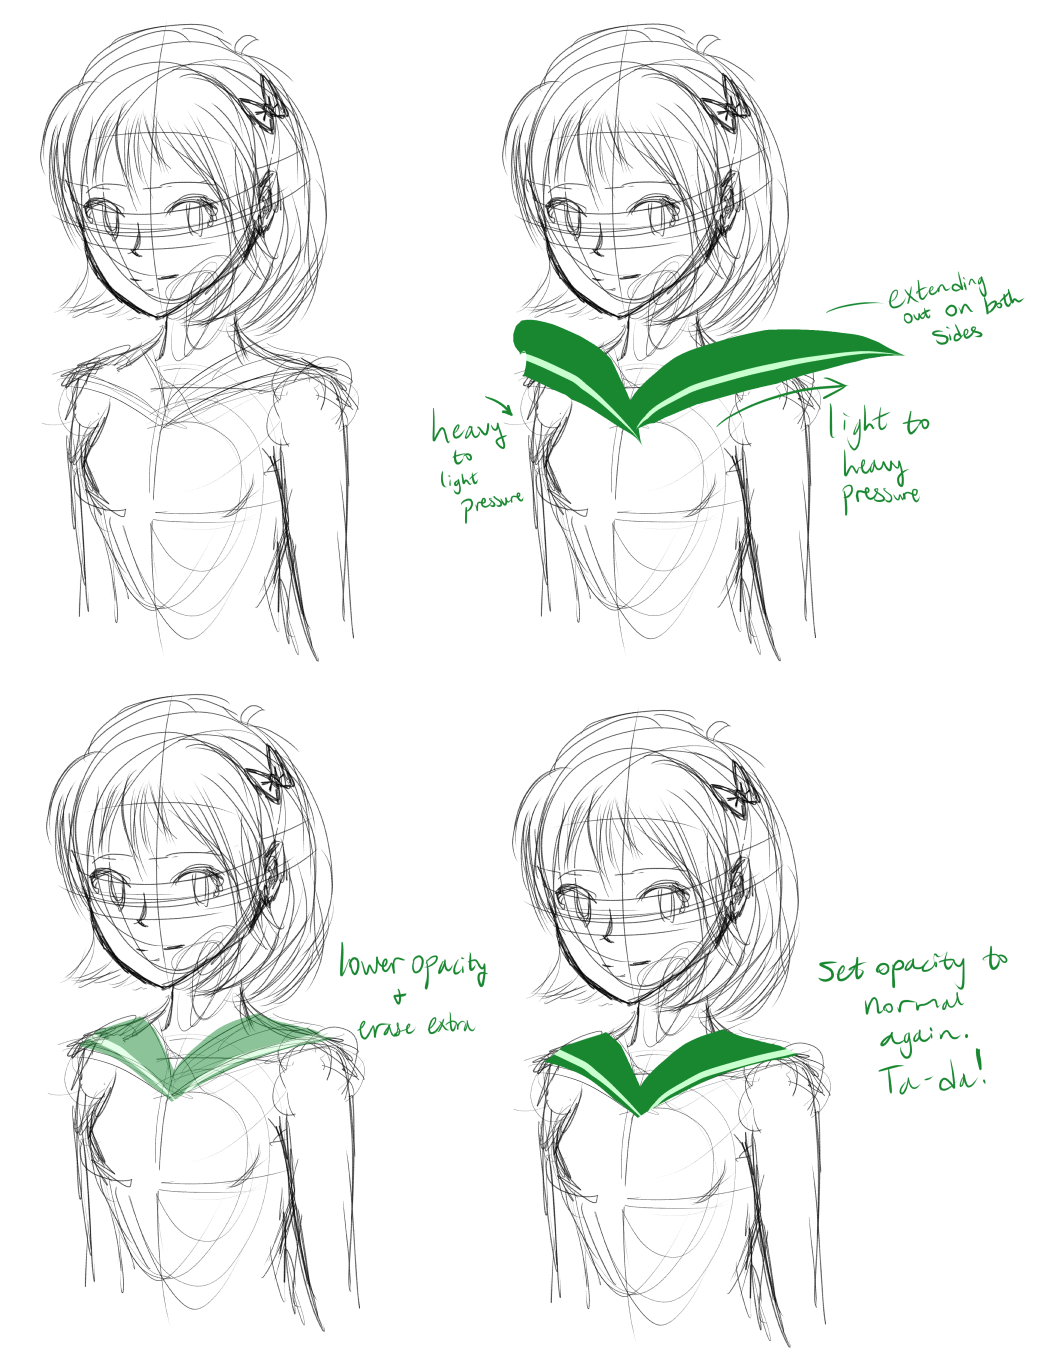
1. Draw your piece. You might wish to include a guideline in the sketch for where you want the collar to be.
2. On a new layer, use the collar brush to go in the driections indicated by the arrows. First, use heavy pressure that becomes light. Then, light pressure that becomes heavier. Extend the stroke outward on both sides for best results.
3. Lower opacity of the collar layer. Erase what is unneeded, and use mesh transformation for corrections if necessary.
4. Bring opacity back to 100%!
*The part of the collar that is underneath can be made by going right-to-left on a new layer underneath the collar layer. Then fill the rest under the stripe(s).

Use it for the trim of the sleeves and shirt as well!
Collars
Update history
Changed the brush tips and settings completely.
Old version


