
Simple brush to create quick and easy sailor outfit collars (and trims!)
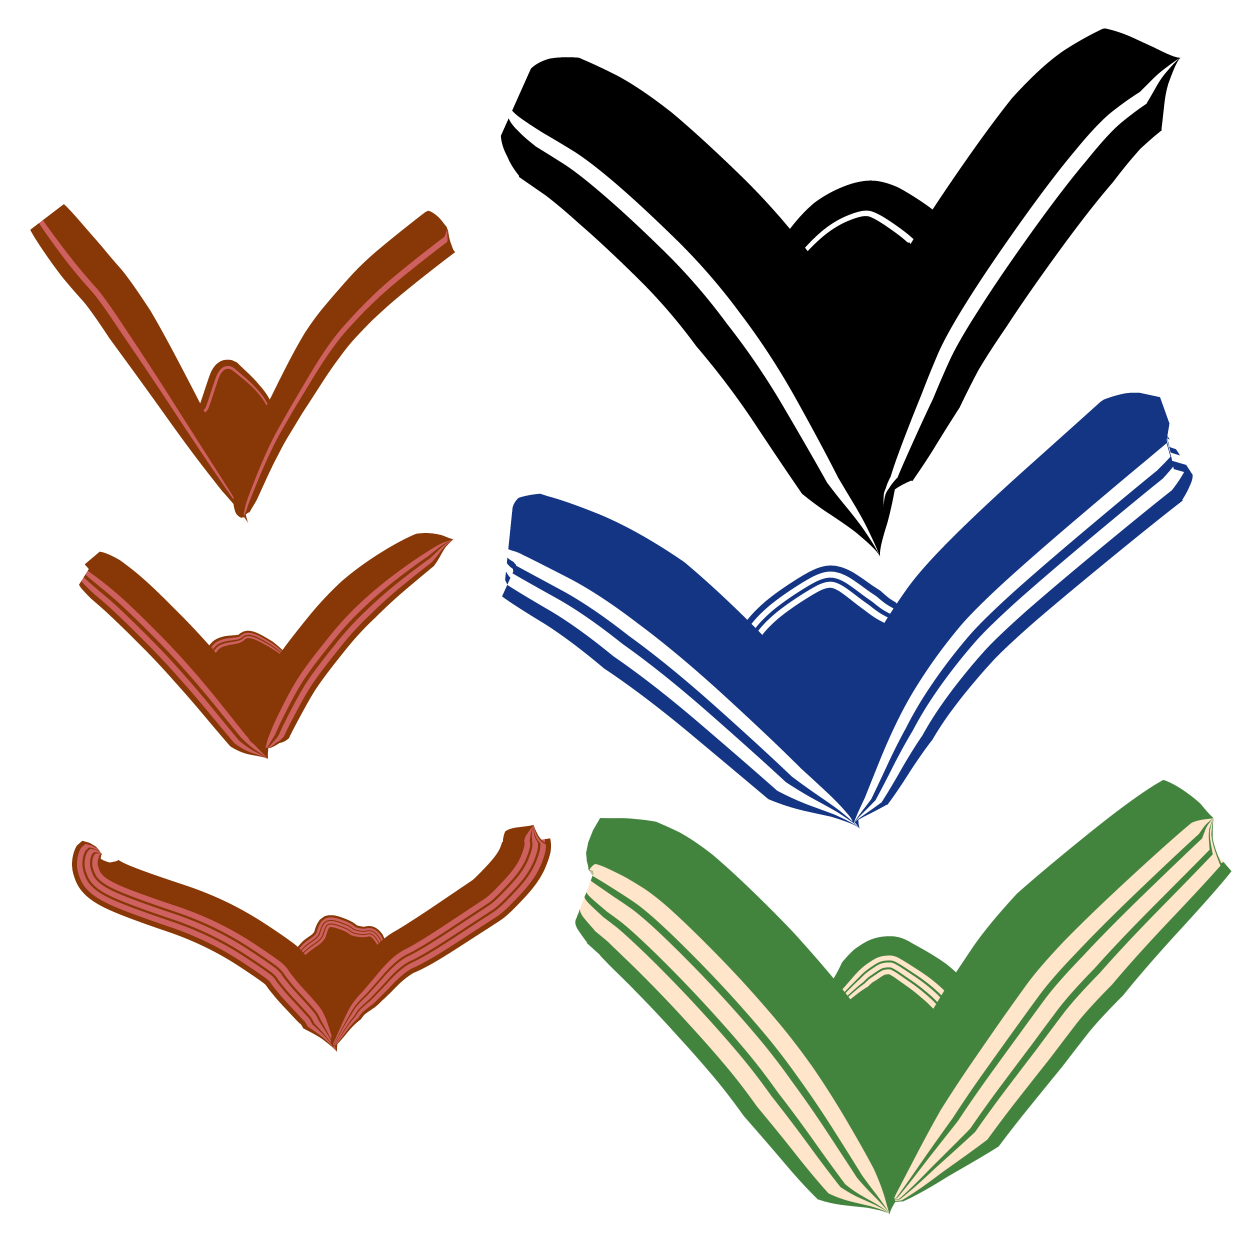
It’s a little annoying to use, but I hope it helps out someone! Enabled for two colors. The sub color is the stripes, and the main color is the rest of it. Here is a basic look at the brushes:


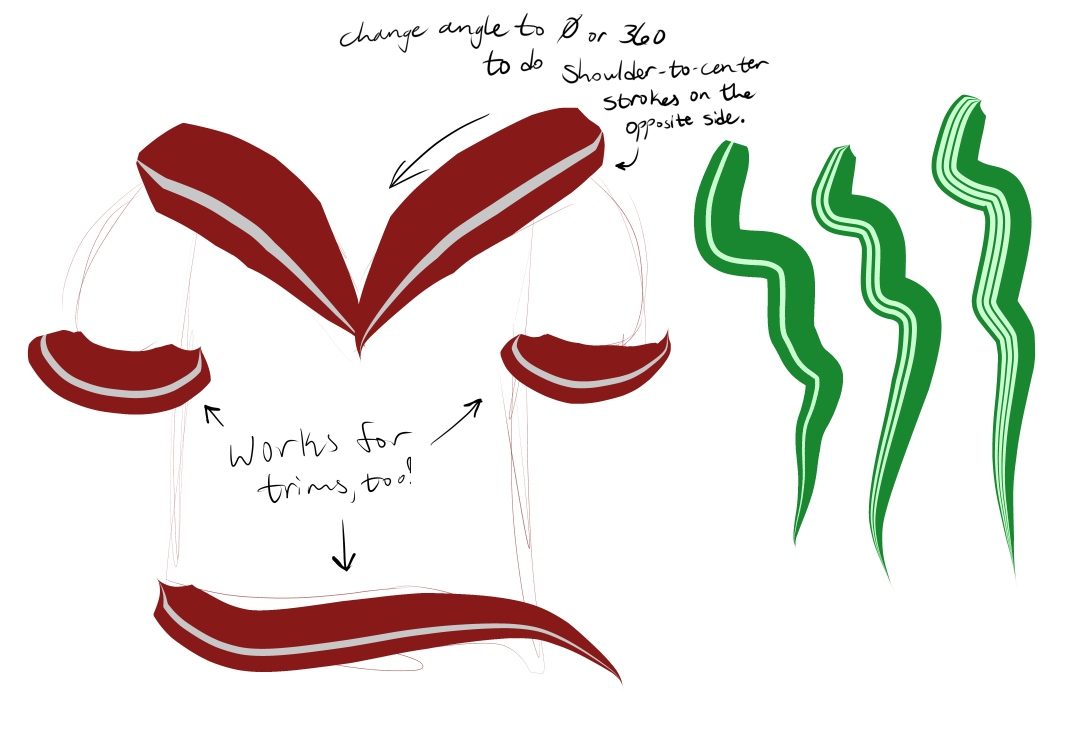
On your left, move the brush from shoulder to middle. Then for the right, go from middle to shoulder. You may need to go well beyond the actual shoulder in order to bypass the post-correction. Alternatively, you can switch the angle from 180 to either 0 or 360 to flip the pattern, so that you may go from shoulder to middle on the right side as well.
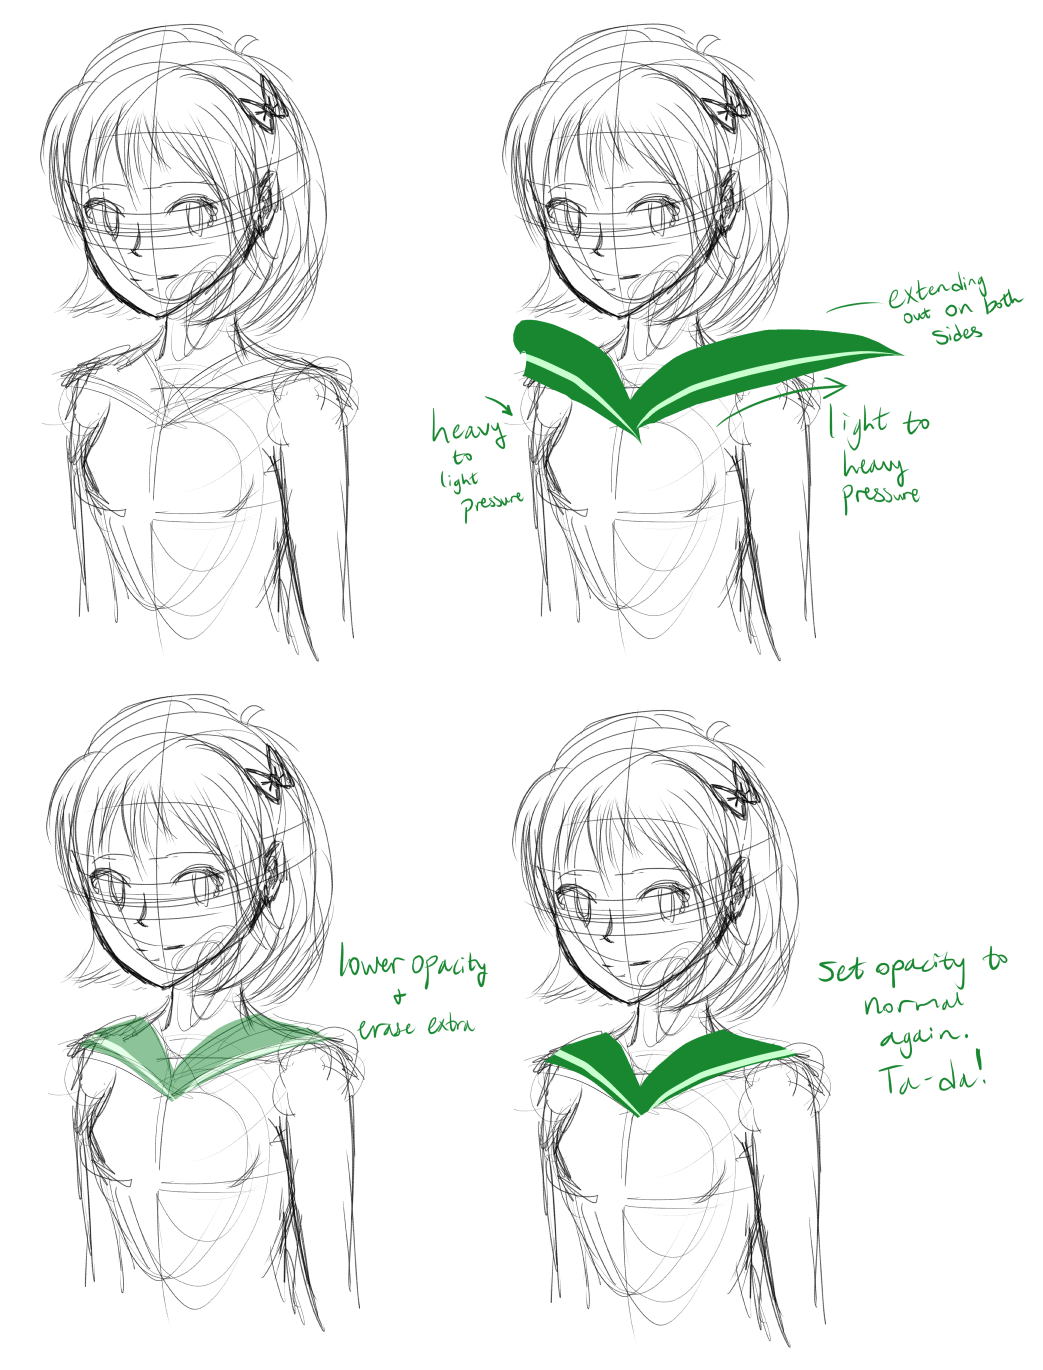
1. Draw your piece. You might wish to include a guideline in the sketch for where you want the collar to be.
2. On a new layer, use the collar brush to go in the driections indicated by the arrows. First, use heavy pressure that becomes light. Then, light pressure that becomes heavier. Extend the stroke outward on both sides for best results.
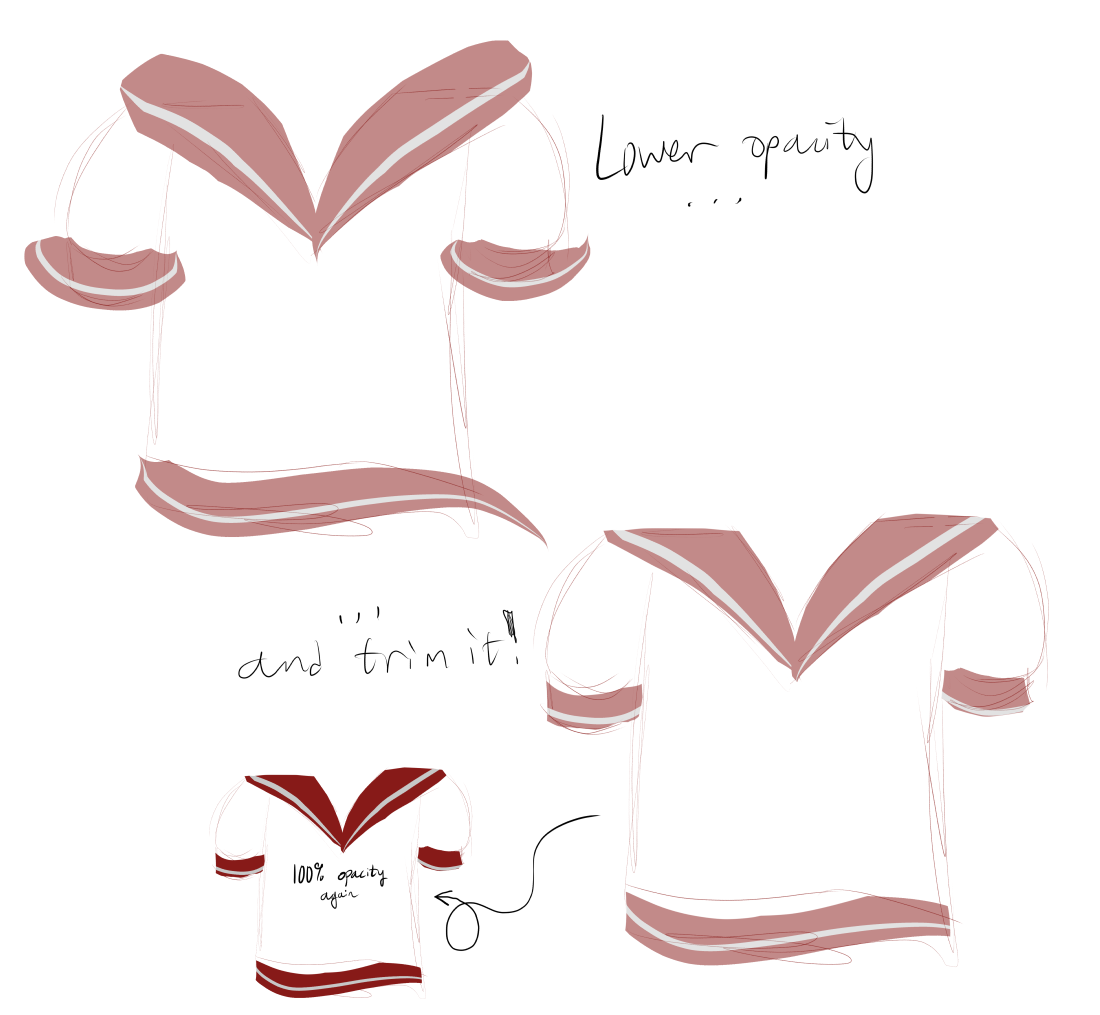
3. Lower opacity of the collar layer. Erase what is unneeded, and use mesh transformation for corrections if necessary.
4. Bring opacity back to 100%!
*The part of the collar that is underneath can be made by going right-to-left on a new layer underneath the collar layer. Then fill the rest under the stripe(s).

Use it for the trim of the sleeves and shirt as well!


Collars


