
Make your paintings or photos cloudy and dark!
You can adjust the order or opacity of all tonal correction layers according to your preferences:D
Makes a illustration or photo cloudy and dusky!
All color correction layers aren't combined, so you can adjust the opacity of the layer to your liking.


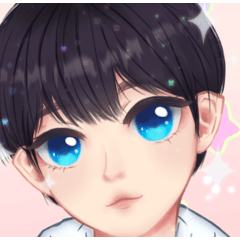
- >_< provided by Anim Art

How to use
1. Leave the visibility of the layer you want to adjust the hue on.
You must have at least two layers displayed!!!! ***
Must have at least two layers with visibility on!!!! ***
2. Click ver.1~ver5 of the downloaded auto action! Autoaction will be applied automatically.
3. You can adjust the order or opacity of the generated calibration layer to your liking.
그림 또는 사진을 구름이 낀 듯한 흐리고 어두운 색으로 만들어줍니다!
모든 색조 보정 레이어를 합치지 않고 놔두었기 때문에 사용자의 취향에 따라 레이어의 순서나 불투명도를 조절할 수 있습니다 :D
Makes a illustration or photo cloudy and dusky!
All color correction layers aren't combined, so you can adjust the opacity of the layer to your liking.


-앵님 아트제공 >_<

How to use
1. 색조 조정을 원하는 레이어의 가시성을 켜두세요.
***반드시 표시된 레이어가 두 개 이상이어야 합니다!!!!***
***Must have at least two layers with visibility on!!!!***
2. 다운받은 오토액션의 ver.1~ver5를 클릭하세요! 오토액션이 자동으로 적용 될 것입니다.
3. 생성된 보정 레이어의 순서 또는 불투명도를 취향대로 조절해 사용하시면 됩니다.
Old version


