
Upload your personal calibration auto action. 개인적으로 사용하던 보정용 오토액션을 업로드합니다.

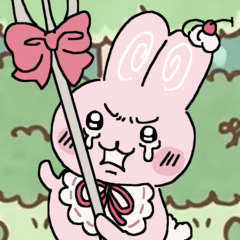
~Example picture~
It is an automatic action that corrects blurry pictures clearly and touch-likely.
In fact, it's just a simple correction with sharpness and blur, and it's cumbersome to press one by one. ^_
I don't think I've applied it to my paintings! I recommend it for coloring-only paintings. When applied to cell-type pictures, they are less effective than I thought😢.
+) Cons... There is a space at the edge of the picture...! We recommend that you use the original picture below.
Small - picture size 1000 or less
Large - picture size 1500 or larger
I made it as a standard, but regardless of this part, I use it as comfortable as 30000 ^___^

~예시그림입니다~
흐릿한 그림을 선명하고 터치감있게 보정 해주는 오토액션입니다.
사실 그냥 선명함 효과와 흐림 효과를 이용한 단순한 보정법인데 하나하나 누르기가 번거로워서 만들게 되었어요. ^_ㅠ
제 그림에만 적용 해보아서 아닐수도 있지만! 채색위주 그림에 추천드려요. 셀식 그림에 적용하였을 땐 생각보다 효과가 덜 해서ㅠㅠ..
+) 단점... 그림 가장자리에 공백이 생깁니다...! 원본 그림을 아래에 깔고 사용하시는 걸 추천드려요.
사이즈 작음 - 그림 크기 1000 이하
사이즈 큼 - 그림 크기 1500 이상
기준으로 만들었지만 이 부분도 상관없이 편한대로 사용해주세용 ^___^


