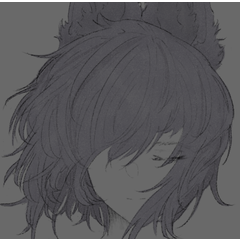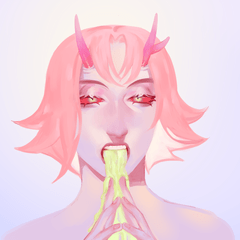

Flatting Eraser that uses a reference layer to avoid crossing edges (see page for tips)
Clip Studio Paint lets you use a reference layer to see edges and only paint on one side of the edge. This is a basic feature. Anyone can make any brush do this by just enabling [Do not cross lines of reference layer] and setting some basic settings.

Erase Along Edge is an eraser with edge detection [anti-overflow], for cleaning up colors even when the shape lines are not fully closed everywhere!
I felt that it might be both more controllable and more enjoyable to erase using a reference layer than color with it.

This eraser in included among my flatting tools in my Tapioca Digital Painting Brush Set you can find in my gumroad/ko-fi shop.
DON'T FORGET TO SET THE REFERENCE LAYER!

- Select the lineart layer.
- Press the lighthouse button to set it as a reference layer.
- Then you can select your color layer and use the erase tool. It will use the reference layer to judge where the edge is.
The Brush size + Cross Cursor lets you see where the edge is checked.


If you want to see where the center of the circle is, you can change the cursor type in Clip Studio Paint's [Preferences...] under Cursor>Shape of Cursor.
"Brush size and cross" will show the radius of the brush as a circle, and a small cross in the center. This helps you see where the edge is checked especially if you are using a screenless tablet.
----
Extra information
Why or when should I erase this way?
A brush with Anti-overflow works like a mini paint bucket tool that stays inside its radius.

If you use anti-overflow for painting, you can end up with colors that are full of holes. The more complicated the inner lines are, more this method might cause problems.
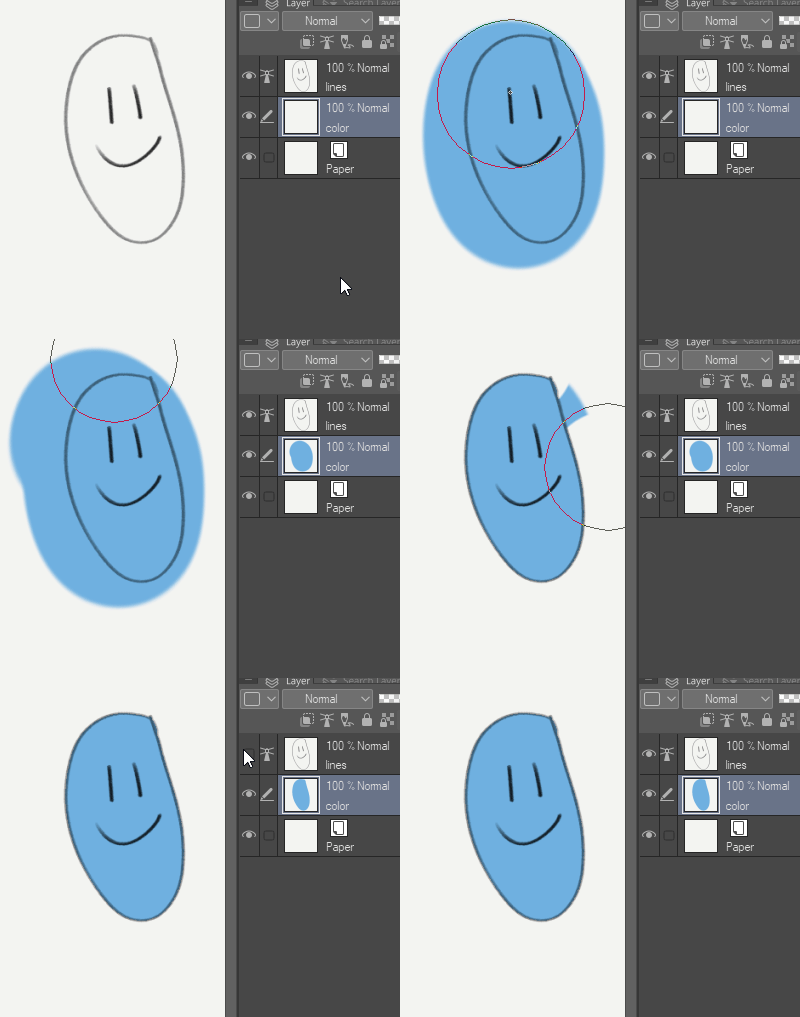
If you just paint a blob and then erase the outer edges instead, you avoid the inner holes. Depending on the shape, it can be easier to erase like this.
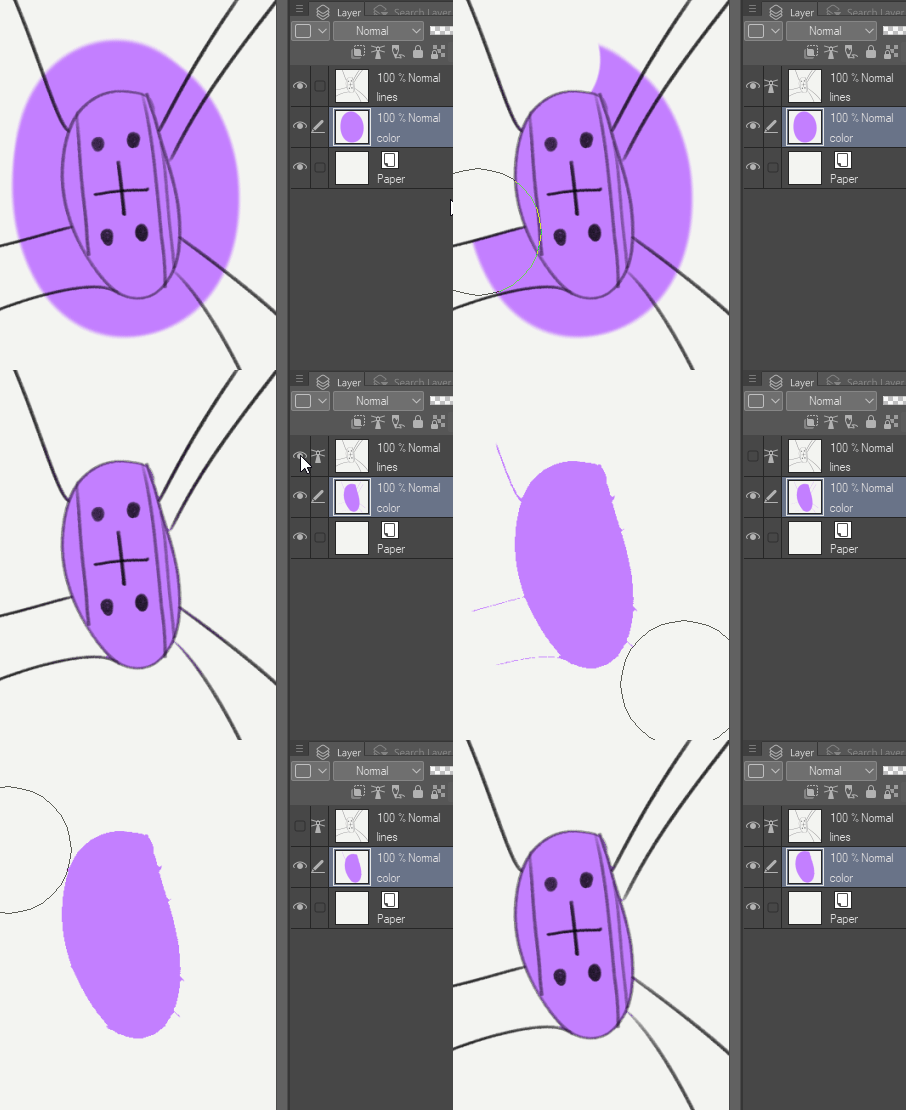
If there are also outer intersecting lines, you may still have to erase them manually. This may not even be the best eraser to use if outer lines need to be handled. But for things like overall flats, especially in the first stages, this can save a lot of time.

This is especially useful for sketches and rough animation, where your lines aren't always closed, but you still want to quickly and roughly give them a fill.

With the right hotkeys, you can easily switch between this and other erasers and flatting tools to quickly adapt to different cases. This eraser is something I pull out quite often when I just quickly need to change, edit and clean up small section of a coloring layer.


In some cases, there are better and faster fill/flatting tools for cases like this like [Enclose and Fill]. But sometimes, an eraser is what you need. Knowing you have different tools will give you more options in case one of them doesn't work well for a situation.

Clip Studio Paint's edge detection isn't antialiased so your erased edges can end up very jagged. This isn't a big problem if you work at high resolutions or your lines are fully opaque. But if you only work at 100%, you may need to apply Filter>Blur>[Smoothing] or a slight gaussian blur to remove some of the roughness.
---
This part just explains how Clip Studio Paint edge detection it works
How does its edge detection work?
You can enable this edge detection feature in most brushes. The checkbox is labeled [Do not cross lines of reference layer] in CSP 1.10. If you don't see this option, you may need to enable it in the [Sub Tool Detail] window.


The edge detection works like a mini paint bucket tool, confined to the radius of the brush. It starts checking for the edge from the center and stops when it sees an edge or the radius of the brush, then limits its effect there.

If the edge is not complete within the radius of the circle, the effect of the brush goes around to the other side of the edge.

Sometimes, if the edge is transparent or light enough, it will be counted as a gap. In this case, the effect of the brush will still go around the other side of the edge as if there is a gap where the line was very light.
To change this threshold, you can adjust [Color margin]. Set it to zero (0) if you want it to stop at even the lightest lines as part of the edge.

[Area scaling] pushes the effect past the edge by the number of pixels you set. This is useful so the color can go under the lines and any softness, texture or antialiasing that it has. 1 or 2 can be enough but in some cases, 5 or 10 may be required.
The three [Scaling modes] determine how it extends the pixels, which is most noticeable either on corners or textures.
- [Rectangle] expands at the corners as a box.
- [Round] expands at corners as a circle.
- [To darkest pixel] tries to expand by the maximum area scaling but still stops when it detects that the pixel has become its darkest/most opaque. This can be useful if the lines or edge has variable softness or thickness, but sometimes the fill can also look incomplete.

If the edges look wrong, try experimenting with different settings.
Thanks for your support!
You can visit my store for hundreds of other brushes! - @PharanBrush


