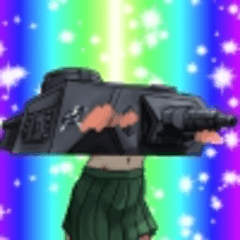
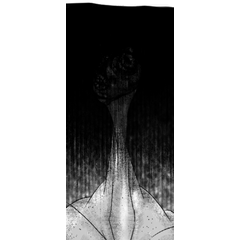
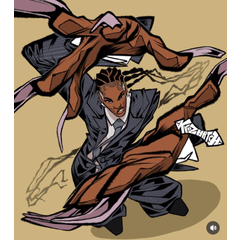
By changing the settings, you can draw what you drew by the image, so you can create a variety of wind shapes.
※ Specifications of the initial distribution brush and the material image have changed. Use a brush with a "2" in the name.
About settings
◆ You can set the layer property representation of a layer to gray, and the picture drawn by setting the combine mode of the Brush tool property to comparison (concentration) + [compare to blend brush tip to comparison] is a state of sticking.
Note
I made it for the black and white manuscript, but the material image of the brush is a gray which is close to the dark and is drawn in line art.
If you draw on a gray layer, toning will also be affected by the brush line drawing, so please be careful when you toning and export.
(Changing to monochrome layer after drawing does not affect)
※ We have been referring to how to make people to introduce the production method to utilize the combine mode when the new brush production.
Thank you!
設定を変更することで描いたものがくっつくイメージで描くことができるので、いろいろな形の風を描けます。
※初期配布ブラシと素材画像の仕様が変わっています。名前に“2”がついているブラシをご使用ください。
[設定について]
◆描くレイヤーのレイヤープロパティの表現色を[グレー]に設定し、ブラシのツールプロパティの合成モードを[比較(濃度)]+[ブラシ先端同士を比較暗で合成]に設定することで描かれる絵がくっつく状態になります。
※注意
モノクロ原稿用に制作しましたが、ブラシの素材画像は黒に近いグレーで線画が描かれています。
グレーレイヤーに描いた場合はトーン化をするとブラシで描いた線画も影響を受けてしまいますので、トーン化して書き出しなどを行う場合はご注意ください。
(描いた後にモノクロレイヤーに変更すると影響が出ません)
※新ブラシ制作の際に合成モードを活用する制作方法を紹介してくださっている皆様の作り方を参考にさせていただきました。
ありがとうございます!


