
by
 ◆
◆
◆
It's kinda black-ish, rather than hand-painted? Pahaa saturated line tool. I think that it is easy to treat because the input processing becomes a brush. Advanced images are created in monochrome 600dpi. ちょっと墨っぽい(というより手描きっぽい?)パァァァをかく集中線ツールです。入力処理はブラシになっているので扱いやすいかと思います。先端画像はモノクロ600dpiで作成。
It is a tool to draw the saturated line of hand-like "Pahaa". The copy paper uses a line drawn with a brush pen that is out of ink.

It is slightly different from the "rough tint Pahaa" brush (https://assets.clip-studio.com/ja-jp/detail?id=1750455) and the "random tint Pahaa" saturated line tool (https://assets.clip-studio.com/ja-jp/detail?id=1750713).
2020/3/21: The thumbnail was updated.
How to use
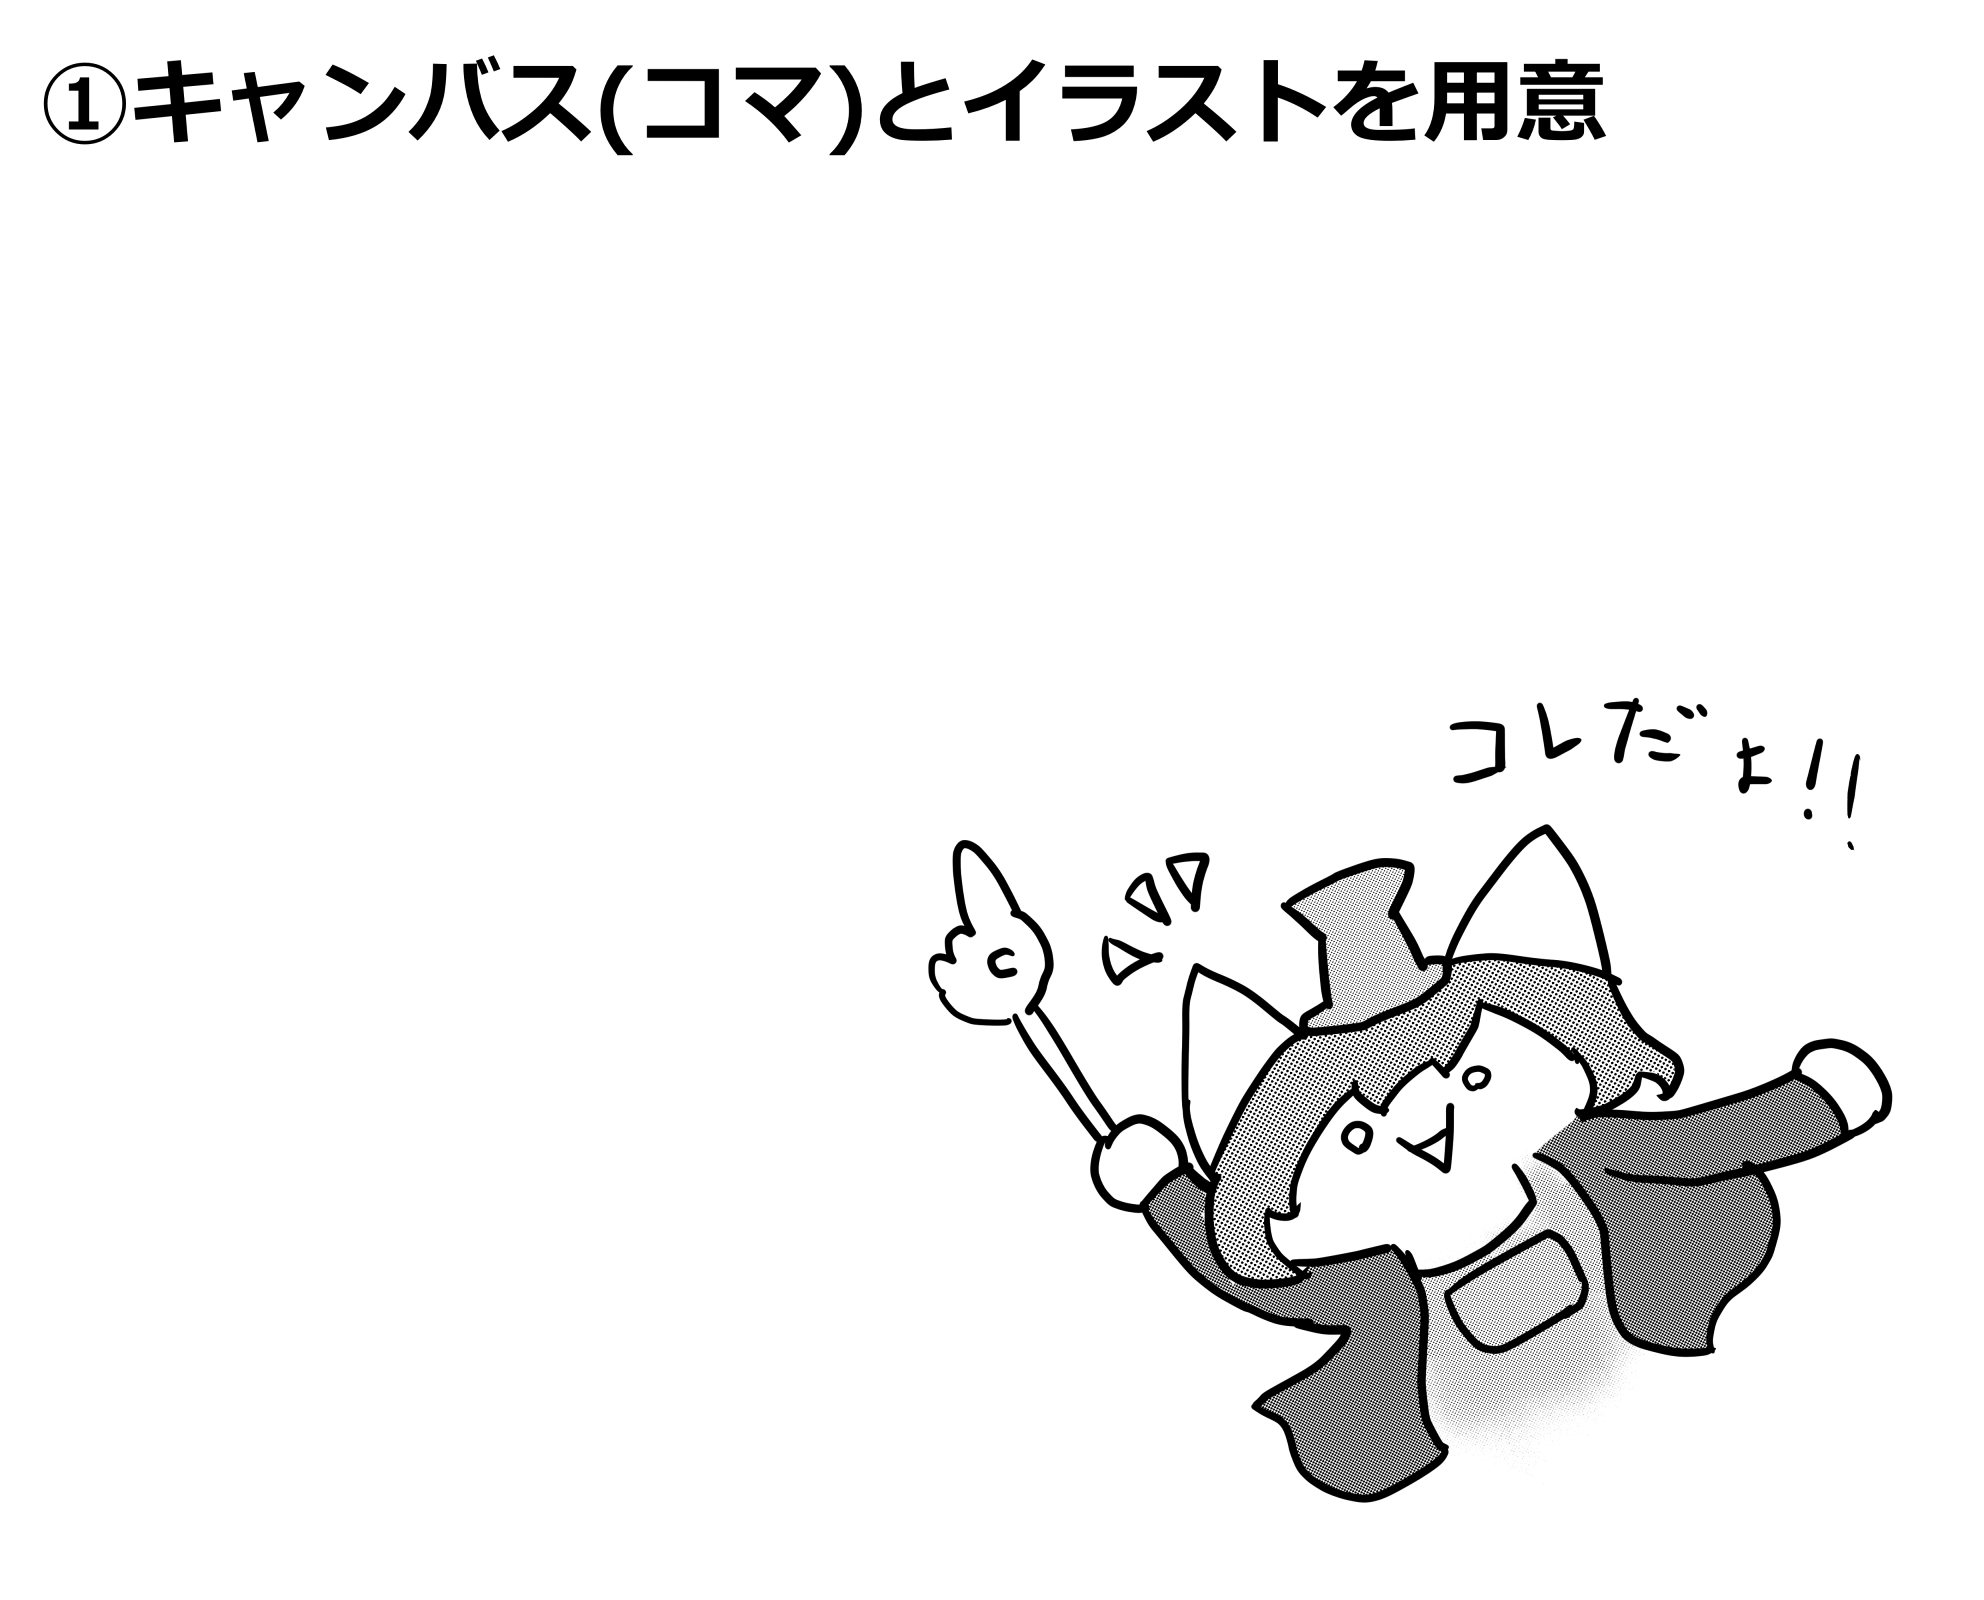
① Canvas (frame) is prepared.

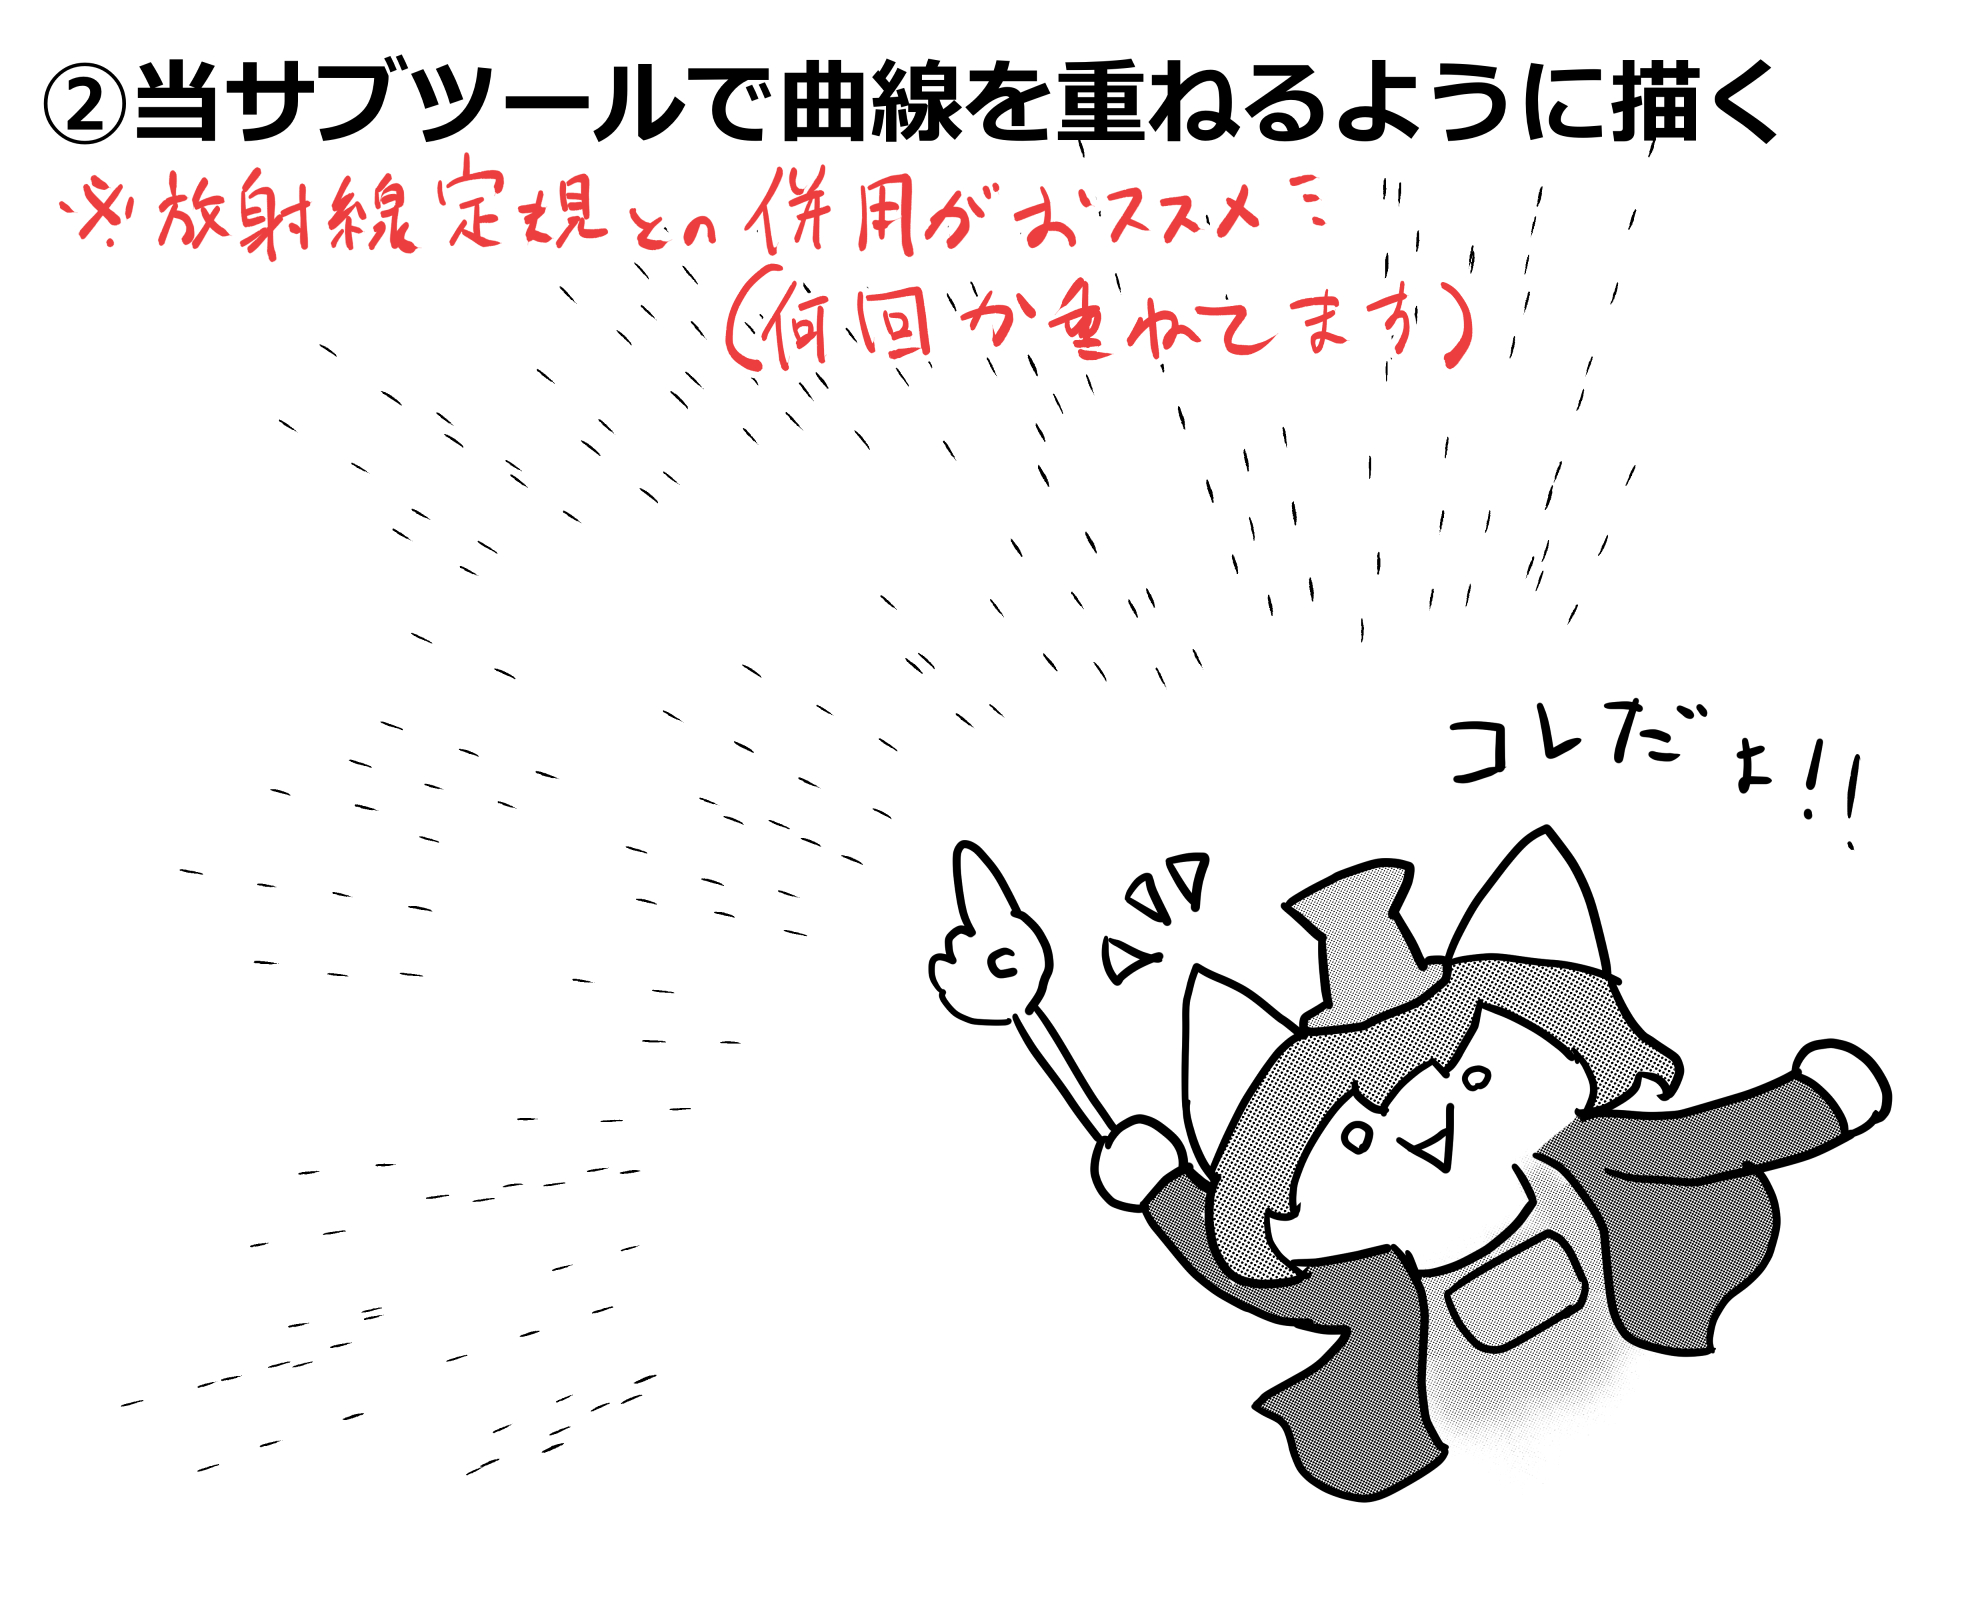
② several times to draw the curve with this tool. I think that one stroke is safe even if it is a small frame. The combination with the radiation ruler is recommended.

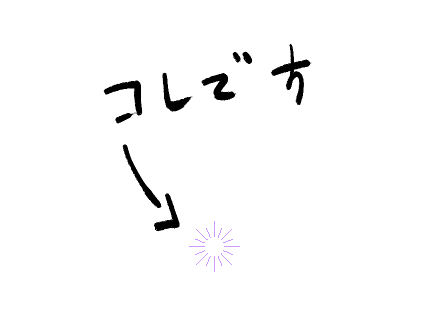
The radiation ruler, by the way,

↑ It is this. This ruler is created by clicking on the canvas with the mode of "special ruler" as "radiation".
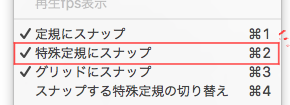
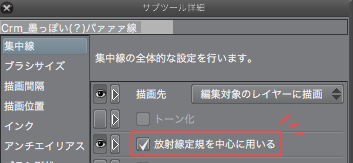
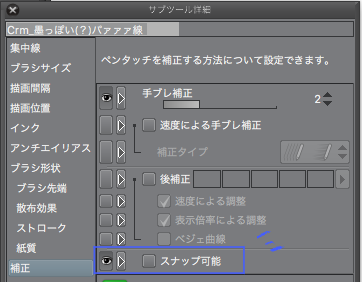
To draw with this ruler in the center, the "snap to special ruler" of the display menu and the "use of the radiation ruler" of this tool are checked, and the "able to snap" of this tool must be turned off.


[Customize Method]
-Size of line: Adjusts the number of "spraying effect" to "particle size". The larger the number, the larger the line.
Saturated line Length: Adjusts the number of "drawing position" to "length". The larger the number, the longer saturated line. Turn on extend outside frame to extend out of the frame or to the outside of the canvas.
• Line width: Adjusts the number of "brush tip" to "thickness".
• Gap of line: Adjusts the number of drawing interval, gap of line, spraying effect, particle density, stroke → interval.
I was able to make the brush tool version of this a fairly good feeling, but I decided to upload a saturated line tool for the moment (the problem of the ruler) because I treated it a little hard ( : 3 "∠) _

手描きっぽい「パァァァ」の集中線を描くためのツールです。コピー用紙にインク切れ気味の筆ペンで描いた線を加工した物を使用しています。
「ラフめの濃淡パァァァ」ブラシ(https://assets.clip-studio.com/ja-jp/detail?id=1750455)、「ランダム濃淡パァァァ」集中線ツール(https://assets.clip-studio.com/ja-jp/detail?id=1750713)とは若干違った設定になっています。
2020/3/21:サムネイルを更新しました。
【使用方法】
①キャンバス(コマ)を用意します。
②このツールで曲線を引くように何度か重ねて描きます。小さめのコマならワンストロークでも大丈夫だと思います。放射線定規との併用がおすすめです。
ちなみに放射線定規というのは、
↑こういうのです。「特殊定規」のモードを「放射線」にしてキャンバスをクリックすると、この定規が作成されます。
※この定規を中心にして描くには、表示メニューの「特殊定規にスナップ」とこのツールの「放射線定規を中心に用いる」のチェックがオンに、このツールの「スナップ可能」がオフになっている必要があります。
【カスタマイズ方法】
・線の大きさ:「散布効果」→「粒子サイズ」の数値を調節します。数値が大きいほど線が大きくなります。
・集中線の長さ:「描画位置」→「長さ」の数値を調節します。数値が大きいほど集中線が長くなります。「コマ外まで延長」をオンにするとコマ外、またはキャンバス外まで伸びます。
・線の太さ:「ブラシ先端」→「厚さ」の数値を調節します。
・線の間隔:「描画間隔」→「線の間隔」、「散布効果」→「粒子密度」、「ストローク」→「間隔」の数値を調節します。
これのブラシツール版もまあまあいい感じに作れたのですが、少し扱いづらかったので(定規の問題とか)、ひとまず集中線ツールの方をアップロードすることにしました_(:3 」∠ )_


Other materials by 軽目くお


Popular “Tool settings (others)” materials


New materials


Badges
-
 MVP ◆This user has contributed greatly to the management of the community, by posting many great responses to the questions asked. Once every three months, MVPs are determined based on the points earned during that period and will be recognized accordingly.
 -
 New Valuable Player (NVP) ◆These are the next-best contributors to the community after MVPs. This is awarded to users who have not yet won an MVP award, based on the number of points they have earned.
 -
 Official Expert ◆Chosen out of all MVP awardees, who are already proof of excellence, this is a testimony of outstanding correspondence in the community. After careful screening, they are appointed by CELSYS and assume their position.Note: Formally called “Evangelists”
 -
 Official Moderator of CELSYS ◆Moderators are official CELSYS staff members who are fluent in Japanese as well as various other languages. Moderators are not experts on the software or illustration, so they are not able to directly answer your questions. However, moderators provide communication and language support to ensure that everyone can smoothly communicate with each other.
 -
 CELSYS official accountThe Official Administrator Account