



This is a simple shader gradient map that I like to use based on the one AzizDraws made in their video here: https://www.youtube.com/watch?v=R022uQR2akA&t=2s.
The first one is the exact one he uses in the video, the second one is my preferred edit.
You can do this in any way that best fits your style and work flow, this is the way that I use it.
First, I set up my flat colors:

Then, I make a shading folder (set to normal) and shade with a white base layer, a grey mid layer, and a black layer:
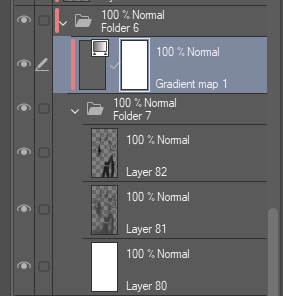

Once I've done that, I set my layer folder to either Darken, Multiply, or Overlay, its up to you and your image. This one, I set to darken.
I then make a gradient map layer by going to the top bar and selecting Layer > New Correction Layer > Gradient Map and then selecting the one I wish to use, this one used Shader 2.
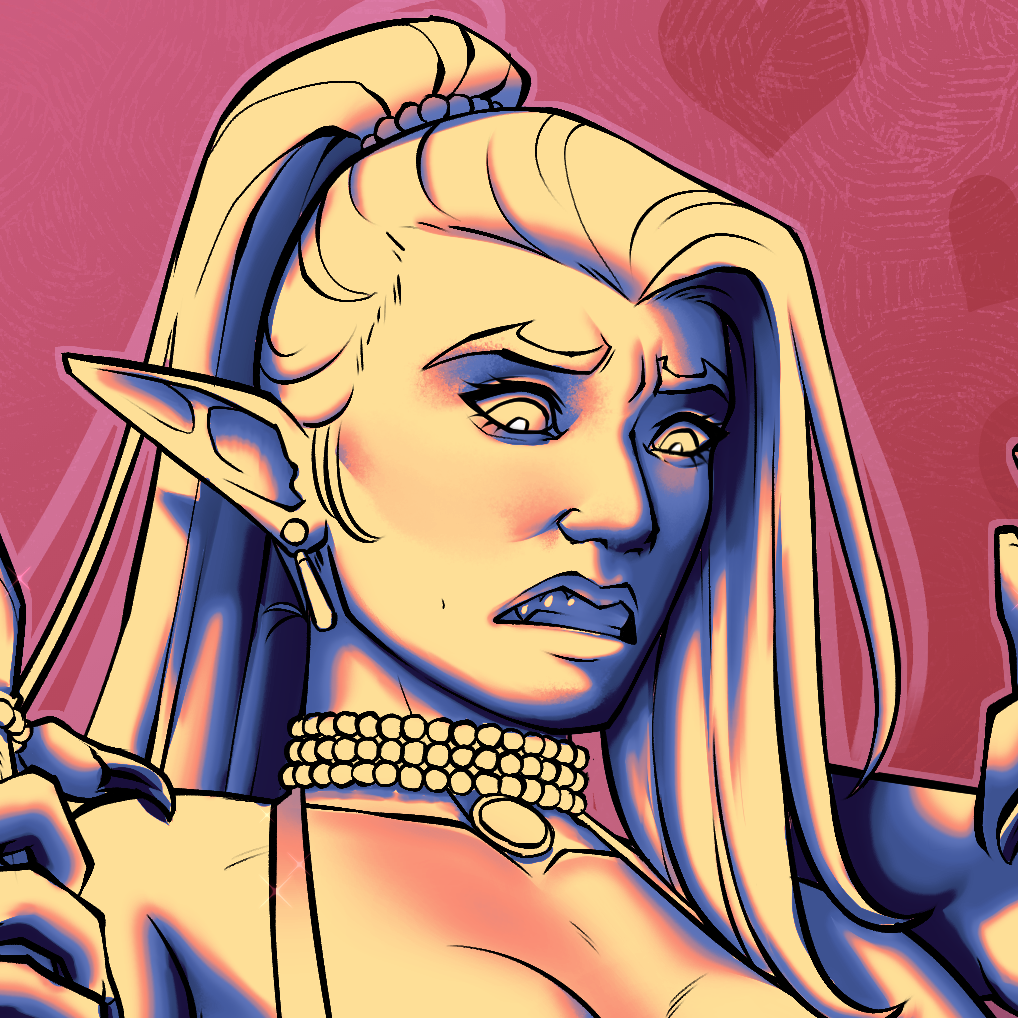
After that I mess with the grey and black layer's opacities until I Like how it looks.

When that's done, I filter and highlight until I like how it looks

Easy Peasy :)
First, I set up my flat colors:

Then, I make a shading folder (set to normal) and shade with a white base layer, a grey mid layer, and a black layer:

Once I've done that, I set my layer folder to either Darken, Multiply, or Overlay, its up to you and your image. This one, I set to darken.
I then make a gradient map layer by going to the top bar and selecting Layer > New Correction Layer > Gradient Map and then selecting the one I wish to use, this one used Shader 2.
After that I mess with the grey and black layer's opacities until I Like how it looks.
When that's done, I filter and highlight until I like how it looks
Easy Peasy :)




Other materials by BigMFRat


Popular “Gradient set” materials


New materials





Badges
-
 MVP ◆This user has contributed greatly to the management of the community, by posting many great responses to the questions asked. Once every three months, MVPs are determined based on the points earned during that period and will be recognized accordingly.
 -
 New Valuable Player (NVP) ◆These are the next-best contributors to the community after MVPs. This is awarded to users who have not yet won an MVP award, based on the number of points they have earned.
 -
 Official Expert ◆Chosen out of all MVP awardees, who are already proof of excellence, this is a testimony of outstanding correspondence in the community. After careful screening, they are appointed by CELSYS and assume their position.Note: Formally called “Evangelists”
 -
 Official Moderator of CELSYS ◆Moderators are official CELSYS staff members who are fluent in Japanese as well as various other languages. Moderators are not experts on the software or illustration, so they are not able to directly answer your questions. However, moderators provide communication and language support to ensure that everyone can smoothly communicate with each other.
 -
 CELSYS official accountThe Official Administrator Account
