

A auto action that can be embossed with CLIP STUDIO PAINT! CLIP STUDIO PAINTでエンボス加工ができるオートアクション!
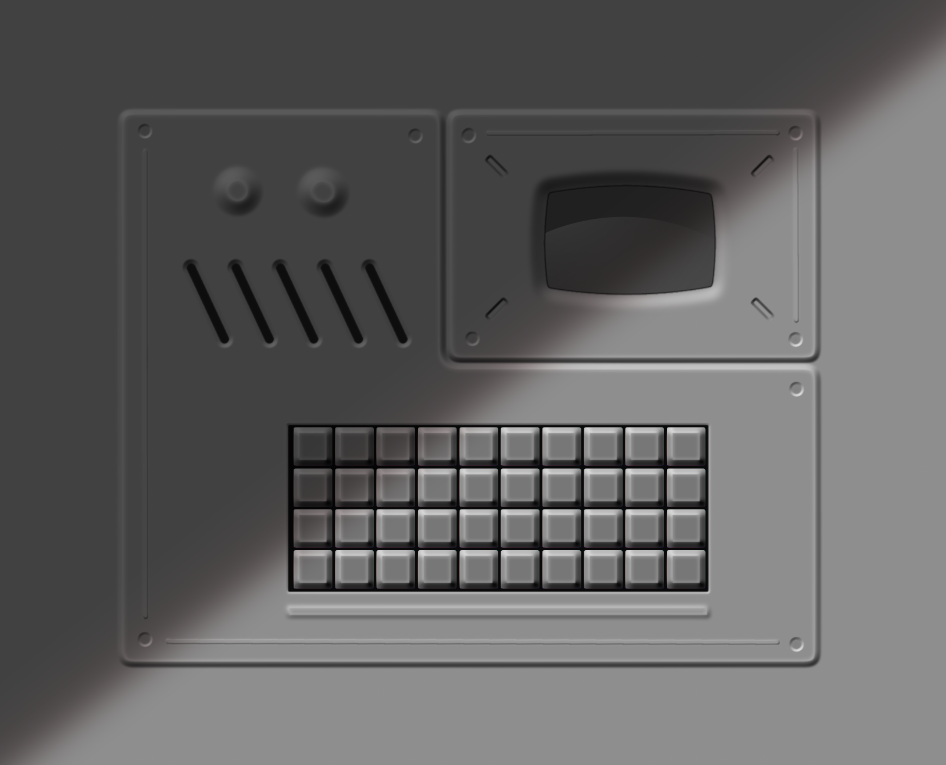
It is a auto action that can emboss any shape or text


use
(1) Select the shape or text layer you want to emboss
(2) After performing the auto action, enter the embossing width (about 0 to 40 is appropriate, and if it is more than that, it will not be processed very neatly)
(3) For the second numerical input, enter half the value entered in (2).
(4) For the third numerical input, enter the value entered in (2) as it is.
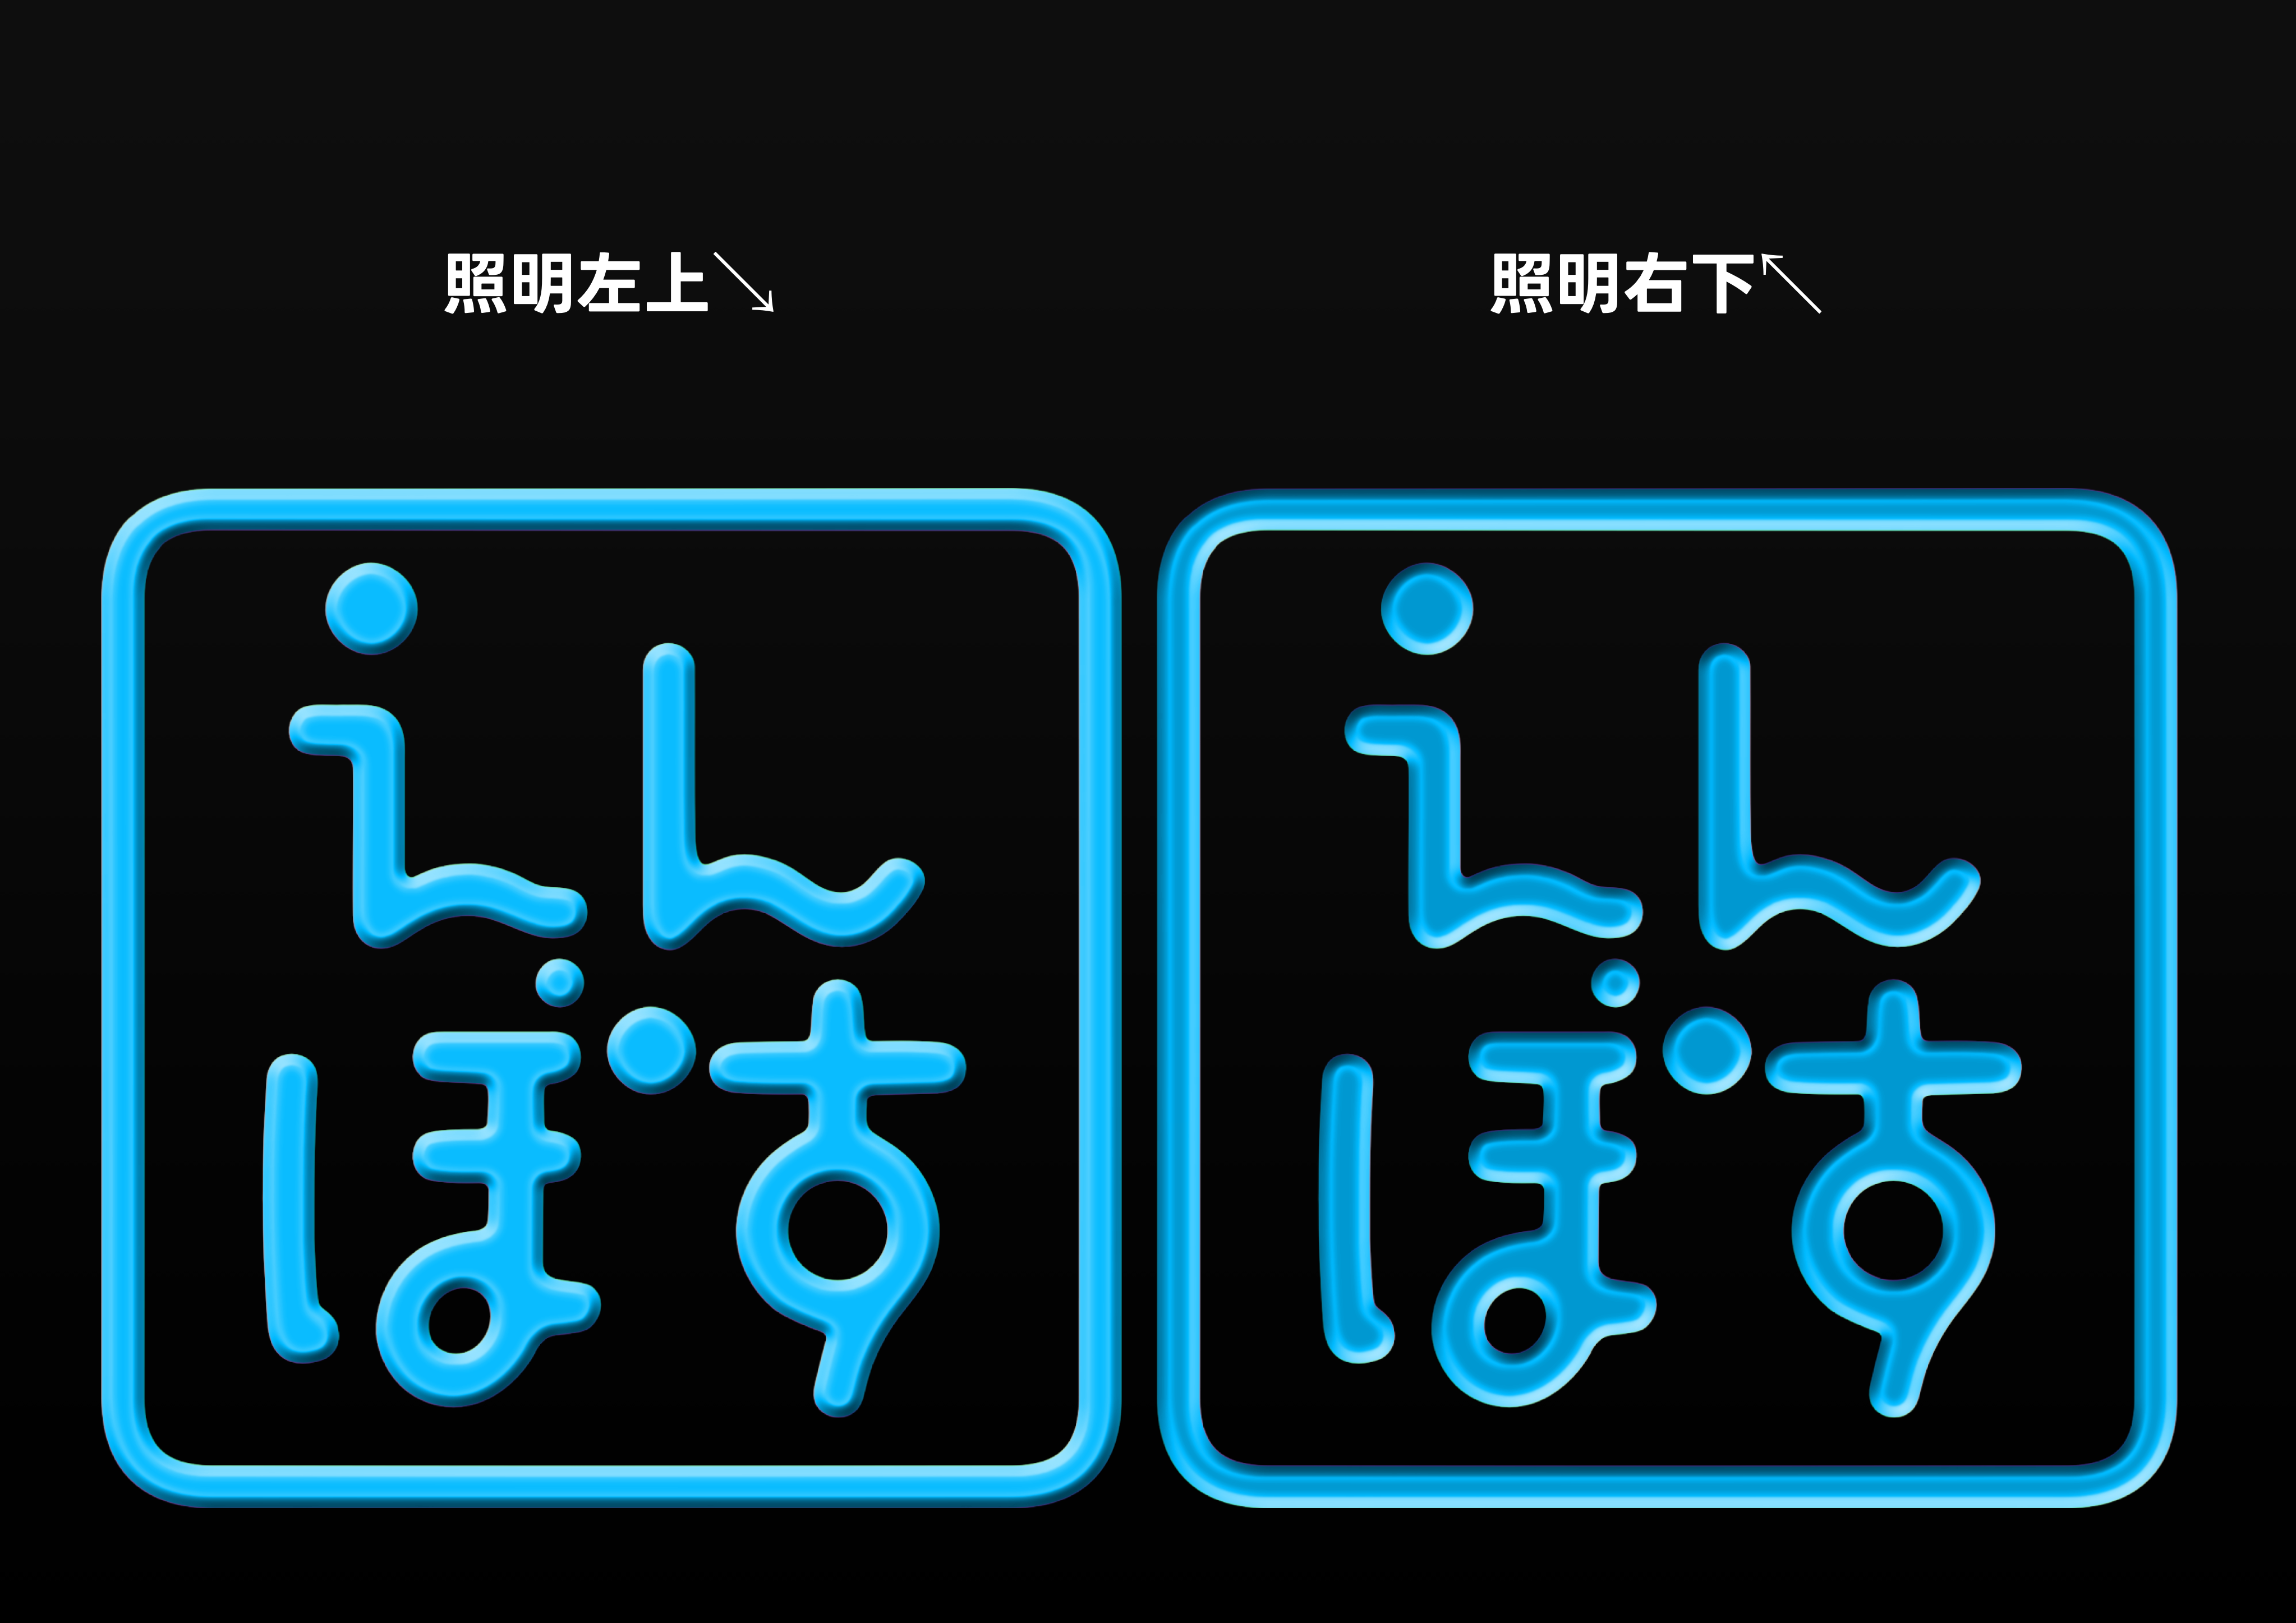
(4) When the process is finished, embossing and embossing A reverse folder will be generated. You can change whether the proof is applied from the upper left or the lower right depending on whether it is displayed.

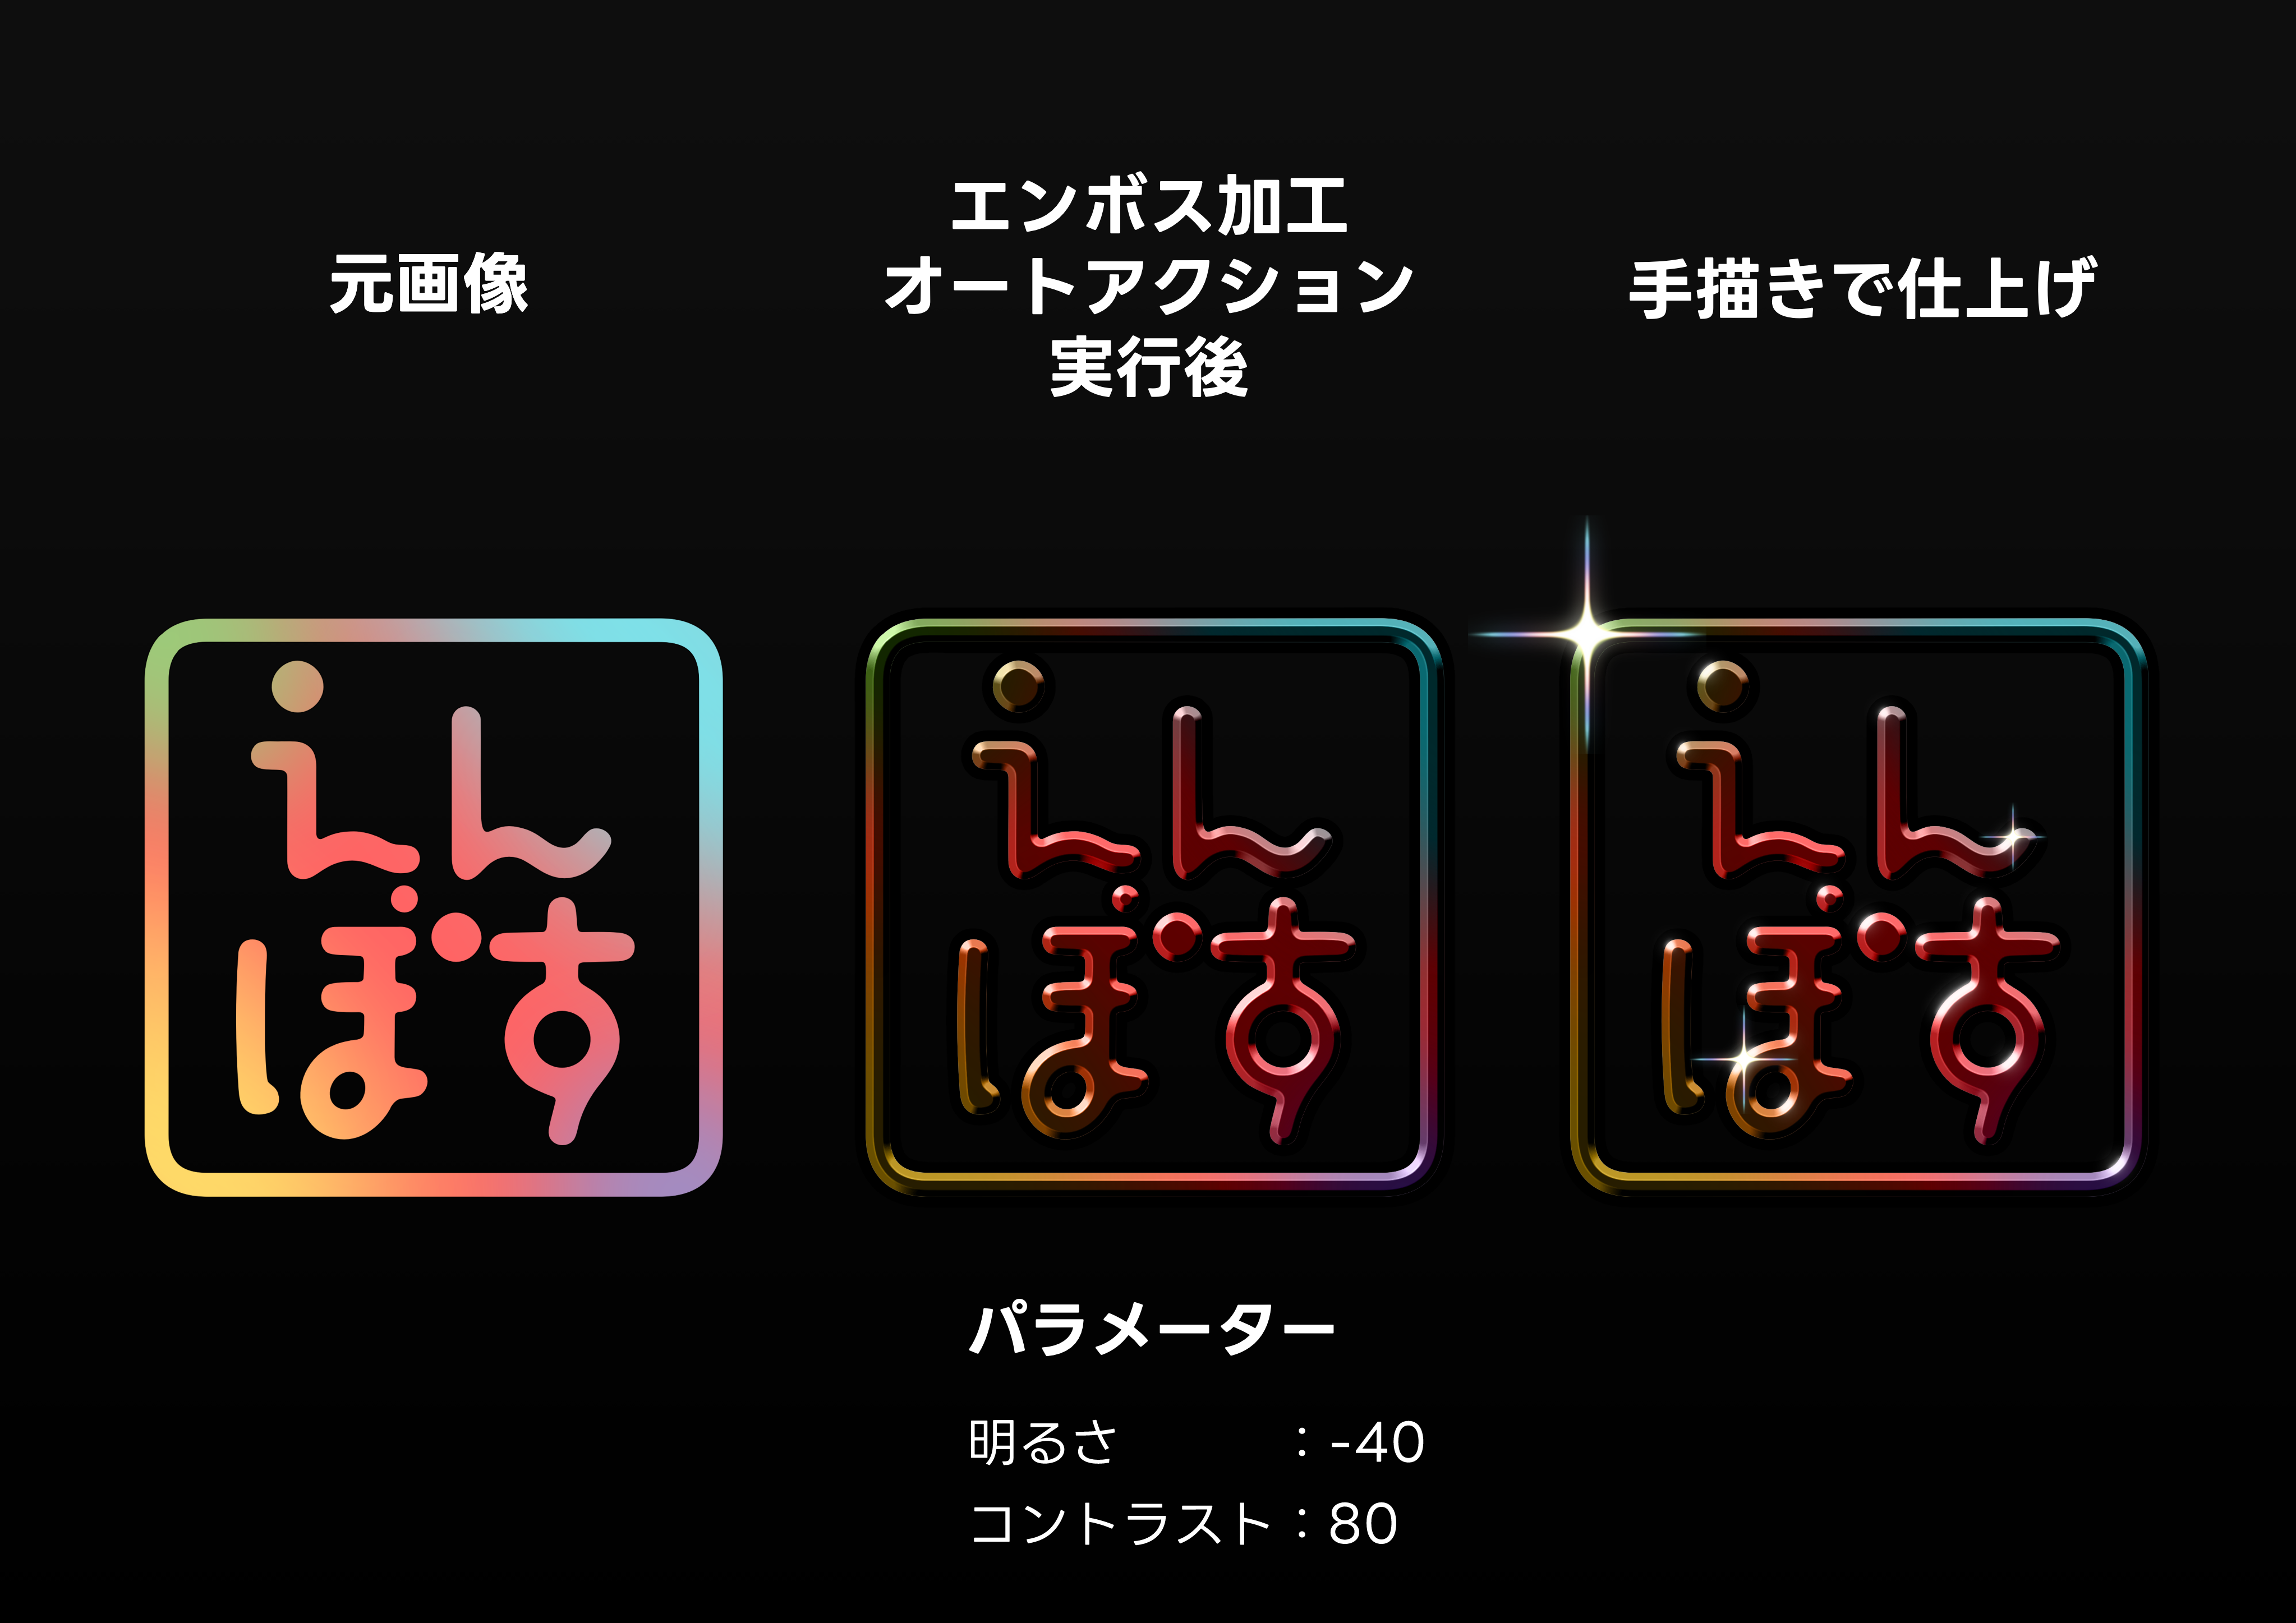
(5) Inside each folder, there is a yellow "Highlight Adjustment Layer". Double-click on this layer thumbnail to see the brightness and contrast parameters.
The meaning of each parameter is as follows:
Brightness = roughness You can adjust the glossiness
Contrast = Metallic You can adjust the degree of reflection

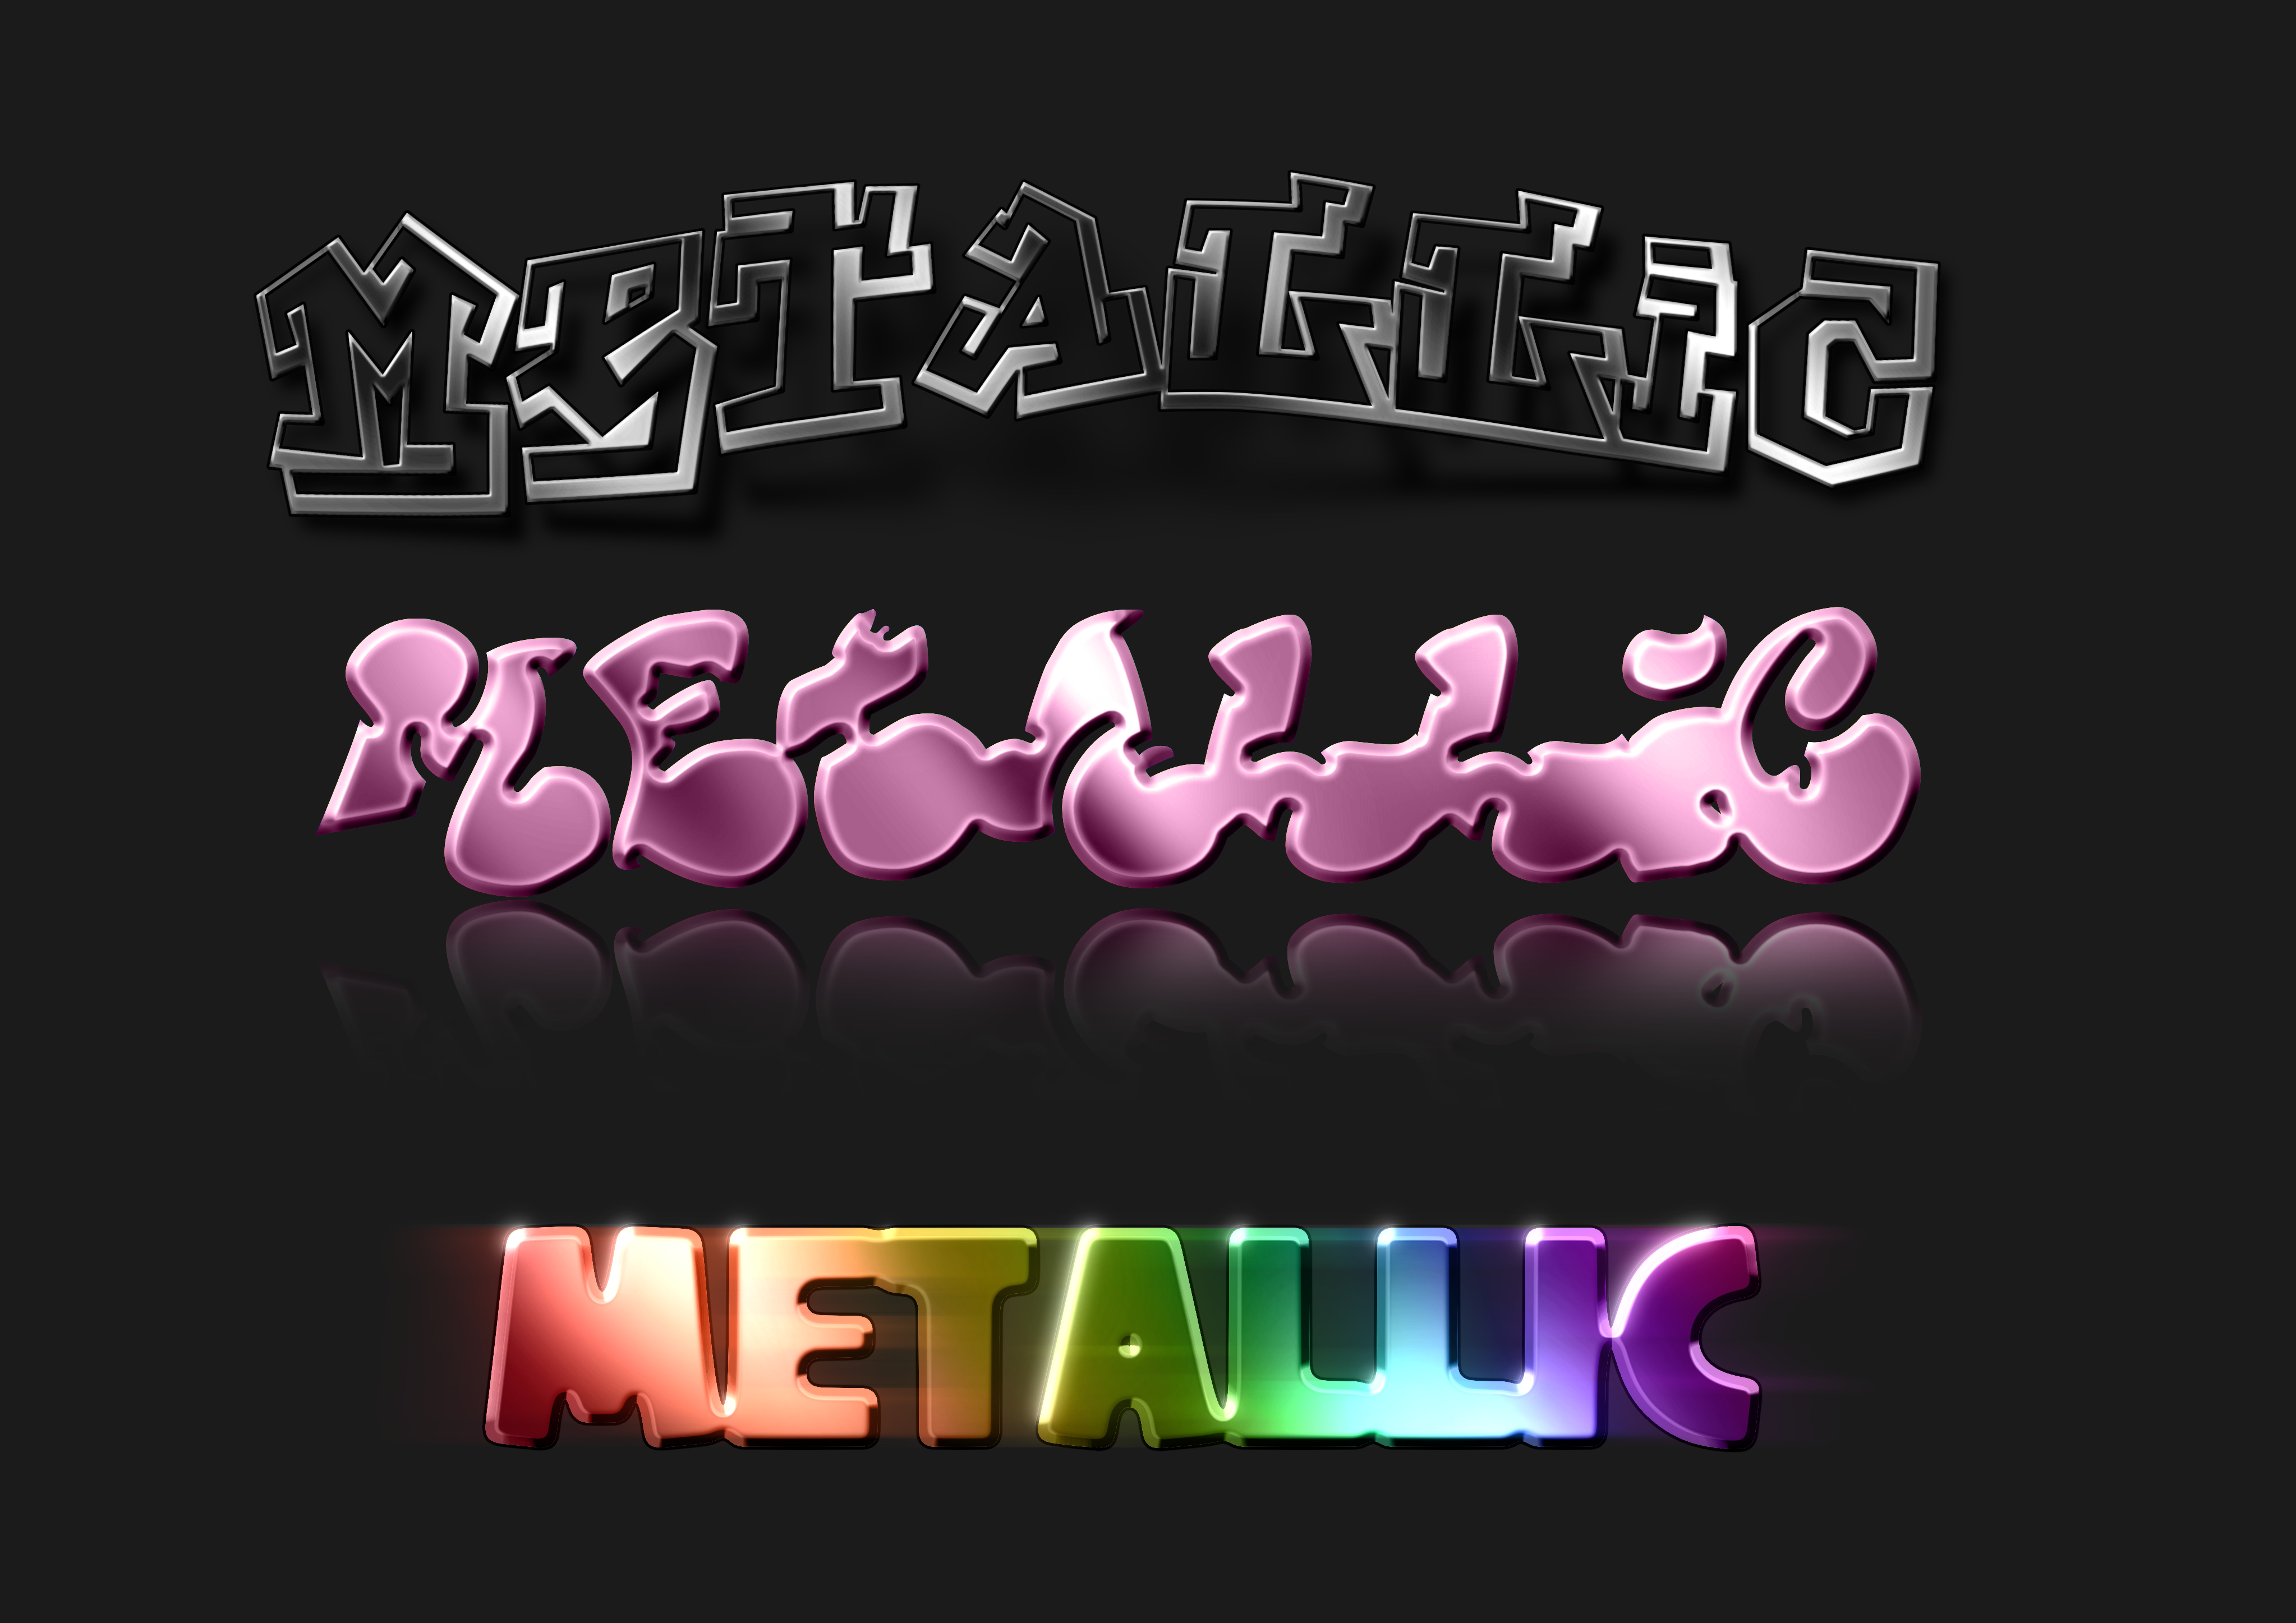
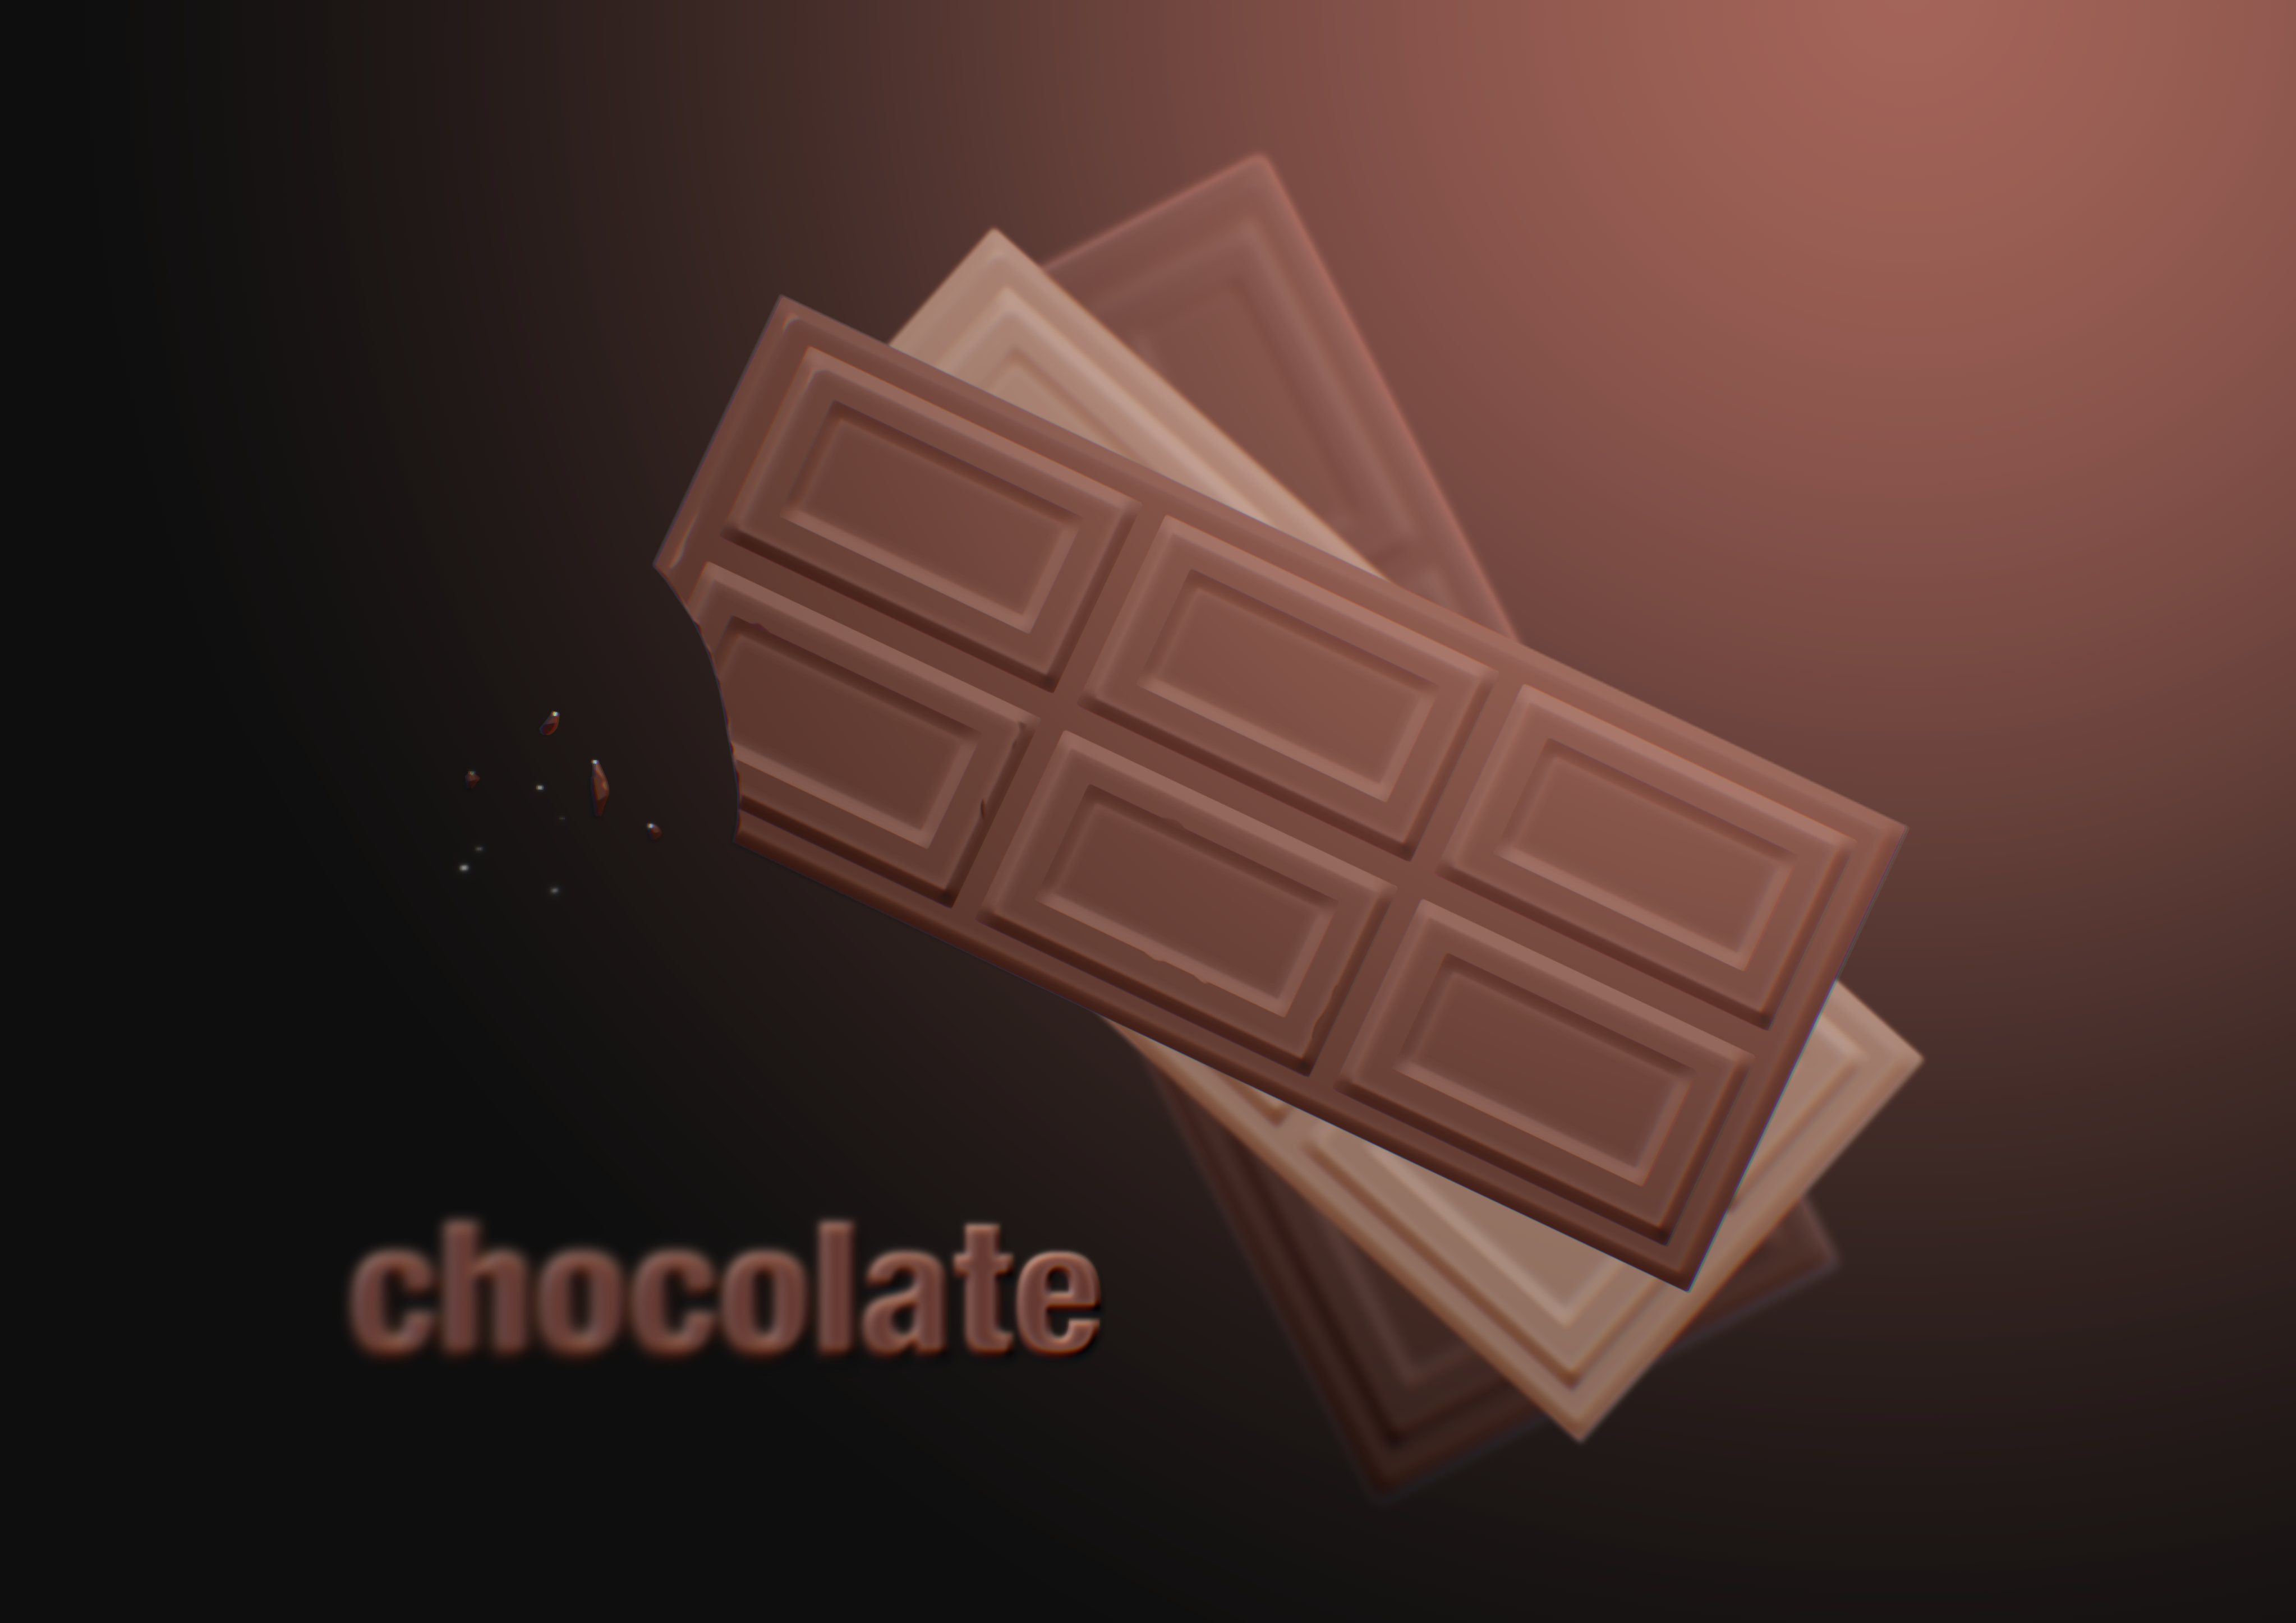
Examples


※Precautions
If the angle of the corner is sharp, such as a triangle ▲ or a star, ★ it will not be handled properly, so please avoid using it as much as possible.
任意の図形やテキストにエンボス加工を施すことができるオートアクションです


使い方
①エンボス加工したい図形やテキストレイヤーを選択
②オートアクションを実行後、エンボスの幅を入力(0〜40くらいが適切で、それ以上の数値だとあまりキレイに処理されません)
③2回目の数値入力は②で入力した半分の値を入力してください。
④3回目の数値入力は②で入力した値をそのまま入力してください。
④処理が終わるとエンボス加工とエンボス加工 反転フォルダーが生成されます。そちらが表示されているかで証明が左上からか、右下から当てられているのかを変更できます。

⑤各フォルダーの中には黄色い「ハイライトを調整レイヤー」が入っています。このレイヤーサムネイルをダブルクリックすると明るさとコントラストのパラメーターが表示されます。
それぞれのパラメーターの意味は以下のとおりです。
明るさ=ラフネス 光沢具合を調整できます
コントラスト=メタリック 反射具合を調整できます

作例


※注意点
三角▲や星形★など角の角度が鋭角な場合は適切に処理されませんので、利用するのは極力避けてください


