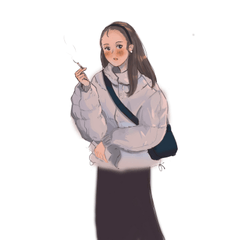
====== information ====== on the water's edge
Broken thoughts: I am a light hand + I don't often sketch lines, and I will start shaping from the draft, so I like to be able to handle all the processes with a pen. (Although the brush will still be changed)
If anyone has the same habits as me, you can give it a try.
(This is a brush for semi-impato!) )
====== information ====== of the slurry pen and waterside hook 2
← Vector Layer Normal layer →
(This is a brush for casual drawing)
Everyone remembers to draw on a small canvas
====== information ====== for coloring at the water's edge
I've modified the original waterside line to make it more suitable for coloring, and the main purpose is to make its water marks more visible. Although it can be adjusted when the time comes, it is too troublesome.
The following one uses only the waterside series.
======水边勾线的资讯======
碎碎念:我是手轻人+不经常勾线,会从草稿开始塑造,所以喜欢能一支笔搞定所有过程的。 (虽然还是会换笔刷)
如果有人的习惯和我一样,可以试一试它。
(这是适配半厚涂的笔刷!)
======包浆笔和水边勾线2的资讯======
←向量图层 普通图层→
(这是适配随手画的笔刷)
大家记得在小画布上画
======水边上色的资讯======
我修改了原先的水边勾线,让它更适配上色的功能,主要目的是让它的水痕变明显。虽然可以要用到时候再调整,但是太麻烦了。
下面这张只使用了水边系列。


