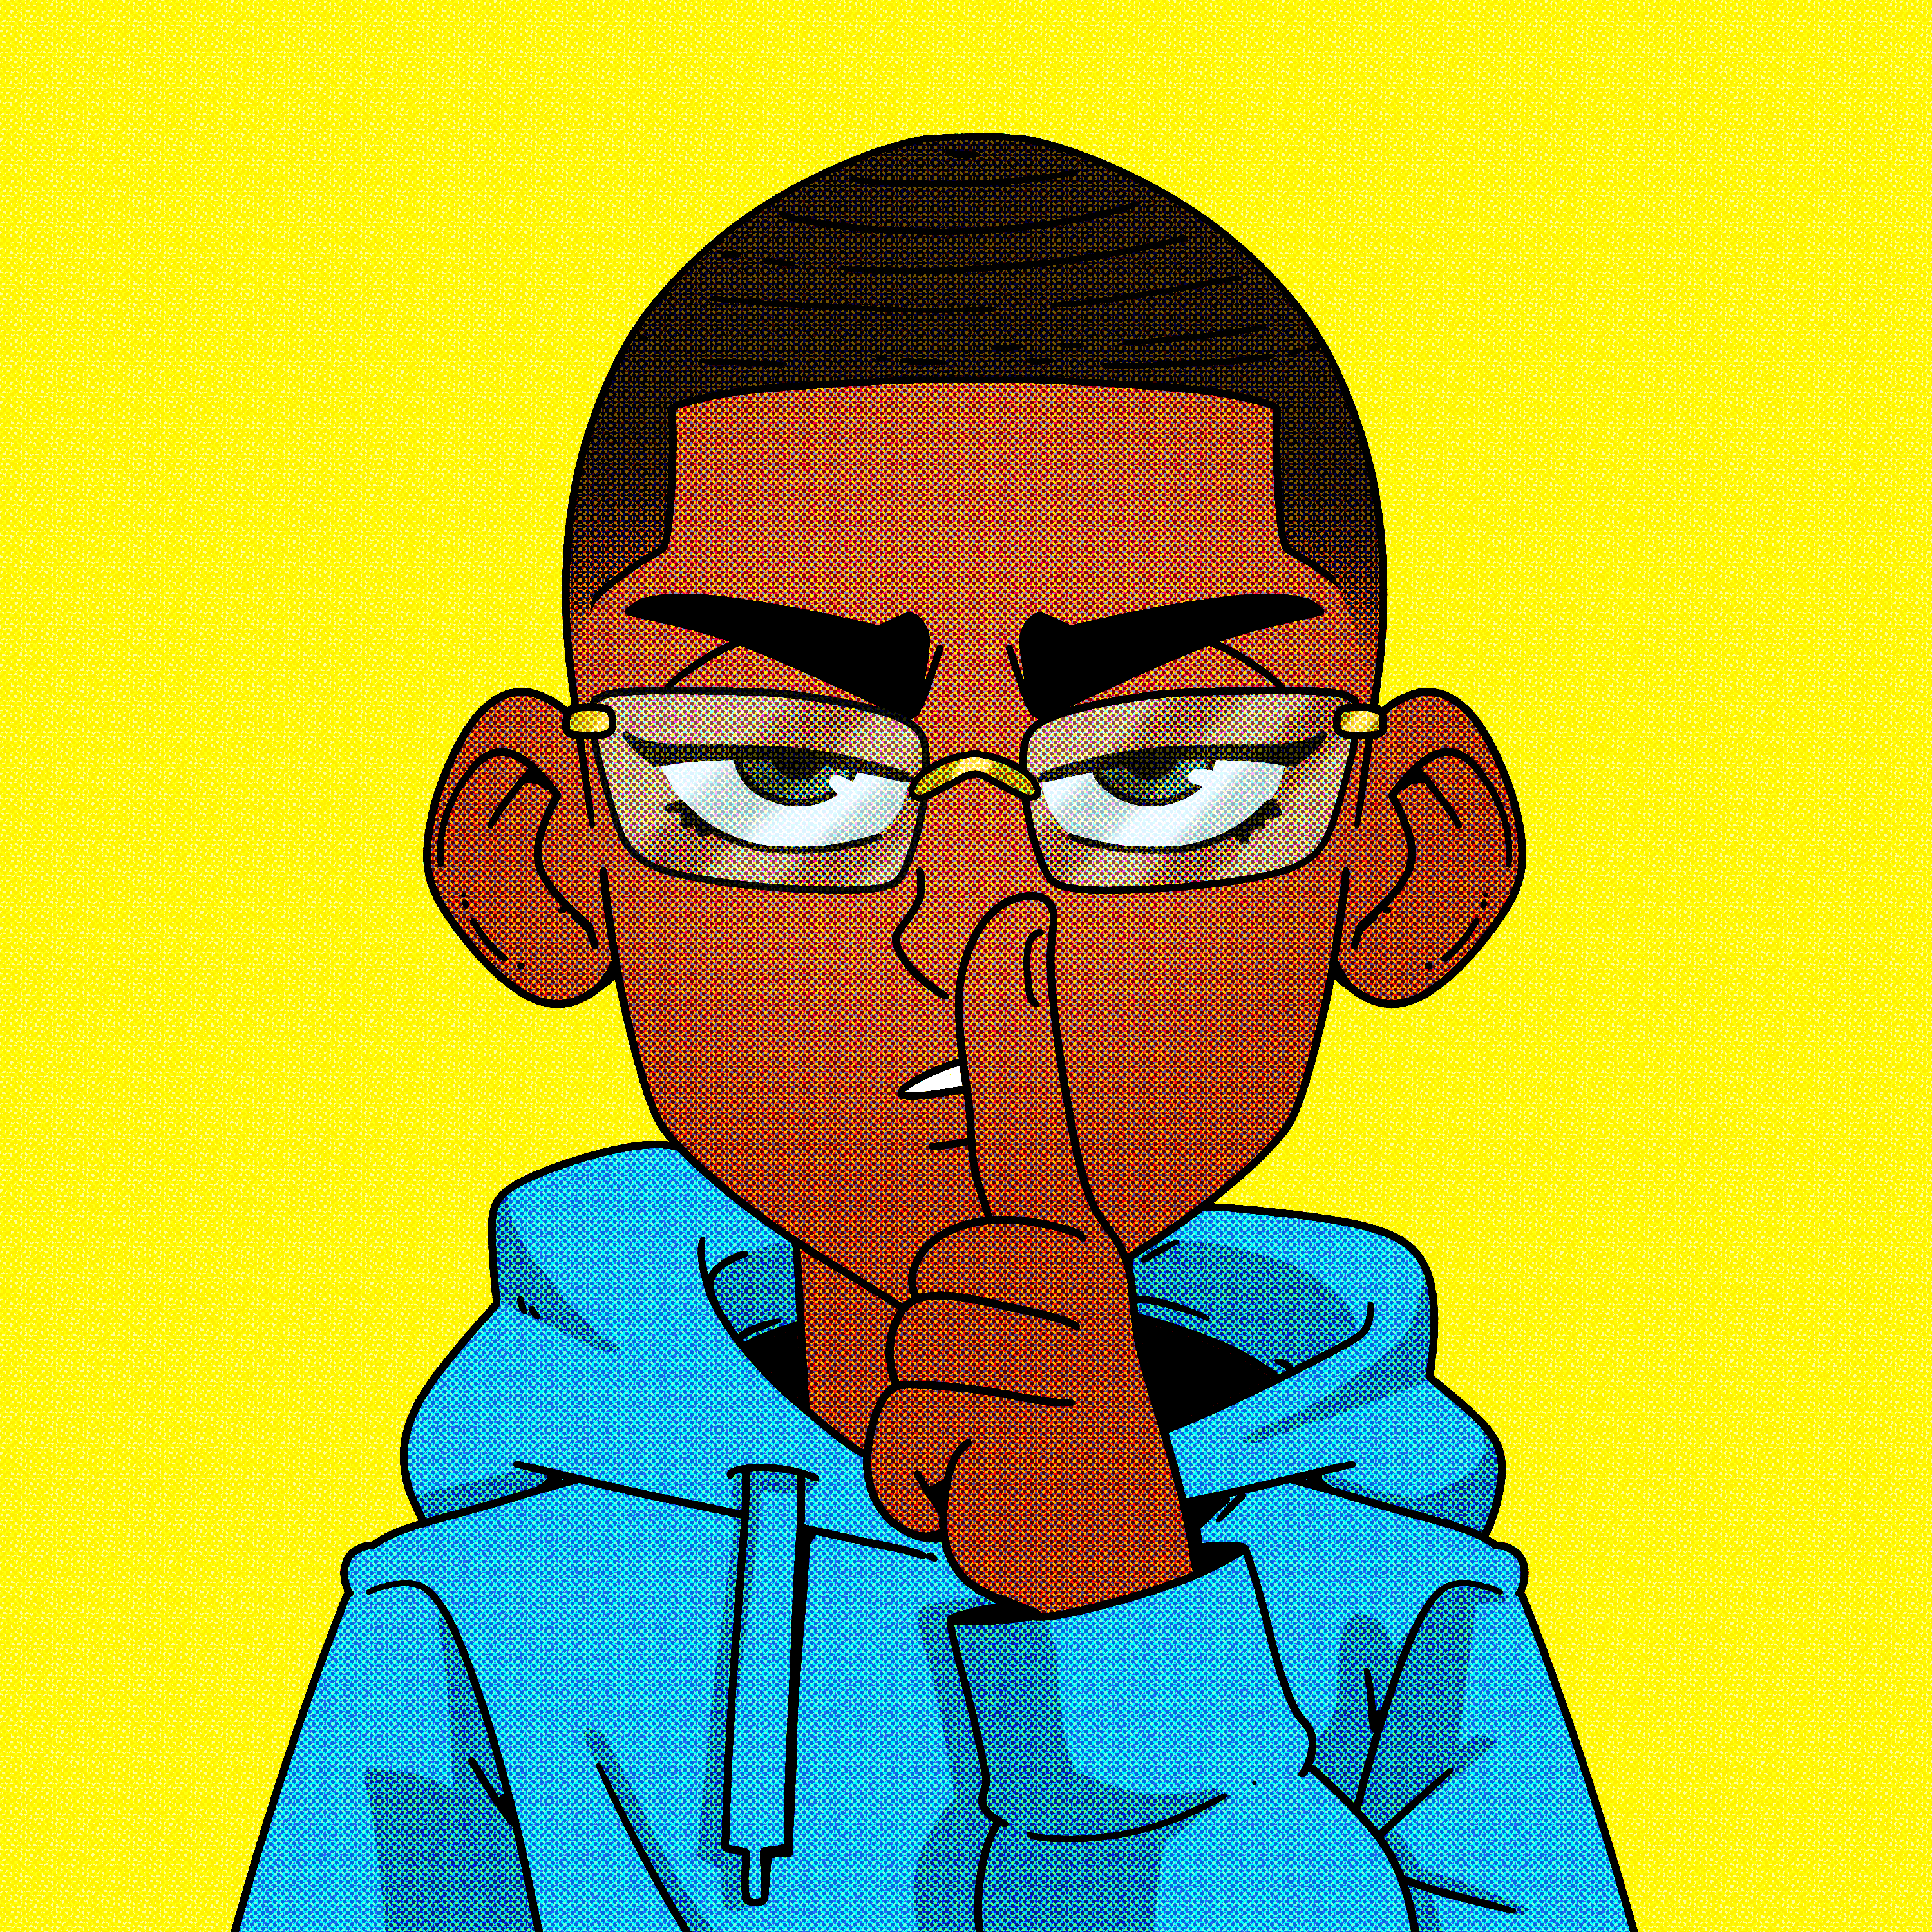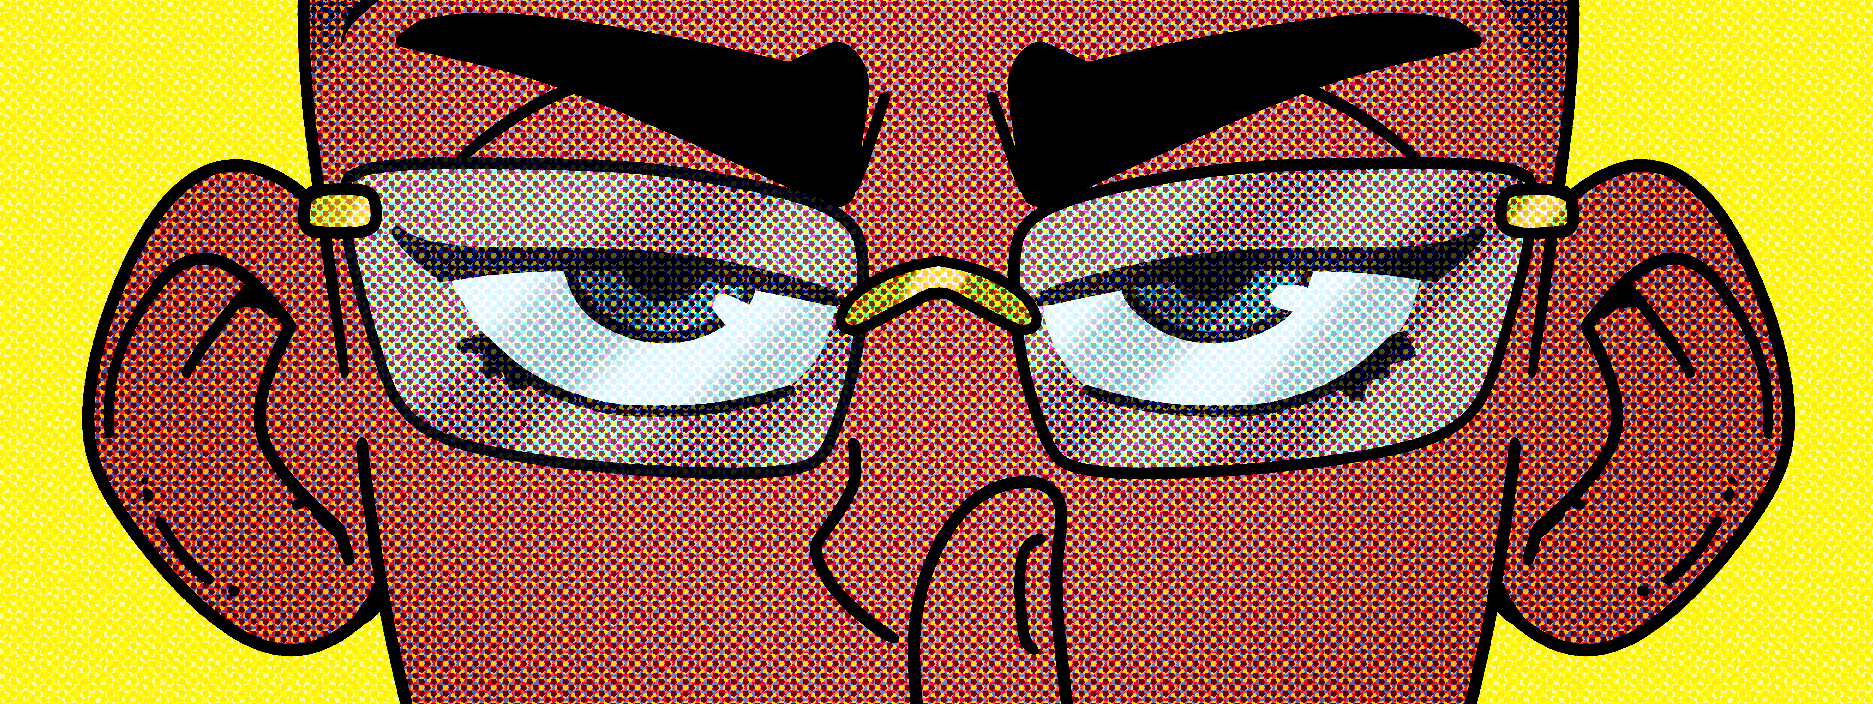

This is an Auto Action to emulate the Color Halftone effect of Photoshop. That way I (and you) can now stay in one application.
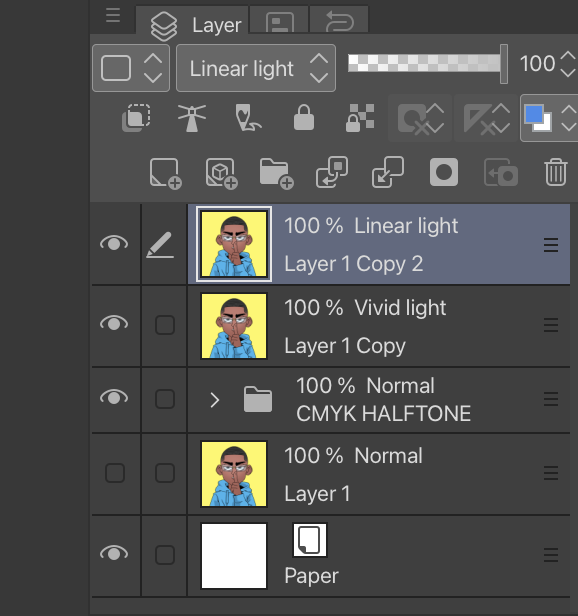
Make two copies of the layer or image that the effect is for. For the first duplicate, set the blending mode to vivid light. Move this layer above the CMYK folder. For the second duplicate, set the blending mode to linear light. Move this layer above the vivid light layer.


All of the halftone layers have layer mask. If you don’t want this effect applied to your entire image, paint inside of the mask with transparent color to remove it from the undesired area. You may also change the frequency of the dots to your liking.
Japanese Translation:
この文章を日本語に翻訳します。
これは、Photoshopのカラーハーフトーン効果をエミュレートするためのオートアクションです。これにより、私(そしてあなた)は1つのアプリケーション内で作業を行うことができます。
まず、効果を適用するレイヤーまたは画像のコピーを2つ作成します。最初のコピーでは、ブレンドモードをビビッドライトに設定します。このレイヤーをCMYKフォルダの上に移動します。2番目のコピーでは、ブレンドモードをリニアライトに設定します。このレイヤーをビビッドライトレイヤーの上に移動します。
すべてのハーフトーンレイヤーには、レイヤーマスクがあります。画像全体にこの効果を適用したくない場合は、マスク内を透明な色で塗ることで、不要な領域から効果を除去することができます。また、ドットの頻度も自由に変更することができます。

Before Color Halftone:

After Color Halftone:


