



This is a auto action that processes transparent images in Akusta style.
Please use it for sample images to be arranged in the item.
透過画像をアクスタ風に加工するオートアクションです。
お品書きで並べるサンプル画像などにご活用ください。
Since it is for the actual size of Akusta (width 40mm ~ 70mm), it is not suitable for images that are too small or too large.
(1) Prepare a combined transparent image.
 (2) Drag and drop the template to place the original image on the specified layer (★ location), and adjust the size according to the stand part (white square). The image placement layer will be automatically deleted, so please leave it as it is.
 If necessary, add or delete the square of the "Stand part" layer, and adjust the size. (Do not change the layer name or order)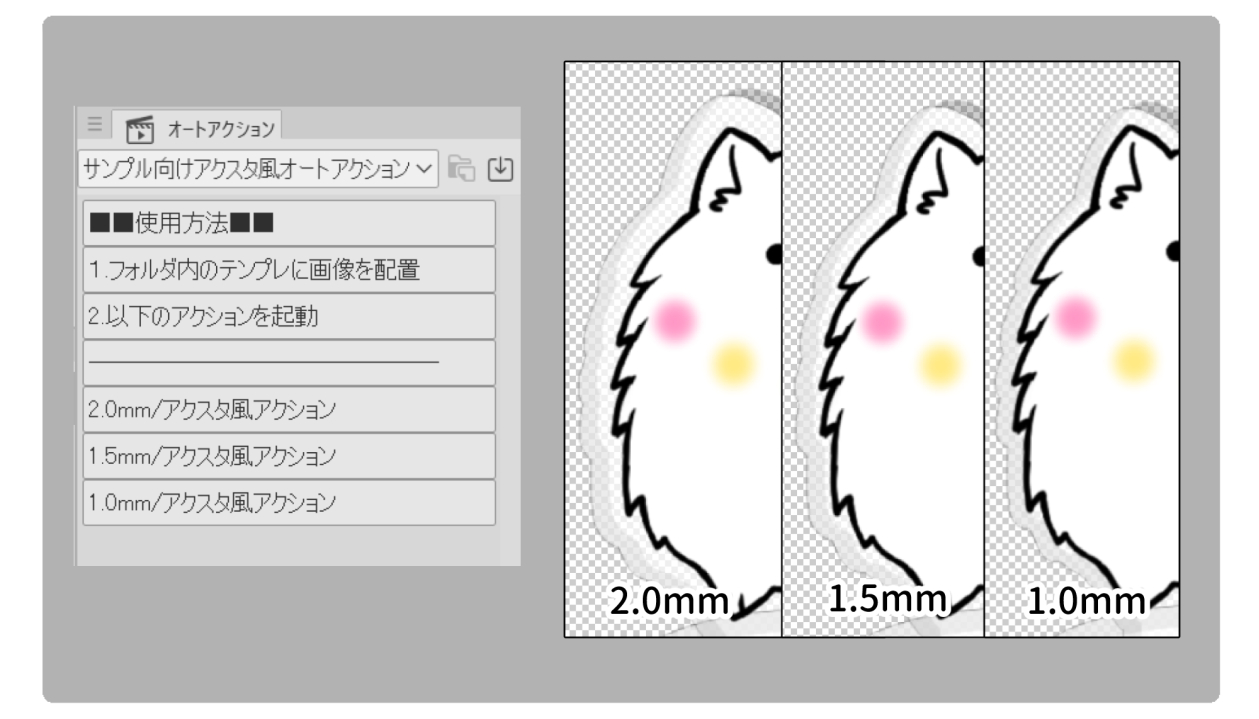 (3) Click the auto action of the desired width.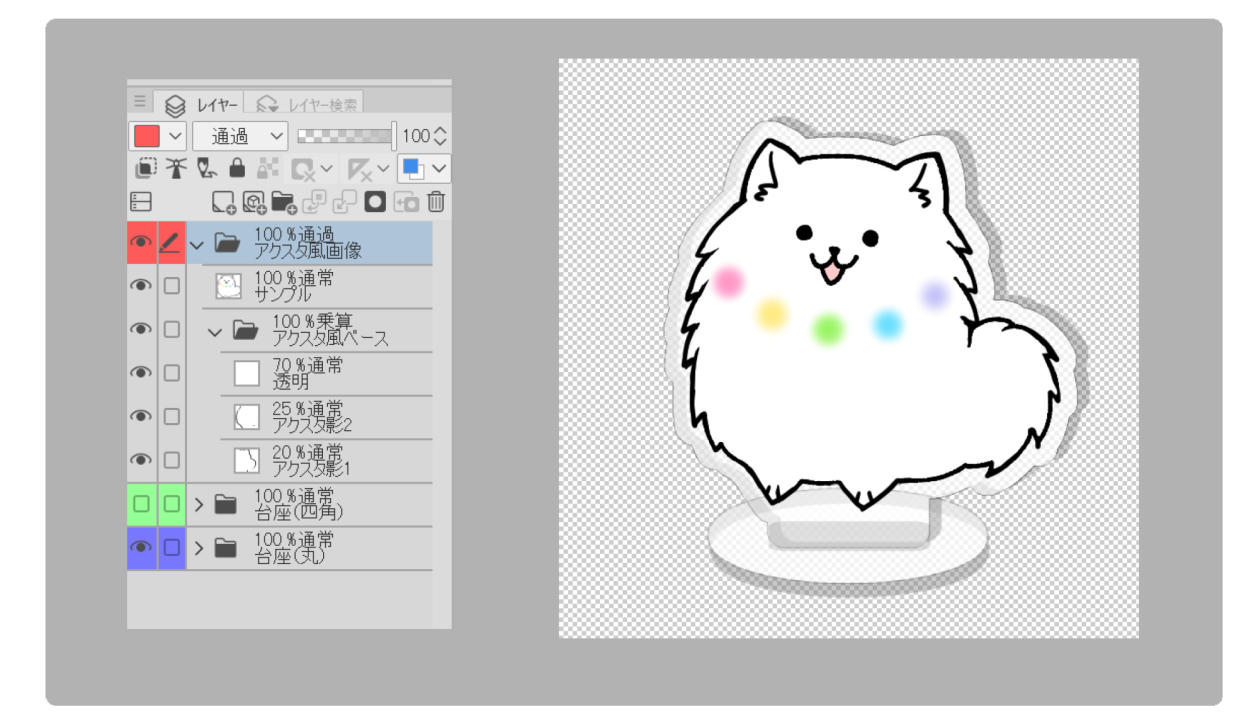
 (3) Click the auto action of the desired width.
(4) Select your favorite pedestal (round or square) and adjust the size and position of each folder of "Akusta-style images".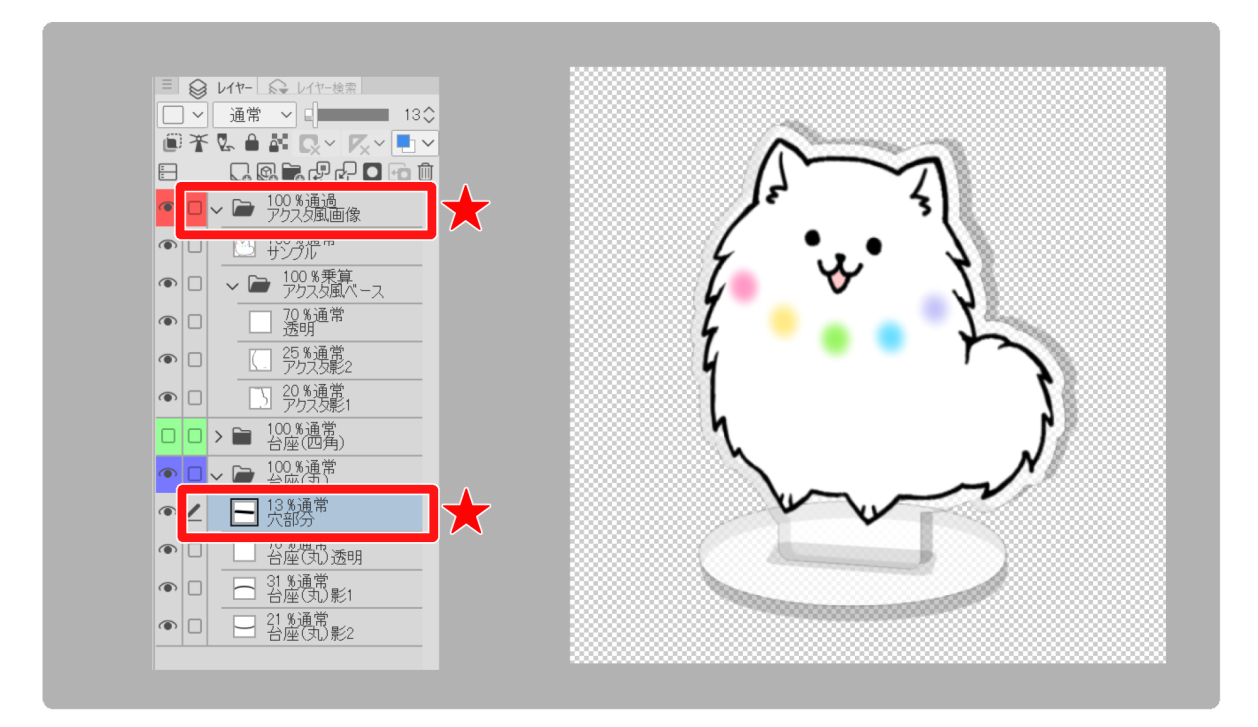
(5) If you adjust the image (★ the entire axta and holes) or transform it diagonally, it will look more like that. 

▼auto action There are many things. Please from the author's material list ▼


アクスタの実寸(幅40mm~70mm)向けなので、小さすぎるor大きすぎる画像には向きません。
①結合した透過画像を用意します。
②テンプレートをドラッグ&ドロップして元の画像を指定のレイヤー(★の場所)に配置し、スタンド部分(白い四角)に合わせて大きさを調整します。画像配置用レイヤー自動で削除されるのでそのままにしてください。必要に応じて「スタンド部分」レイヤーの四角は書き足したり消したり、大きさを調節してください。(レイヤー名や順序は変更しないでください)③希望の幅のオートアクションをクリックします。
③希望の幅のオートアクションをクリックします。④好きな台座(丸・四角)を選んで、「アクスタ風画像」のフォルダごと大きさや位置を調整してください。
⑤画像(★アクスタ全体と穴)を調節したり斜めに変形するとよりそれっぽくなります。
▼オートアクション色々あります。作者の素材一覧からどうぞ▼


Other materials by おりしま美城


Popular “Auto Action” materials





New materials





Badges
-
 MVP ◆This user has contributed greatly to the management of the community, by posting many great responses to the questions asked. Once every three months, MVPs are determined based on the points earned during that period and will be recognized accordingly.
 -
 New Valuable Player (NVP) ◆These are the next-best contributors to the community after MVPs. This is awarded to users who have not yet won an MVP award, based on the number of points they have earned.
 -
 Official Expert ◆Chosen out of all MVP awardees, who are already proof of excellence, this is a testimony of outstanding correspondence in the community. After careful screening, they are appointed by CELSYS and assume their position.Note: Formally called “Evangelists”
 -
 Official Moderator of CELSYS ◆Moderators are official CELSYS staff members who are fluent in Japanese as well as various other languages. Moderators are not experts on the software or illustration, so they are not able to directly answer your questions. However, moderators provide communication and language support to ensure that everyone can smoothly communicate with each other.
 -
 CELSYS official accountThe Official Administrator Account