Updated on 2026/7/25
I've updated some brush parameters to my current settings.
There are no changes other than parameters. If you have already downloaded it, you can use either one.
* The line under each image title is
1: One stroke stroke from left to right
2: Adjust with pen pressure or use transparent color to create shades
3: Red to blue color mixing
sample.
──────────────────────────────────
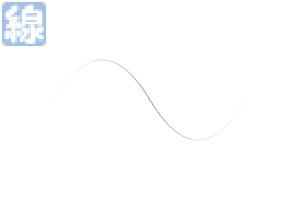
A soft lineart pen that is easy to adapt to brush painting
For those who draw smoothly with weak pen pressure and short strokes.
The ink is now slightly stronger than before the update.
──────────────────────────────────
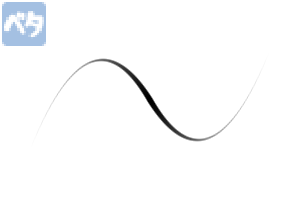
Soft and easy to adapt to brush painting fill-in-mono pen It is recommended for undercoating and coating materials with strong contrast such as metal.
Compared to before the update, the ink volume tends to fluctuate depending on the pen pressure.
──────────────────────────────────
A filling pen that can be managed with this one
It is a pen that is easy to create shades even with one pen and one layer.
It is mainly the amount of ink that depends on the pen pressure, and the thickness remains almost the same. It is assumed that it will be applied while changing the brush size each time.
The ink is now slightly stronger than before the update.
──────────────────────────────────
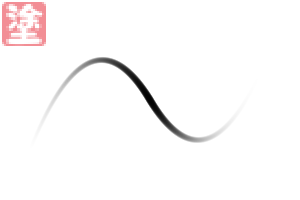
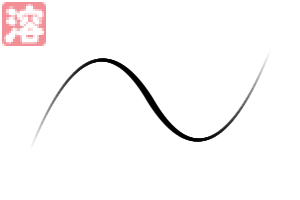
- Fill (left side of image)
Stretch tool version of the main fill pen
It is a procrastination tool that can be handled with the feeling of use of [main coating]. Colorless and transparent.
The line sample demonstrates the following behavior:
1: Place the [main paint] dot on the left edge and extend it with one stroke toward the right
2: Draw a line with [Main Fill] and stretch it from the outside and inside of the line, respectively.
3: Draw red and blue lines with [Main Paint] and stretch them so that they blend in with each other.
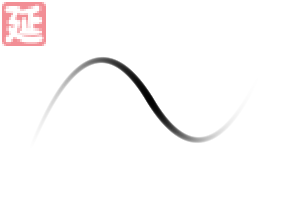
- Melt blur (right side of image)
Fill and blur pen
It can be used as a soft paint pen when drawing with strong pen pressure, and as a blur pen when drawing with weak pen pressure.
Since you can blur the color while spreading it, it is also recommended for painting blush.
──────────────────────────────────
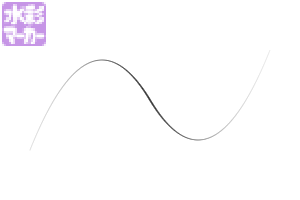
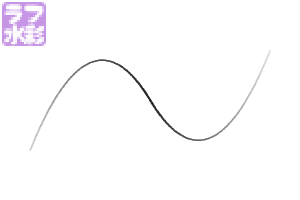
- Rough watercolor (left image)
A pen for rough sketching
It is intended to be used to switch between the foreground color and the transparent color to paint or scrape, but you can adjust the shade to a certain extent even with only the drawing color.
- Thin watercolor marker (right side of image)
Pen for detailing
It feels like the [main coating] has been made hard and thin.
Since the color extends well and the pen tip comes out thinly, it is suitable for adding details such as increasing the amount of information.
──────────────────────────────────
▼Example (1)
It is an illustration of the material thumbnail.
I made it with the brush in the set + the airbrush (soft) of the initial tool.
Main line: [Soft line drawing] / Undercoat, etc.: [Yawa fill] / Filling: [Main paint] [Paint spread] [Melt blur] / Partial addition: [Fine watercolor marker]
▼Example (2)
This method is often used when drafting.
After applying a thin and rough surface with [main painting], add with [rough watercolor].
■About adjusting brushes
When adjusting the brush, adjust the parameters of the items displayed in the tool property and the pen pressure settings for each parameter.
Items that are expected to be adjusted are displayed.
In addition, [Rough Watercolor], [Melt Blur], and [Thin Watercolor Marker] contain brush tip material that makes it look like a flat brush. (Initial state is ON only rough watercolor)
Please switch from the tool details > brush tip to your liking.
2026/7/25 更新
一部ブラシのパラメータを私が現行で使用している設定に更新しました。
パラメータ以外の変更はありません。既にDL済みの方はどちらを使用していただいても大丈夫です。
※各画像タイトルの下の線は
1:左から右へサッとはらうように一筆ストローク
2:筆圧で調整or透明色を使用して濃淡を作る
3:赤から青の混色
のサンプルです。
──────────────────────────────────
筆塗りに馴染みやすい柔らか線画ペン
弱めの筆圧・短めのストロークでサラサラと描く方向け。
更新前と比べてインクがやや強めに出るようになりました。
──────────────────────────────────
下塗りや、金属などのコントラスト強めの材質の塗り込みにオススメです。
更新前と比べて筆圧でインク量が変動しやすくなっています。
──────────────────────────────────
大体これ1本でなんとかなる塗りペン
ペン1本・レイヤー1枚でも濃淡が作りやすいペンです。
筆圧に依存しているのは主にインク量で、太さはほぼ変わりません。都度ブラシサイズを変えながら塗ることを想定しています。
更新前と比べてインクがやや強めに出るようになりました。
──────────────────────────────────
メイン塗りペンの延ばしツール版
【メイン塗り】の使用感のまま扱える延ばしツールです。無色透明。
線のサンプルは以下の動作を行っています。
1:【メイン塗り】を左端に点置きし、右に向かって一筆で延ばす
2:【メイン塗り】で線を引き、それぞれ線の外側・内側からくるくると伸ばす
3:【メイン塗り】で赤と青の線を引き、間を馴染ませるように伸ばす
塗りとぼかし両用ペン
強い筆圧で描くと柔らかめの塗りペン、弱い筆圧で描くとぼかしペンとして使えます。
色を塗り広げながらぼかせるので、チークの塗りなどにもオススメです。
──────────────────────────────────
ざくざく描ける下描き向けペン
描画色と透明色を切り替えて塗ったり削ったりする使い方を想定していますが、描画色のみでもそれなりに濃淡の調整ができます。
細部の描き込み向けペン
【メイン塗り】を硬く細くしたような使用感です。
色延びが良くペン先が細く抜けるので、細部の情報量増しなどの加筆に向いています。
──────────────────────────────────
▼作例①
素材サムネイルのイラストです。
セット内ブラシ+初期ツールのエアブラシ(柔らか)で制作しました。
主線:【やわらか線画】 / 下塗り等:【やわべた塗り】 / 塗り込み:【メイン塗り】【塗りのばし】【溶けぼかし】 / 一部加筆:【細水彩マーカー】
▼作例②
下描きの際によく用いる方法です。
【メイン塗り】で薄めにざっくりと面塗り後、【ラフ水彩】で加筆。
■ブラシの調整について
ブラシを調整する際は、ツールプロパティに表示されている項目のパラメータと、各パラメータの筆圧設定を調整してください。
調整を想定した項目は表示状態にしています。
また、【ラフ水彩】【溶けぼかし】【細水彩マーカー】には平筆っぽくなるブラシ先端素材が入っております。(ラフ水彩のみ初期状態がON)
ツール詳細>ブラシ先端からお好みで切り替えてご使用ください。







 MVP ◆This user has contributed greatly to the management of the community, by posting many great responses to the questions asked. Once every three months, MVPs are determined based on the points earned during that period and will be recognized accordingly.
 New Valuable Player (NVP) ◆These are the next-best contributors to the community after MVPs. This is awarded to users who have not yet won an MVP award, based on the number of points they have earned.
 Official Expert ◆Chosen out of all MVP awardees, who are already proof of excellence, this is a testimony of outstanding correspondence in the community. After careful screening, they are appointed by CELSYS and assume their position.Note: Formally called “Evangelists”
 Official Moderator of CELSYS ◆Moderators are official CELSYS staff members who are fluent in Japanese as well as various other languages. Moderators are not experts on the software or illustration, so they are not able to directly answer your questions. However, moderators provide communication and language support to ensure that everyone can smoothly communicate with each other.
 CELSYS official accountThe Official Administrator Account