

A yellow AURA brush, to make your characters feel all the power they exude Un pinceau d'AURA jaune, pour faire ressentir à vos personnages, toute la puissance qu'ils dégagent
AURA SSJ :


Who hasn't tried to reproduce this famous noise with their mouth, during the most mythical transformation of all anime?
And who hasn't wanted to reproduce this aura when drawing our super warriors?
That's all the trouble I went to create this brush, version 2.0 of the AURA BRUSH.
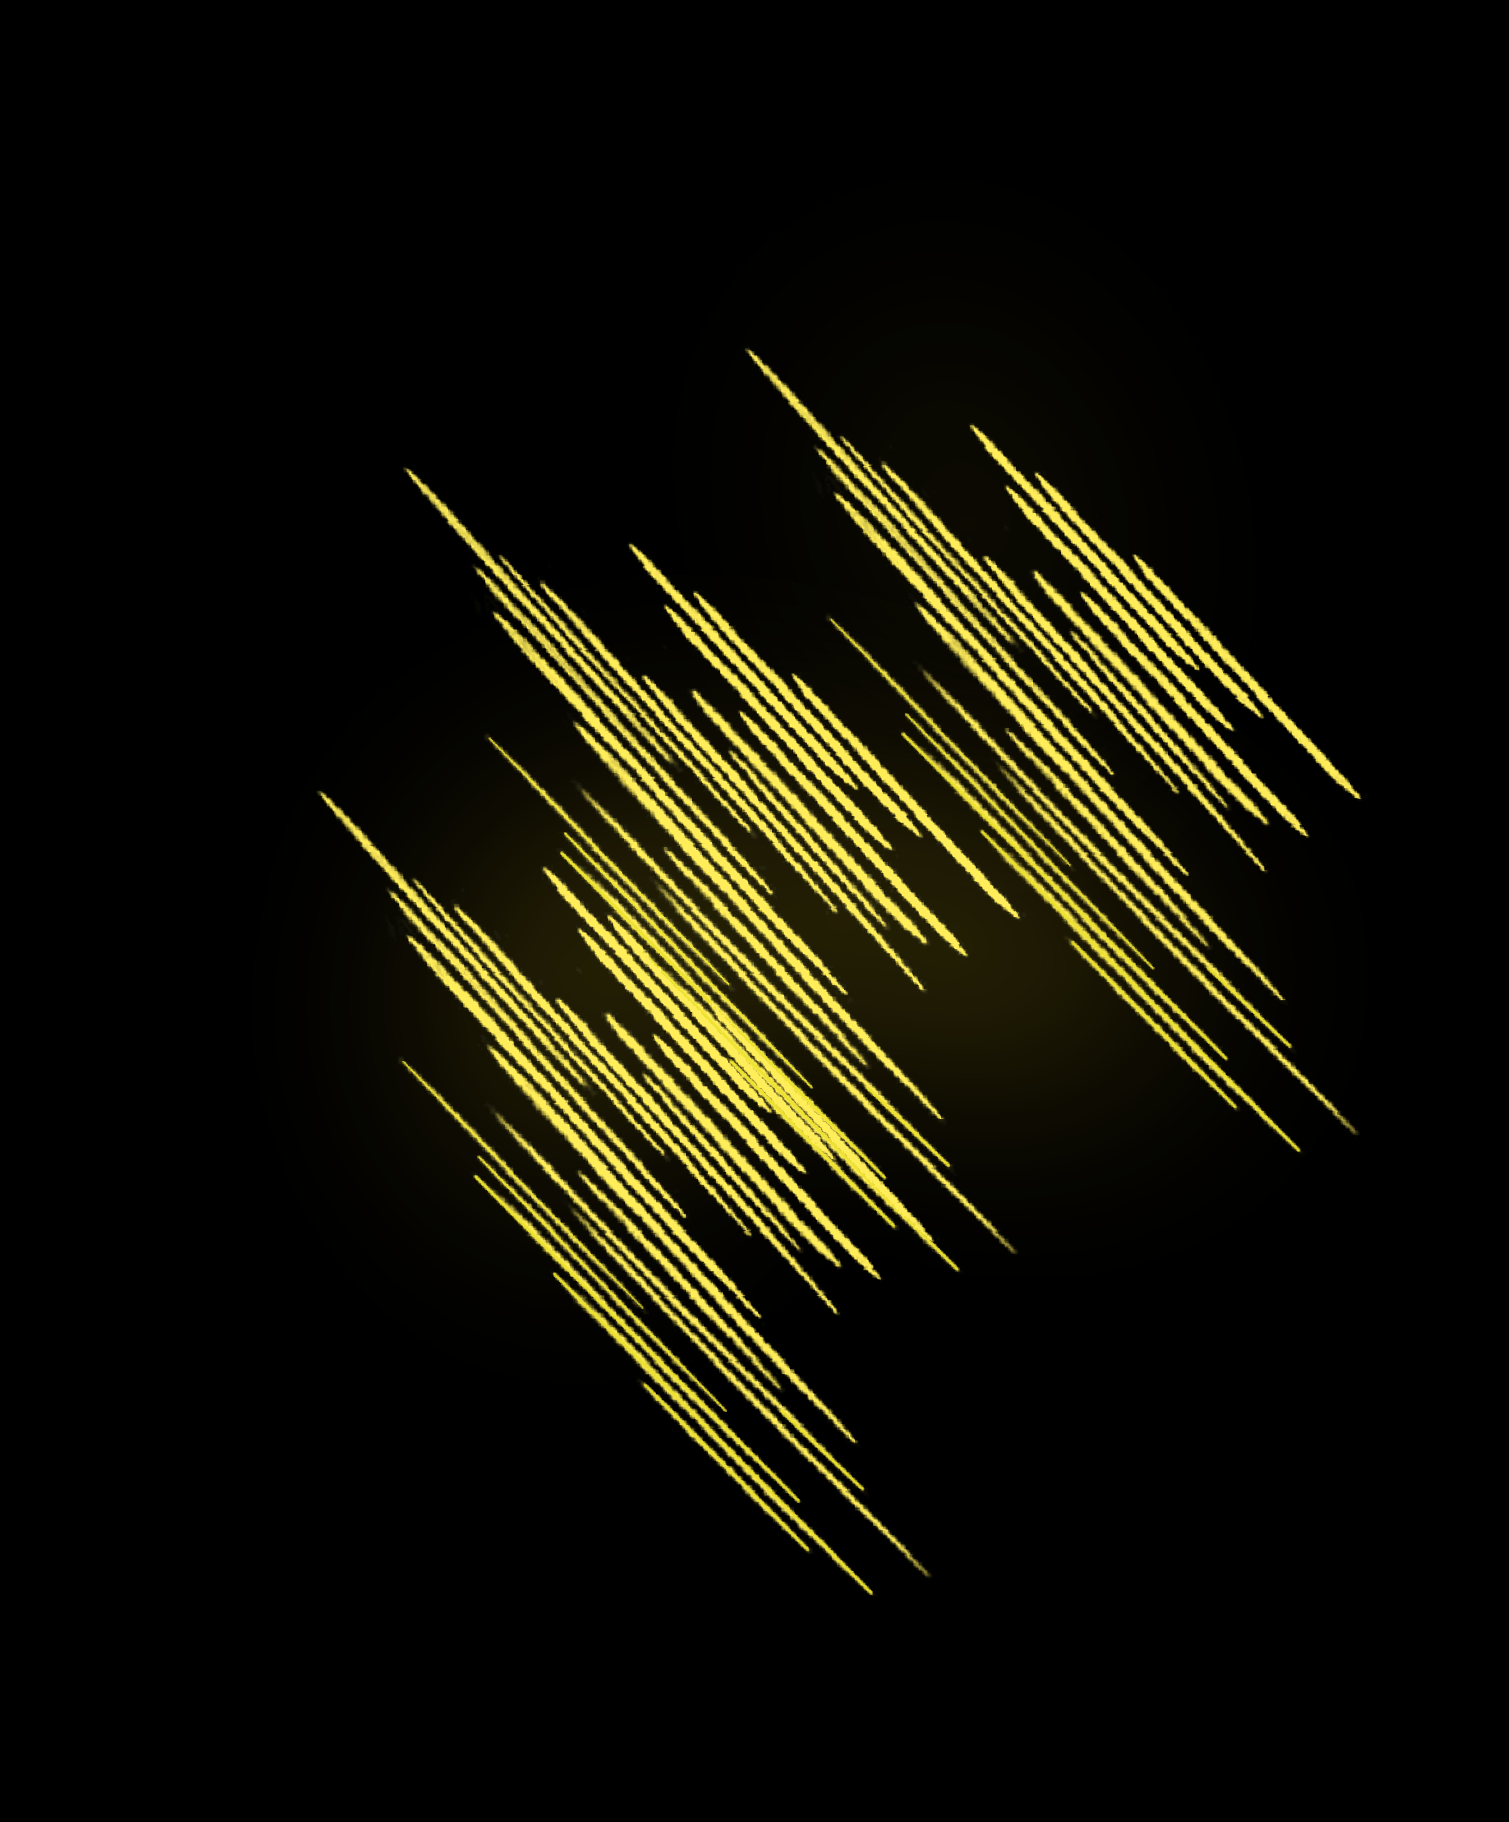
* By placing the brush on the page 1 time, we obtain this wave of aura :

* Sliding the brush without ripple, just in a straight line, gives you this :

The space between aura waves can be reduced by going to:
- WINDOW
- DETAIL OF THE SECONDARY TOOL
- TRAIT
- GAP (default 58.0, you'll understand why with the next example).
Note that under the aura features there is a soft luminous effect (color H:50 S:87 V:90)
ATTENTION: THIS COLOR MUST BE PUT IN YOUR BRUSH COLOR CIRCLE, LEFT SQUARE, SO THAT THE BACK BLUR EFFECT IS THE RIGHT COLOR!!
* By making wave movements with the brush, up and down or up and down, this is where the 58.0 GAP space will really come in.
During the oscillation movements, the gap between the aura waves will reduce and give a continuous wave of energy:

And the same thing on a background of another color :

CAREFUL!!!
You have to play with the stylus, and the speed of movement of the hand to find the right compromise. Feel free to delete your last action and start over.
* LAST NOTE: the angle of the auras can be reversed as well:
- WINDOW
- DETAIL OF THE SECONDARY TOOL
- BRUSH TIP
- ANGLE
Feel free to share the pros and cons with me.
LONG LIVE DRAWING WITH CSP
AURA SSJ :
Qui n'a jamais essayé de reproduire ce fameux bruit avec la bouche, lors de la transformation la plus mythique de tous les animés ?
Et qui n'a jamais voulu reproduire cette aura en dessinant nos supers guerriers ?
C'est tout le mal que je me suis donné pour créer ce pinceau, version 2.0 de l'AURA BRUSH.
* En posant 1 fois le pinceau sur la page, on obtient cette vague d'aura :
* En faisant glisser le pinceau sans ondulation, juste en ligne droite, on obtient ceci :
L'espace entre les vagues d'aura peut être réduit en allant dans:
- FENETRE
- DETAIL DE l'OUTIL SECONDAIRE
- TRAIT
- ECART (par défaut 58.0, vous comprendrez pourquoi avec le prochain exemple).
Notez que sous les traits d'aura se trouve un effet lumineux doux (couleur H:50 S:87 V:90)
ATTENTION: IL FAUT QUE CETTE COULEUR SOIT MISE DANS VOTRE CERCLE DE COULEUR DE PINCEAU, CARRE DE GAUCHE, POUR QUE L'EFFET DE FLOU ARRIERE SOIT DE LA BONNE COULEUR !!!
* En faisant des mouvements de vagues avec le pinceau, de haut en bas ou de bas en haut, c'est là que l'espace ECART de 58.0 va vraiment intervenir.
Lors des mouvements d'oscillation, l'écart entre les vagues d'aura va se réduire et donner une vague d'énergie continue :
Et la même chose sur un fond d'une autre couleur :
ATTENTION !!!
Il faut jouer avec le stylet, et la vitesse de déplacement de la main pour trouver le bon compromis. n'hésitez pas à effacer votre dernière action et à recommencer.
* DERNIERE PRECISION: l'angle des auras peut être inversé également :
- FENETRE
- DETAIL DE l'OUTIL SECONDAIRE
- POINTE DU PINCEAU
- ANGLE
N'hésitez pas à me partager les plus et les moins.
VIVE LE DESSIN AVEC CSP


Other materials by MikaelH


Popular “Brush” materials


New materials


Badges
-
 MVP ◆This user has contributed greatly to the management of the community, by posting many great responses to the questions asked. Once every three months, MVPs are determined based on the points earned during that period and will be recognized accordingly.
 -
 New Valuable Player (NVP) ◆These are the next-best contributors to the community after MVPs. This is awarded to users who have not yet won an MVP award, based on the number of points they have earned.
 -
 Official Expert ◆Chosen out of all MVP awardees, who are already proof of excellence, this is a testimony of outstanding correspondence in the community. After careful screening, they are appointed by CELSYS and assume their position.Note: Formally called “Evangelists”
 -
 Official Moderator of CELSYS ◆Moderators are official CELSYS staff members who are fluent in Japanese as well as various other languages. Moderators are not experts on the software or illustration, so they are not able to directly answer your questions. However, moderators provide communication and language support to ensure that everyone can smoothly communicate with each other.
 -
 CELSYS official accountThe Official Administrator Account