
Auxiliary line for three-view drawing object (3面図制作用補助線オブジェクト) 3面図制作用補助線オブジェクト
Content ID:2207234
-
59

* Since it was uploaded from image material, it will be re-uploaded from 3D material registration.
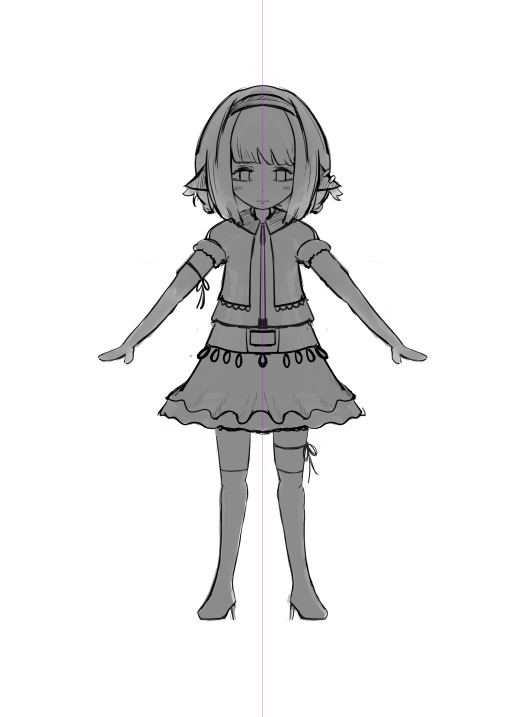
It was a hassle to draw a lot of lines for the 3D modeling reference image, so I made an auxiliary line object that can be easily moved. You can easily move up, down, left and right, so please use it as a drawing companion.
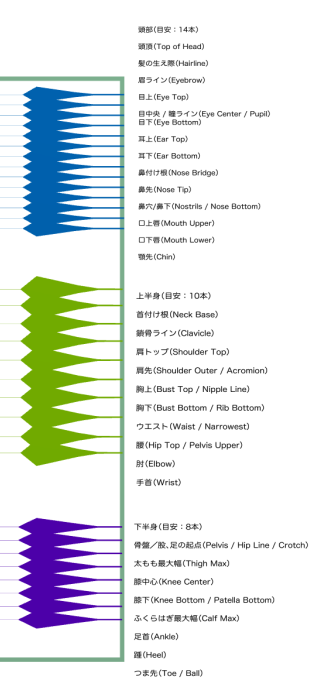
It's just a horizontal line, but I'd like to add three or four vertical lines if requested.
※画像素材からアップしてしまったので3D素材登録から再アップロード予定です。
3Dモデリングのリファレンス画像用に線を沢山引くのが手間だったので、簡単に移動可能な補助線オブジェクトを作ってみました。簡単に上下左右移動ができるので作図のお供にお使い下さい。
水平線だけですが、要望があれば3、4本垂直線も追加したいと思います。
use


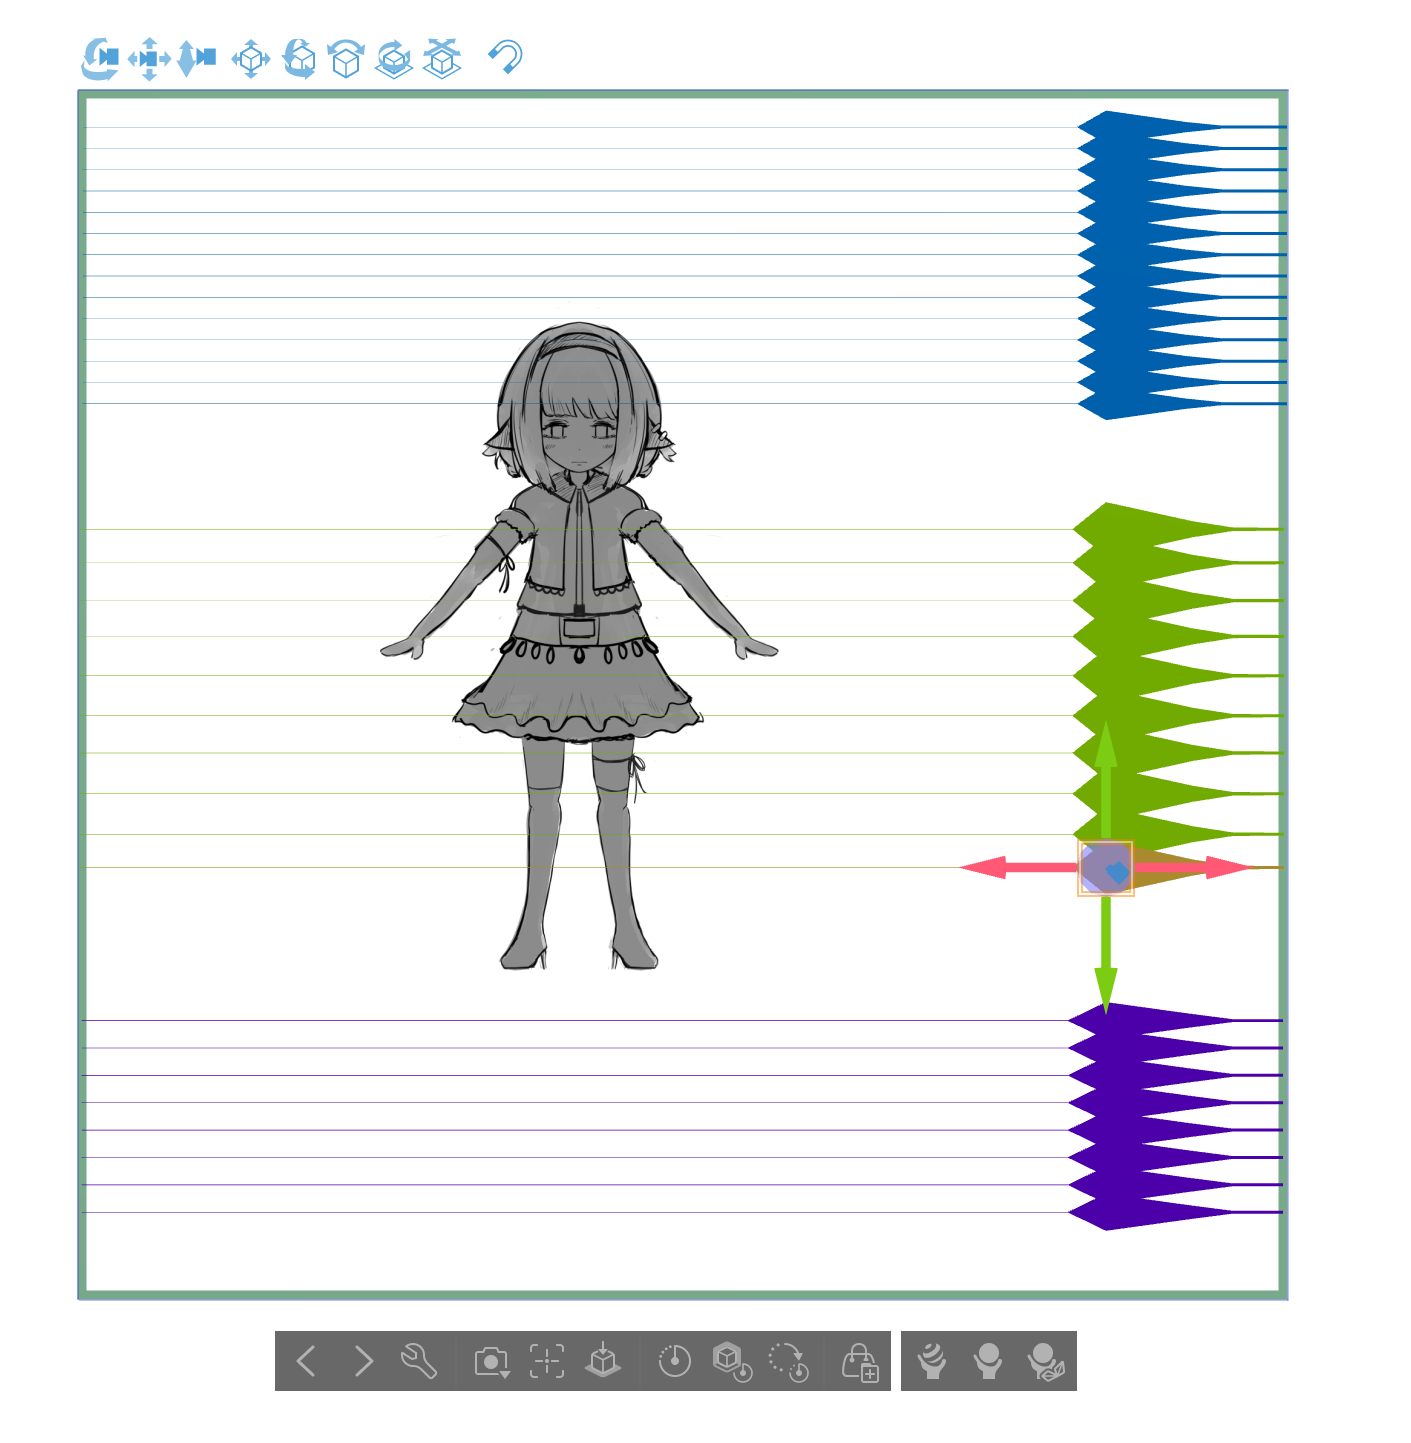


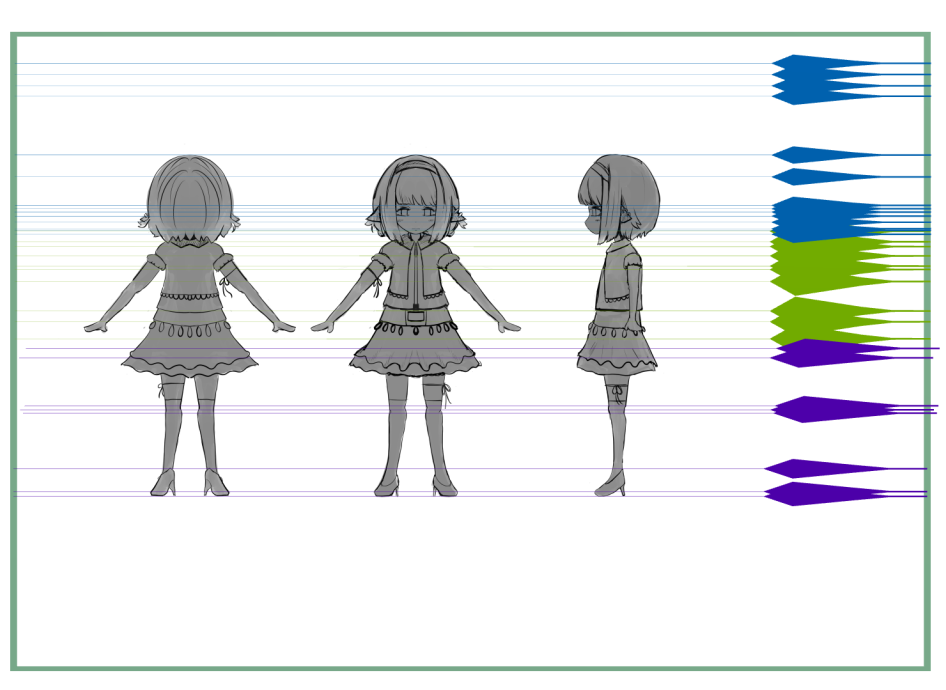
For the time being, draw a front view with a symmetrical ruler.

Then drop the downloaded object onto the canvas and
Let's just set it up briefly.
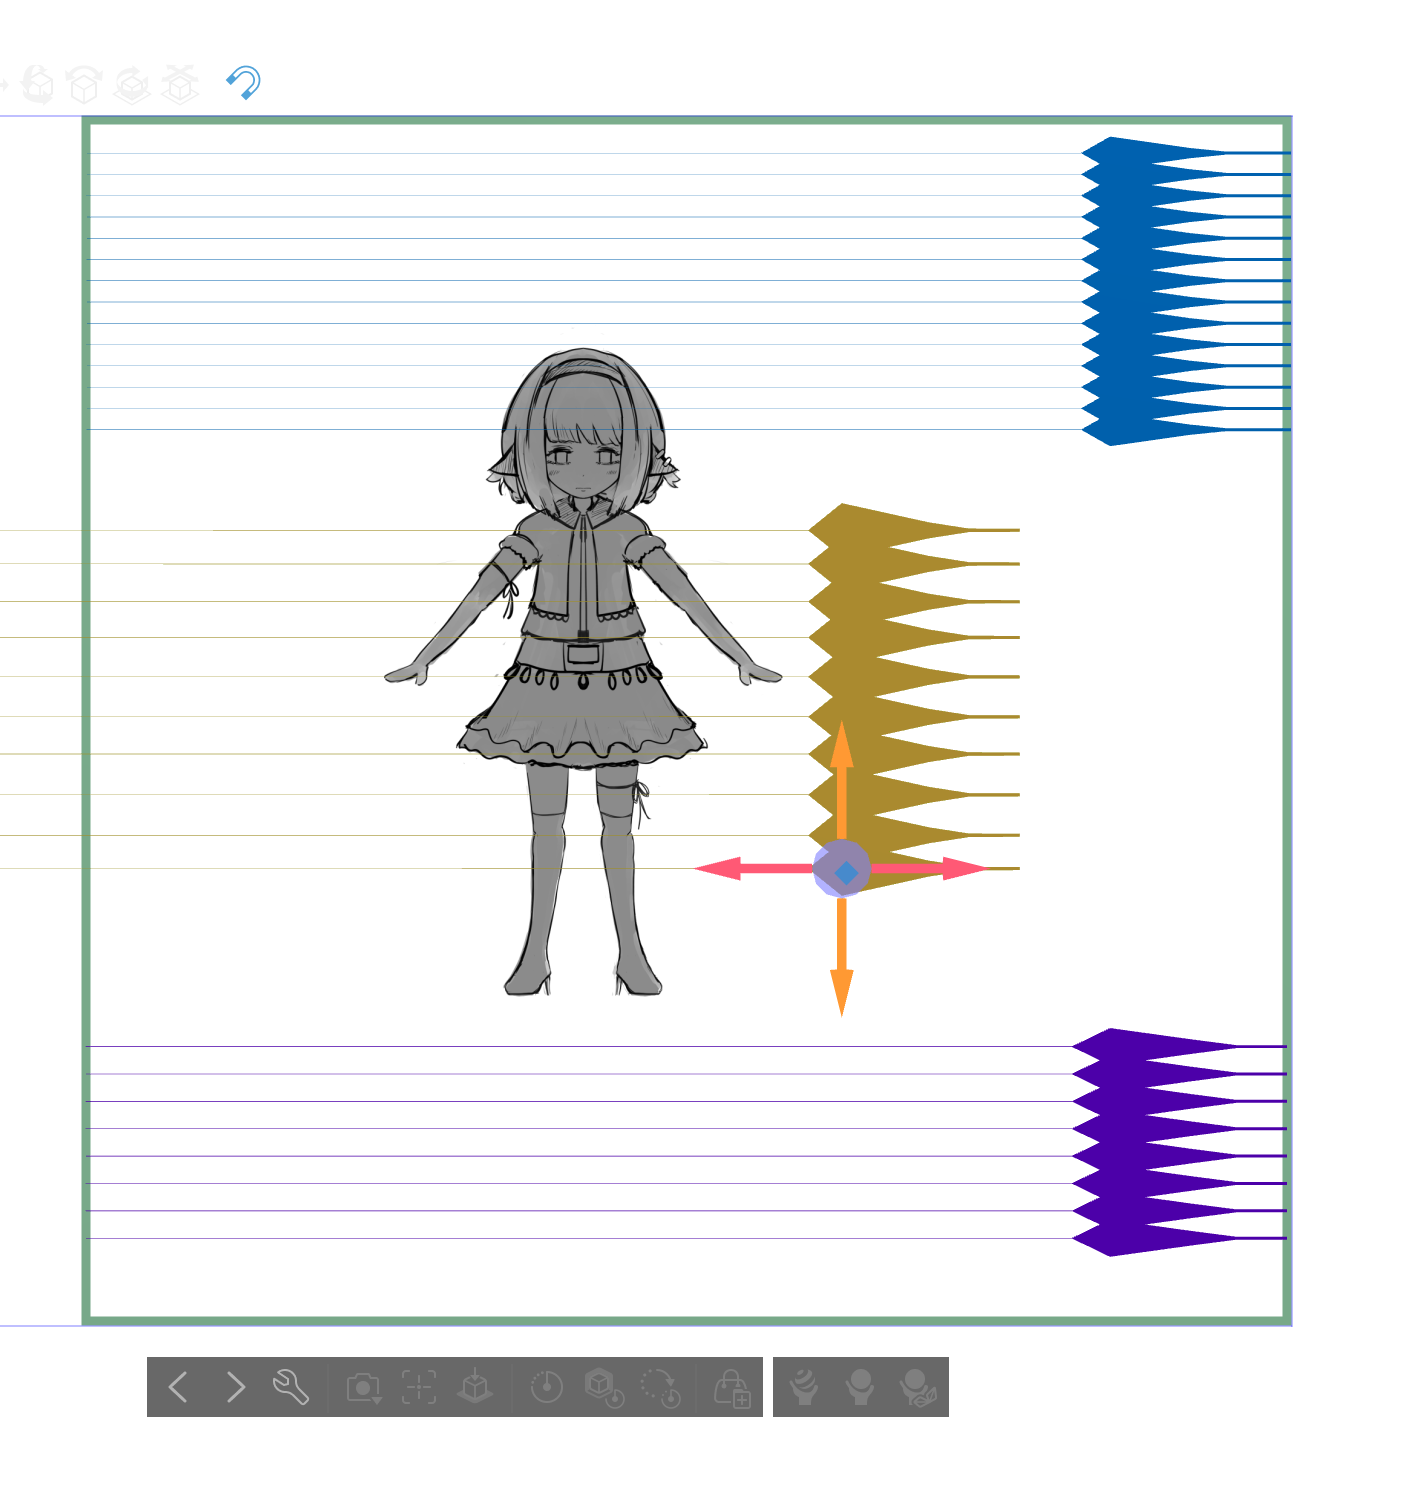
Since it is a 3D material, the camera is locked from the sub tool detail so that it does not rotate unexpectedly.

Only move the manipulator to display.

If you set these two points, the object will not rotate
You can move it while keeping the front.

A single click on the thick right side of the line (anywhere) will bring up a manipulator in the center, but you can use it to move the entire object.

If you click the thick part on the right side of the auxiliary line again, the manipulator will appear there individually.
Basically, raise and lower this and place it wherever you like.

Multiple selections can be made by Shift + Click, so put them all together and get close to the front view.
It is easier to arrange them vertically and vertically.


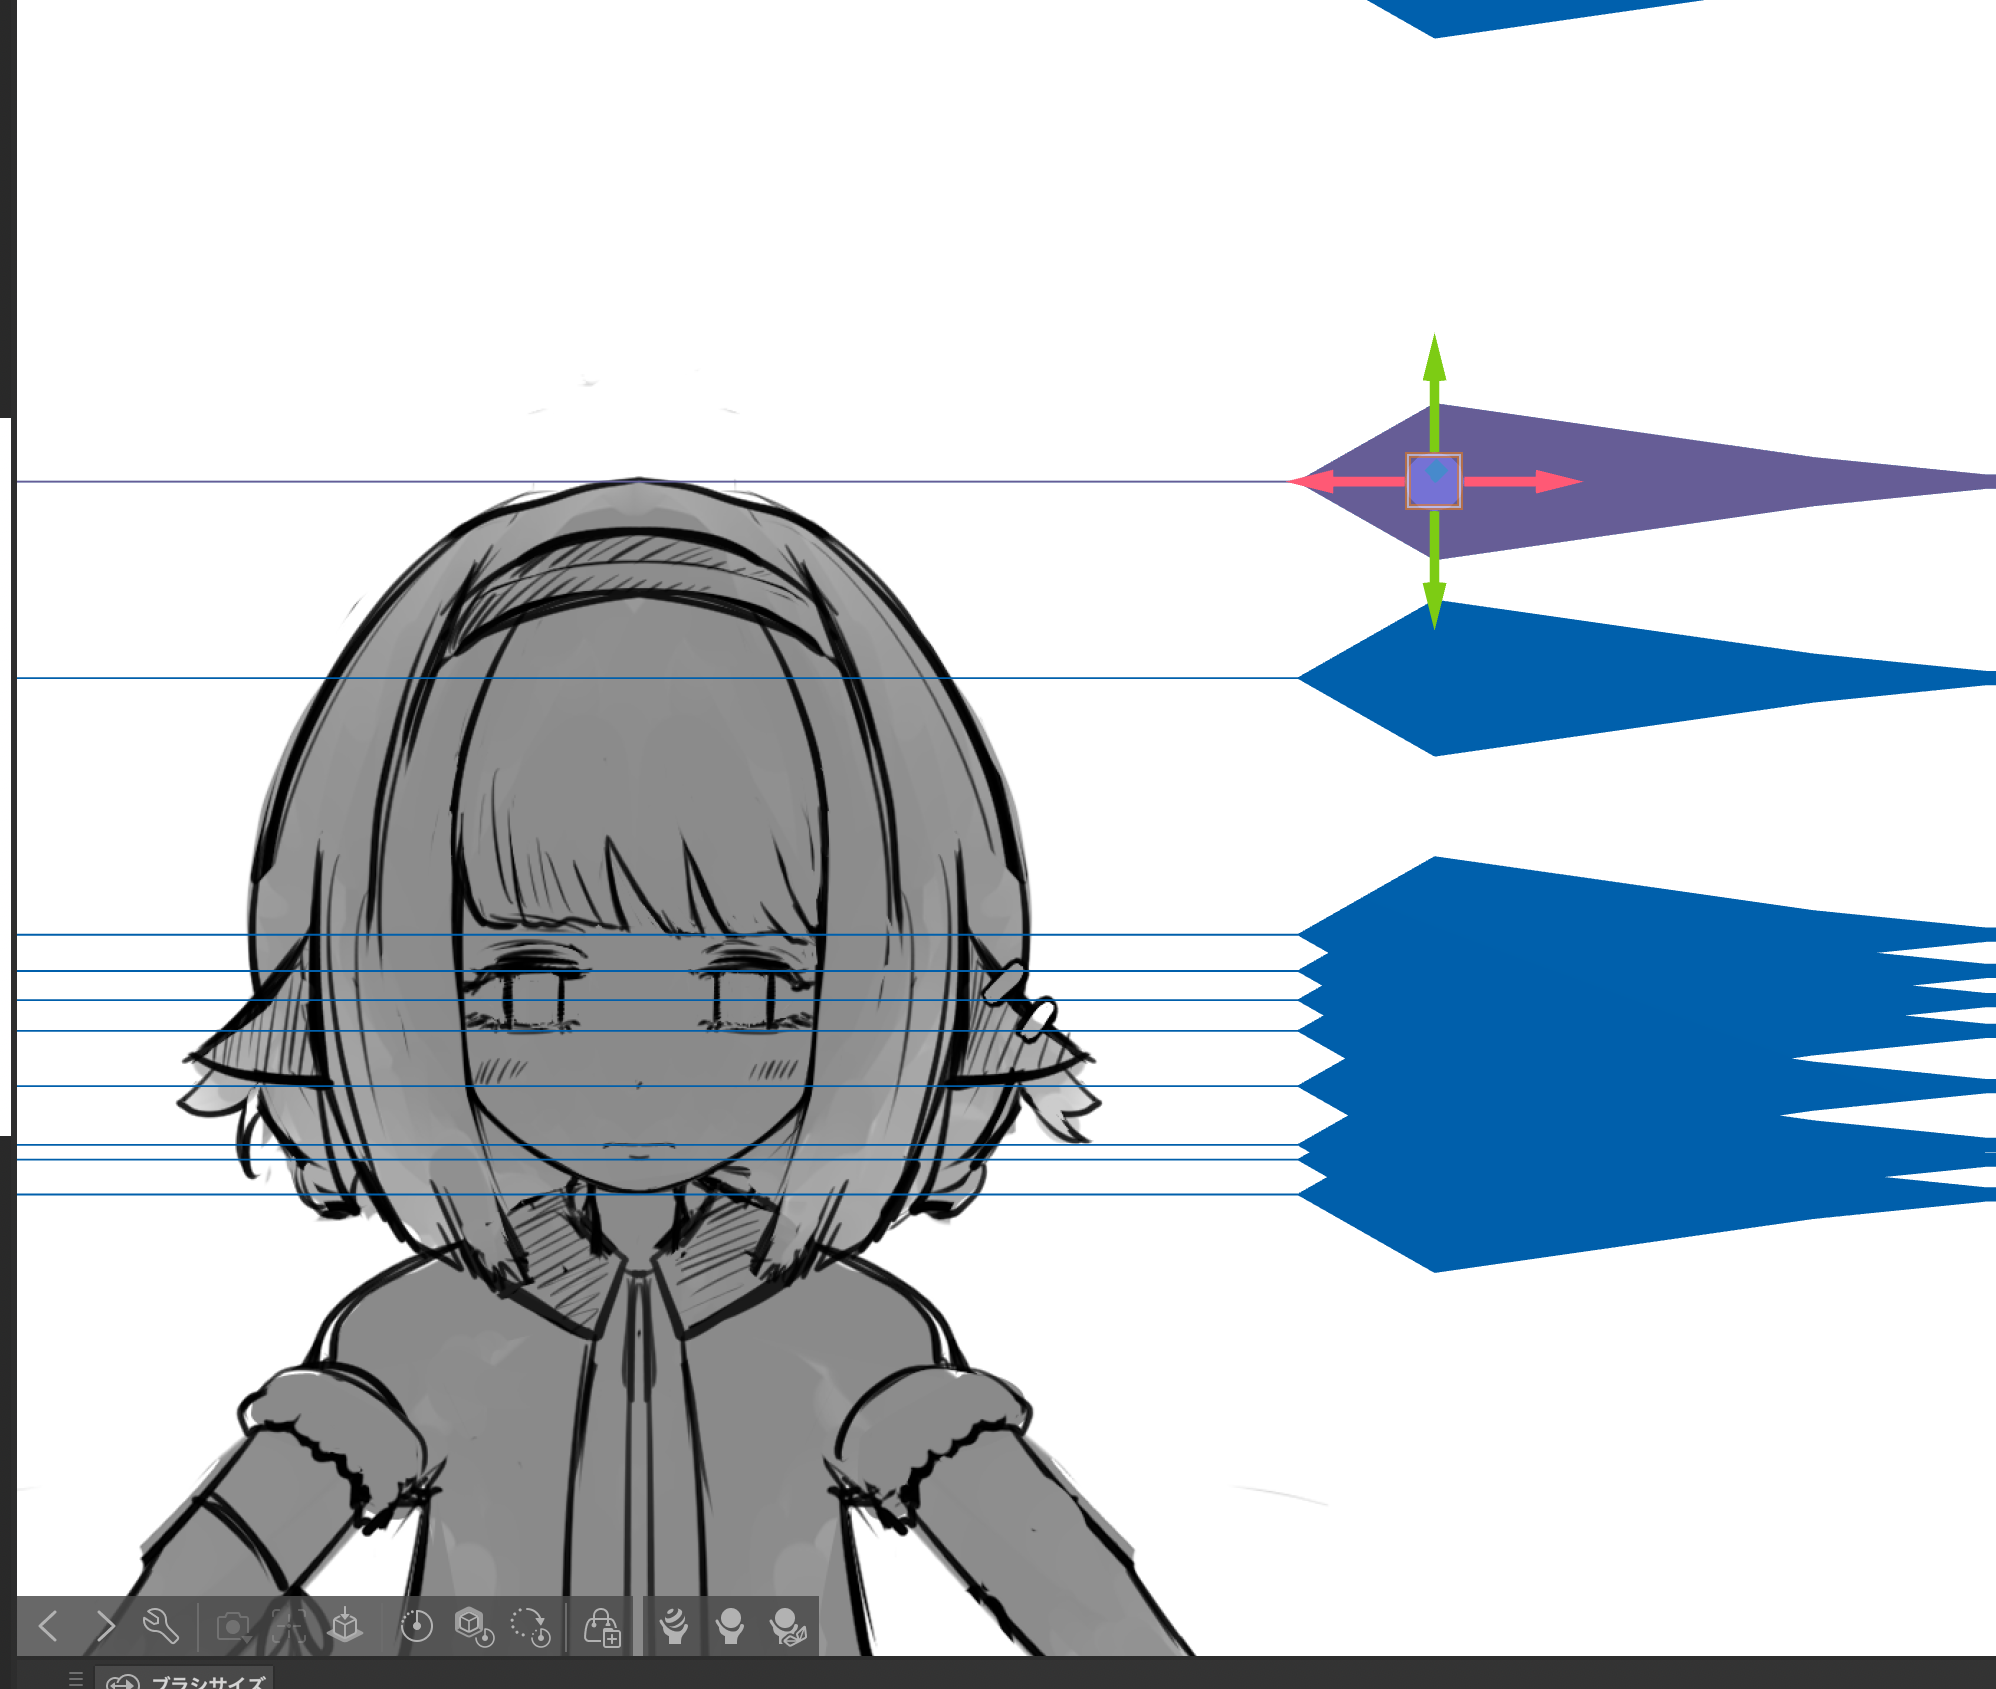
After placing the blue line on the head, select it again and move it to the right side.
Upper body and lower body as well.
After placing everything, on the sub tool detail placement tab, click
Uncheck Fixed ratio and stretch the line horizontally on the X-axis scale.

Now draw the back and sides based on the line of the extended position
You can color it as you like and you're done.


Do you usually use this much for the lines of each color? Because it is a number made appropriately with
Please use the number of bottles you want to use yourself.
使い方
ひとまず対称定規などで正面図を描きます。
次にダウンロードしたオブジェクトをキャンバスにドロップし
簡単に設定だけしておきます。
3D素材なので不意に回転しないようにサブツール詳細からカメラをロック。
表示するマニピュレータを移動だけにしておく。
この2点を設定しておけばオブジェクトが回転せずに
正面を保ったまま動かせます。
線の右側太い部分(どこでも)を1度クリックすると中心にマニピュレータが出ますが、これを使うとオブジェクト全体を移動できます。
補助線右側の太い部分をもう一度クリックするとそこに個別にマニピュレータが出るので
基本これを上下させてお好きな所へ配置してください。
shift +クリックで複数選択可能なので、まとめて正面図に近づけてから
個別に上下配置すると楽です。
頭部の青色線を配置したら再度まとめて選択して右側に寄せておき
上半身下半身も同様に。
全て配置したら、サブツール詳細の配置タブで
比率固定のチェックを外しX軸スケールで線を横に伸ばします。
これで伸ばした位置の線を元に背面、側面を描いて
お好みで色塗ったりして完成です。
それぞれの色の線は大体これくらい使うかな?と適当に作った数なので
ご自身で使いたい本数をお使い頂ければと思います。


Other materials by ひえむぎあわこ

Popular “Image material” materials


New materials


Badges
-
 MVP ◆This user has contributed greatly to the management of the community, by posting many great responses to the questions asked. Once every three months, MVPs are determined based on the points earned during that period and will be recognized accordingly.
 -
 New Valuable Player (NVP) ◆These are the next-best contributors to the community after MVPs. This is awarded to users who have not yet won an MVP award, based on the number of points they have earned.
 -
 Official Expert ◆Chosen out of all MVP awardees, who are already proof of excellence, this is a testimony of outstanding correspondence in the community. After careful screening, they are appointed by CELSYS and assume their position.Note: Formally called “Evangelists”
 -
 Official Moderator of CELSYS ◆Moderators are official CELSYS staff members who are fluent in Japanese as well as various other languages. Moderators are not experts on the software or illustration, so they are not able to directly answer your questions. However, moderators provide communication and language support to ensure that everyone can smoothly communicate with each other.
 -
 CELSYS official accountThe Official Administrator Account