This material was deleted by the creator, but you can still use it if you have already downloaded it.
Badges
-
 MVP ◆This user has contributed greatly to the management of the community, by posting many great responses to the questions asked. Once every three months, MVPs are determined based on the points earned during that period and will be recognized accordingly.
 -
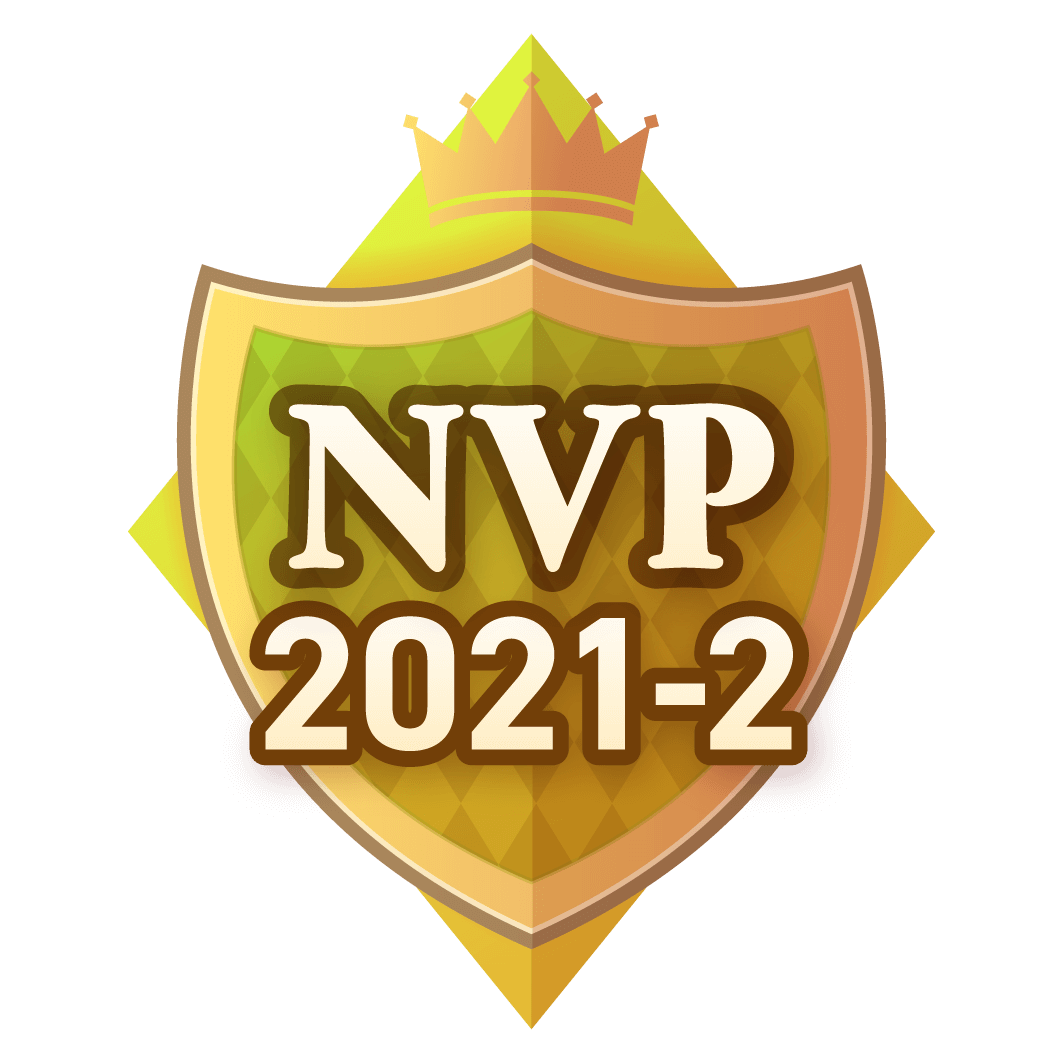
 New Valuable Player (NVP) ◆These are the next-best contributors to the community after MVPs. This is awarded to users who have not yet won an MVP award, based on the number of points they have earned.
 -
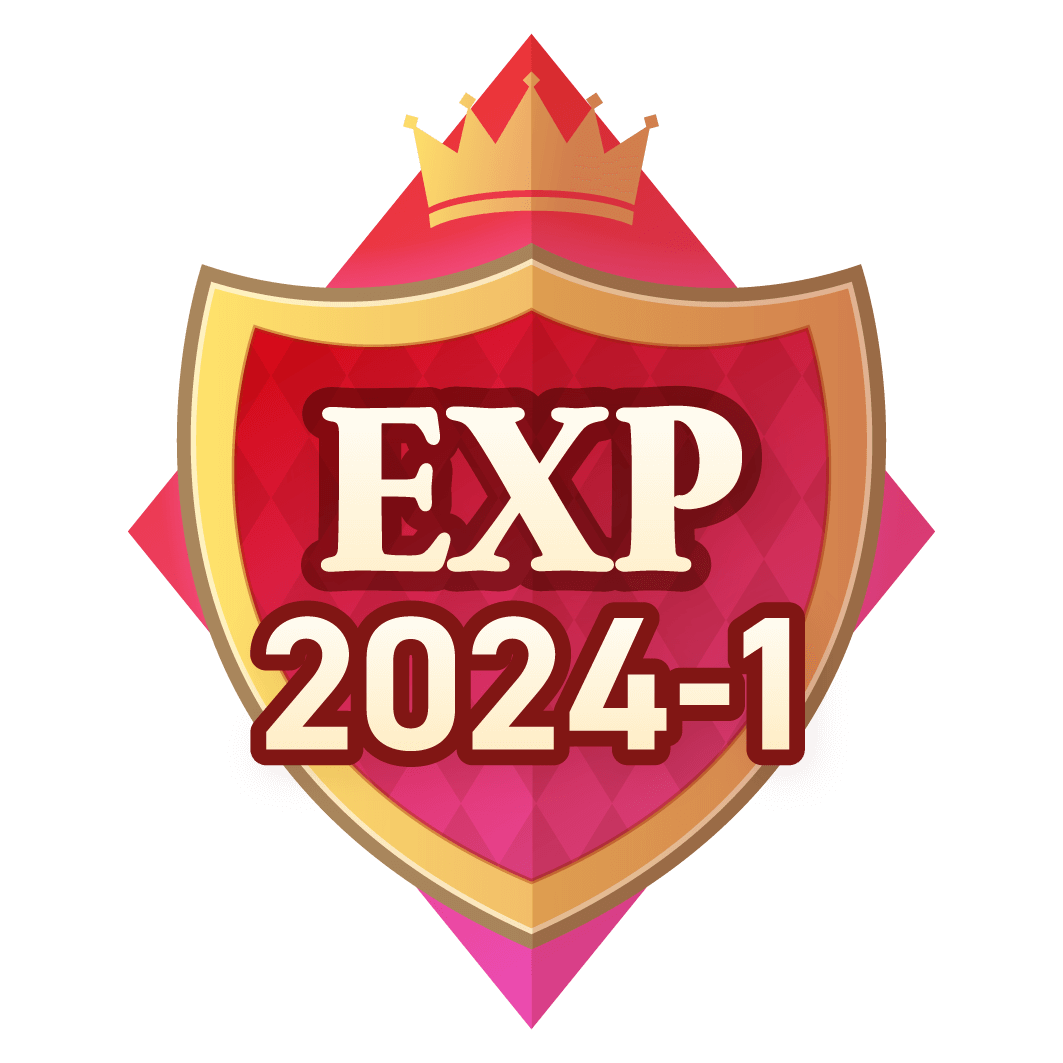
 Official Expert ◆Chosen out of all MVP awardees, who are already proof of excellence, this is a testimony of outstanding correspondence in the community. After careful screening, they are appointed by CELSYS and assume their position.Note: Formally called “Evangelists”
 -
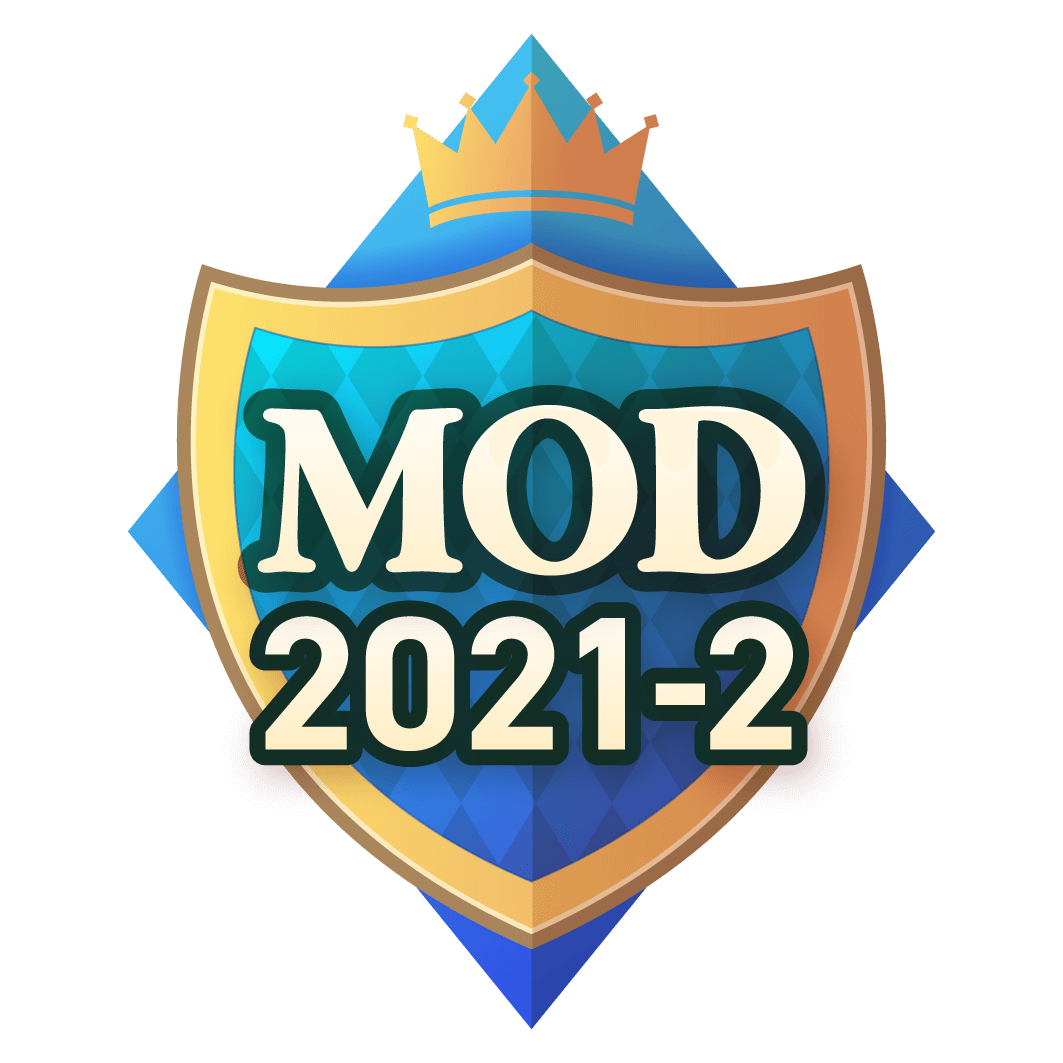
 Official Moderator of CELSYS ◆Moderators are official CELSYS staff members who are fluent in Japanese as well as various other languages. Moderators are not experts on the software or illustration, so they are not able to directly answer your questions. However, moderators provide communication and language support to ensure that everyone can smoothly communicate with each other.
 -
 CELSYS official accountThe Official Administrator Account
View more
View less
Sign in required.
Clear all
Free
Clippy
Gold
Brush
3D object
3D head
Pose
Image material
__BUTTON_NAME__
Search results
results
stories
Cannot show any more results as the search results exceed 10,000.
Please add more keywords or search terms to reduce the number of results.
Please add more keywords or search terms to reduce the number of results.
読込に失敗しました。
Cannot show any more results as the search results exceed 10,000.
Please add more keywords or search terms to reduce the number of results.
Please add more keywords or search terms to reduce the number of results.
