此更新添加了連續曲線。您可以通過向量圖層功能更有效地使用它。
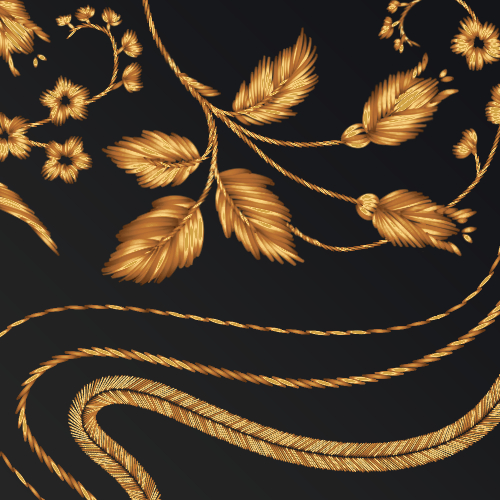
我試圖瞭解更多關於畫筆設置的資訊,這導致了這個畫筆。我調整了它,讓它看起來像逼真的刺繡。此外,我還包括一些預製針跡,白色也是用這把刷子製成的。 您可以使用此畫筆獲得如下結果:
確保將主色設置為黑色,將輔助色設置為白色。通過漸變貼圖對結果進行著色。

套裝中的畫筆:使用單線刷繪製您想要的任何針跡。此外,您還可以在柵格圖層或向量上使用連續曲線類型,以便以後對其進行編輯。
為了獲得更好的效果 ,請先為您的刺繡繪製佈局,然後像縫紉一樣孵化它。此外,如果您在向量圖層上繪畫,您可以通過圖層屬性選項卡編輯結果,或者按“Y”,您將打開相關線子工具。我建議使用控制點工具 及其選項。
This update has continuous curve added. You can use it more efficient with vector layer abilities.
I tried to learn more about brush settings and this resulted in this brush. I adjusted it so it looks like realistic embroidery. Also I include few pre-made stitches, whish is also made with this brush. You can use this brush to get results like this:
Make sure you set main color to black and secondary to white. Colorize results through gradient map.

brushes in set:Use single thread brush to paint any stitch you want. Also you can use continuous curve type on raster layer or vector, so you can edit it later.
To get better results paint layout for your embroidery first and then hatch it like stiches do. Also if you paint on vector layer you can edit results through layer properities tab or by pressing "Y" you will open corret line subtool. I recomend using control point tool and it's options.


