


버블 브레이드 박스 브레이드 브레이드 브레이드 브레이드 부품 (Bubble Braids Box Braids Braiding Parts) Bubble Braids Box Braids Braiding Parts
콘텐츠 ID:2305860
-
43


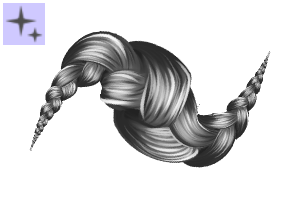
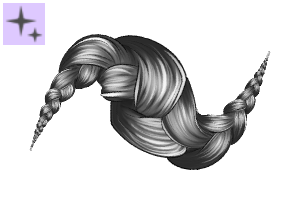
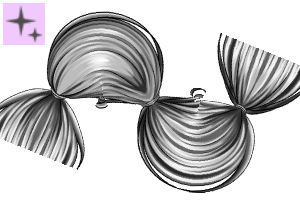
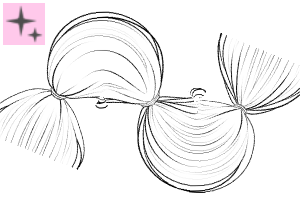
검은색 보호 헤어스타일을 그리기 쉽게 만들기 위해 만들어졌어요.
이 자료는 9월 19일까지 무료로 제공됩니다
Made to make drawing black protective hairstyles easier to draw.
This material will remain free until september 19th

땋은 부분은 위 사진의 부드러운 웹툰 머리를 참고했습니다. 하지만 부품을 머리에 맞게 변형시킬 수는 있습니다
색상은 기본 색상과 하위 색상으로 변경할 수 있습니다. 기본 색상은 어두운 부분과 선화를 제어하고, 서브 컬러는 하이라이트를 제어합니다.

땋는 부분을 보기 좋게 만들기 위해, 제가 만드는 방법에 대한 작은 튜토리얼을 만들었어요.

1단계:
브레이딩 부품의 레이어는 그레이스케일로 설정되어 있으니, 색상으로 바꿔야 합니다. 그렇지 않으면 부품에 색을 칠할 수 없어요.
2단계:
에어브러시를 사용해 부품의 윤곽선을 그려보세요. 에어브러시는 너무 부드러워서는 안 됩니다.
3단계:
약간 블렌딩되는 브러시를 사용해 색상을 선택하지 않은 뒤, 부품 전체에 작은 획을 그어 지우세요. 모든 획이 땋은 부분이 붙은 장력 지점 쪽을 향하도록 하세요.
4단계:
부드러운 선화 붓을 사용해 원한다면 아기 머리카락을 조금 추가해도 됩니다.
얼굴을 감싸는 부분에만 추가하세요.
얼굴을 감싸는 부분에만 추가하세요.

이 카탈로그가 저 외에 누군가에게 도움이 되길 바랍니다:)
As a reference for the braiding parts, I used the soft webtoon head, picture above. Though you can transform the parts to fit with your head
The color can be changed with the primary and sub color. The primary color controls the dark areas and lineart, the sub color controls the highlight.
In order to make the braiding parts look good, I've made a small tutorial on how I do it.
Step 1:
The layer of the braiding parts is set to grayscale, you must change it to color. Otherwise you won't be able to color the parts.
Step 2:
Using an airbrush, outline the parts. The air brush shouldn't be too soft.
Step 3:
Using a brush that blends just slightly, select no color and erase in small strokes all around the part. Make sure the strokes are all facing inwards towards the tension point, where the braid is attached.
Step 4:
Using a soft lineart brush, add some baby hairs if you'd like.
Only add them for the parts framing the face.
Only add them for the parts framing the face.
I hope this catalogue is of use to anyone besides myself :)
카테고리 1 Kategorie 1
-
소규모 부품 B small parts b
-
중간 부품 B medium parts b
-
큰 부분 B large parts b
-
점보 파트 B jumbo parts b
-
뒷면 부품 없음 back no parts
-
작은 부분 small parts s
-
중간 부품 medium parts s
-
큰 부분 large parts s
-
점보 부품 s jumbo parts s
-
부품 없음 no parts s
-
작은 부분 f small parts f
-
중간 부분 f medium parts f
-
큰 부분 f large parts f
-
점보 파츠 f jumbo parts f
-
부분 f 없음 no parts f
-
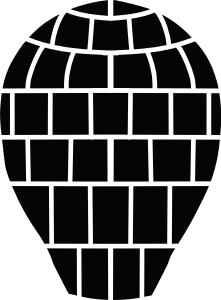
박스 브레이드 색상 box braid shade
-
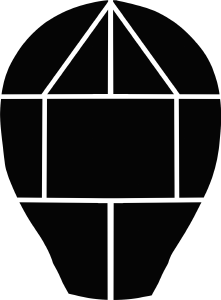
박스 브레이드 라인 앤 쉐이드 box braid line n shade
-
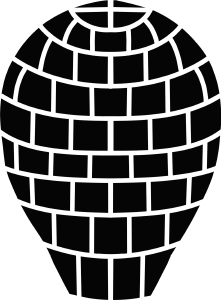
그늘진 버블 브레이드 Bubble Braids shaded
-
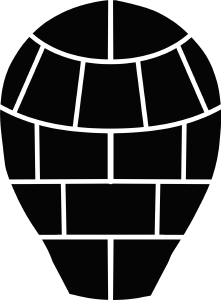
버블 브레이드 플레인 Bubble Braids plain










'ShokoLate'님의 다른 소재

'소재집'의 인기 소재


신규 소재





배지
-
 MVP ◆질문에 적절한 답변을 많이 게시하고 커뮤니티 운영에 크게 공헌한 사용자입니다. MVP는 3개월에 한 번, 그 사이에 획득한 포인트를 바탕으로 결정하고 표창을 실시하고 있습니다.
 -
 NVP(New Valuable Player) ◆MVP 다음으로 커뮤니티 운영에 공헌한 사용자입니다. 이제까지 MVP 수상 경험이 없는 분 중에서 획득한 포인트를 바탕으로 결정하여 표창을 실시하고 있습니다.
 -
 공식 엑스퍼트 ◆뛰어난 응답자의 증표인 MVP수상자 중에서 선택된 커뮤니티에서 가장 뛰어난 응답자의 증표입니다. 심사를 거쳐서 저희 회사에서 의뢰할 경우 취임되십니다.※ 옛 명칭 '에반젤리스트'
 -
 셀시스 공인 모더레이터 ◆모더레이터는 일본어와 기타 언어로 말할 수 있는 셀시스 공인 스태프입니다. 소프트웨어나 창작 전문가가 아니므로 직접 의문을 해결할 수는 없지만 여러분이 순조롭게 소통할 수 있도록 언어나 커뮤니케이션 측면에서 지원합니다.
 -
 셀시스 공식운영에 관련된 공식 계정입니다.