


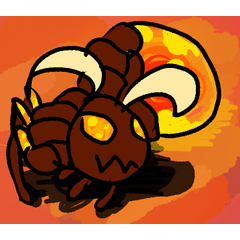

이 브러시는 스케치 레이어에서 라인을 그려 라인 아트 레이어로 넘어가 색칠을 하고 나중에 렌더링할 수 있는 블록을 만들기 위해 만들어졌습니다;
하지만 블록 없이는 지나갈 수 없었고, 적어도 저에게는 최고가 되도록 만들어졌습니다!
This brush is made to create blocks that you can outline in a sketch layer, go to a line art layer, and than colour, and render afterwards;
but you couldn't even go past without a block, and this is made to be the best it can be, at least for me!
그래서 도구를 사용하려면 방법을 알아야 합니다. 최근 제 프로필 사진을 포함한 최고의 디지털 작품 중 몇 가지가 이 브러시를 사용했습니다.
간단한 과정입니다; 먼저, 초점 지점에 새로운 래스터 레이어를 추가합니다; 그리고 이 붓으로 각 부분을 색으로 만들어서 이해할 수 있게 해요; 그 다음에는 스케치 레이어(다른 붓으로)를 하고, 나머지는 그 후에 하세요!
(제 그림은 배경을 보여줄 예정이지만, 블록 레이어 전에 배경을 보여주는 것은 추천하지 않습니다; 다 끝난 후에 저장해둡니다)
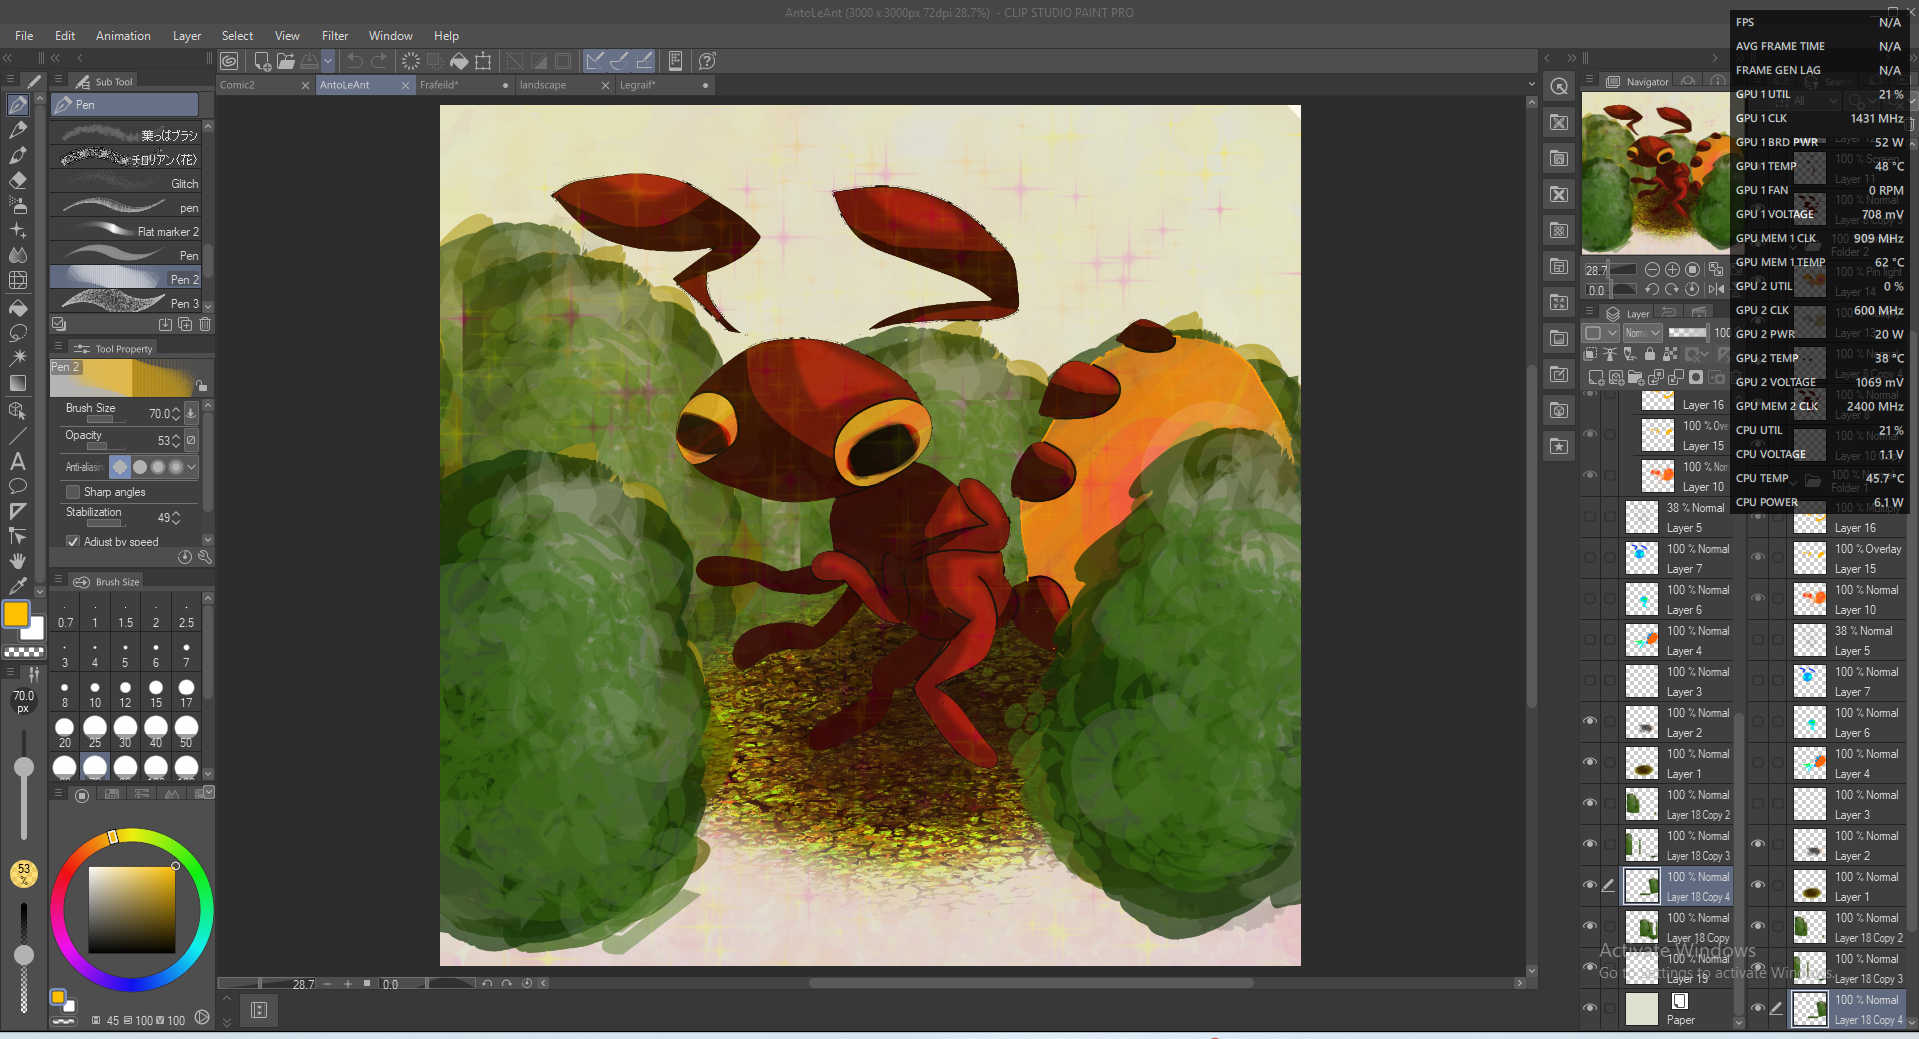
앙톨리앙트:
블록:
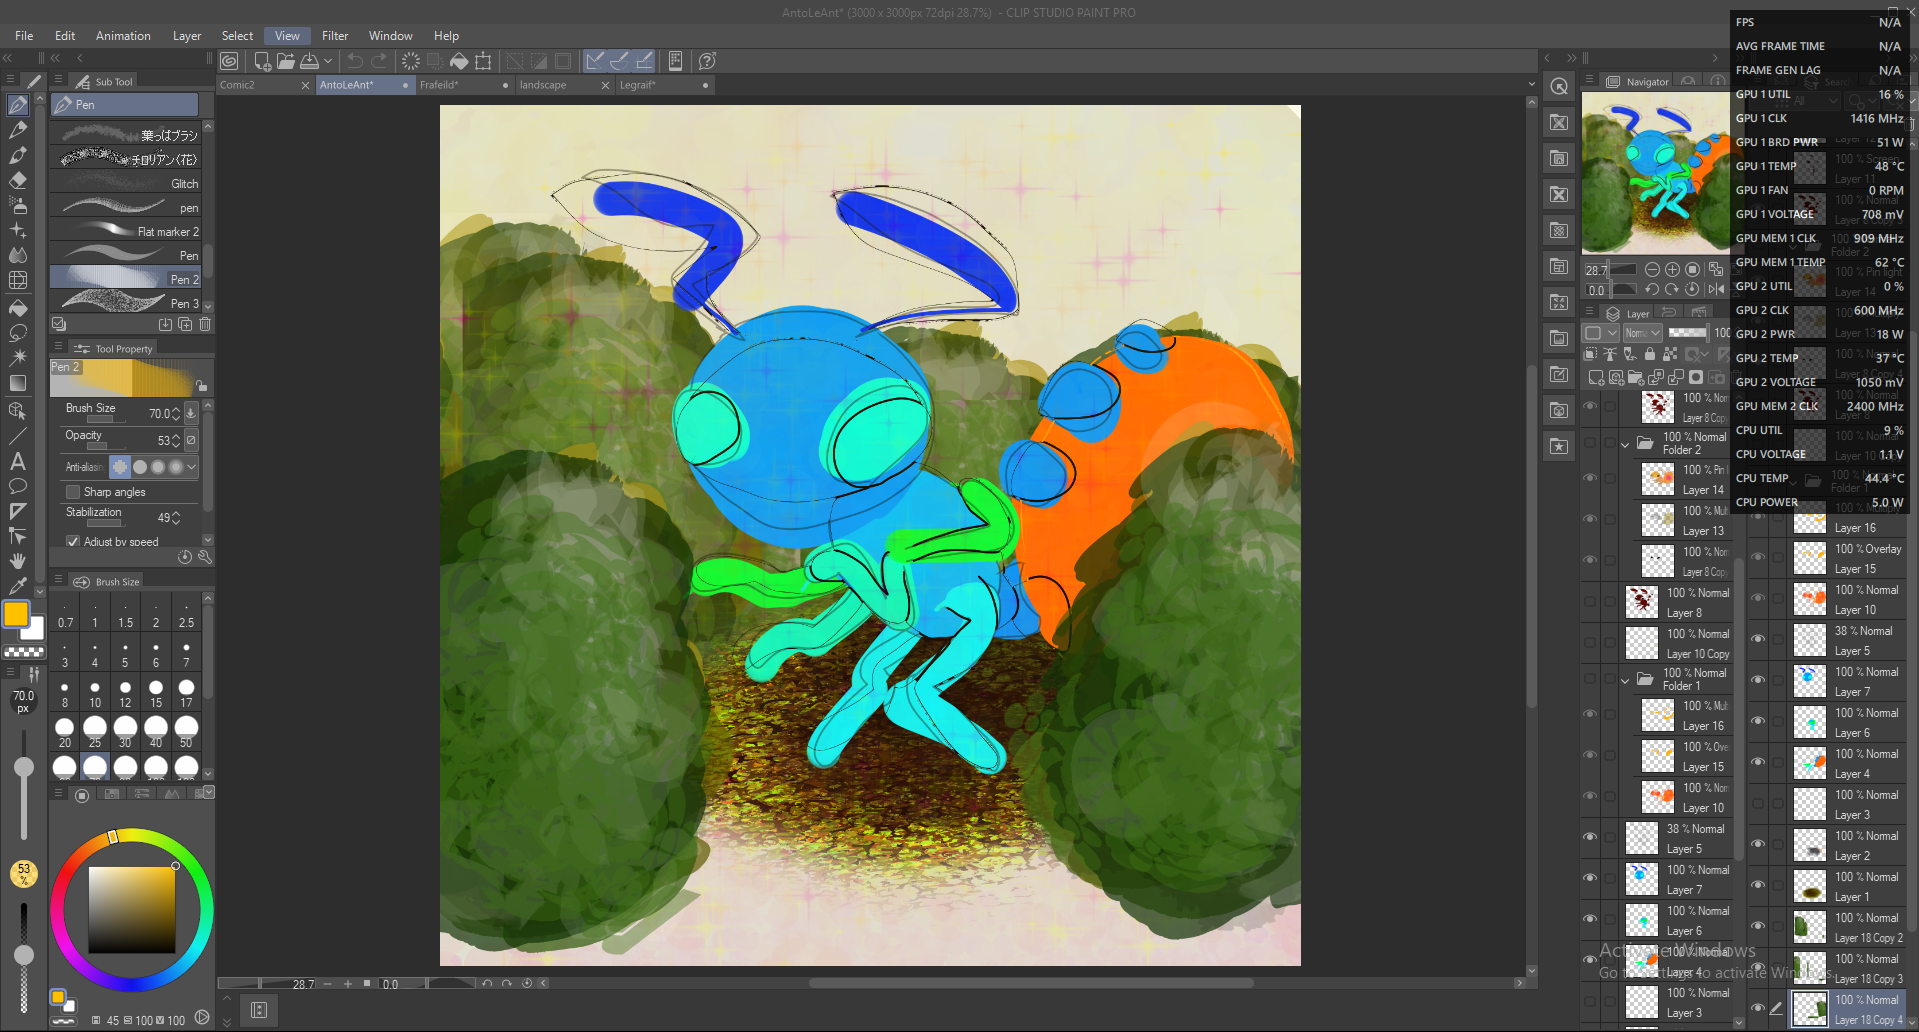
라인:
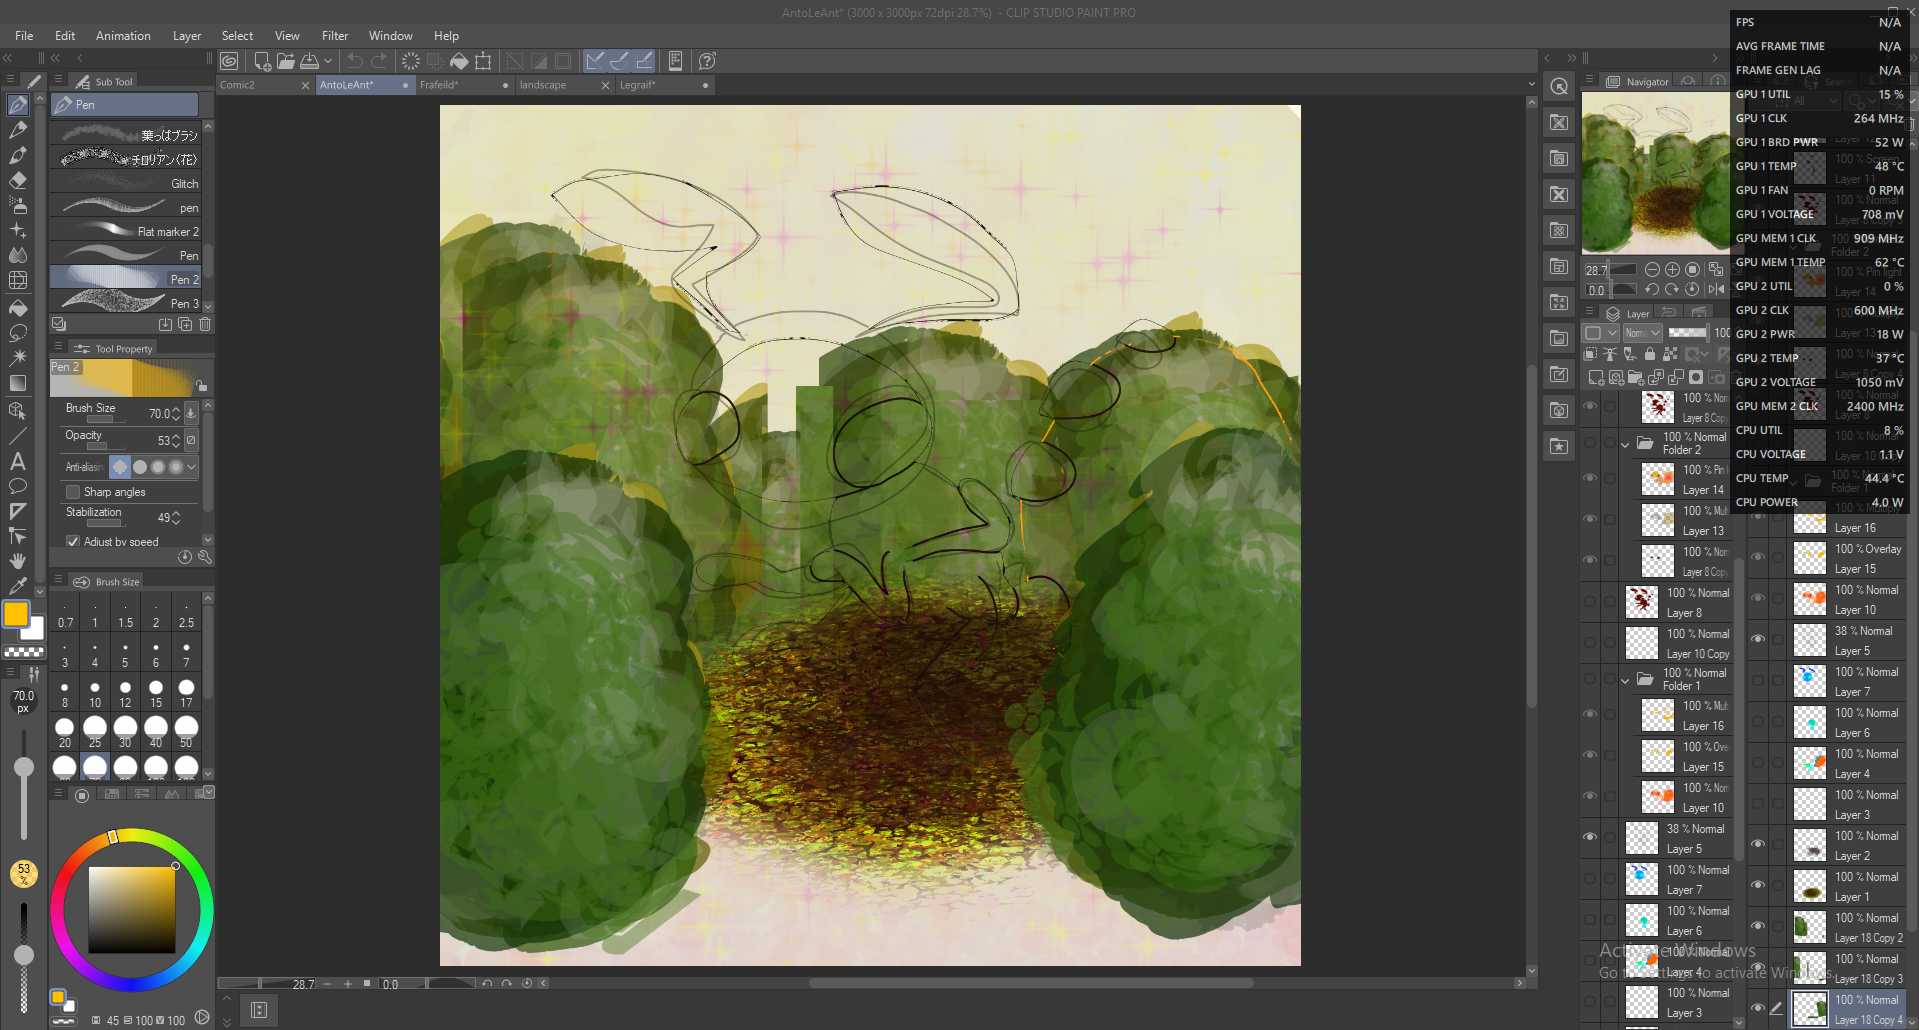
플랫:
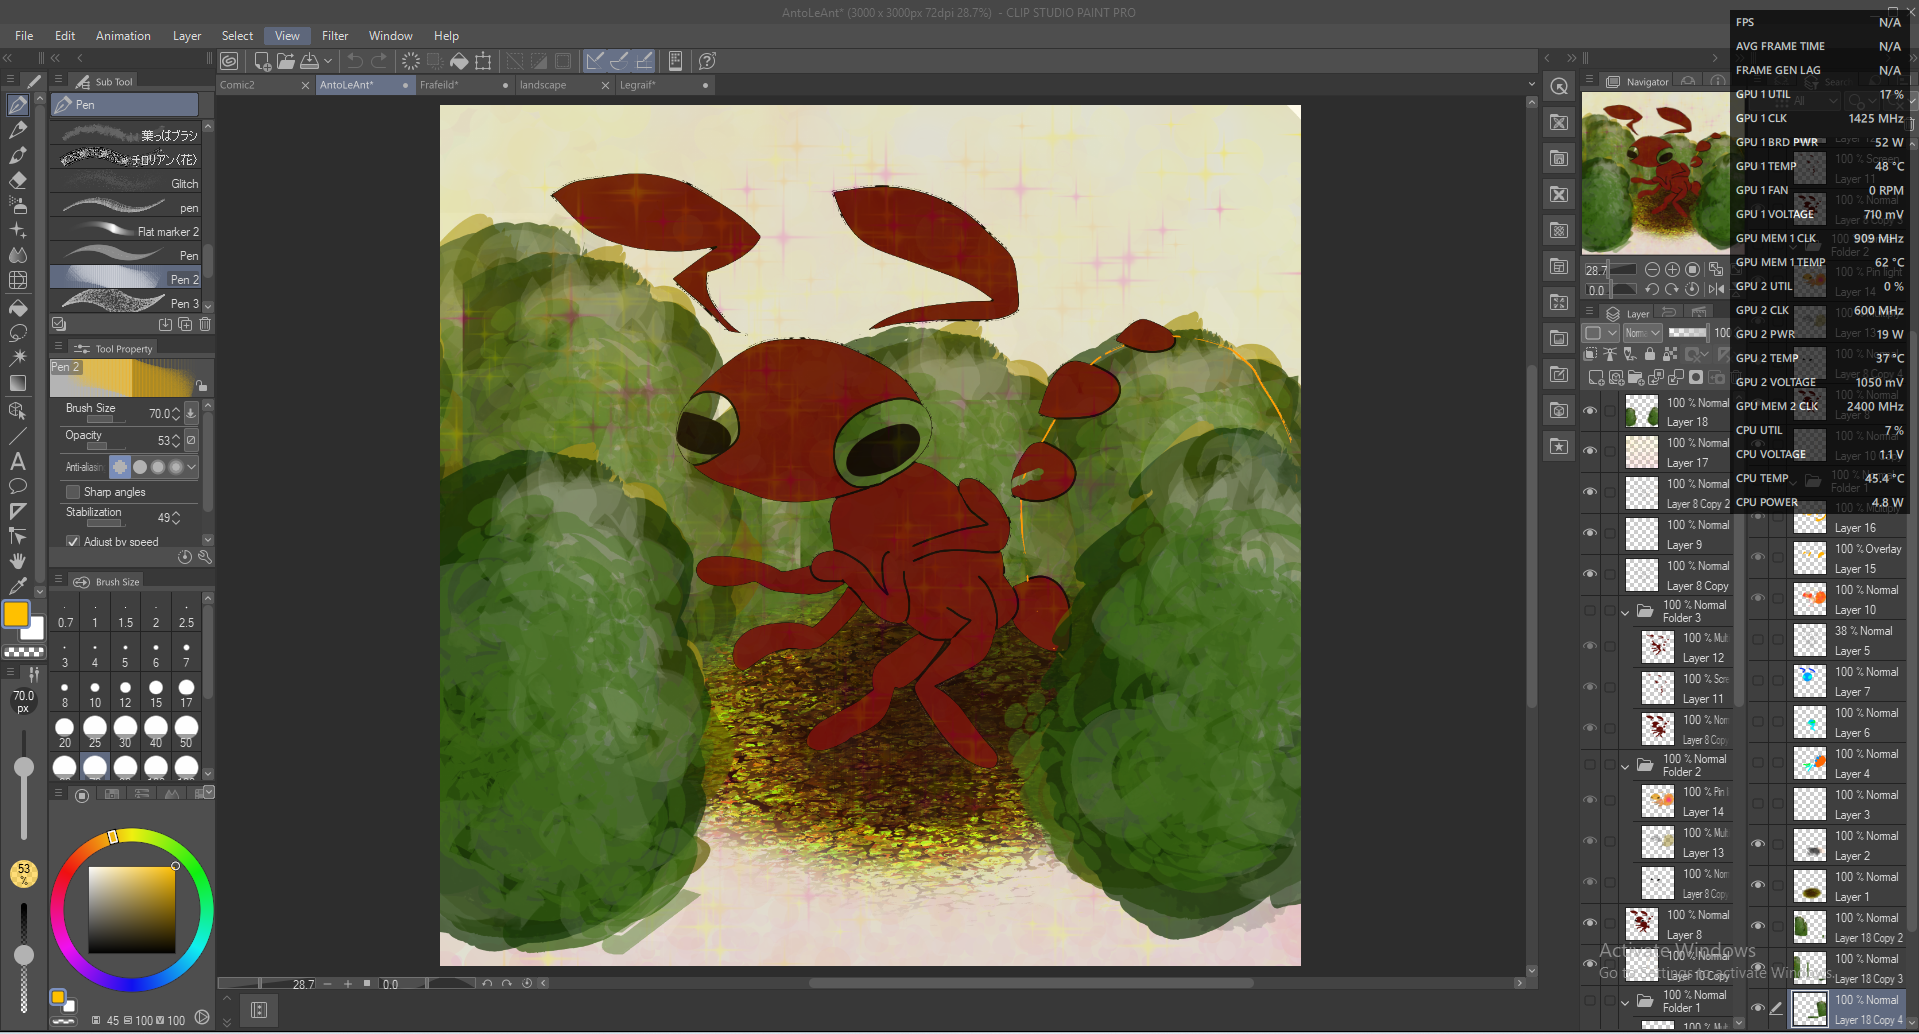
렌더링:
프라필드:
블록:
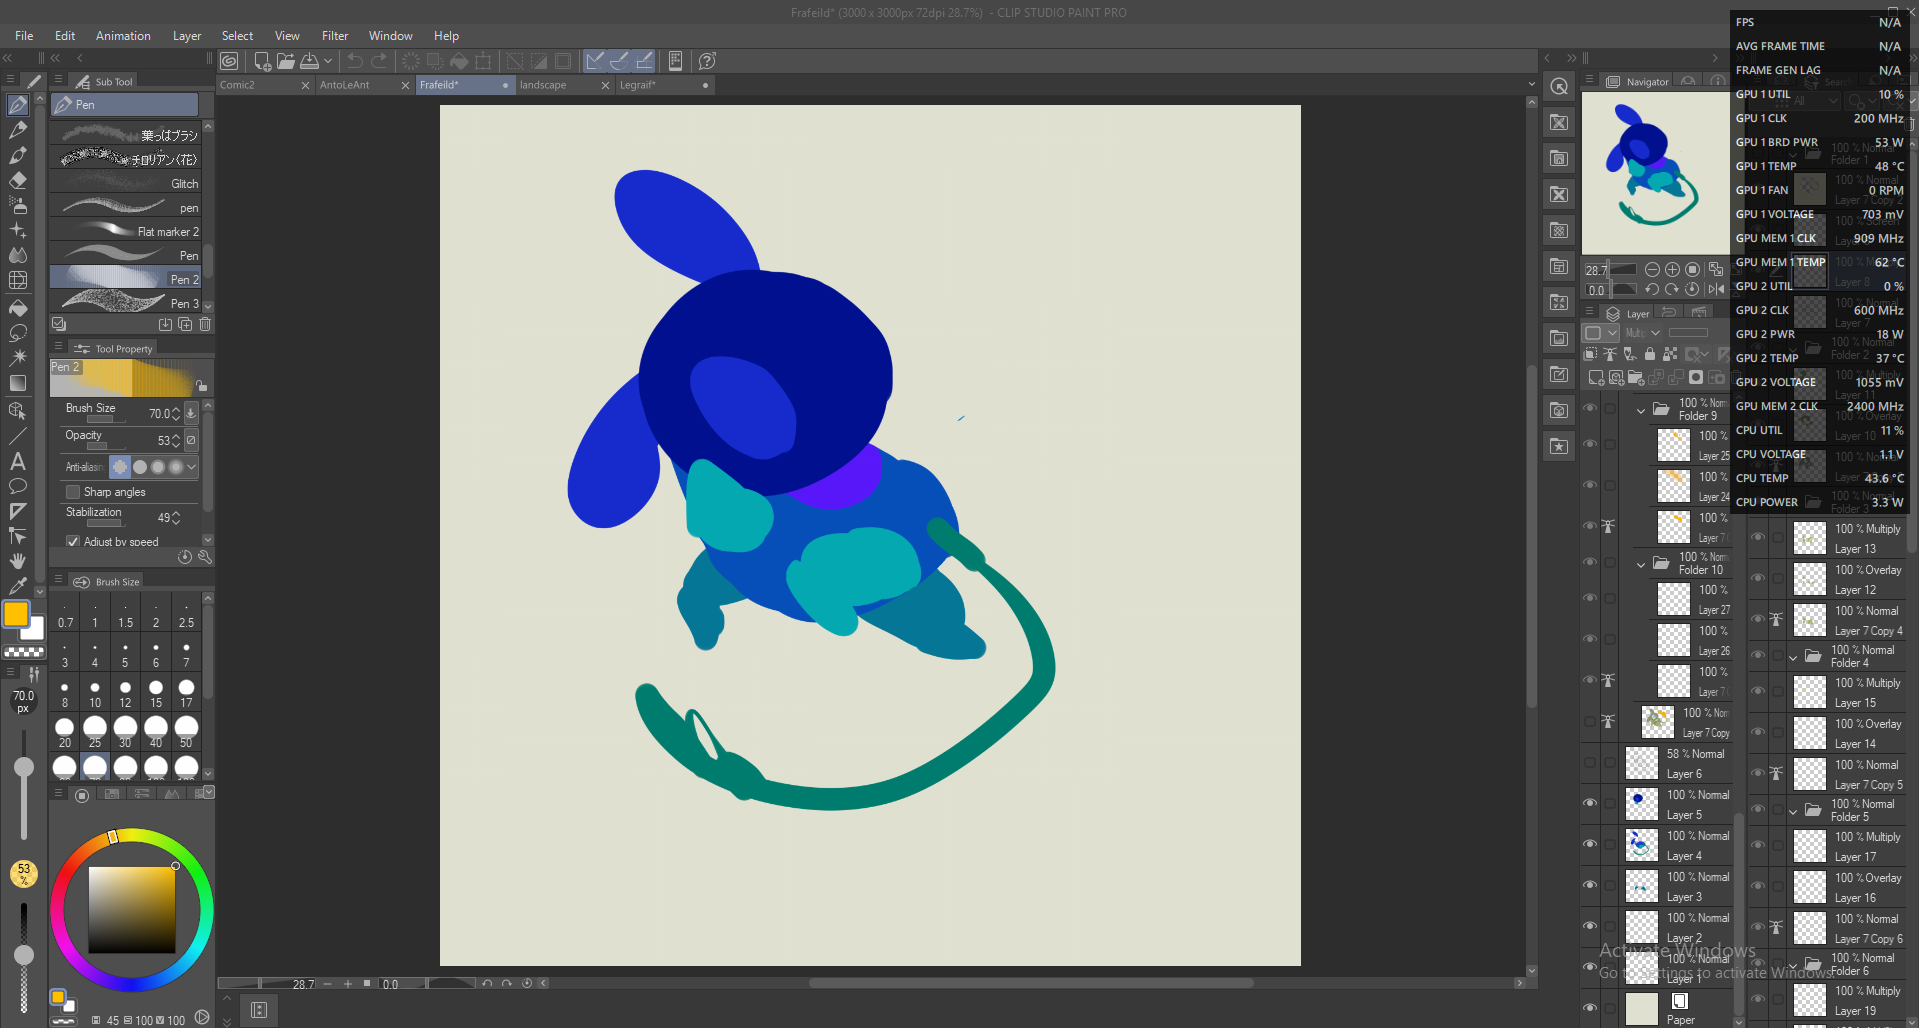
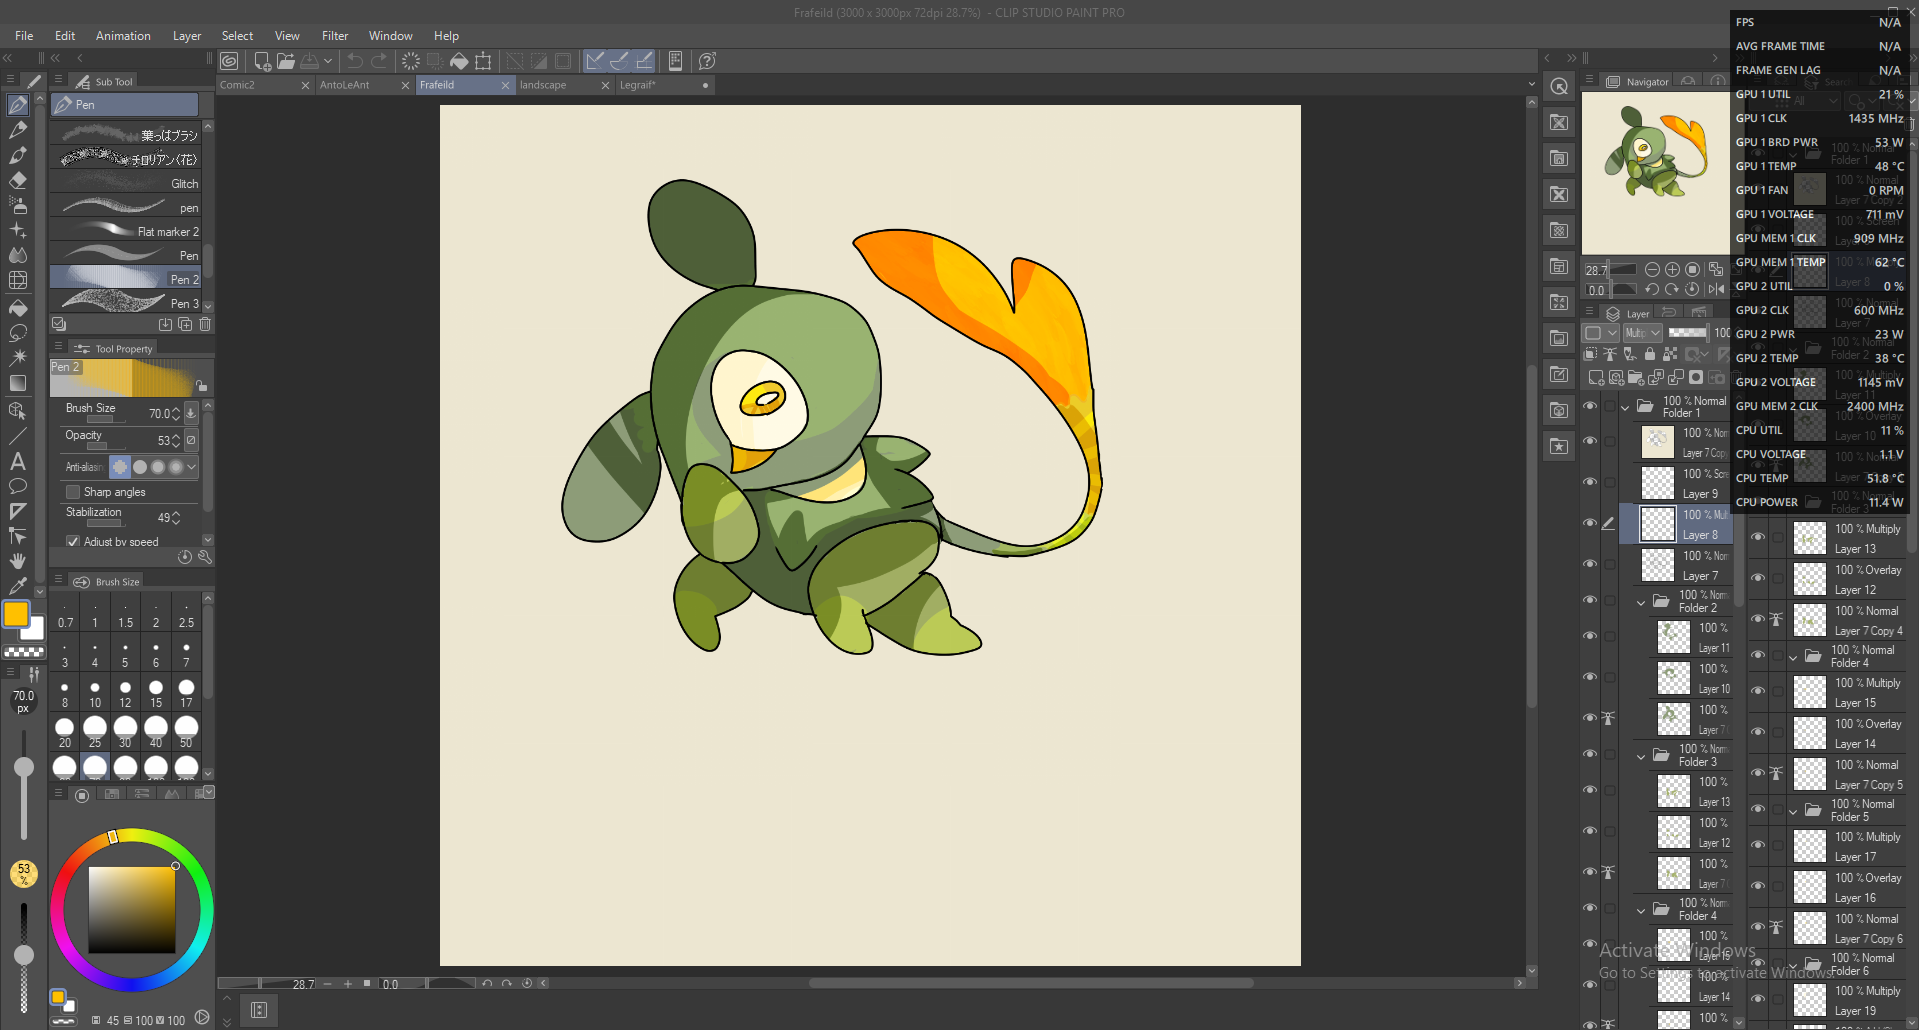
렌더링:
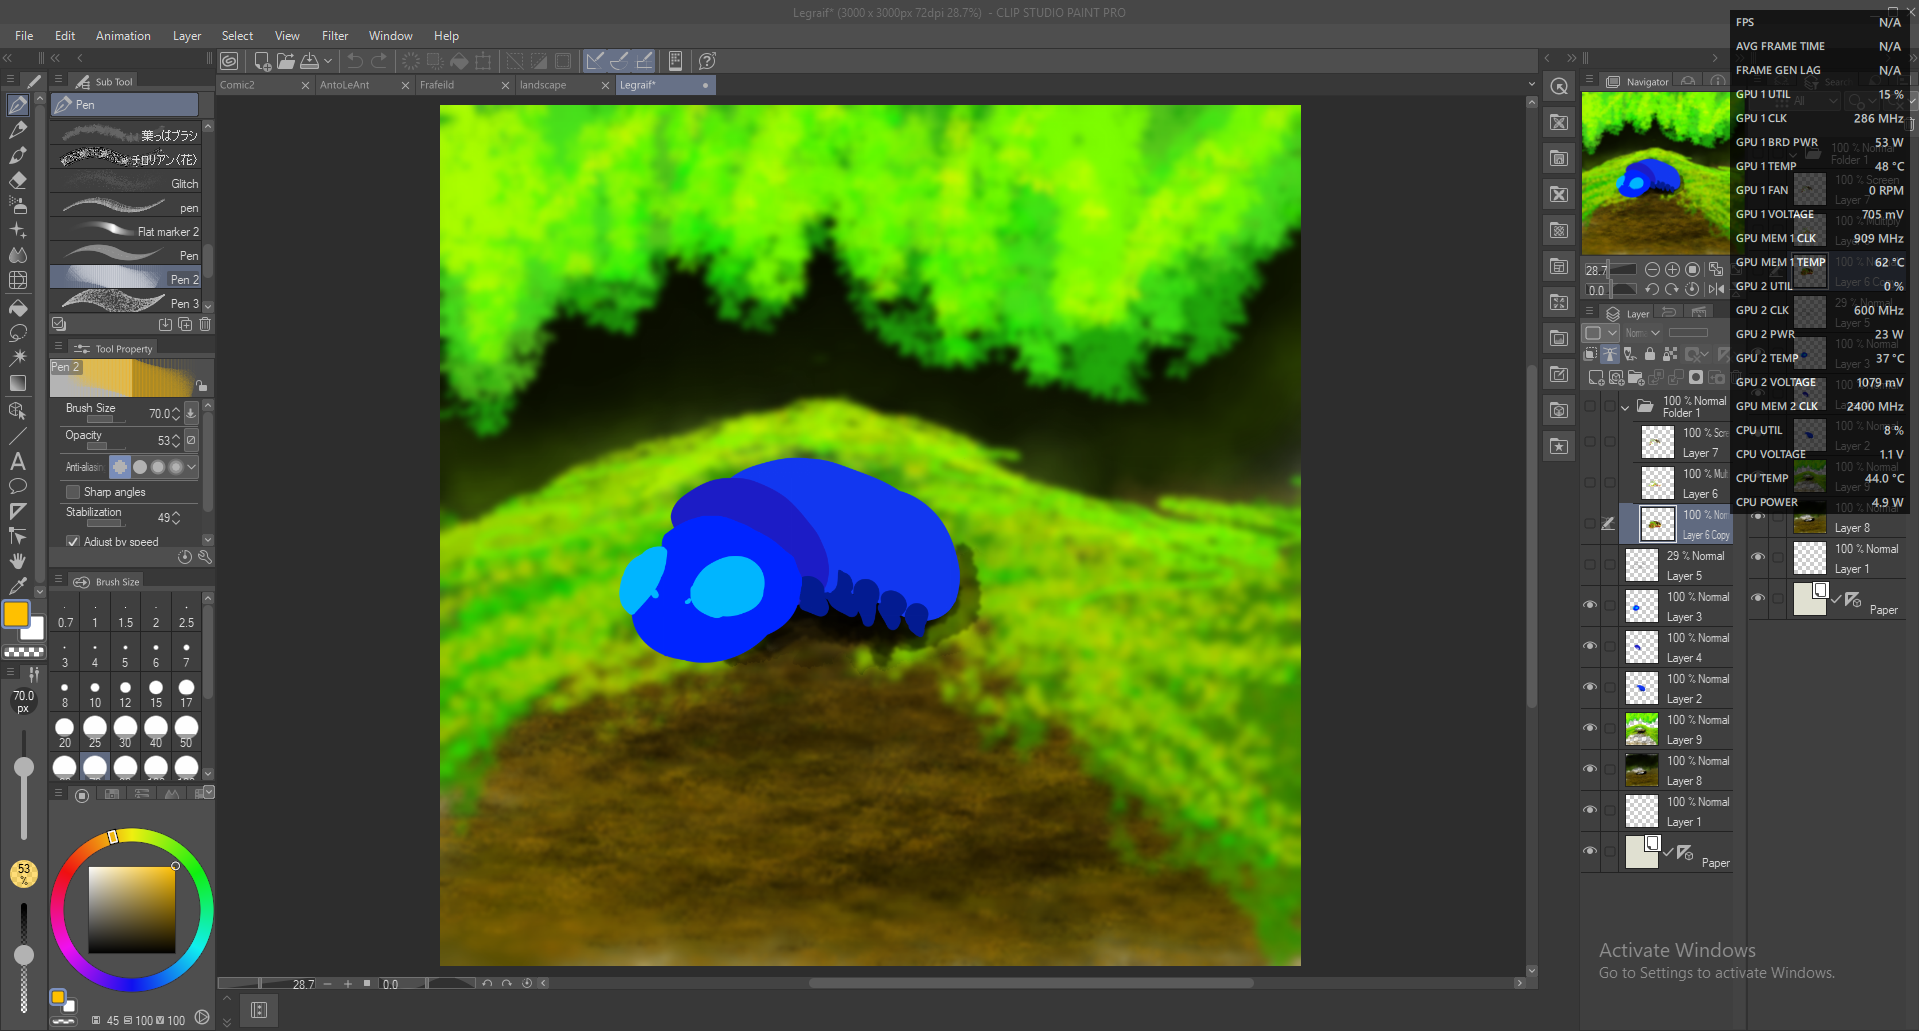
르그레이프:
블록:
블록 및 라인:
라인:
렌더링:
미완성 풍경:
블록:
보시다시피, 정확할 필요는 없습니다; 프라필드의 꼬리 위치를 바꿨지만, 여전히 유용한 도구입니다!
여기 Anto Le Honeypot의 정말 이상한 몇 겹이 있어서 읽어보라:
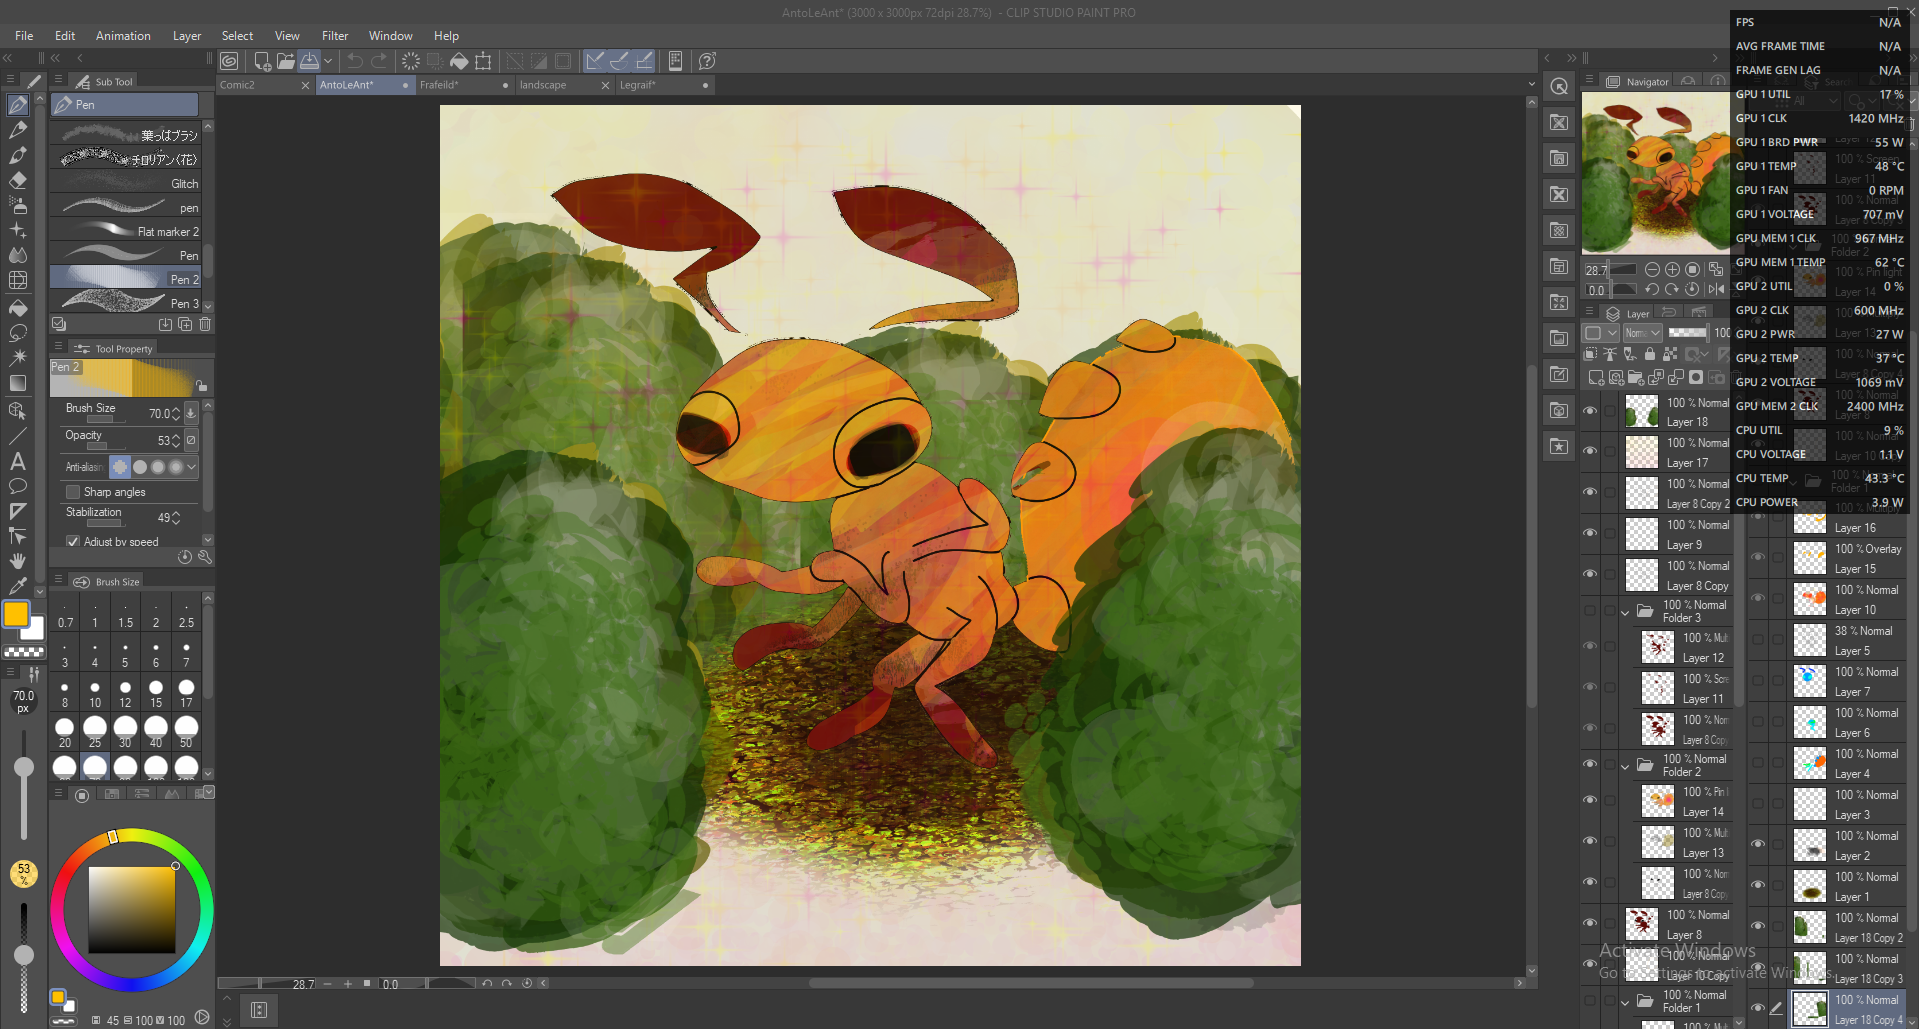
(꼬리랑 눈 때문이야)
간단한 과정입니다; 먼저, 초점 지점에 새로운 래스터 레이어를 추가합니다; 그리고 이 붓으로 각 부분을 색으로 만들어서 이해할 수 있게 해요; 그 다음에는 스케치 레이어(다른 붓으로)를 하고, 나머지는 그 후에 하세요!
(제 그림은 배경을 보여줄 예정이지만, 블록 레이어 전에 배경을 보여주는 것은 추천하지 않습니다; 다 끝난 후에 저장해둡니다)
앙톨리앙트:
블록:
라인:
플랫:
렌더링:
프라필드:
블록:
렌더링:
르그레이프:
블록:
블록 및 라인:
라인:
렌더링:
미완성 풍경:
블록:
보시다시피, 정확할 필요는 없습니다; 프라필드의 꼬리 위치를 바꿨지만, 여전히 유용한 도구입니다!
여기 Anto Le Honeypot의 정말 이상한 몇 겹이 있어서 읽어보라:
(꼬리랑 눈 때문이야)
So, in order to use a tool, you need to know how. Some of my recent best digital pieces, including my profile picture, used this brush.
It's a simple process; first, add a new raster layer for the focal point; and than make that with this brush, making different parts different colours so you can understand; after that, do a sketch layer (WITH A DIFFERENT BRUSH), and the rest after!
(My art here will show backgrounds but I do not recomend them before the block layer; it's just saved of them after I finished)
AntoLeAnt:
Block:
Line:
Flat:
Rendered:
Frafeild:
Block:
Rendered:
Legraif:
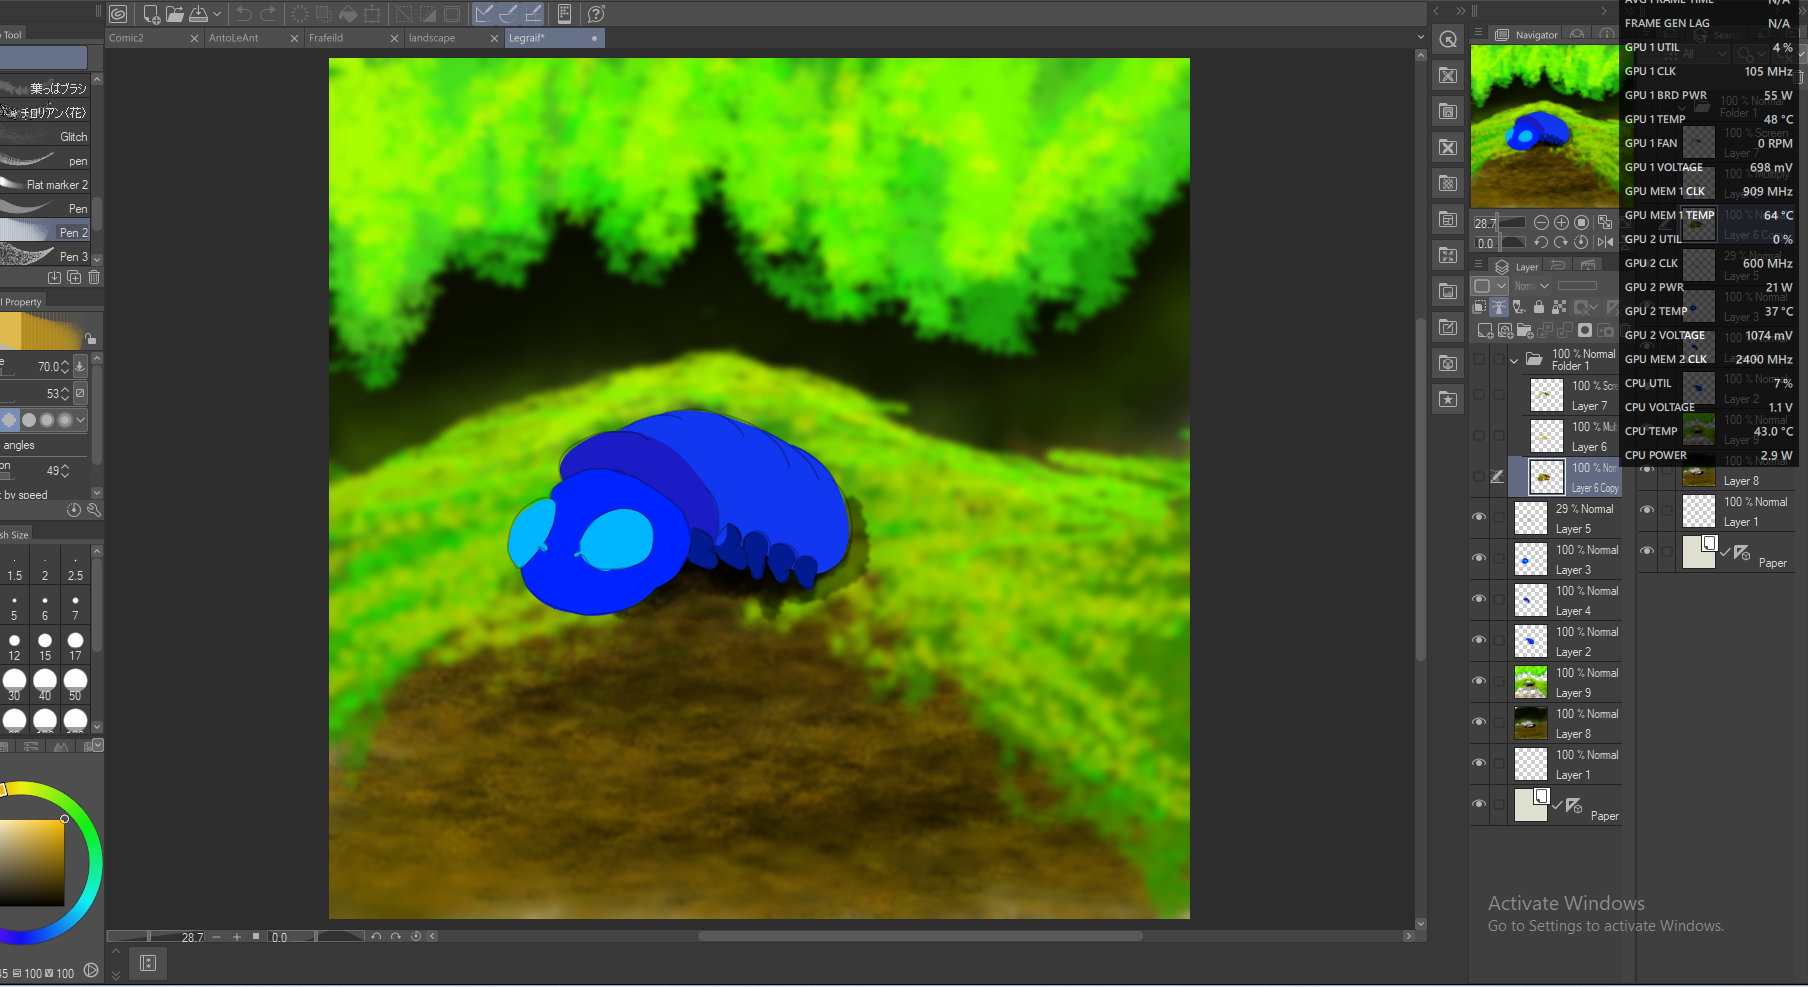
Block:
Block & Line:
Line:
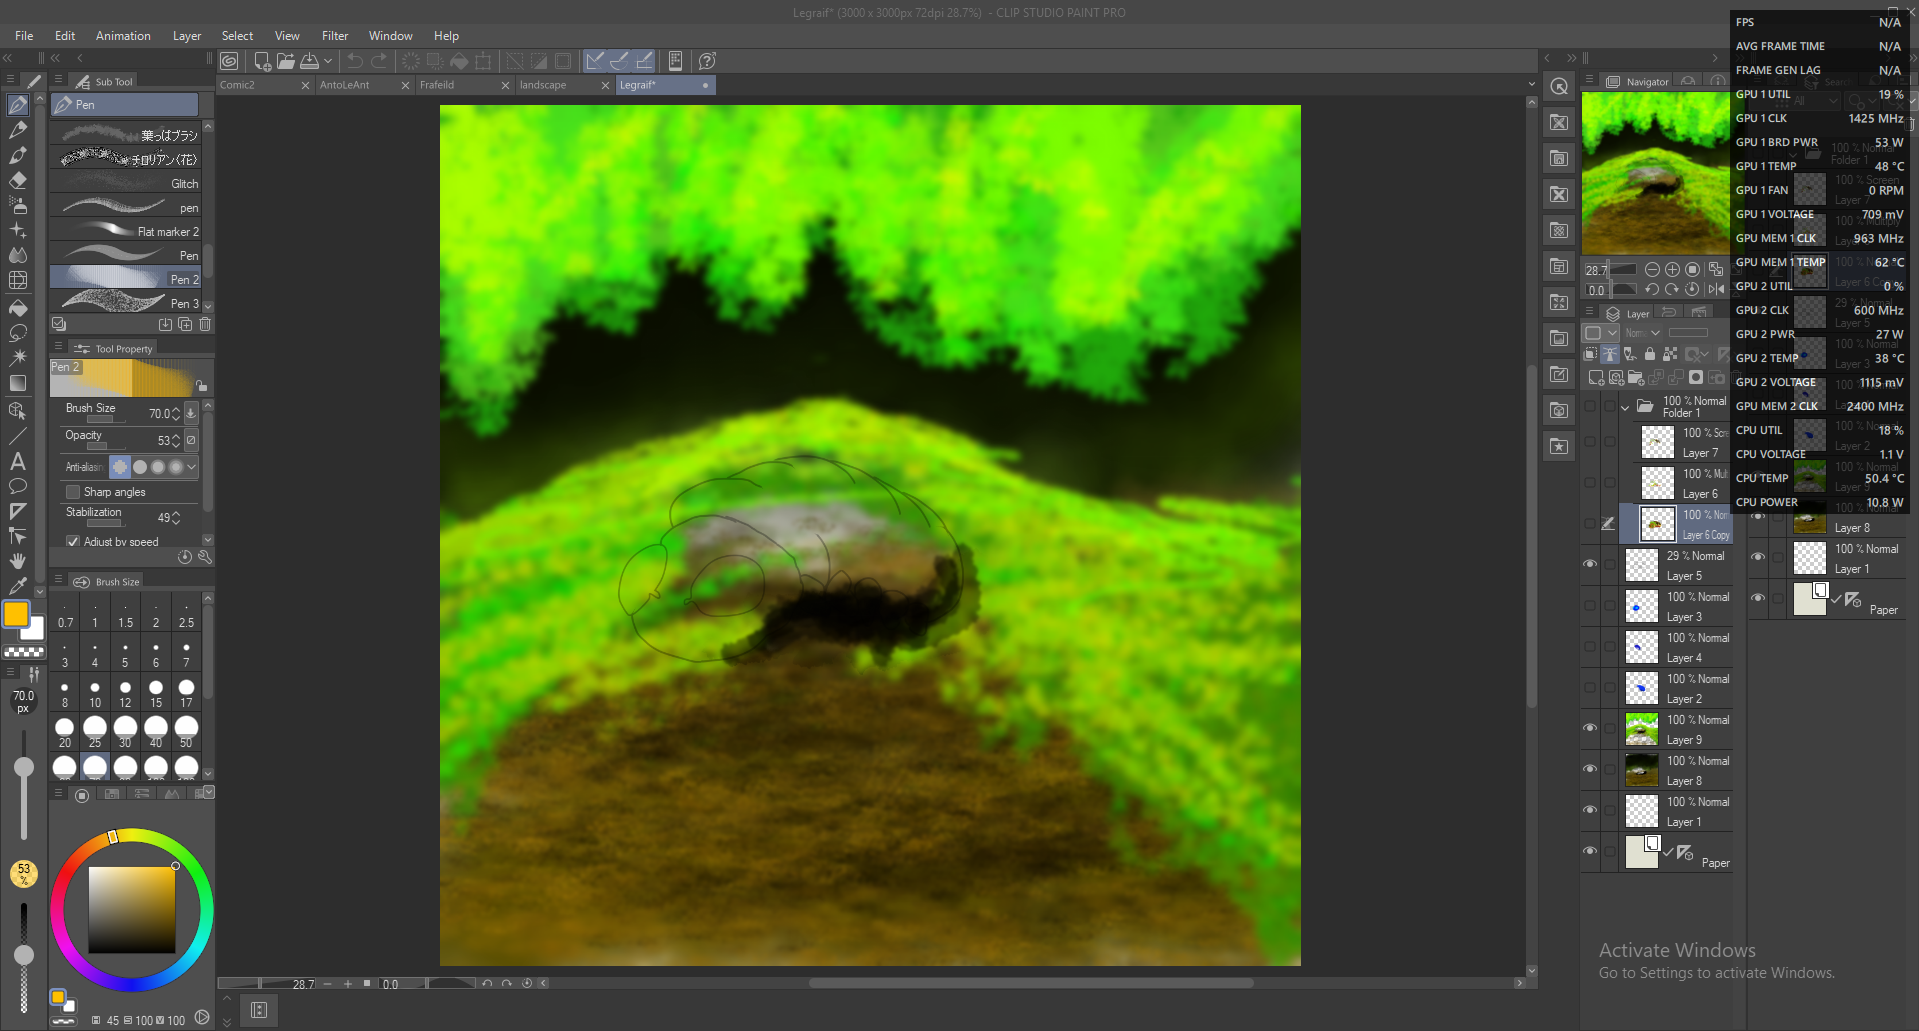
Rendered:
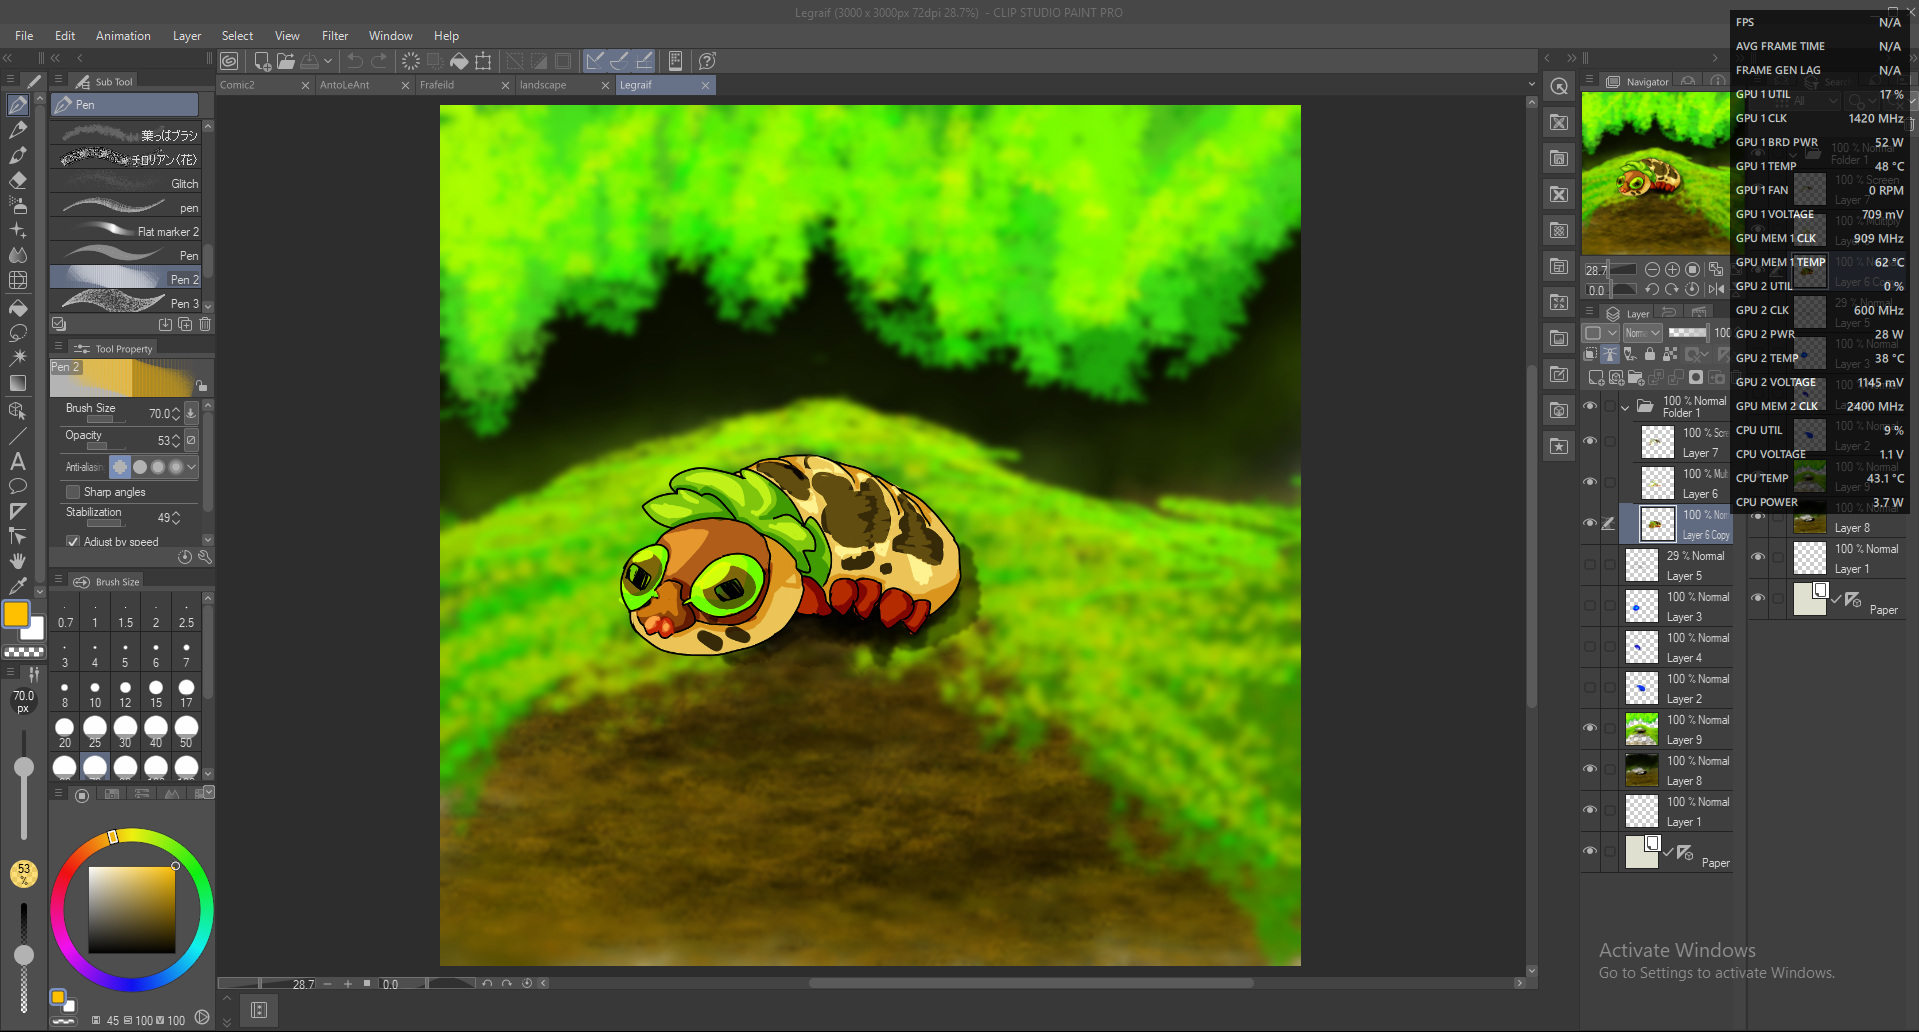
Unfinished Landscape:
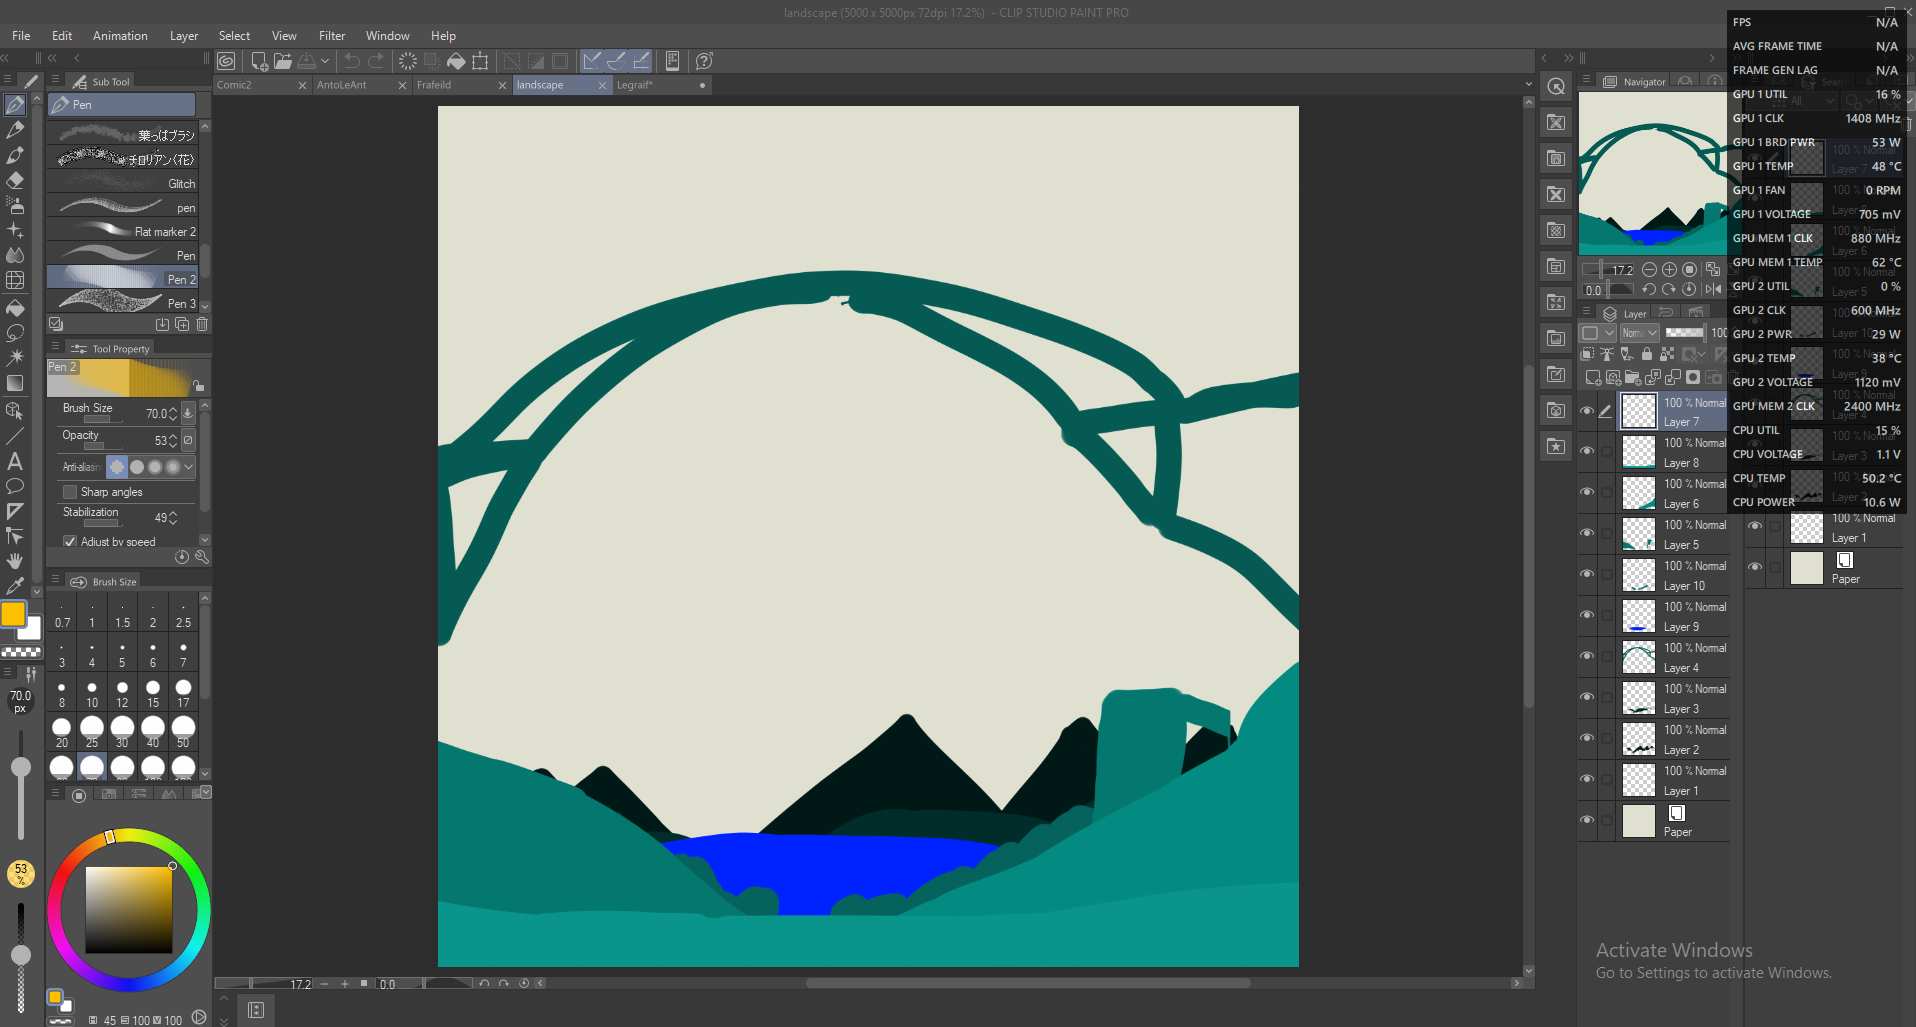
Block:
As you can see, it doesn't need to be exact; I changed Frafeild's tail position, but it is still a useful tool!
Here is a really weird few layers of Anto Le Honeypot for reading through:
(It's cuz the tail and eyes)
It's a simple process; first, add a new raster layer for the focal point; and than make that with this brush, making different parts different colours so you can understand; after that, do a sketch layer (WITH A DIFFERENT BRUSH), and the rest after!
(My art here will show backgrounds but I do not recomend them before the block layer; it's just saved of them after I finished)
AntoLeAnt:
Block:
Line:
Flat:
Rendered:
Frafeild:
Block:
Rendered:
Legraif:
Block:
Block & Line:
Line:
Rendered:
Unfinished Landscape:
Block:
As you can see, it doesn't need to be exact; I changed Frafeild's tail position, but it is still a useful tool!
Here is a really weird few layers of Anto Le Honeypot for reading through:
(It's cuz the tail and eyes)


'Anto_Le_Honeypot'님의 다른 소재

'브러시'의 인기 소재


신규 소재


배지
-
 MVP ◆질문에 적절한 답변을 많이 게시하고 커뮤니티 운영에 크게 공헌한 사용자입니다. MVP는 3개월에 한 번, 그 사이에 획득한 포인트를 바탕으로 결정하고 표창을 실시하고 있습니다.
 -
 NVP(New Valuable Player) ◆MVP 다음으로 커뮤니티 운영에 공헌한 사용자입니다. 이제까지 MVP 수상 경험이 없는 분 중에서 획득한 포인트를 바탕으로 결정하여 표창을 실시하고 있습니다.
 -
 공식 엑스퍼트 ◆뛰어난 응답자의 증표인 MVP수상자 중에서 선택된 커뮤니티에서 가장 뛰어난 응답자의 증표입니다. 심사를 거쳐서 저희 회사에서 의뢰할 경우 취임되십니다.※ 옛 명칭 '에반젤리스트'
 -
 셀시스 공인 모더레이터 ◆모더레이터는 일본어와 기타 언어로 말할 수 있는 셀시스 공인 스태프입니다. 소프트웨어나 창작 전문가가 아니므로 직접 의문을 해결할 수는 없지만 여러분이 순조롭게 소통할 수 있도록 언어나 커뮤니케이션 측면에서 지원합니다.
 -
 셀시스 공식운영에 관련된 공식 계정입니다.