



スタンプのように、地面や岩にリアルな岩の質感を加えるブラシパック A brush pack that acts like a stamp to add a realistic rock texture to your ground & rocks
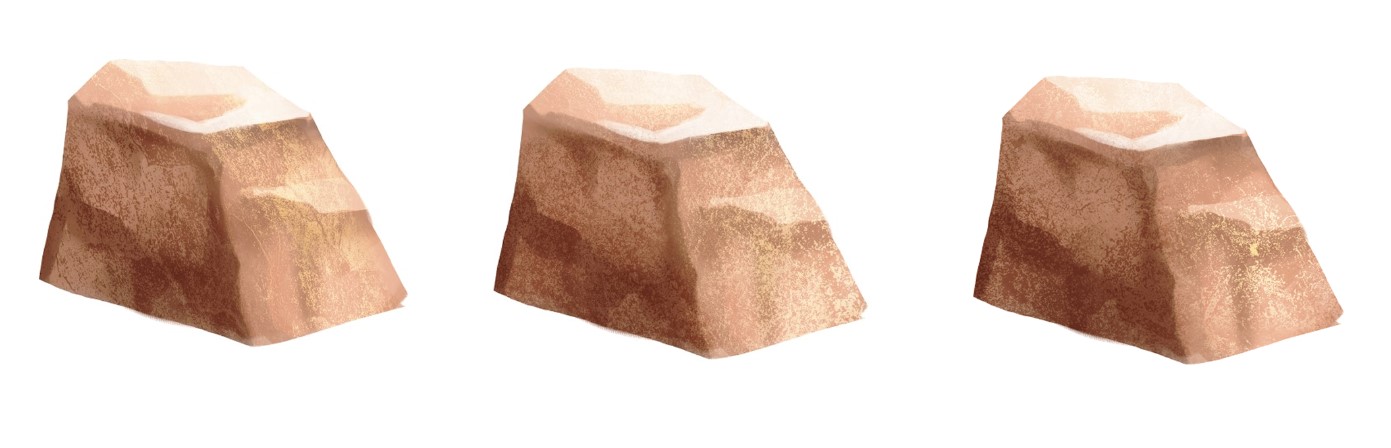
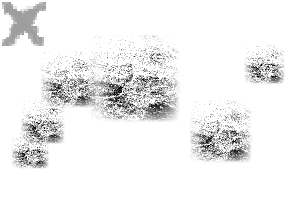
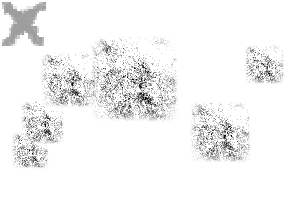
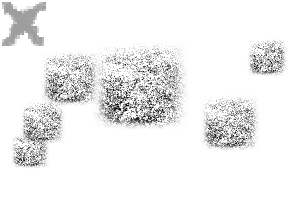
3本のテクスチャ付きブラシを入ったブラシパックを使い、岩や地面の上層に使ってリアルなテクスチャを作ります。
スタイラスで使うと、ペンの傾きが有効になり、よりランダムで効果を生み出します。
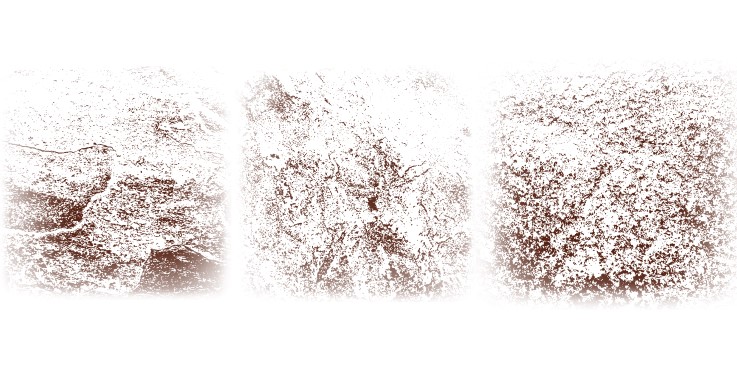
(これは私の家のタイルの写真です.....)
ステップ:
スタイラスで使うと、ペンの傾きが有効になり、よりランダムで効果を生み出します。
(これは私の家のタイルの写真です.....)
ステップ:
1- いつもの方法で岩のベースを作る...
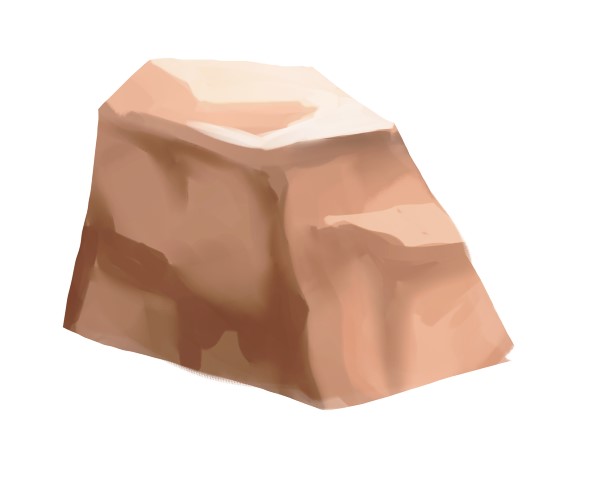
2- クリッピング層の上には濃い色を選び、ブラシで岩の暗い面に踏みつけます。
このレイヤーを乗算モードにして不透明度を下げ、望む効果に到達できます。

3- 新しい層を重ねたら、薄い色で石の明るい面に筆を押します。
このレイヤーを乗算モードにして不透明度を下げ、望む効果に到達できます。

3- 新しい層を重ねたら、薄い色で石の明るい面に筆を押します。
このレイヤーを画面上のオーバーレイに置き、不透明度を調整して望む効果に仕上げることができます。

パックには複数の異なるテクスチャがあり、組み合わせて使うこともできます!
ありがとうございます!お楽しみください!!

パックには複数の異なるテクスチャがあり、組み合わせて使うこともできます!
ありがとうございます!お楽しみください!!
A brush pack with 3 textured brushes to be used as an overlay for your rocks and ground to make a realistic texture.
When used with a stylus, pen tilt is enabled to create a more randomised yet effect.
(these are pictures of my tiles in my house.....)
STEPS:
When used with a stylus, pen tilt is enabled to create a more randomised yet effect.
(these are pictures of my tiles in my house.....)
STEPS:
1- Create your rocks base using your usual methods...
2- On a clipping layer, pick a dark colour and stamp the brush onto the dark side of the rock.
You can put this layer on multiply and lower the opacity until you reach your desired effect.
3- With a new layer, stamp the brush on the light side of the rock using a light colour.
You can put this layer on multiply and lower the opacity until you reach your desired effect.
3- With a new layer, stamp the brush on the light side of the rock using a light colour.
You can put this layer on screen on overlay and adjust the opacity until you reach your desired effect.
There are multiple different textures in the pack and you can mix and match as well!
Thank you! Enjoy!!!
There are multiple different textures in the pack and you can mix and match as well!
Thank you! Enjoy!!!
ロックテクスチャブラシ Rock Texture Brushes


"soxxyhorror"さんの別の素材


"素材集"の人気素材


新着素材


バッジ
-
 MVP ◆質問に対して適切な回答を数多く投稿し、コミュニティの運営に大きく貢献したユーザーです。MVPは3ヶ月に一度、その間に獲得したポイントを元に決定し、表彰を行っています。
 -
 NVP (New Valuable Player) ◆MVPに次いでコミュニティの運営に貢献したユーザーです。これまでMVPの受賞経験のない方から、獲得したポイントを元に決定し、表彰を行なっています。
 -
 公式エキスパート ◆優れた回答者の証であるMVP受賞者の中からさらに選ばれた、コミュニティで最も優良な回答者の証です。審査を経て当社から依頼し就任いただいています。※旧名称「エバンジェリスト」
 -
 セルシス公認モデレーター ◆モデレーターは、日本語とその他の言語が話せるセルシス公認のスタッフです。ソフトウェアや創作のエキスパートではないので、直接疑問を解決することはできませんが、みなさんがスムーズにコミュニケーションできるように、言葉やコミュニケーションの側面からサポートします。
 -
 セルシス公式運営に関連した公式アカウントです。