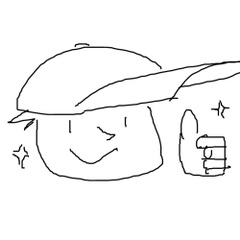
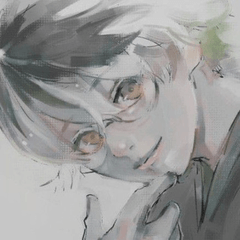
使用するには、以下の画像チュートリアルに従ってください。

1. 完成した図面で、最上位レイヤーを選択します。「ライクRGBシフト」自動アクションを選択し、再生をクリックします。
2. 自動アクションは、図面の赤、緑、青のトーンのイメージを持つ4つのレイヤーを作成します。最上位レイヤーが非ラスター レイヤーである場合に作成されるバッファー レイヤーを削除できます。
これで、RGBシフト効果を作るために色付きのレイヤーを移動を開始することができます!
3. 赤とシアンのシフト効果のためにレイヤー"赤"を移動するだけです。
4. 反対方向に「赤」と「青」のレイヤーを移動して、赤、緑、青のシフト効果を作成します。
5. 完了です!
あなたが望むなら、緑の層を移動することもできますが、効果は赤、または赤と青を一緒に動かすだけで私の意見では最もよく見えます。
ありがとうございました。
To use please follow image tutorial below.

1. On your finished drawing select your top layer. Select "Raiku RGB Shift" auto action then click play.
2. The auto action will create 4 layers with a red, green, and blue toned image of your drawing. You can delete the buffer layer which is created in case the top layer is a non-raster layer.
Now you can start moving the colored layers to make a RGB shift effect!
3. Only move the layer "red" for a red and cyan shift effect.
4. Alternatively, move the layer "red" and "blue" in opposite directions to create a red, green, and blue shift effect.
5. You are done!
You can also move the green layer if you want but the effect looks best in my opinion by only moving the red, or red and blue together.
Thank you.


