
(之前材料的更新版本)

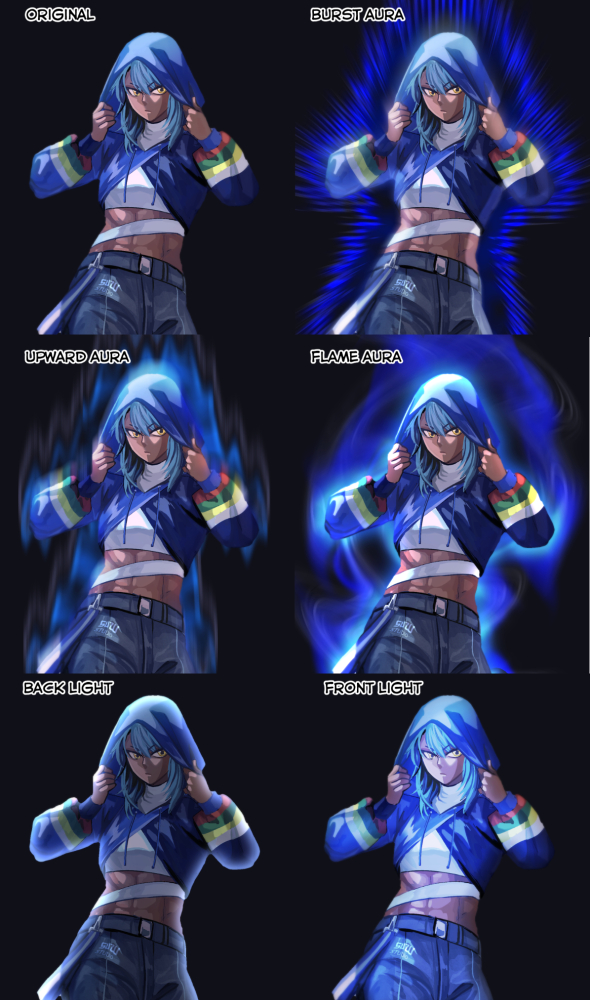
之前,我的描述是這樣的:

一位友好的使用者要求我詳細解釋我的意思,所以我將在這次更新中詳細解釋!
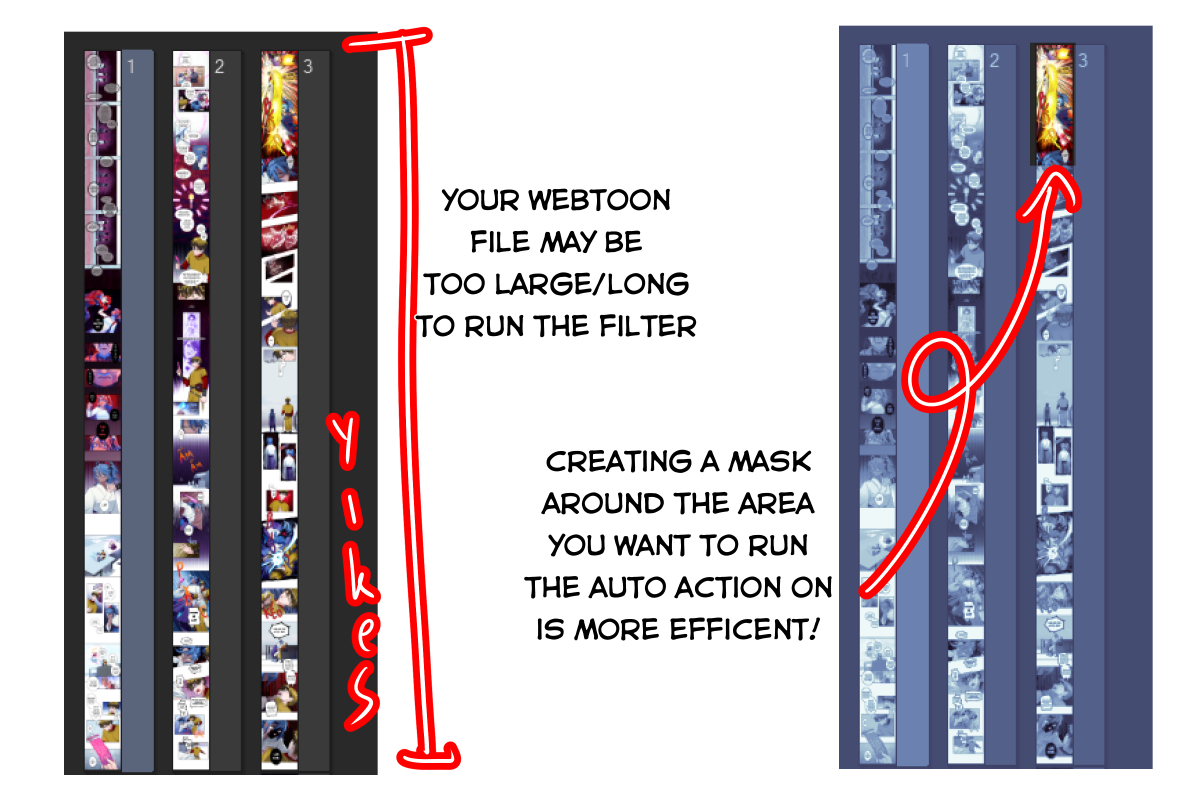
如果您在大型畫布上繪圖或在 webtoon 專案上使用此自動操作,則應用此註釋。如您所見,網路漫畫檔可能太長或太大,並且 CSP 中的大多數篩檢程式都在整個畫布上運行,因此最好指定您的繪圖區域以獲得更好的結果(並讓您的 PC 感謝您!!)

因此,為了節省您的時間,在此更新中,我將為準備工作再添加 2 個自動操作。這包括:
- 為角色和繪圖區域創建選擇圖層。
- 為角色和繪圖區域創建選擇圖層。
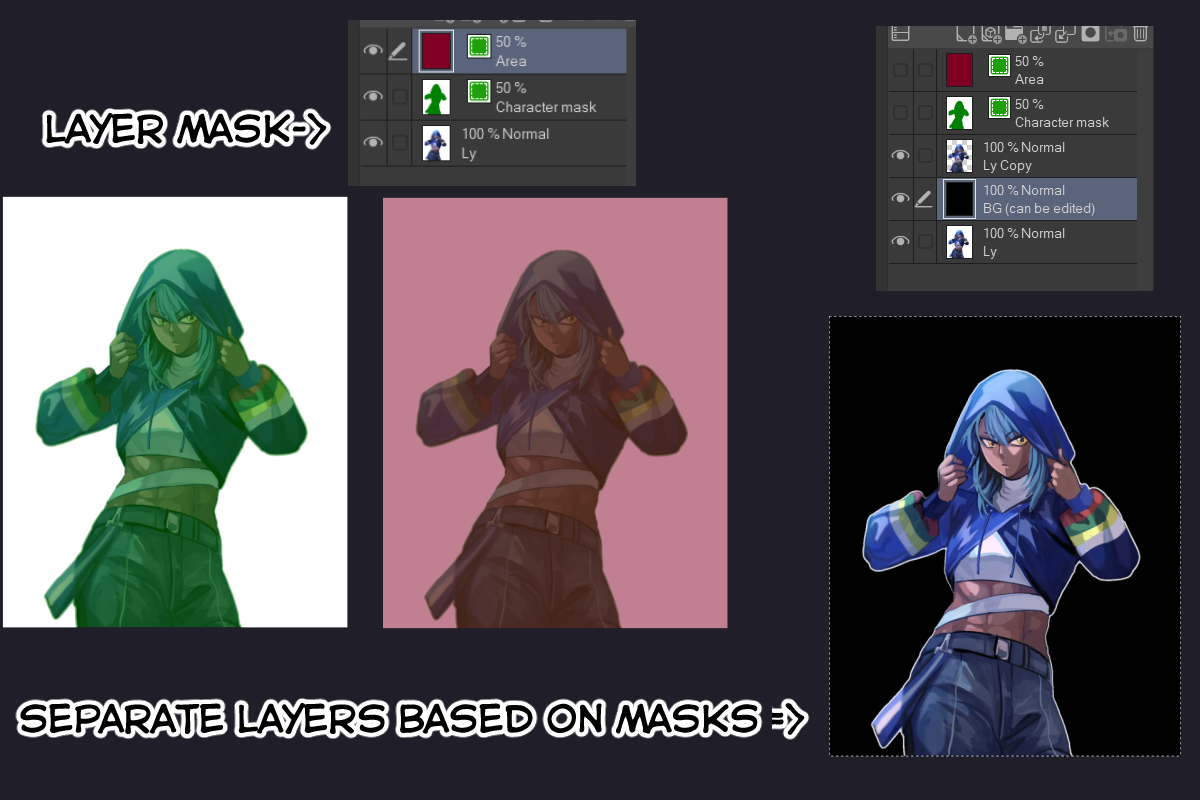
- 在選擇圖層上繪製完要濾鏡的區域/字元后,第二個自動動作將根據您的選擇圖層創建 2 個圖層。
喜歡這個:

原始圖片將是底層,然後您可以在單獨的字元圖層(黑色背景正上方的圖層)上運行濾鏡
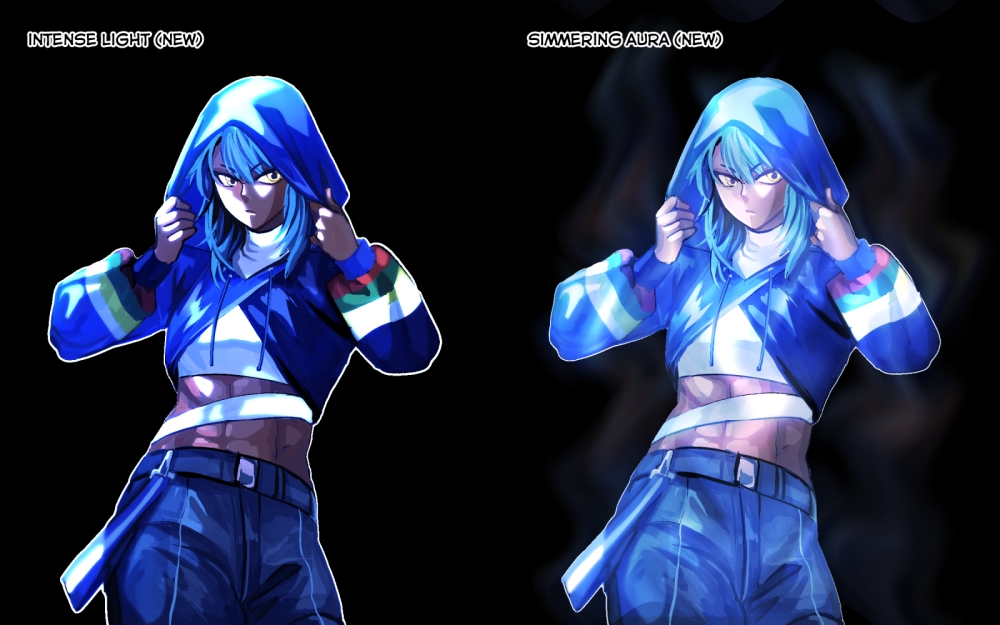
作為獎勵,我為這次更新添加了2個篩檢程式:

以前的自動操作清單:

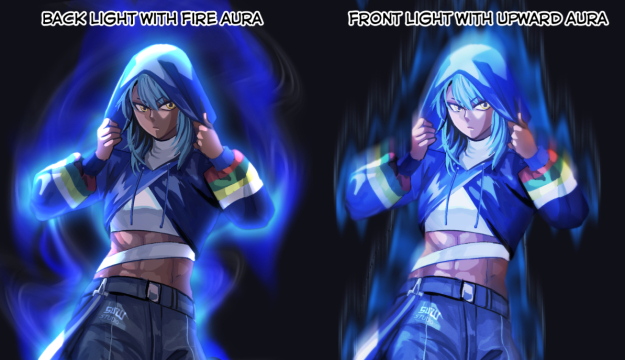
組合操作:

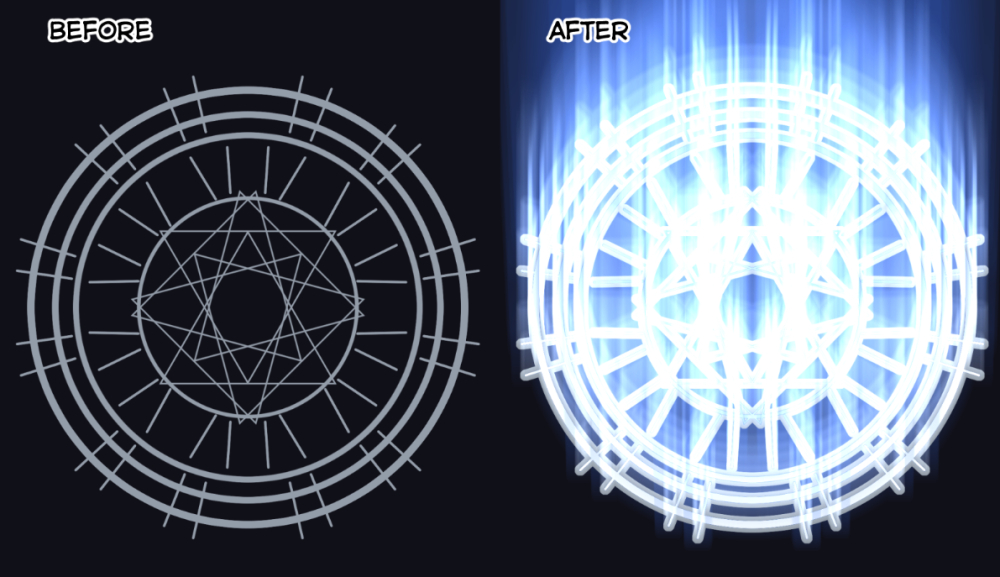
對於魔法陣:

請記住,濾鏡的結果實際上取決於您的角色形狀和繪圖區域,因為這些只是輔助步驟。運行操作后,圖層不會合併,因此您可以根據自己的喜好扭曲和調整所有內容。
(Updated version of the previous material)


Previously, my description has this note:

A friendly user has asked me to expand more about what I mean, so I will explain more in this update!
The note applied if you draw on a large canvas or use this auto action on a webtoon project. As you can see, webtoon file can be either too long or large and most of the filter in CSP run on the entire canvas, so it's best to specify your drawing area for better result (and for your PC to thank you!!!)

So, to save you time, in this update I will add 2 more auto action for prep work. This include:
-Create selection layer for the character and the drawing area.
-Create selection layer for the character and the drawing area.
-After you finish drawing on the selection layer the area/character you want the filter on, the second auto action will make 2 layers base on your selection layers.
Like this:

The original picture will be the bottom layer, you then can run the filters on the separate character layer (the one right above the black background)
As a bonus, I add 2 more filters for this update:

List of previous auto actions:

Combined Actions:

For magic circle:

Please remember the outcome of the filters really depends on your character shape and the drawing area as these are just assisting steps. After running the actions, the layers are not merged so you can twist and adjust everything to your liking.
過去版本


