


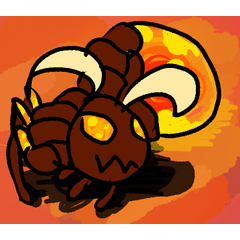

このブラシは、スケッチレイヤーで輪郭線を描き、線画レイヤーに進み、色を塗り、その後レンダリングできるブロックを作成するためのものです。
でもブロックなしでは通過できなかったし、これは少なくとも私にとっては最高のものになるために作られている!
This brush is made to create blocks that you can outline in a sketch layer, go to a line art layer, and than colour, and render afterwards;
but you couldn't even go past without a block, and this is made to be the best it can be, at least for me!
ですから、ツールを使うには、使い方を知っておく必要があります。最近のベストなデジタル作品のいくつか、プロフィール写真も含めて、このブラシを使っていました。
簡単なプロセスです。まず、焦点用の新しいラスタレイヤーを追加します。そしてこの筆で、異なる部分を異なる色にして理解できるように作り上げます。その後、スケッチレイヤー(別のブラシで)を描き、あとはその後で仕上げます!
(私のアートでは背景が表示されますが、ブロックレイヤーの前に置くことはおすすめしません。完成後に保存しています)
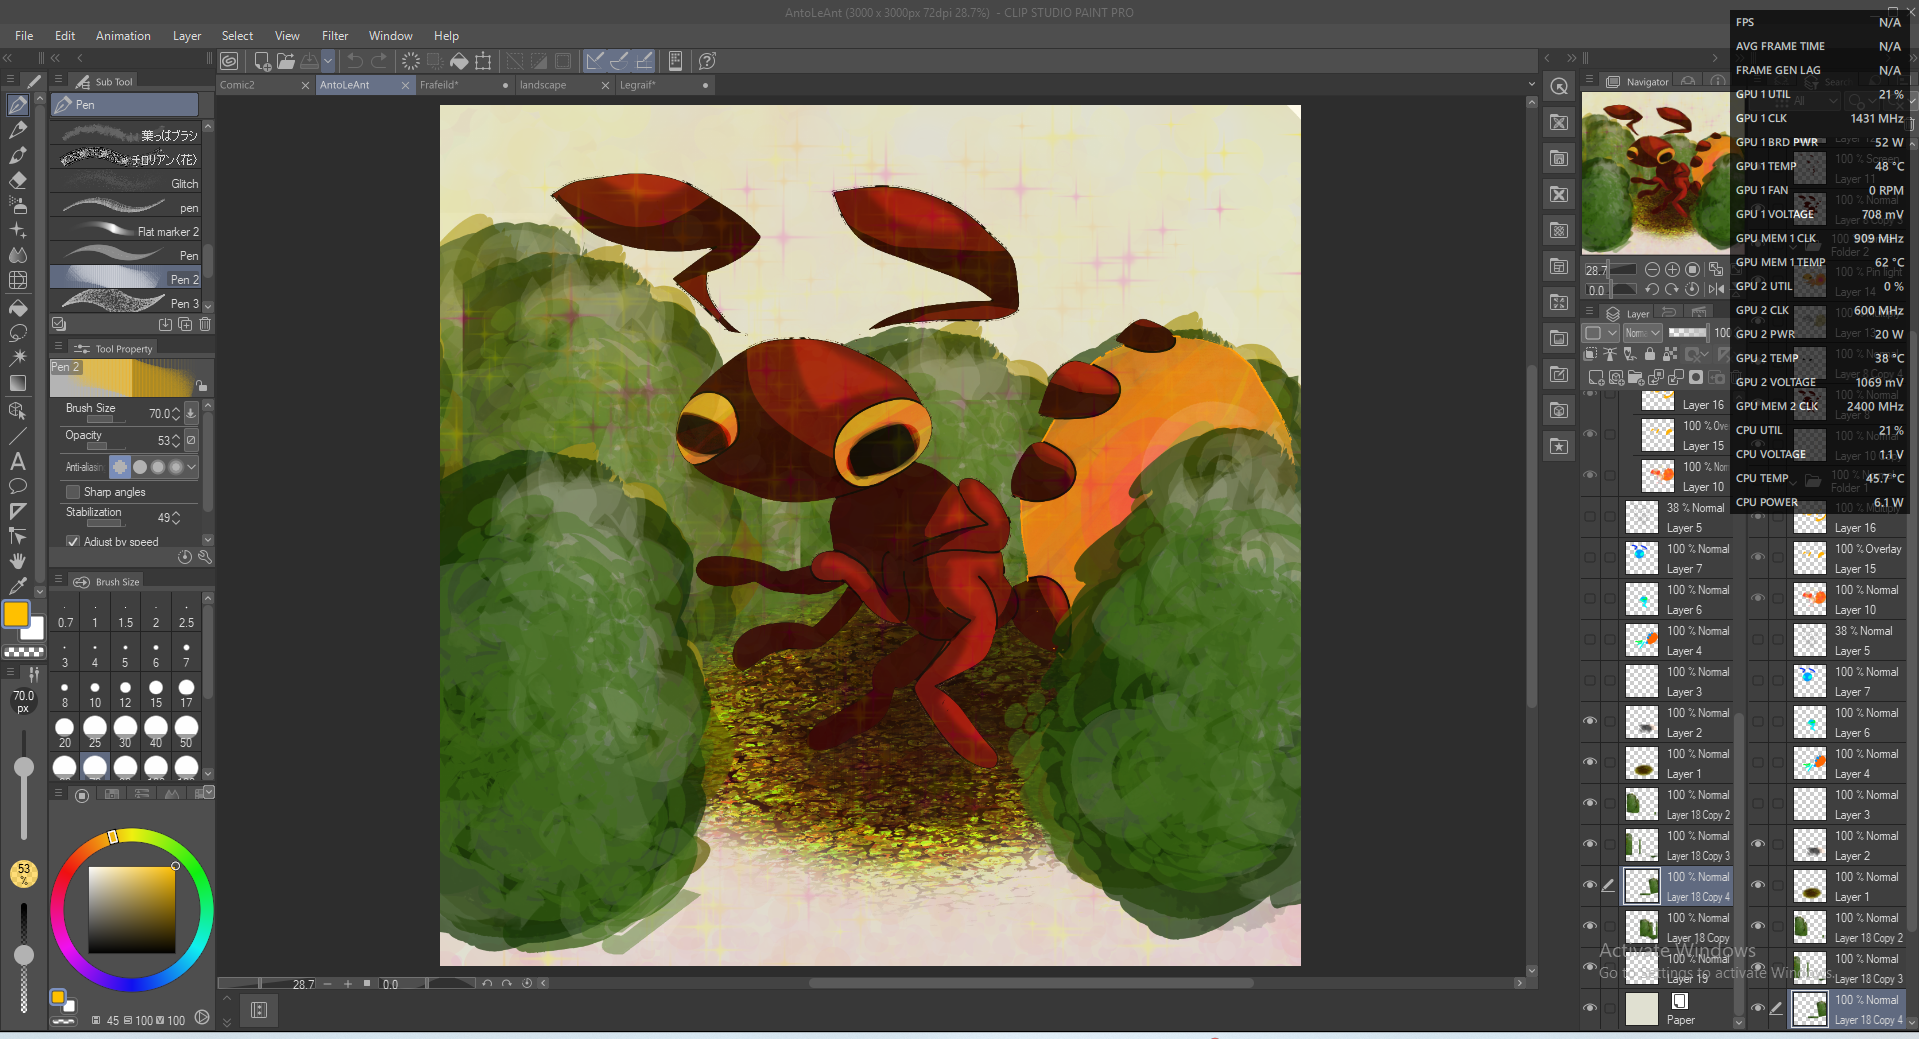
アント・レアント:
ブロック:
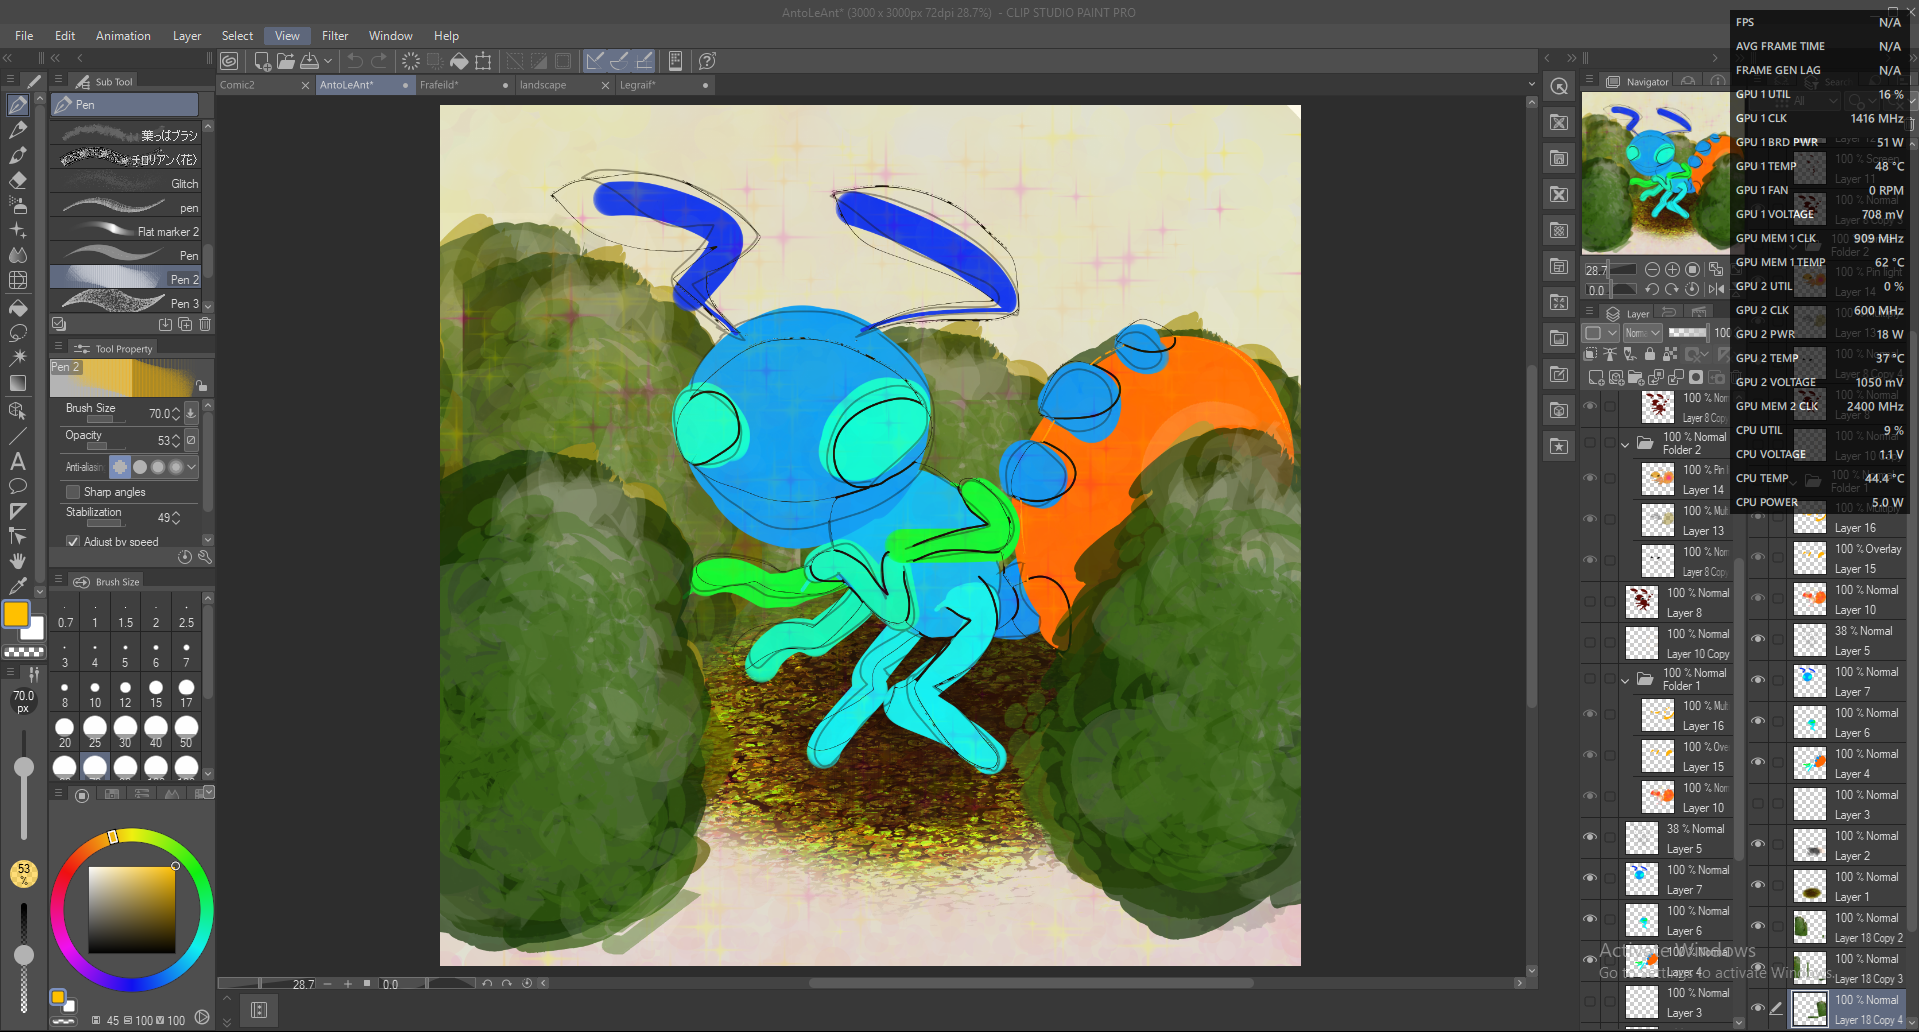
ライン:
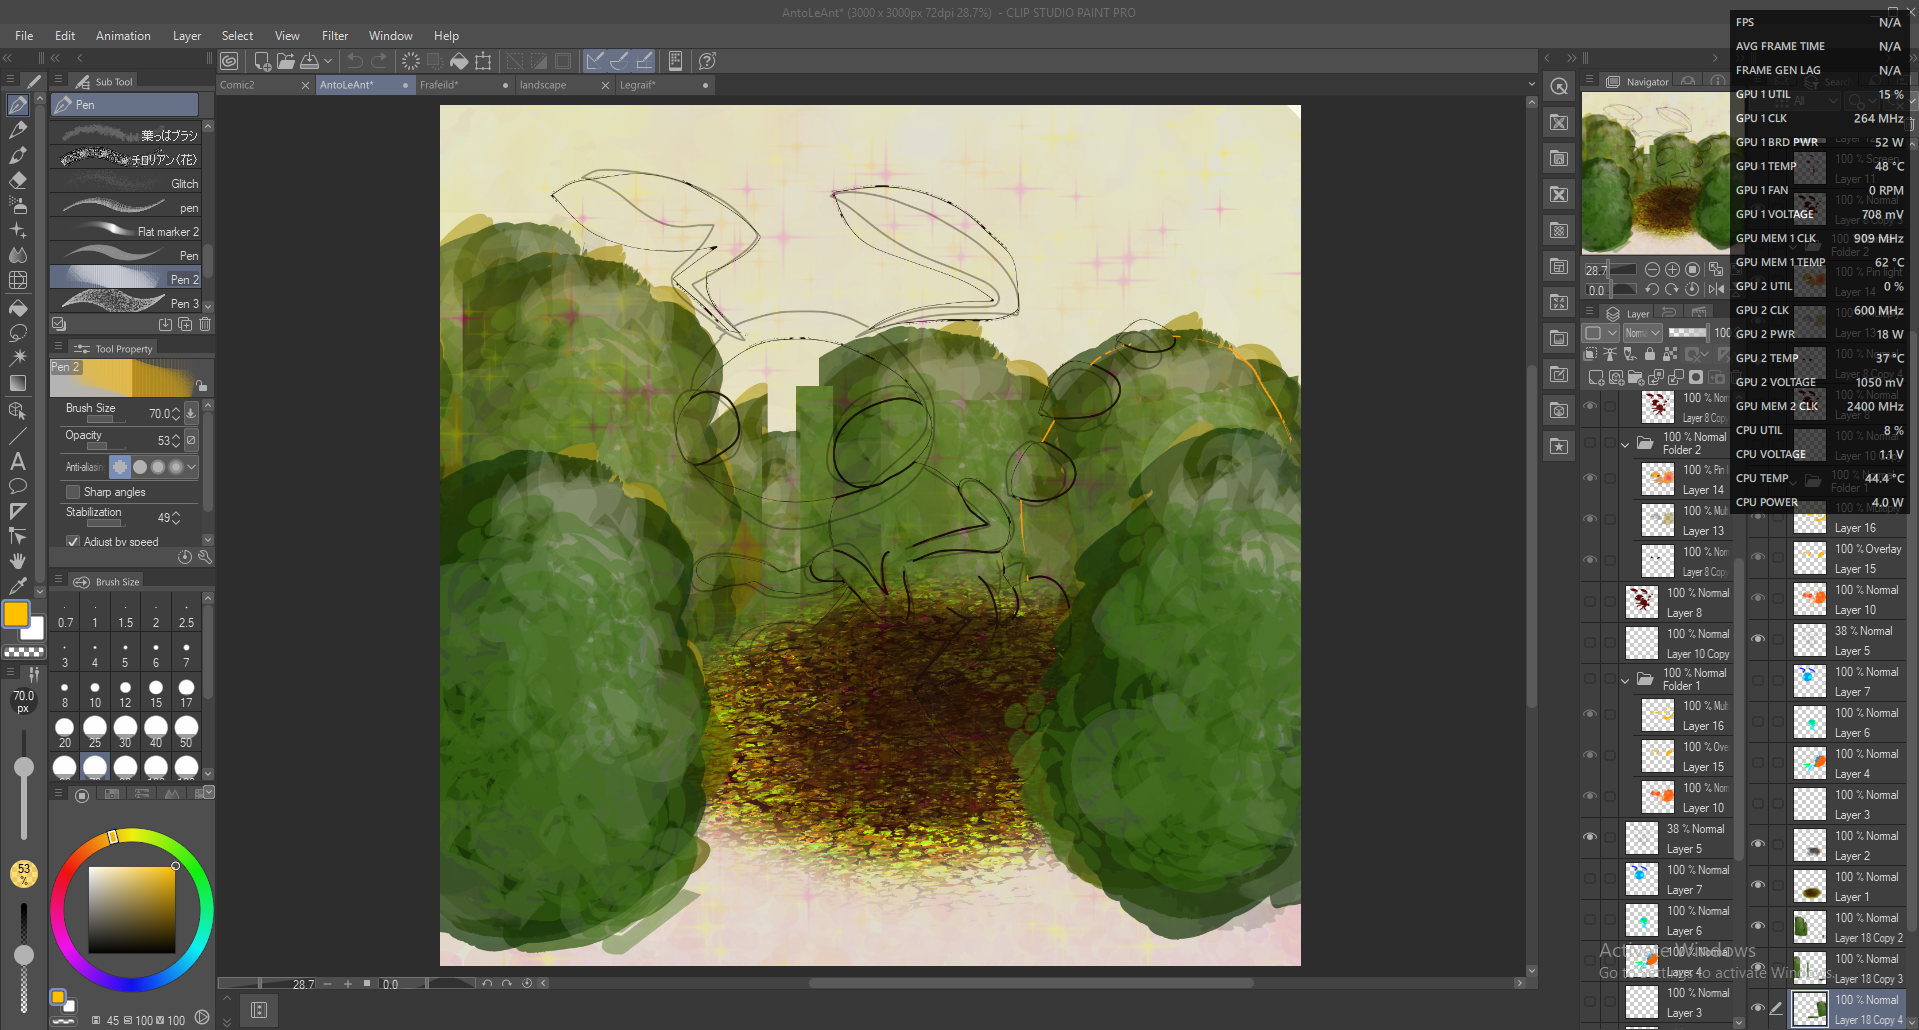
フラット:
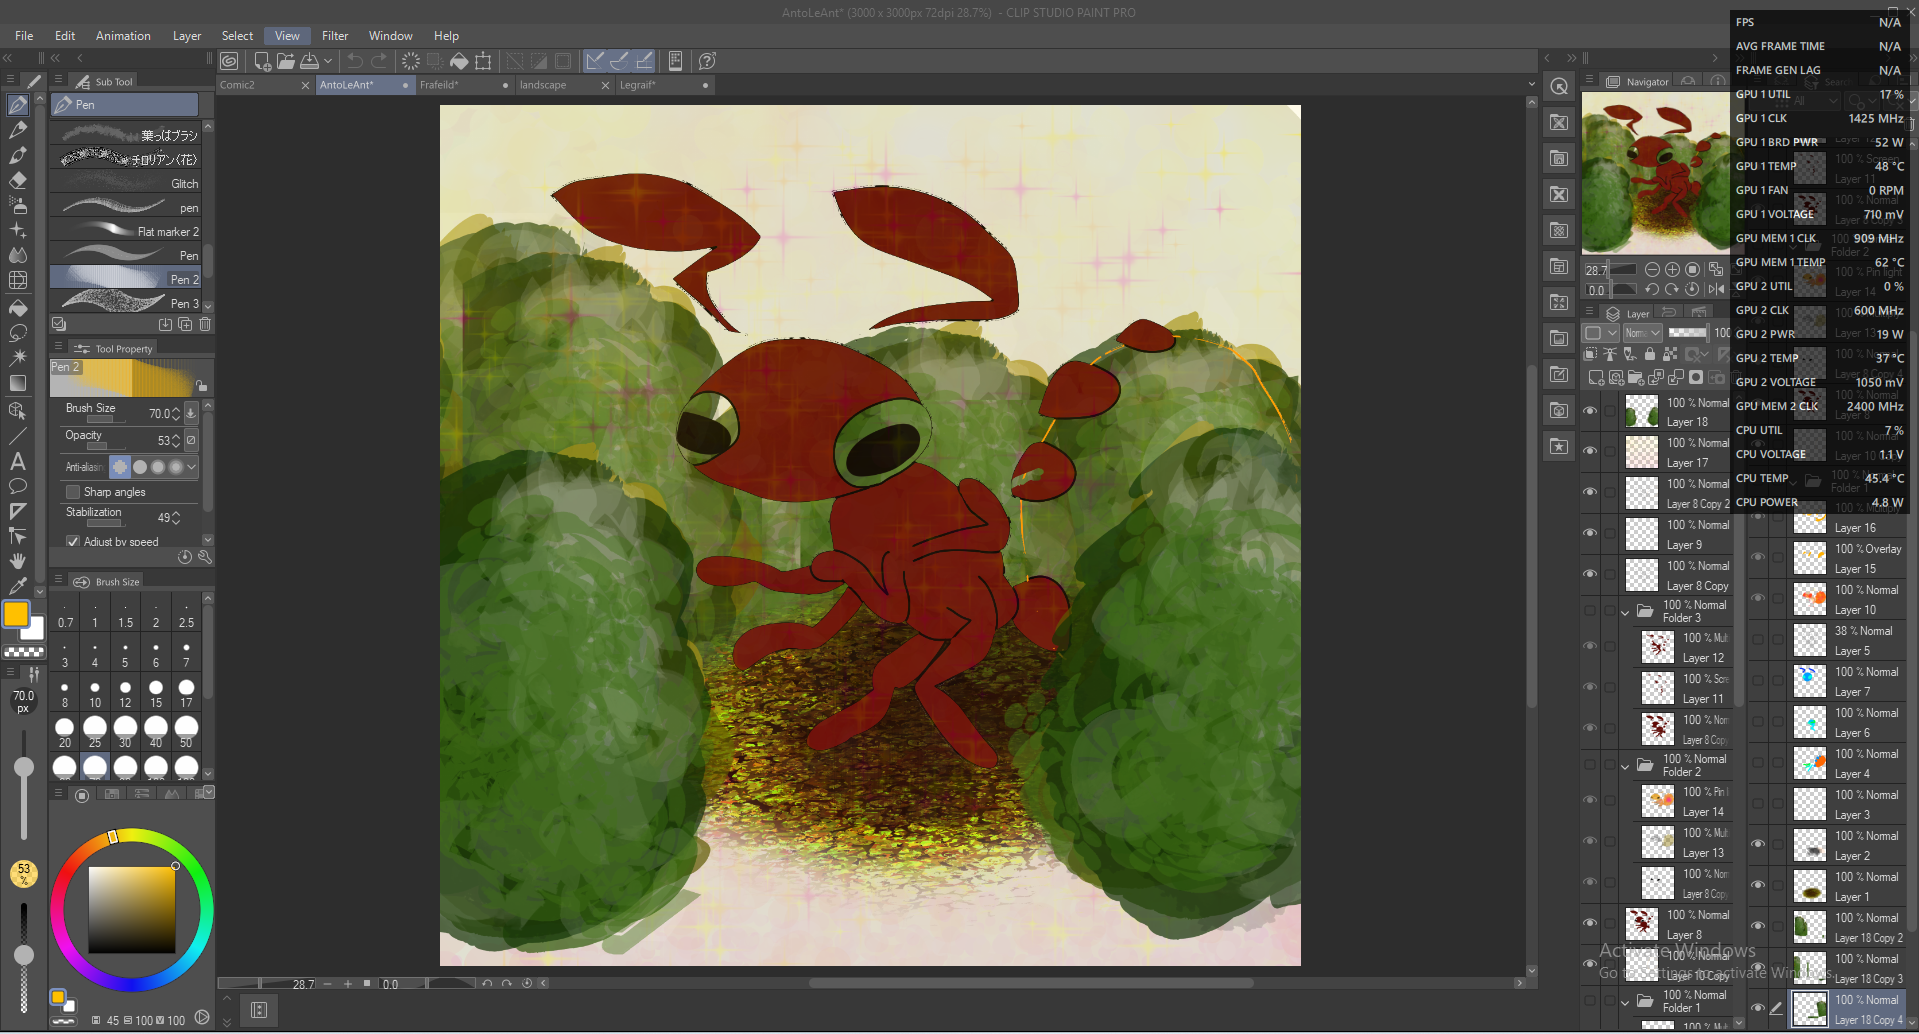
レンダリング:
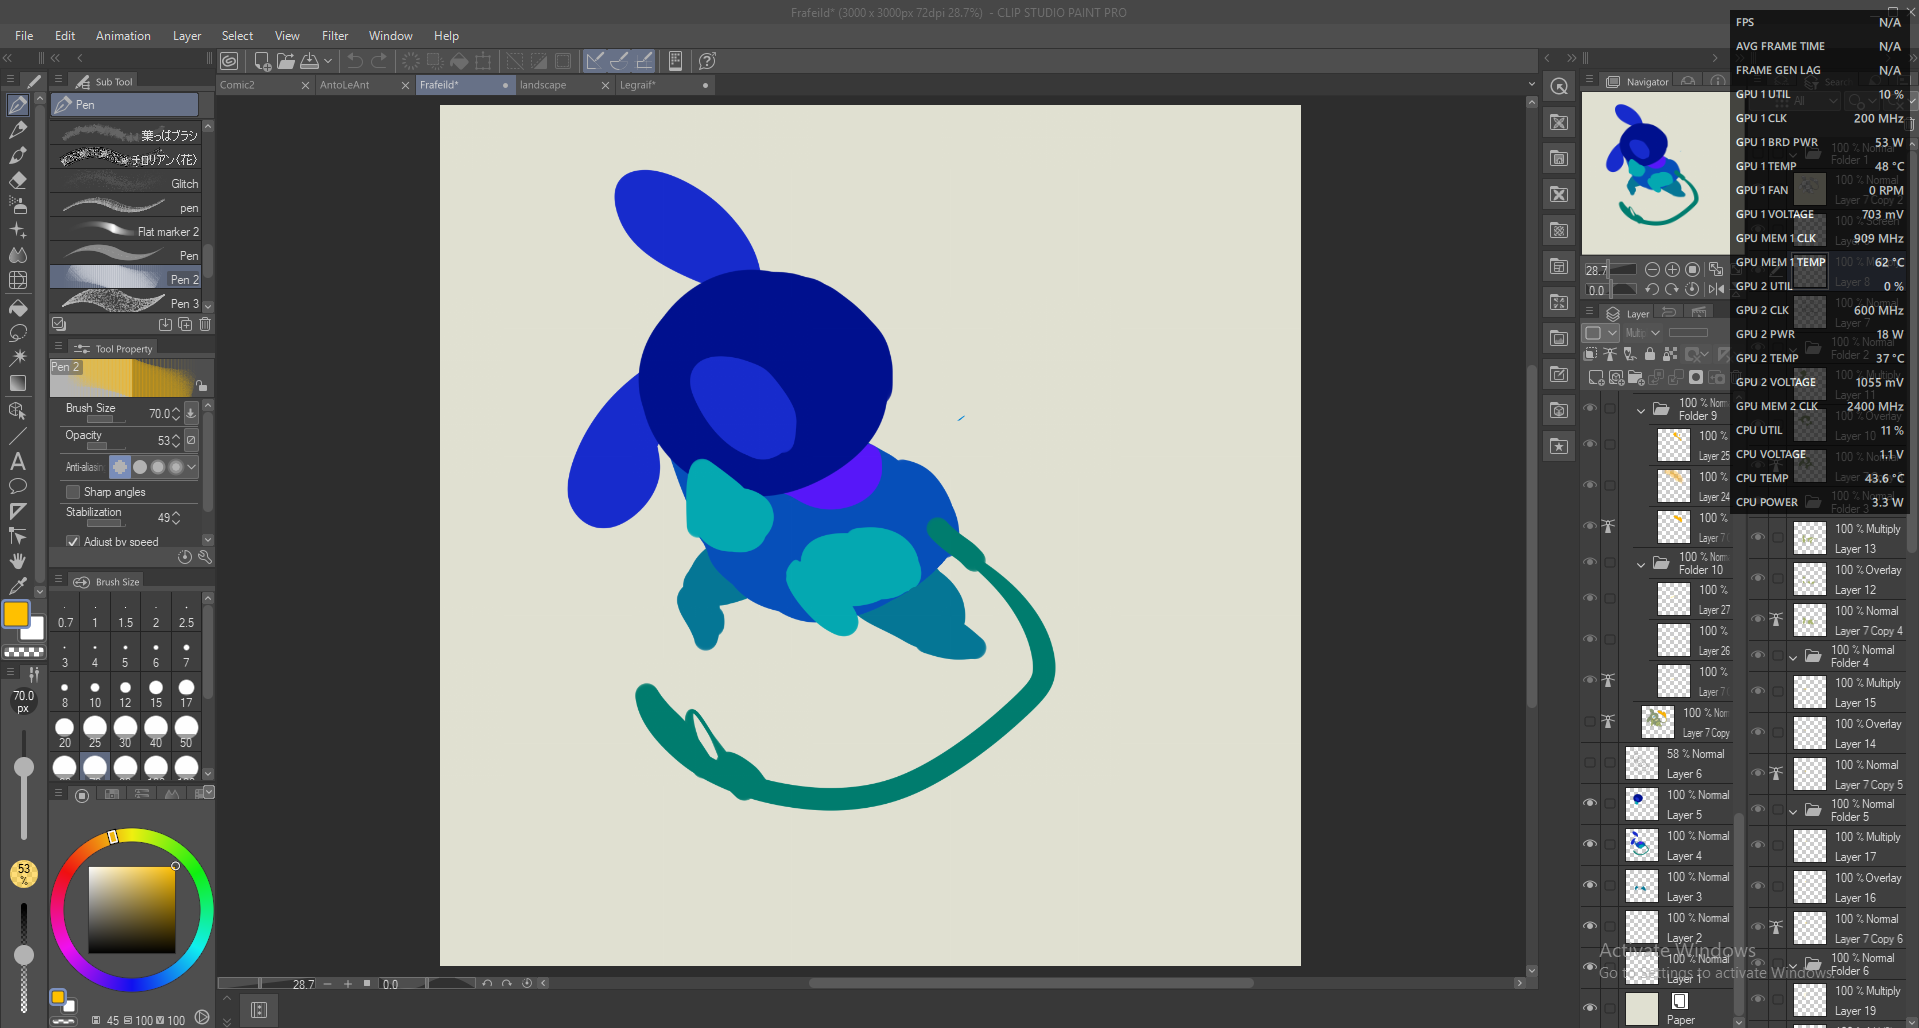
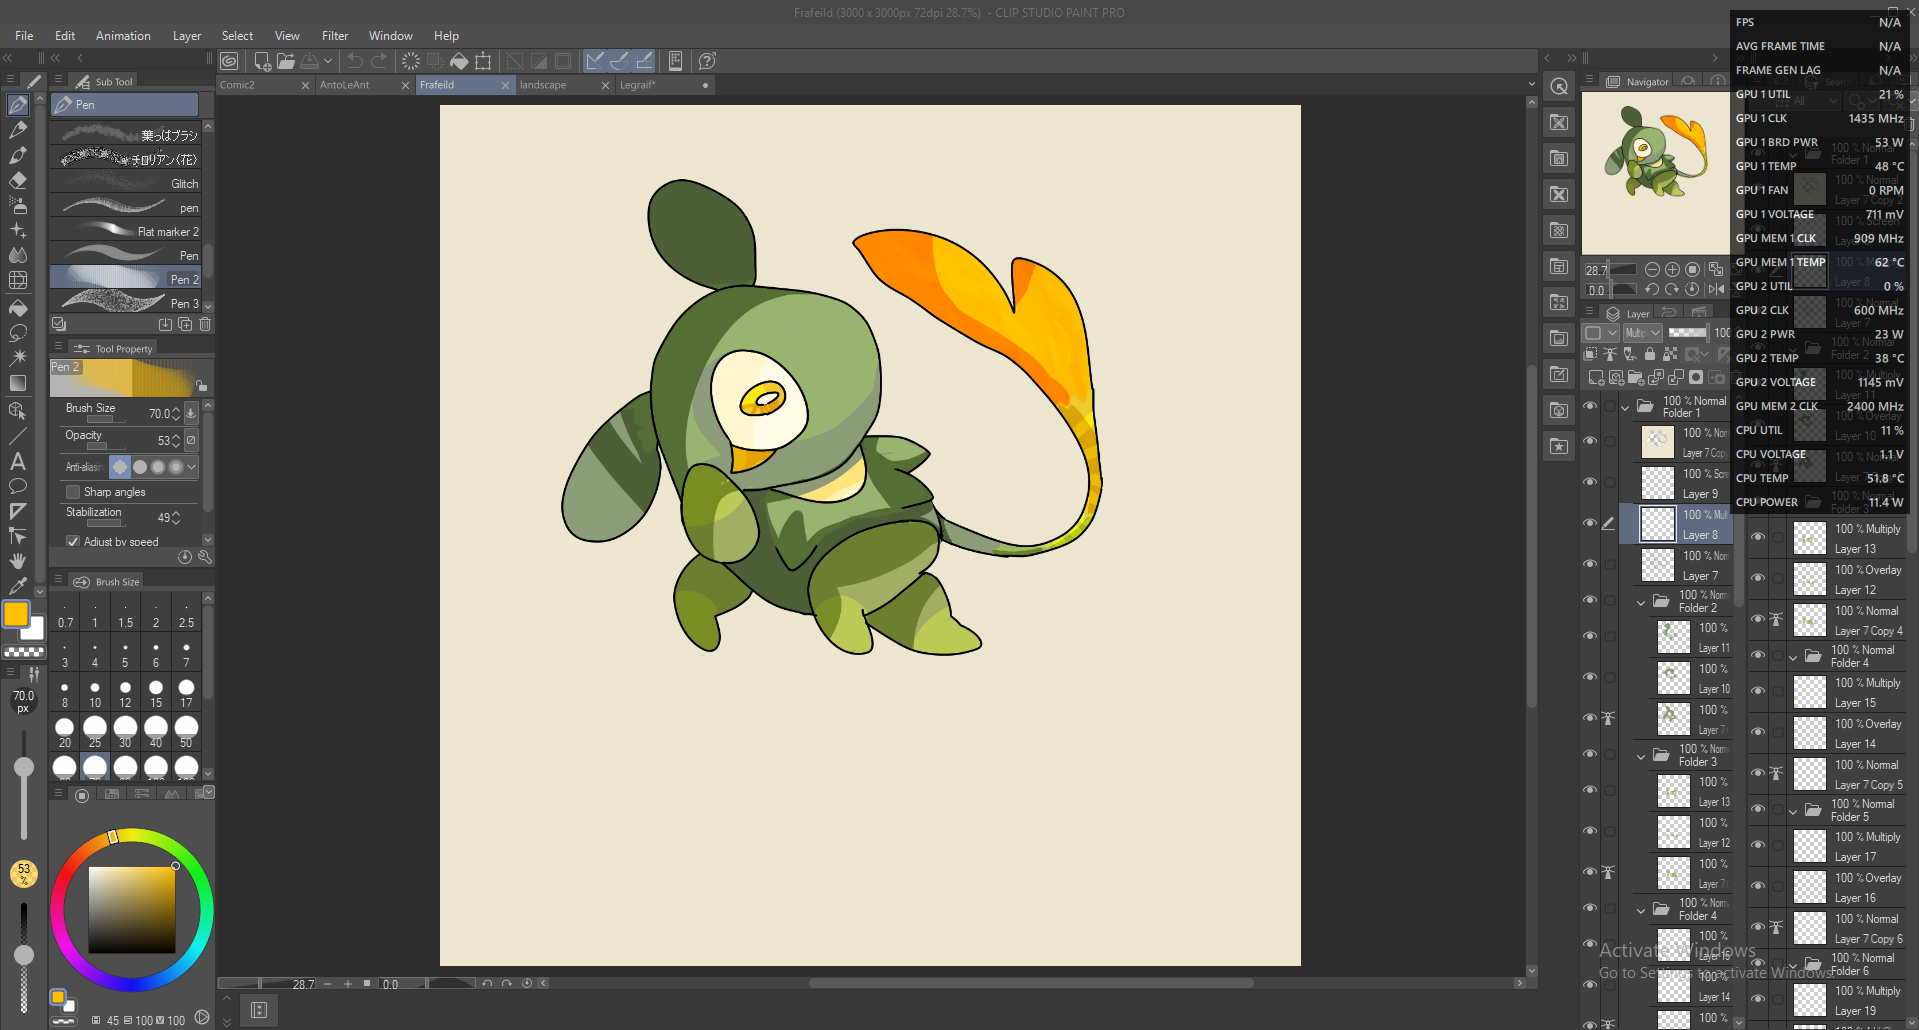
フラフィールド:
ブロック:
レンダリング:
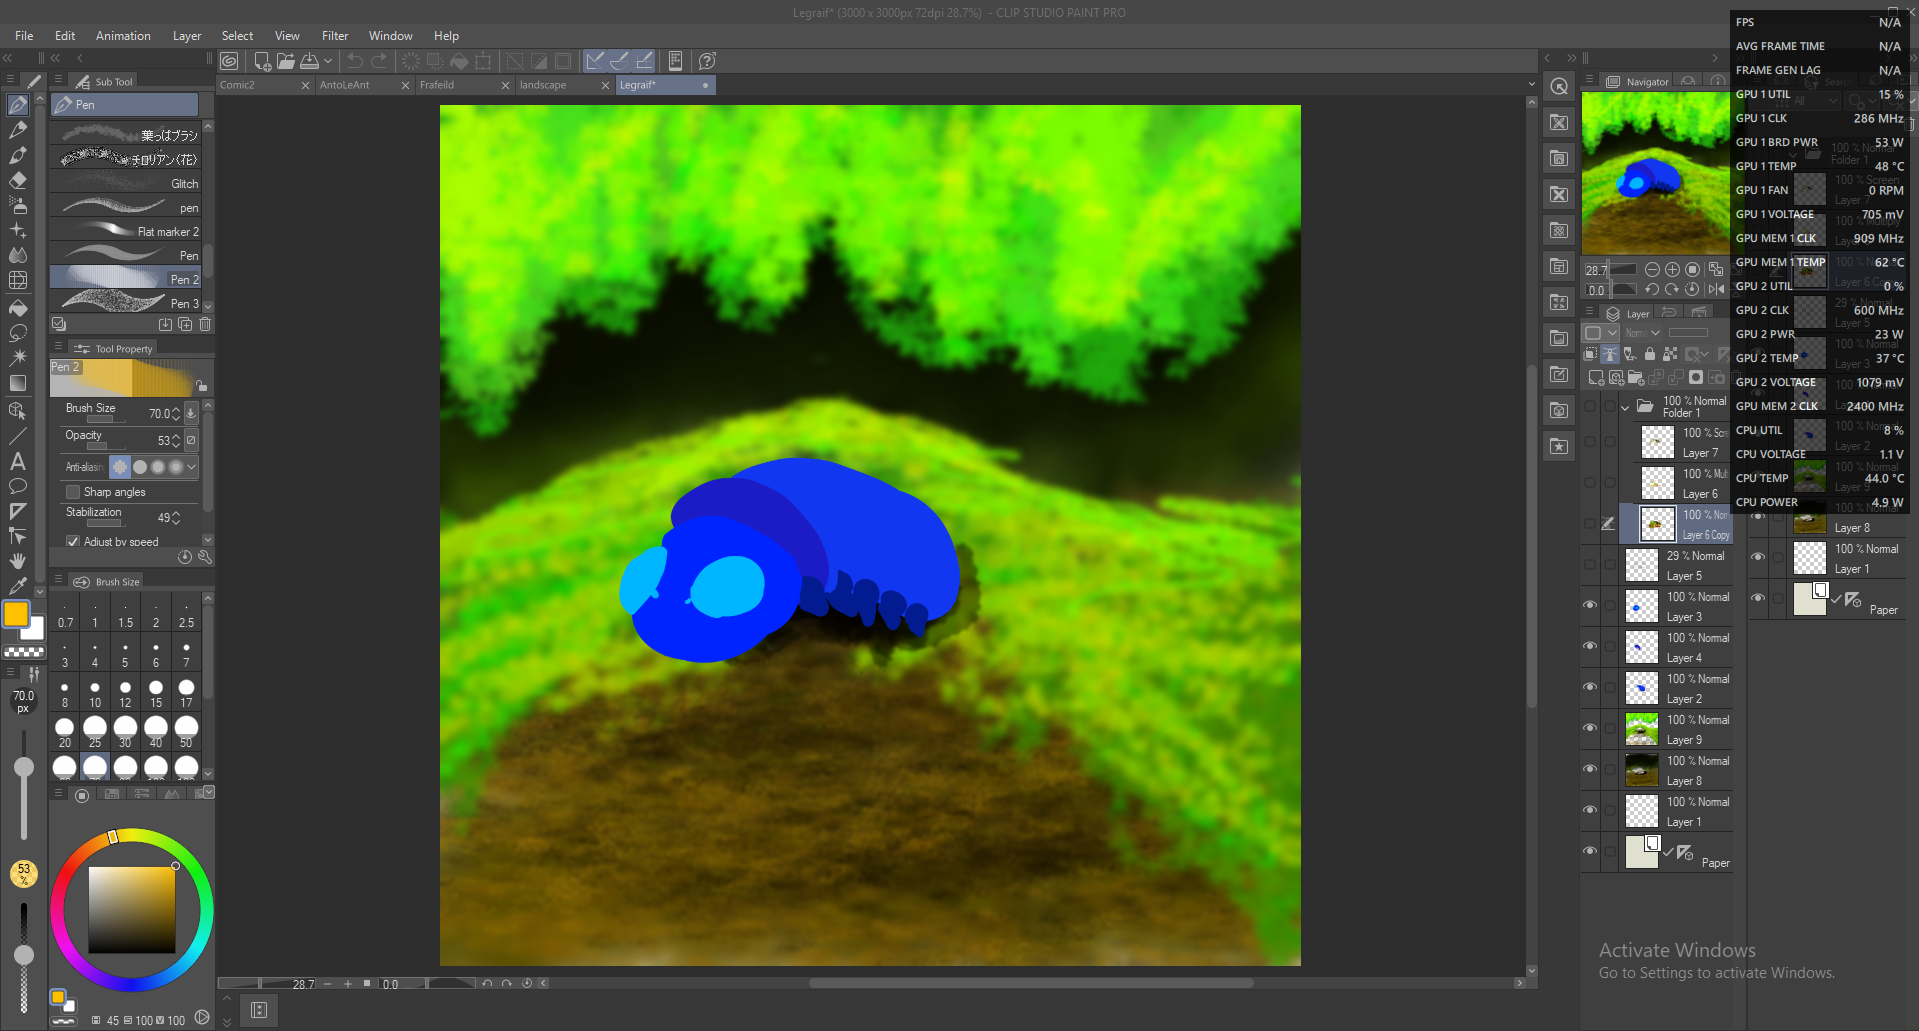
ルグレイフ:
ブロック:
ブロック&ライン:
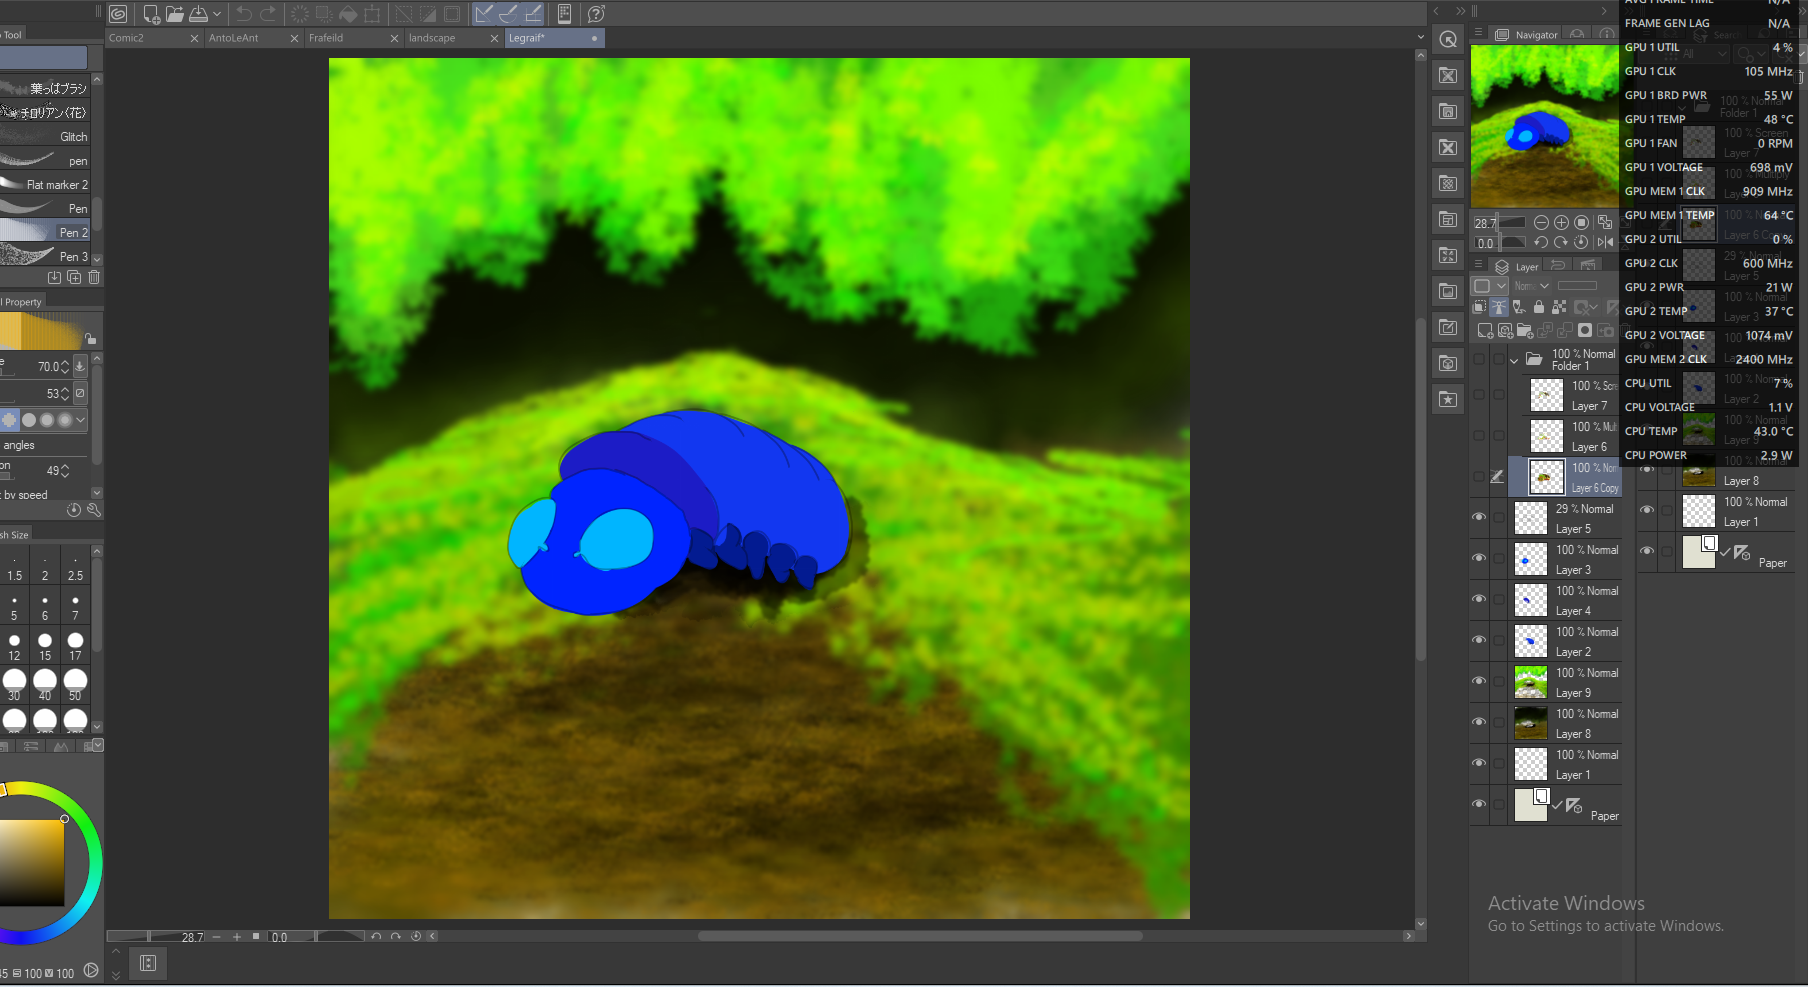
ライン:
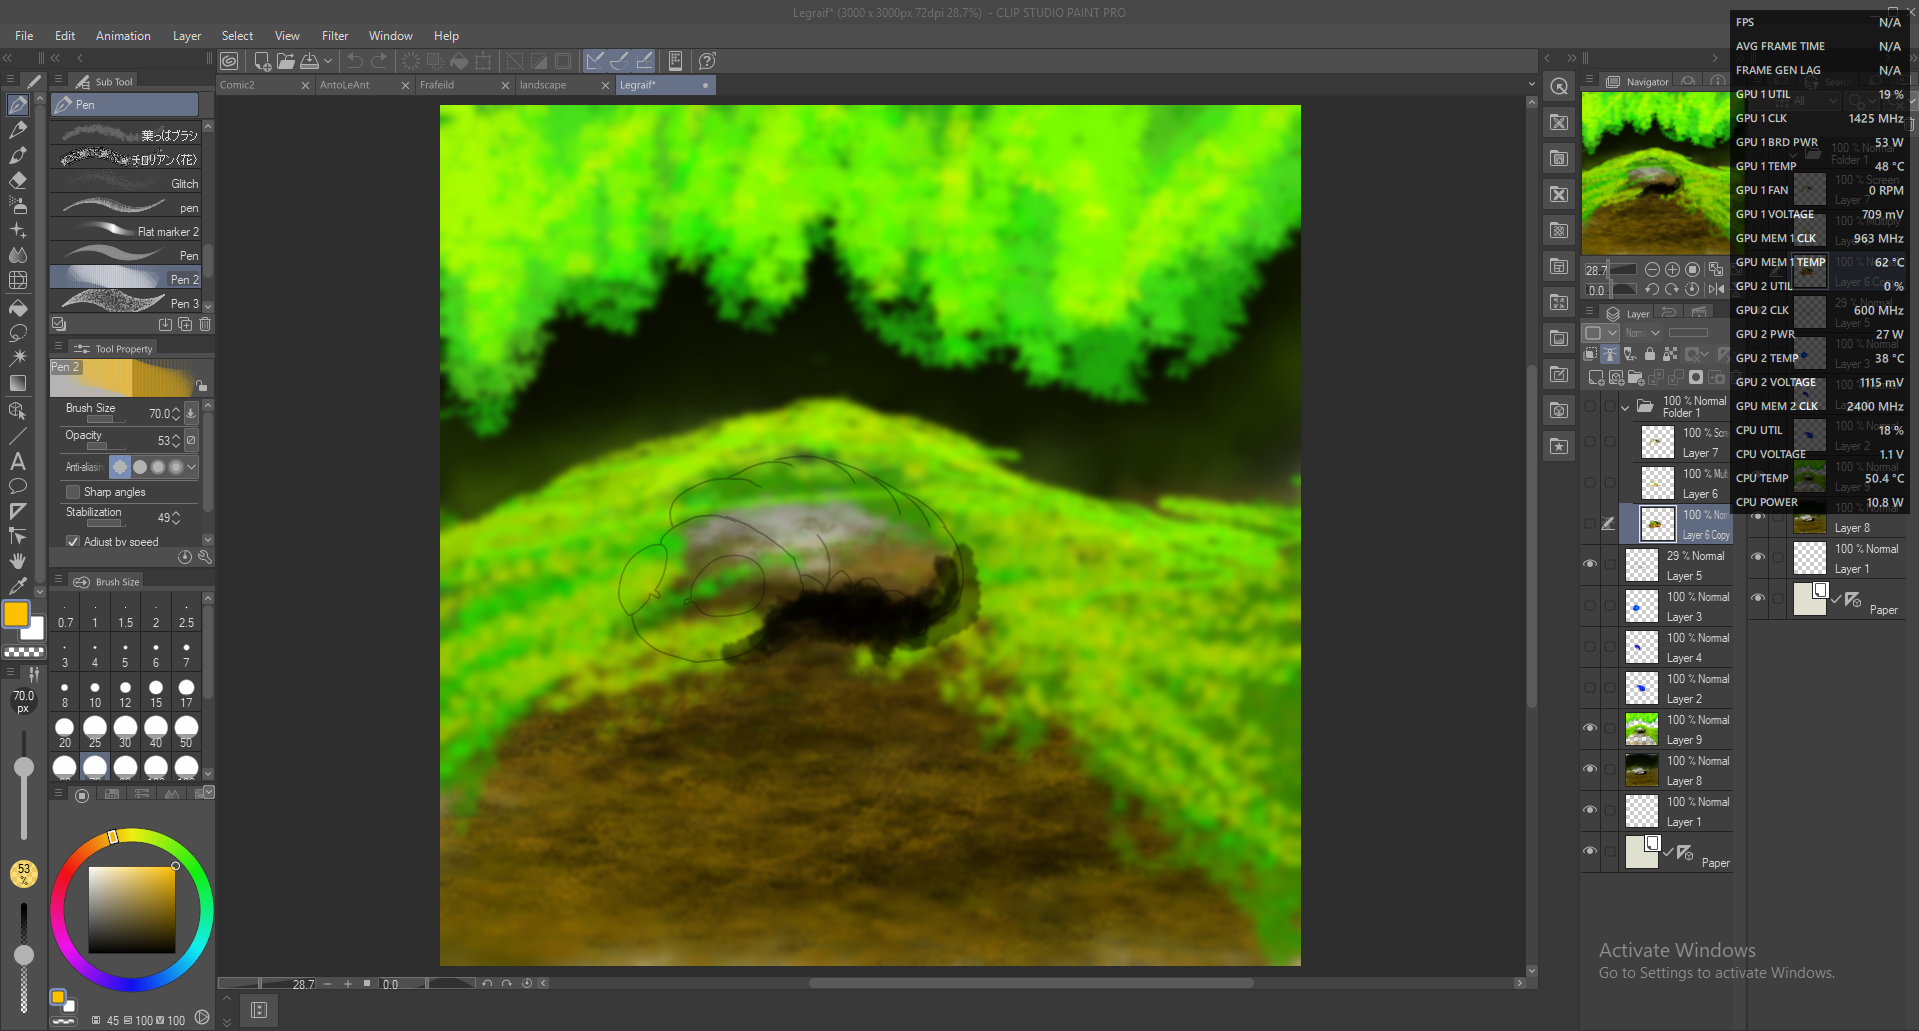
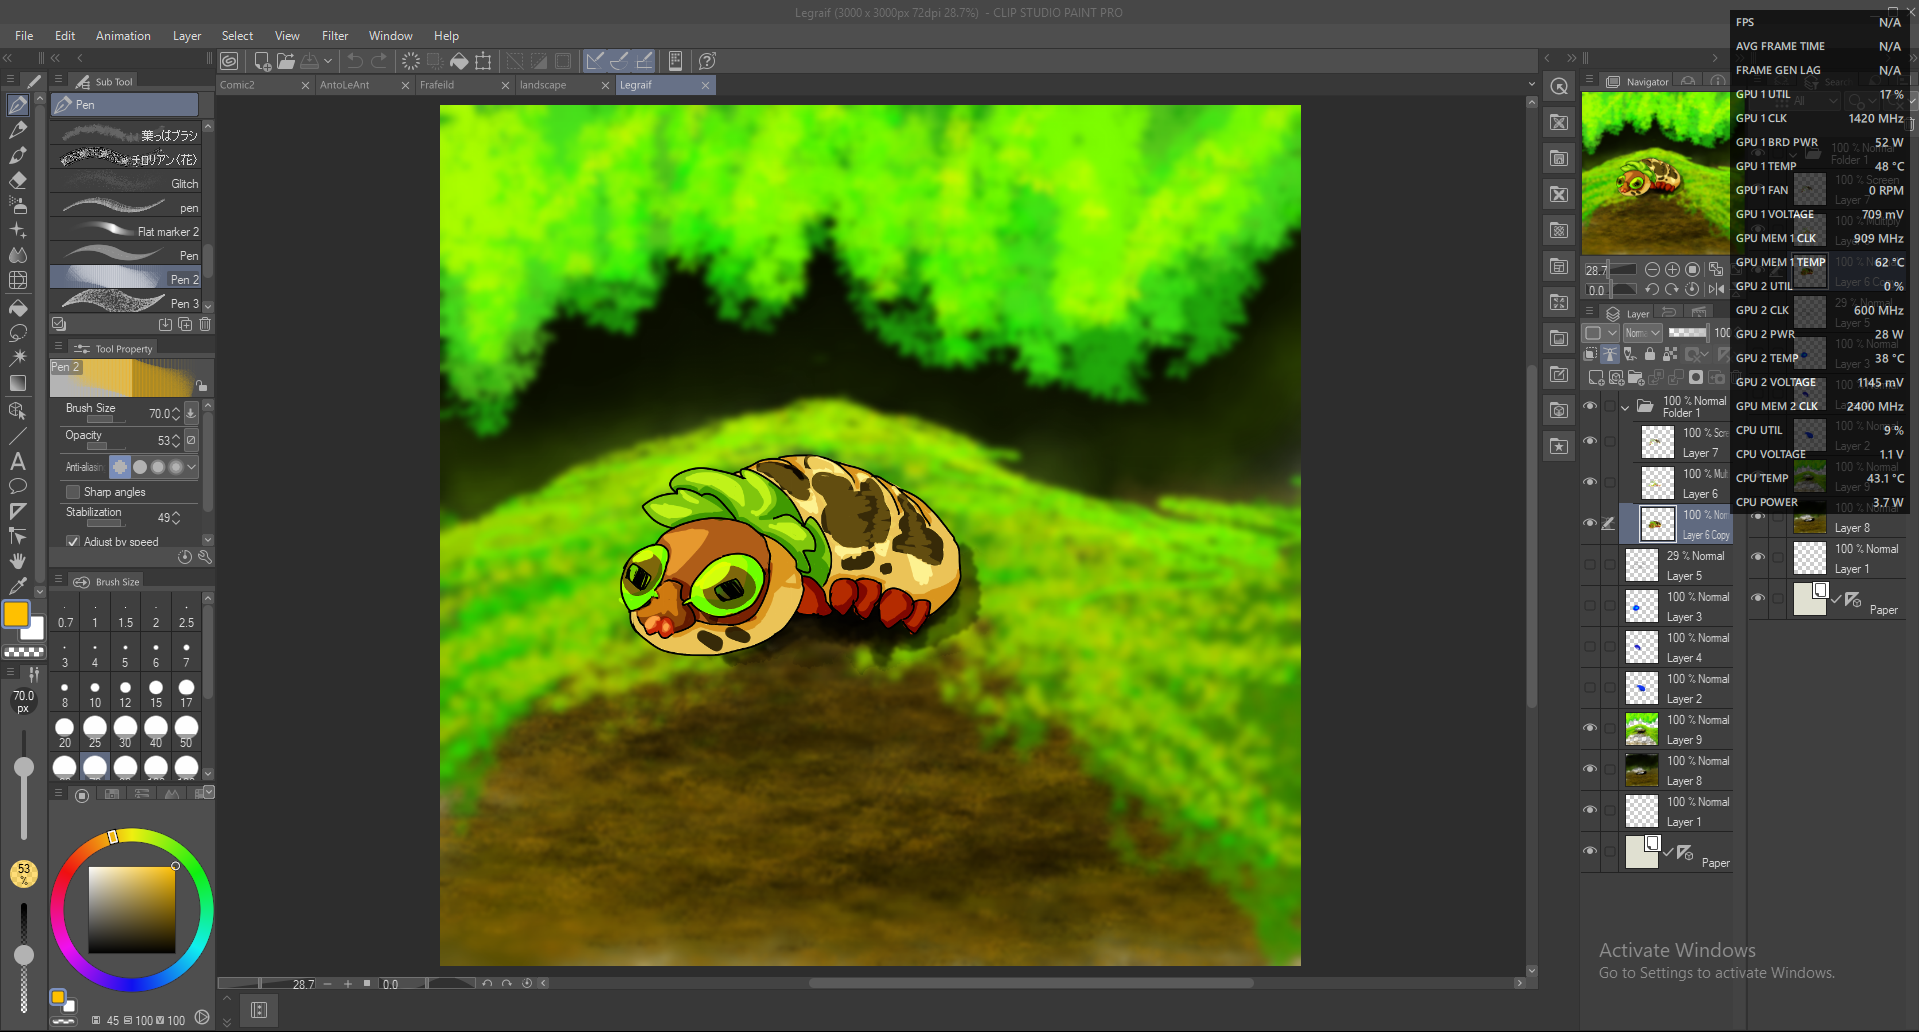
レンダリング:
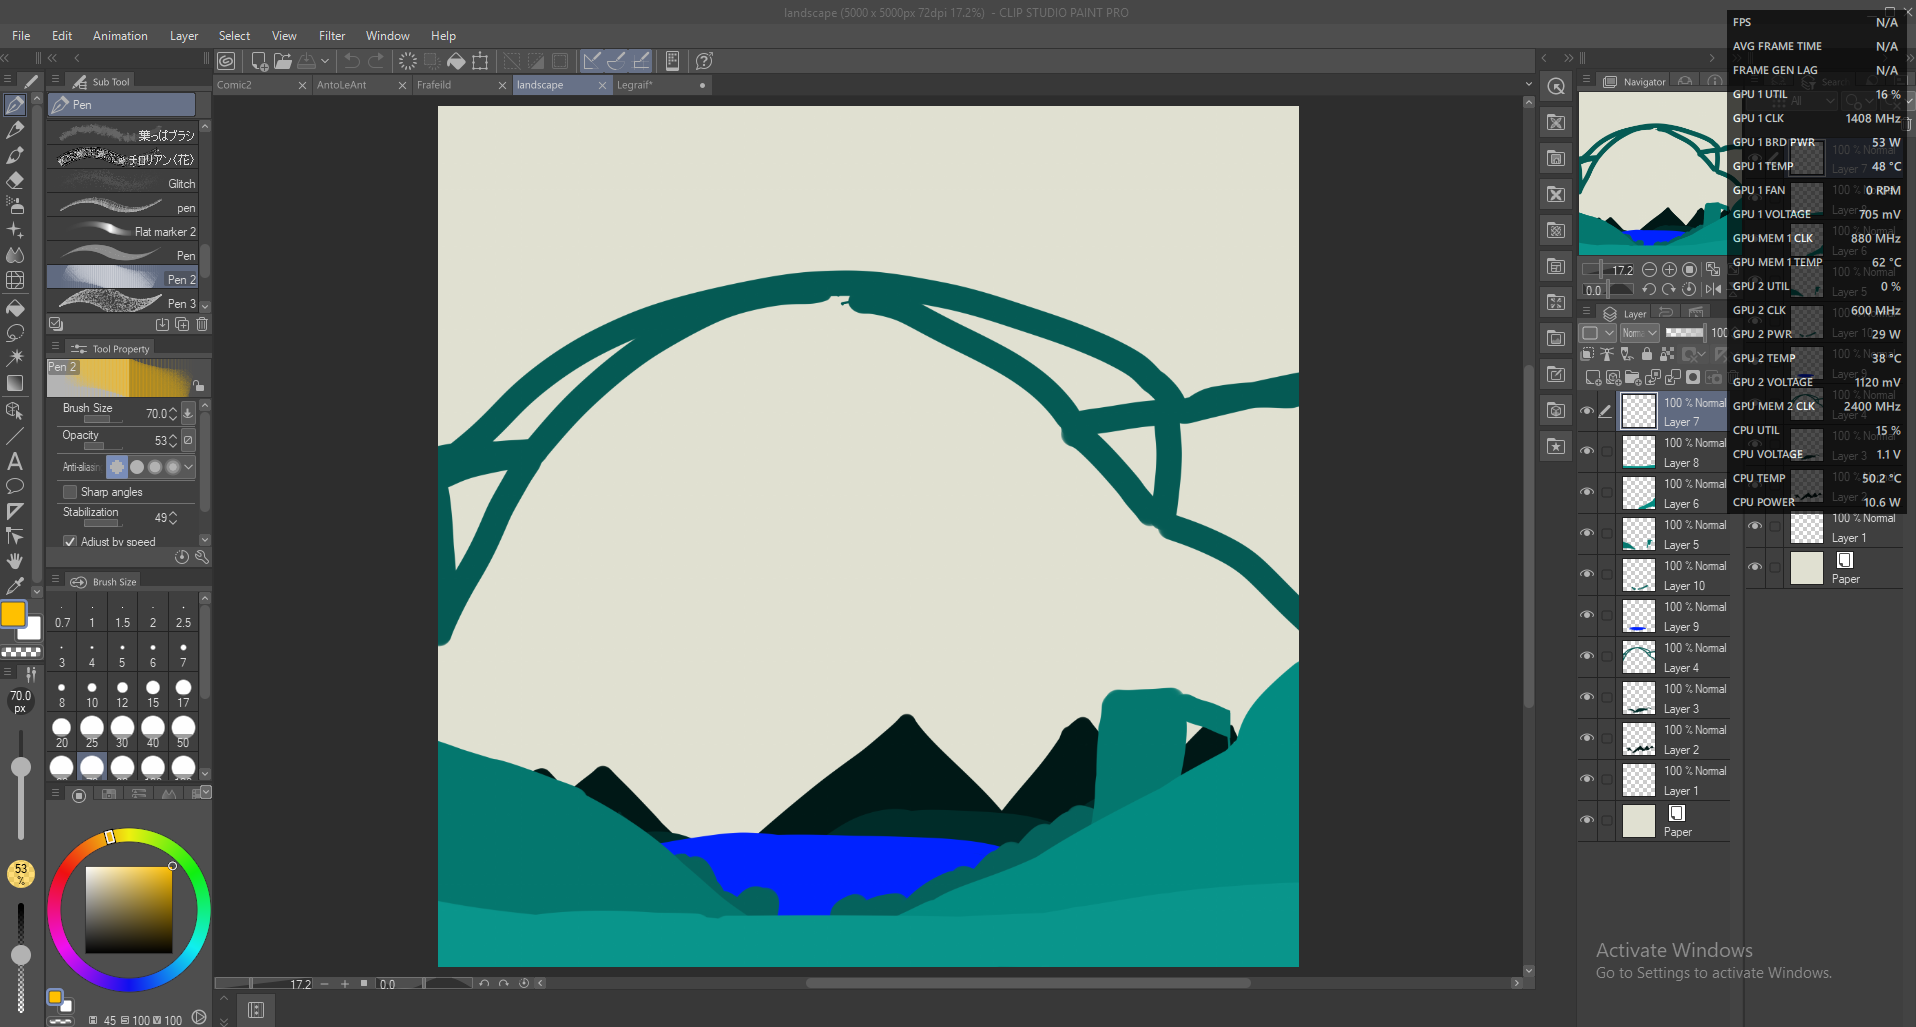
未完成の風景:
ブロック:
ご覧の通り、正確である必要はありません。フラフィールドの尾の位置を変えましたが、それでも役に立つ道具です!
ここに、アント・ル・ハニーポットの本当に奇妙な層をいくつか紹介します。
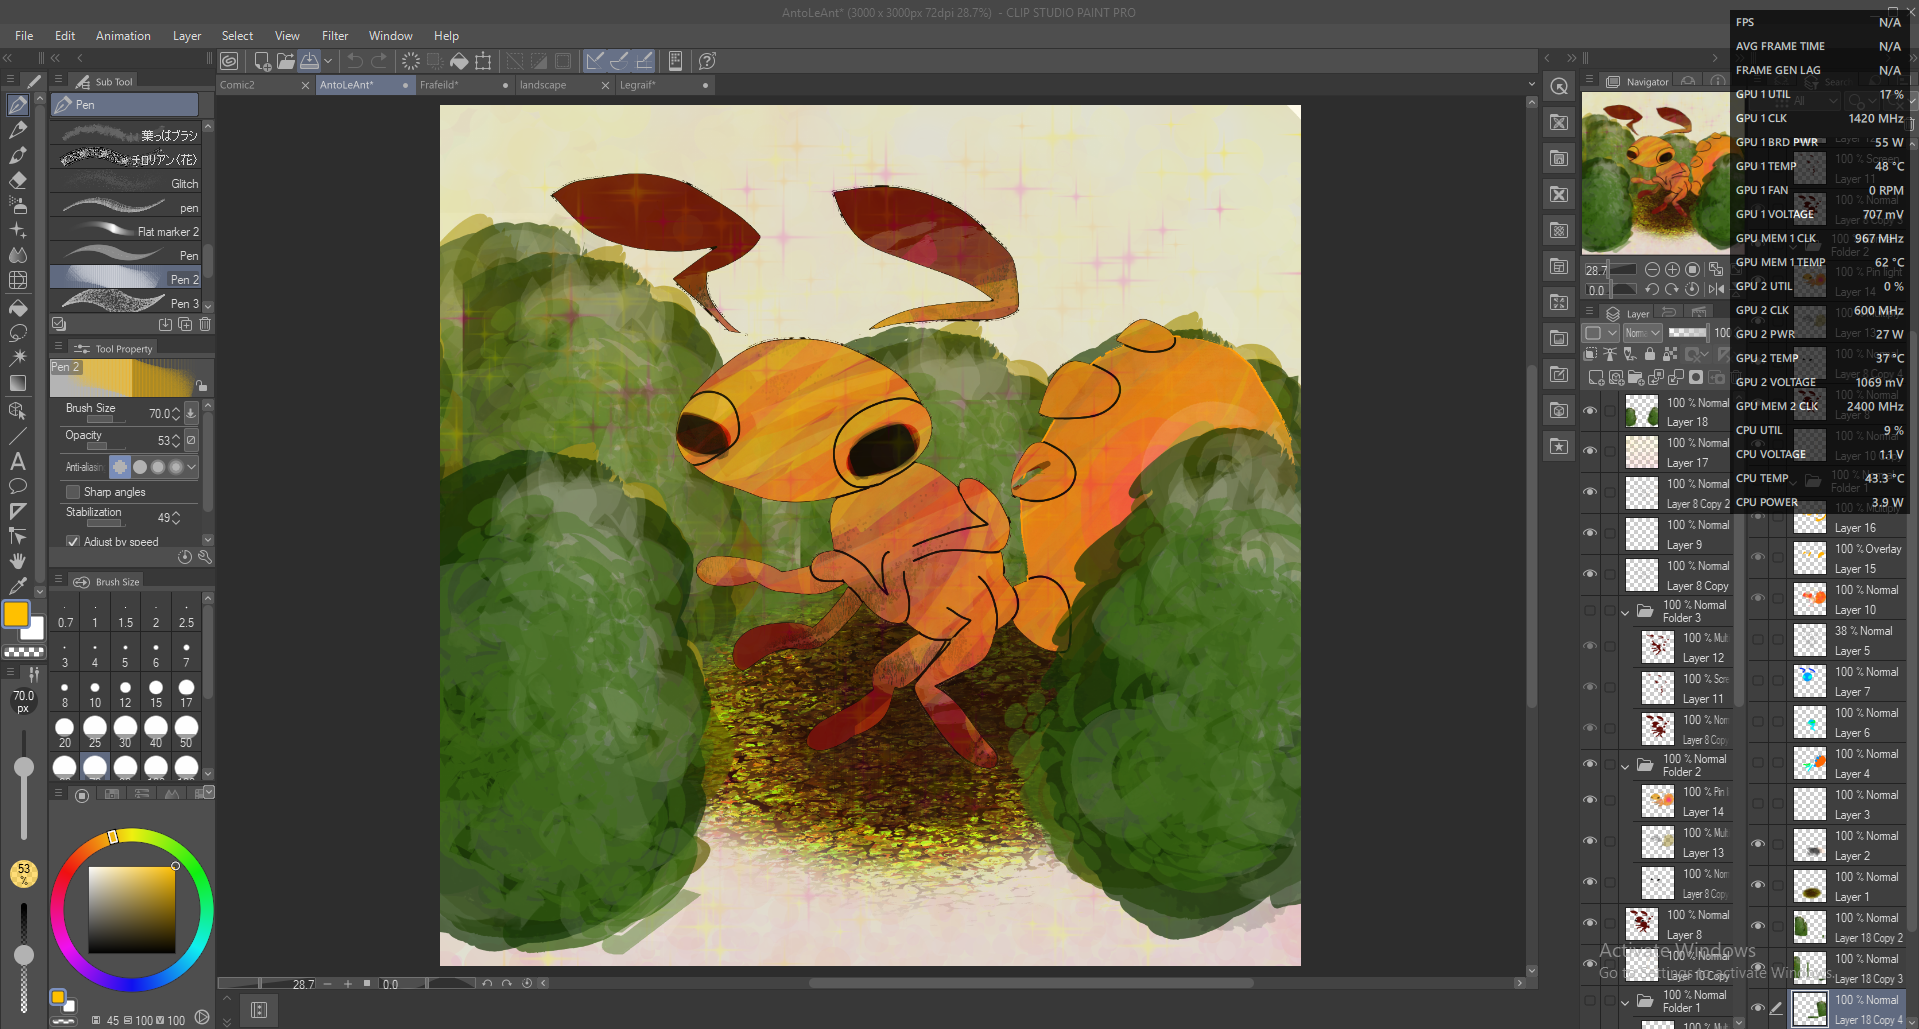
(尻尾と目のせいだ)
簡単なプロセスです。まず、焦点用の新しいラスタレイヤーを追加します。そしてこの筆で、異なる部分を異なる色にして理解できるように作り上げます。その後、スケッチレイヤー(別のブラシで)を描き、あとはその後で仕上げます!
(私のアートでは背景が表示されますが、ブロックレイヤーの前に置くことはおすすめしません。完成後に保存しています)
アント・レアント:
ブロック:
ライン:
フラット:
レンダリング:
フラフィールド:
ブロック:
レンダリング:
ルグレイフ:
ブロック:
ブロック&ライン:
ライン:
レンダリング:
未完成の風景:
ブロック:
ご覧の通り、正確である必要はありません。フラフィールドの尾の位置を変えましたが、それでも役に立つ道具です!
ここに、アント・ル・ハニーポットの本当に奇妙な層をいくつか紹介します。
(尻尾と目のせいだ)
So, in order to use a tool, you need to know how. Some of my recent best digital pieces, including my profile picture, used this brush.
It's a simple process; first, add a new raster layer for the focal point; and than make that with this brush, making different parts different colours so you can understand; after that, do a sketch layer (WITH A DIFFERENT BRUSH), and the rest after!
(My art here will show backgrounds but I do not recomend them before the block layer; it's just saved of them after I finished)
AntoLeAnt:
Block:
Line:
Flat:
Rendered:
Frafeild:
Block:
Rendered:
Legraif:
Block:
Block & Line:
Line:
Rendered:
Unfinished Landscape:
Block:
As you can see, it doesn't need to be exact; I changed Frafeild's tail position, but it is still a useful tool!
Here is a really weird few layers of Anto Le Honeypot for reading through:
(It's cuz the tail and eyes)
It's a simple process; first, add a new raster layer for the focal point; and than make that with this brush, making different parts different colours so you can understand; after that, do a sketch layer (WITH A DIFFERENT BRUSH), and the rest after!
(My art here will show backgrounds but I do not recomend them before the block layer; it's just saved of them after I finished)
AntoLeAnt:
Block:
Line:
Flat:
Rendered:
Frafeild:
Block:
Rendered:
Legraif:
Block:
Block & Line:
Line:
Rendered:
Unfinished Landscape:
Block:
As you can see, it doesn't need to be exact; I changed Frafeild's tail position, but it is still a useful tool!
Here is a really weird few layers of Anto Le Honeypot for reading through:
(It's cuz the tail and eyes)


"Anto_Le_Honeypot"さんの別の素材

"ブラシ"の人気素材





新着素材


バッジ
-
 MVP ◆質問に対して適切な回答を数多く投稿し、コミュニティの運営に大きく貢献したユーザーです。MVPは3ヶ月に一度、その間に獲得したポイントを元に決定し、表彰を行っています。
 -
 NVP (New Valuable Player) ◆MVPに次いでコミュニティの運営に貢献したユーザーです。これまでMVPの受賞経験のない方から、獲得したポイントを元に決定し、表彰を行なっています。
 -
 公式エキスパート ◆優れた回答者の証であるMVP受賞者の中からさらに選ばれた、コミュニティで最も優良な回答者の証です。審査を経て当社から依頼し就任いただいています。※旧名称「エバンジェリスト」
 -
 セルシス公認モデレーター ◆モデレーターは、日本語とその他の言語が話せるセルシス公認のスタッフです。ソフトウェアや創作のエキスパートではないので、直接疑問を解決することはできませんが、みなさんがスムーズにコミュニケーションできるように、言葉やコミュニケーションの側面からサポートします。
 -
 セルシス公式運営に関連した公式アカウントです。