
オートアウトライン(線の太さ付き) (Auto-Outline (with line-weight)) Auto-Outline (with line-weight)
コンテンツID:1968595
-
2,850

図形に黒い輪郭を作成する自動アクションですが、線の太さをシミュレートするオプションも提供します。
Auto-Action that creates a black outline on shapes but also offers the option to simulate line-weight.
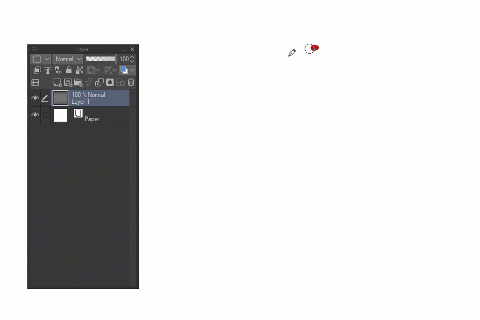
自動アウトライン v2
この自動アクションは、図形に黒いアウトラインを自動的に作成します が、 線の太さをシミュレートするオプションも提供します。
セルシェードスタイルで線と色を同時に使用して図面を作成する場合に便利です。

使い方:

- メイン図形を描く
- 自動アクションを実行します(キーボードショートカットに追加することをお勧めします)
- アウトラインを変換します(線の太さをシミュレートします)。ヒット 入力します 確認する
- 内部の形状と詳細を描画します(透明ピクセルはロックに設定されています)
カスタマイズ方法:
これらのコマンドを変更して、自動アクションをカスタマイズできます。
- A-別の原色を選択して、線に別の 色 相/値を使用することを記録します。
- B - これは 最も細いアウトラインを制御します。これら2つのバリエーション([選択した領域を展開])を選択するか、カスタム値を使用して新しいコマンドを記録できます。
- C - アクションの終了時に透明ピクセルをロック したくない 場合は、このコマンドをオフに切り替えることができます。

* 効率を上げるために、キーボードショートカットで使用する自動アクションを設定してください。
2022 - ダドトロニック(ツイッターで@dadotronic)
Auto-Outline v2
This Auto-Action automatically creates a black outline on shapes but also offers the option to simulate line-weight.
It can be useful for making drawings with lines and colors at the same time in the cel-shade style.
How-to use:
- Draw the main shape
- Execute the Auto-Action (I suggest add to a keyboard shortcut)
- Transform the outline (simulating line-weight); hit enter to confirm
- Draw the interior shapes and details (transparent pixels is set to locked)
How-to customize:
You can modify those commands to customize the Auto-Action:
- A - record yourself selecting another primary color to use another hue/value for the line.
- B - this controls the thinnest outline; you can choose these two variations (Expand Selected Area) or record a new command with a custom value.
- C - You can toggle this command off if you prefer to not have the transparent pixels locked when the action finishes.
* for more efficiency, set the auto-action to be used with a keyboard shortcut.
2022 - DADOtronic (@dadotronic on twitter)


"Dadotronic"さんの別の素材


"オートアクション"の人気素材


新着素材


バッジ
-
 MVP ◆質問に対して適切な回答を数多く投稿し、コミュニティの運営に大きく貢献したユーザーです。MVPは3ヶ月に一度、その間に獲得したポイントを元に決定し、表彰を行っています。
 -
 NVP (New Valuable Player) ◆MVPに次いでコミュニティの運営に貢献したユーザーです。これまでMVPの受賞経験のない方から、獲得したポイントを元に決定し、表彰を行なっています。
 -
 公式エキスパート ◆優れた回答者の証であるMVP受賞者の中からさらに選ばれた、コミュニティで最も優良な回答者の証です。審査を経て当社から依頼し就任いただいています。※旧名称「エバンジェリスト」
 -
 セルシス公認モデレーター ◆モデレーターは、日本語とその他の言語が話せるセルシス公認のスタッフです。ソフトウェアや創作のエキスパートではないので、直接疑問を解決することはできませんが、みなさんがスムーズにコミュニケーションできるように、言葉やコミュニケーションの側面からサポートします。
 -
 セルシス公式運営に関連した公式アカウントです。