

為任何繪圖創建印章狀外觀的工具集! A set of tools to create a stamp-like look for any drawing!
如何使用此套裝:
1. 在圖層面板上選擇要為其製作圖章的圖層。
2. 啟動“Stamp”(圖章)作。
1. 在圖層面板上選擇要為其製作圖章的圖層。

2. 啟動“Stamp”(圖章)作。
3. 根據自己的喜好更改彈出功能表中的參數 - 可見的深色對比區域越多,您獲得的印章就越好!
4. 接下來,一個新的彈出視窗來了,哇!它會詢問您顏色的級別,我建議只使用其中的 2 種 - 它能提供最自然的外觀。
但是,如果您的圖片看起來不那麼好 - 請嘗試使用顏色模糊和混合設置!

5. 好了,行動結束了。它為我們的郵票製作了一個主基礎層,並在其上方製作了一個空層。是時候使用紋理刷了!
您可以使用任何您最喜歡的 grunge 畫筆或嘗試這套畫筆中的一種 - 我使用我的磚牆特寫照片創建了它:D
隨便加多少粗俗的質地就怎麼加。
顏色根本不重要!
6. 現在,留在帶有紋理的圖層上,開始第二個作 - 圖章紋理。它將兩者結合起來創建這個漂亮的郵票。
我完全建議您在所有這些下面都有一個紙張紋理 - 它可以產生最好的效果。
享受!

4. 接下來,一個新的彈出視窗來了,哇!它會詢問您顏色的級別,我建議只使用其中的 2 種 - 它能提供最自然的外觀。
但是,如果您的圖片看起來不那麼好 - 請嘗試使用顏色模糊和混合設置!

5. 好了,行動結束了。它為我們的郵票製作了一個主基礎層,並在其上方製作了一個空層。是時候使用紋理刷了!
您可以使用任何您最喜歡的 grunge 畫筆或嘗試這套畫筆中的一種 - 我使用我的磚牆特寫照片創建了它:D
隨便加多少粗俗的質地就怎麼加。
顏色根本不重要!

6. 現在,留在帶有紋理的圖層上,開始第二個作 - 圖章紋理。它將兩者結合起來創建這個漂亮的郵票。
我完全建議您在所有這些下面都有一個紙張紋理 - 它可以產生最好的效果。

享受!
How to use this set:
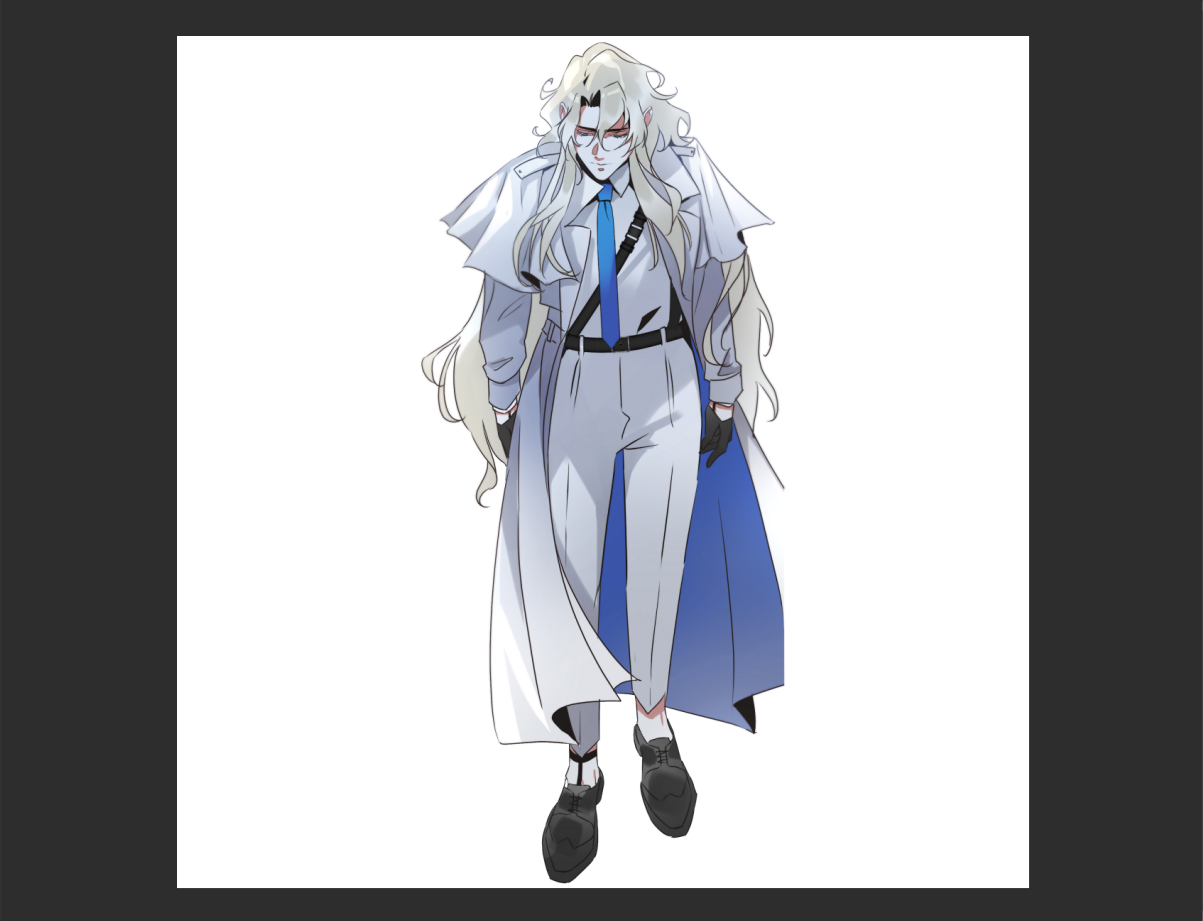
1. Select a layer you want to make a stamp of on the layer panel.
2. Start the 'Stamp' action.
1. Select a layer you want to make a stamp of on the layer panel.
2. Start the 'Stamp' action.
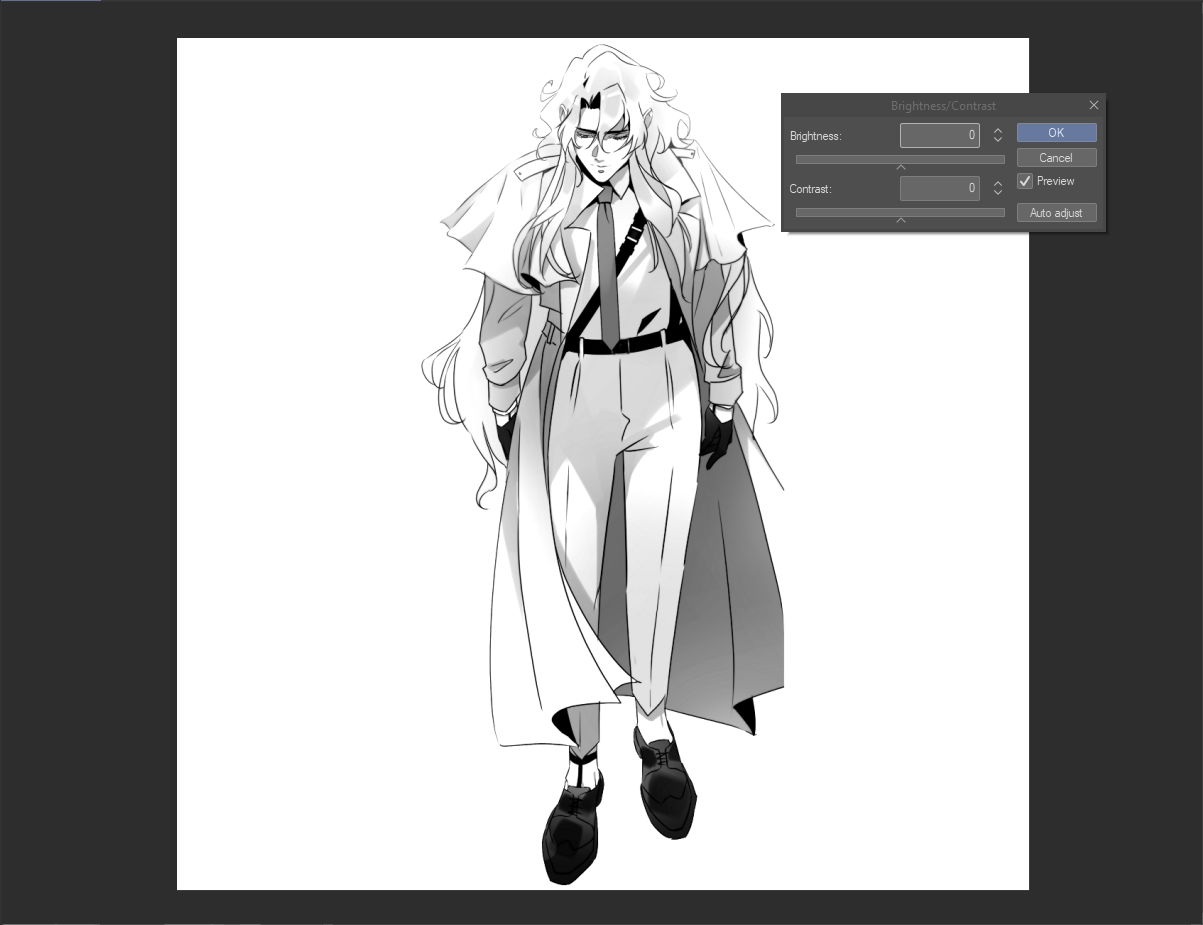
3. Change parameters In pop-out menu to your liking - the more dark contrasted areas visible, the better stamp you will get!
4. Next, a new popout arrive, woah! It asks you about levels of colors, and I recommend sticking to just 2 of them - it gives the most natural look.
However, if your picture doesn't look as good with it - try playing around with the color blur and blend settings!
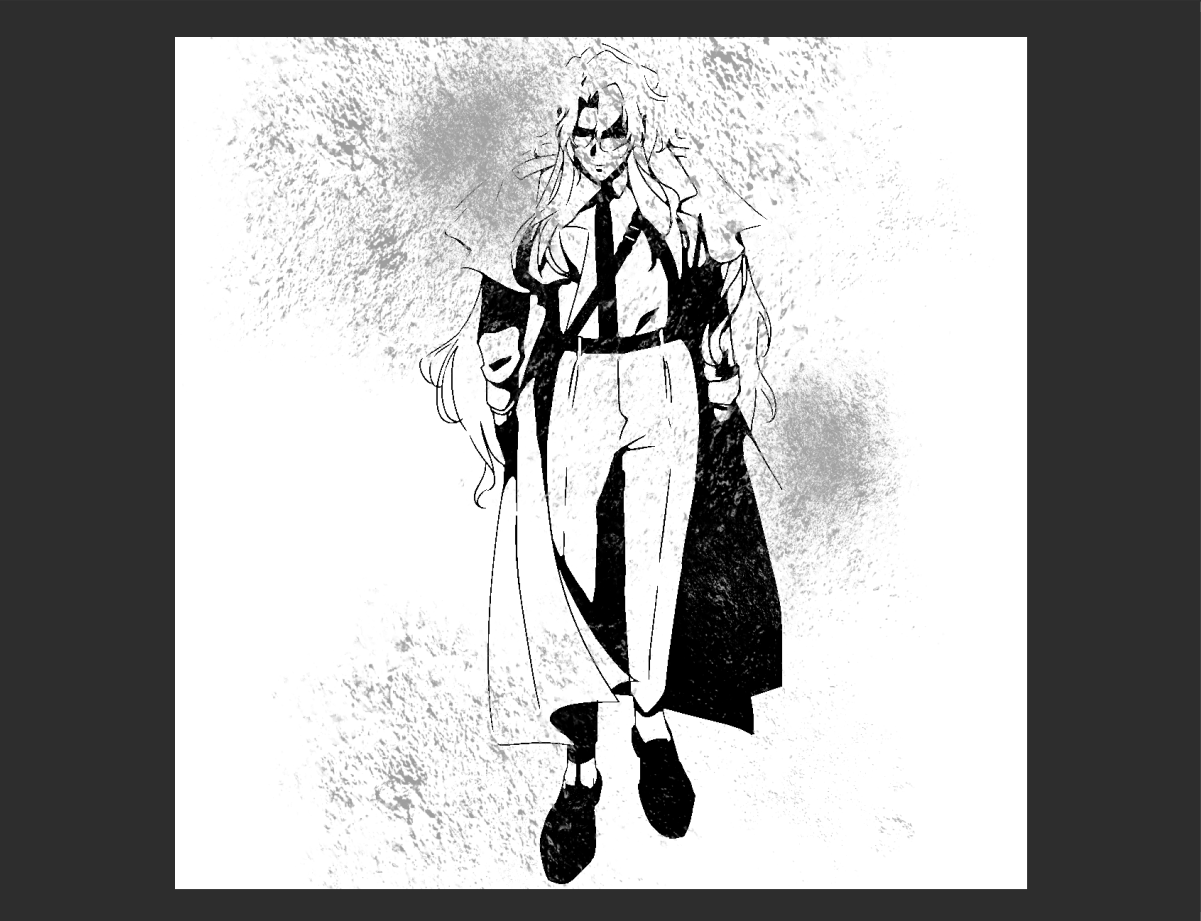
5. Okay, action is over. It made a main base layer for our stamp AND an empty layer above it. Time to use the texture brush!
You can use any of your favorite grunge brushes or try out the one in this set - I created it using photos of my brick wall close up :D
Just add up as much of grungey texture as you like.
Colour doesn't matter at all!
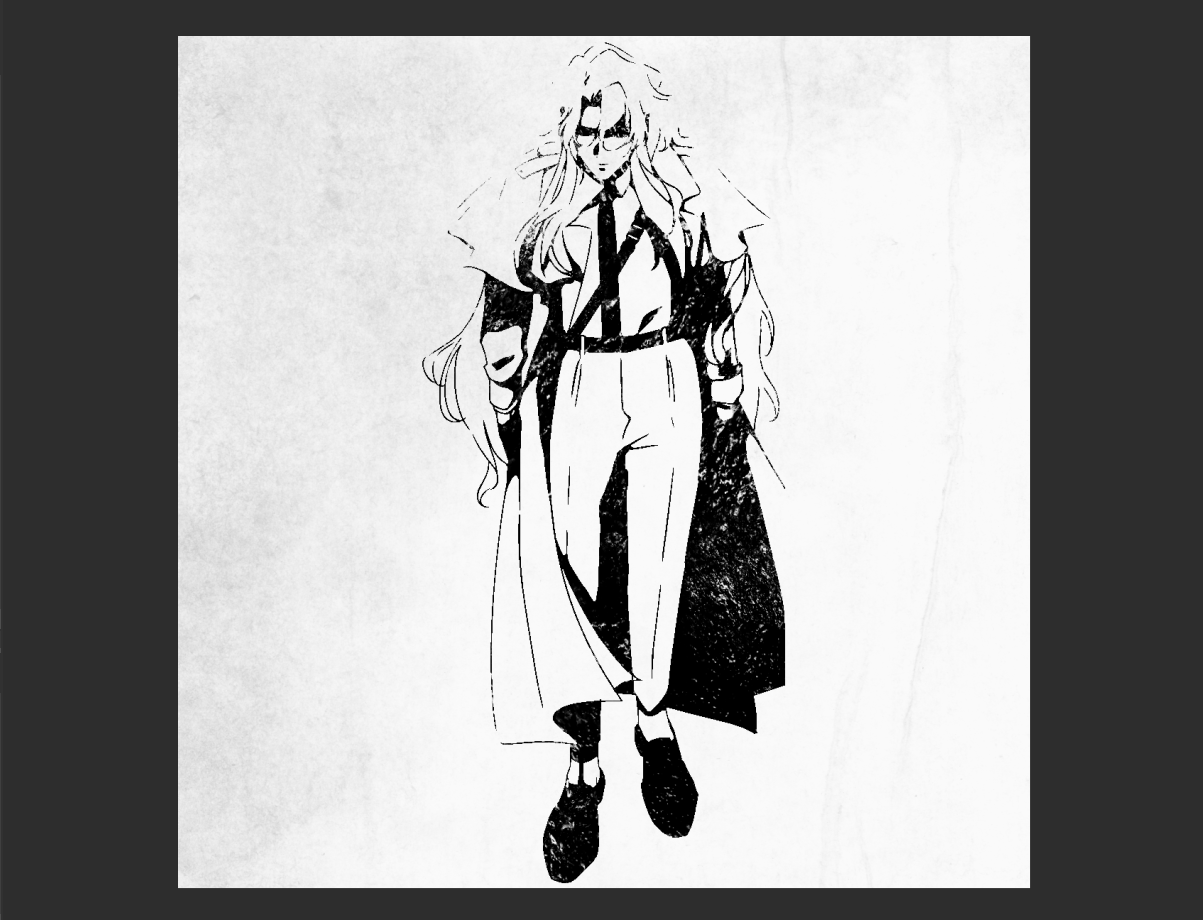
6. Now, staying on the layer with the texture, start the second action - stamp texture. It will combine the two to create this nice stamp.
I totally recommend you to have a paper texture underneath all of these - it makes the best results.
ENJOY!
4. Next, a new popout arrive, woah! It asks you about levels of colors, and I recommend sticking to just 2 of them - it gives the most natural look.
However, if your picture doesn't look as good with it - try playing around with the color blur and blend settings!
5. Okay, action is over. It made a main base layer for our stamp AND an empty layer above it. Time to use the texture brush!
You can use any of your favorite grunge brushes or try out the one in this set - I created it using photos of my brick wall close up :D
Just add up as much of grungey texture as you like.
Colour doesn't matter at all!
6. Now, staying on the layer with the texture, start the second action - stamp texture. It will combine the two to create this nice stamp.
I totally recommend you to have a paper texture underneath all of these - it makes the best results.
ENJOY!
類別1 Category 1


「wpjp」的其他素材


「素材集」的人氣素材


最新素材


徽章
-
 MVP ◆針對問題投稿了眾多適切的回答,對社群有顯著貢獻的用戶。每3個月一次,會依據期間內獲得的點數選出MVP用戶,並進行表揚。
 -
 NVP(New Valuable Player) ◆繼MVP後,對社群營運做出良好貢獻的用戶。將從不曾獲選為MVP的用戶中,依據獲得的點數進行評選、表揚。
 -
 官方推廣大使 ◆從被證明為優良回答用戶的MVP獲獎者中選出社群中最優異的回答者。並經審查後由本社委託就任。※舊名稱為「Evangelist」
 -
 CELSYS公認Moderator ◆Moderator為會使用日文及其他語言的CELSYS公認工作人員。由於並非軟體或創作的專業人士,Moderator無法直接為用戶解決疑問,但能在語言、交流方面提供支援,幫助用戶們順利地進行溝通。
 -
 CELSYS官方為與營運相關的官方帳號。