此畫筆組可以為您提供一種簡單的方法來為您的繪圖實現草地效果,特別是對於動漫風格的繪圖。 This brush set can give you an easy way to achieve a grass effect for your drawings, specially for anime- style ones.
首先,我鼓勵您嘗試使用這兩種畫筆。第一個是“grass”,具有固定的形狀,當您更改畫筆大小時,它會發生變化。您也可以通過按壓畫筆而不滑動畫筆來獲得噴霧效果: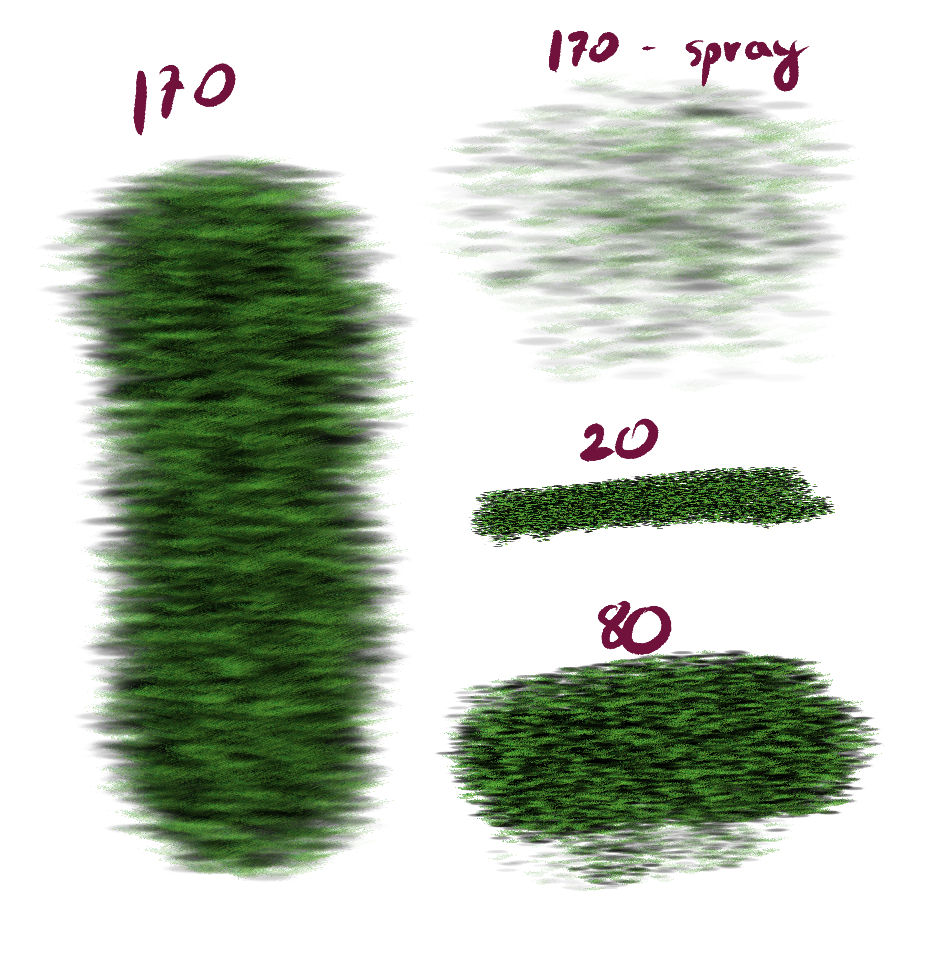
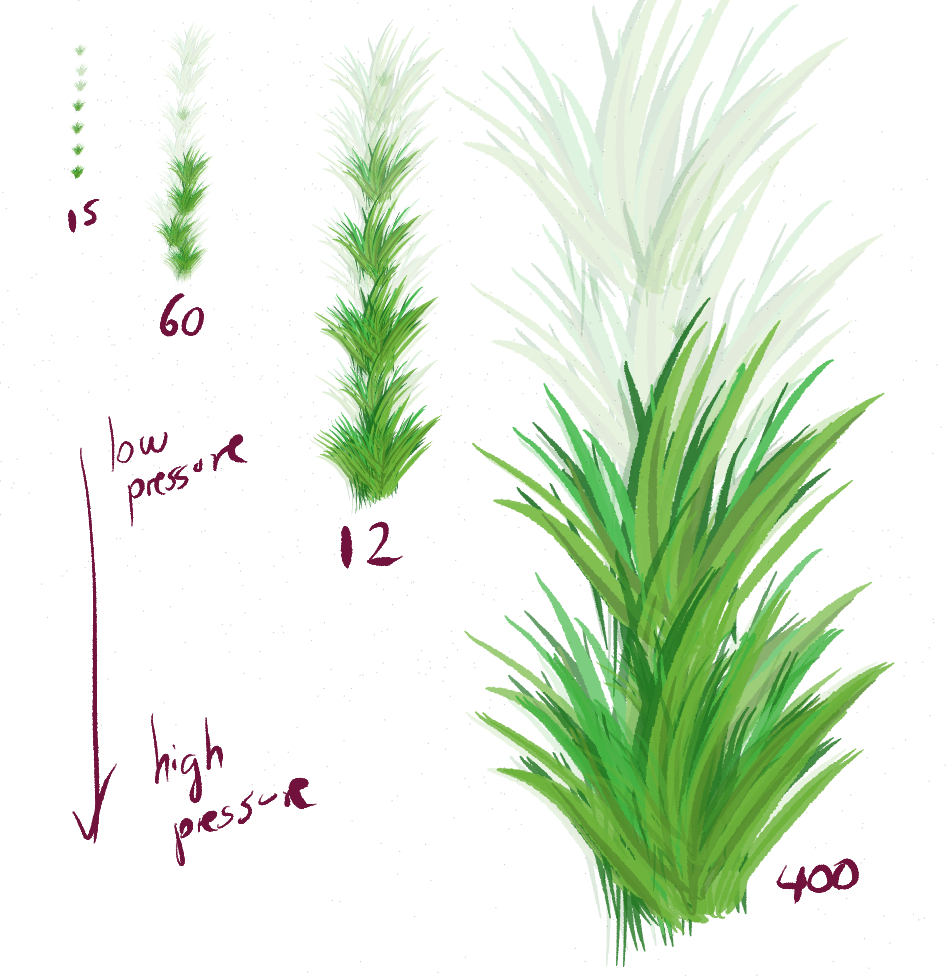
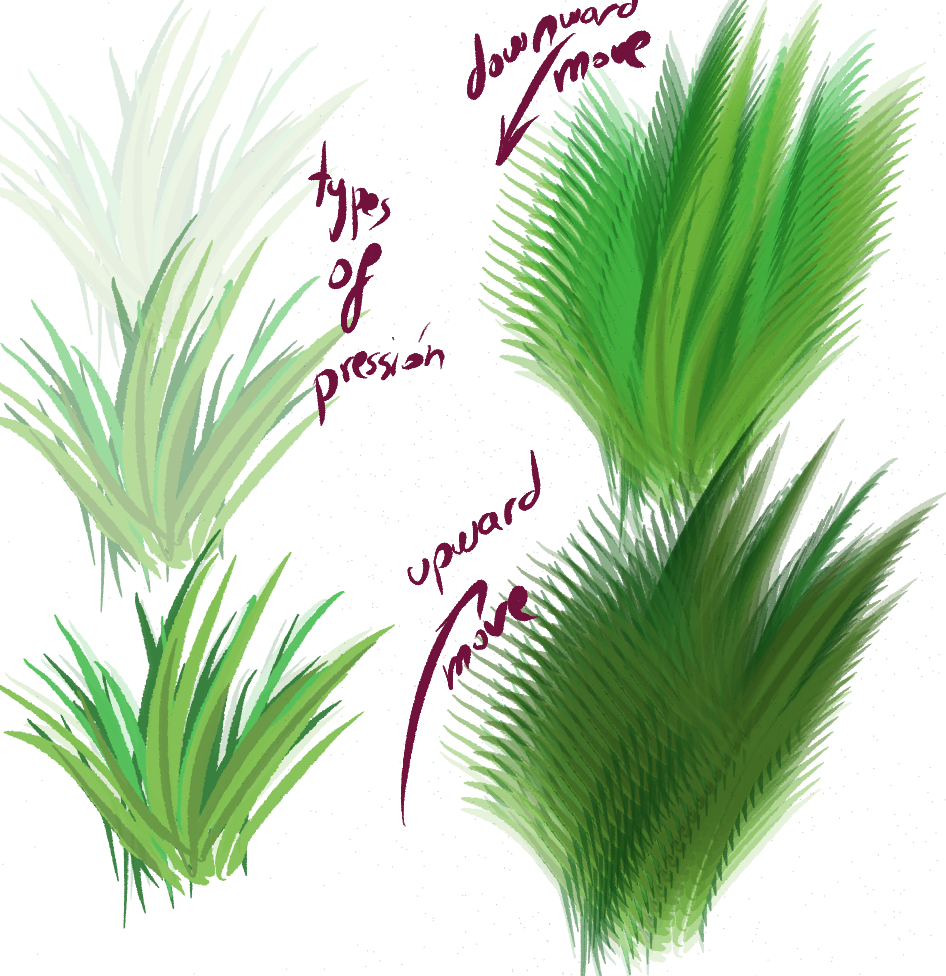

第二個畫筆“Grass 2”專為創建灌木而設計。您可以根據靜態筆觸的壓力獲得不同的不透明度。當您移動畫筆時,您可以獲得不同大小的灌木、角度和方向。根據筆劃的來源,您也可以獲得不同的效果:


現在,讓我們看一個例子:
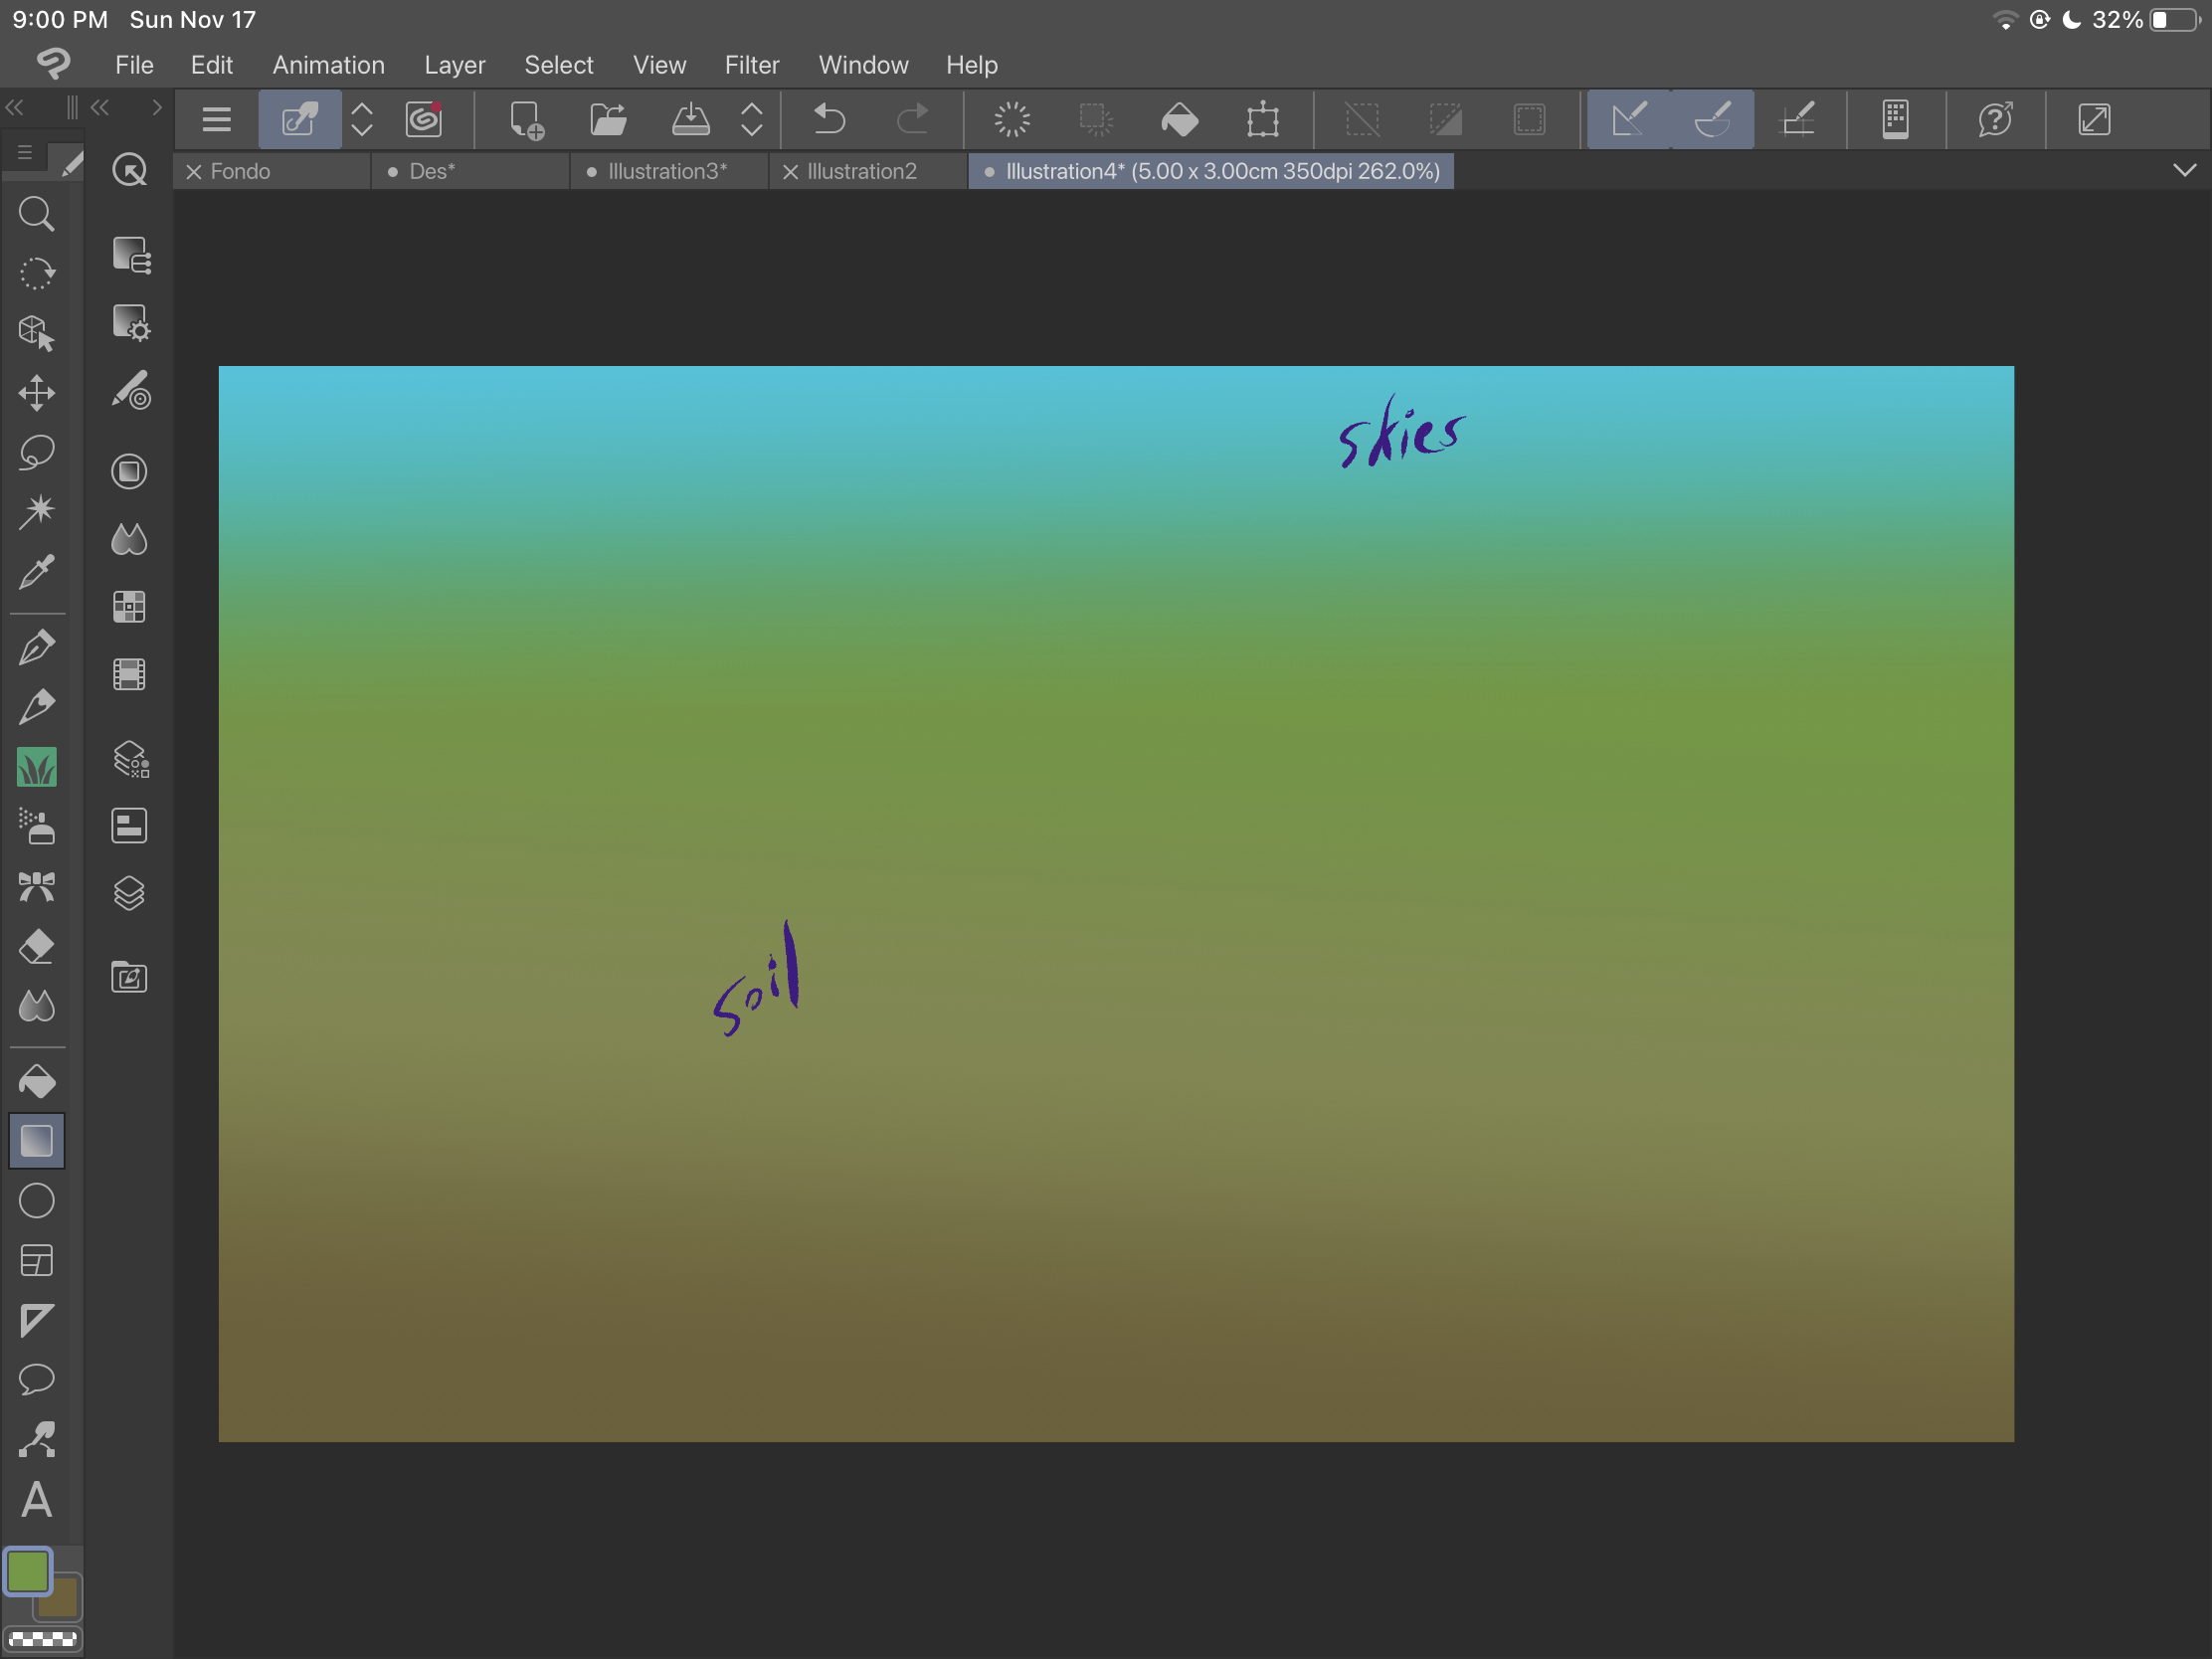
首先,先創建一些漸變背景。

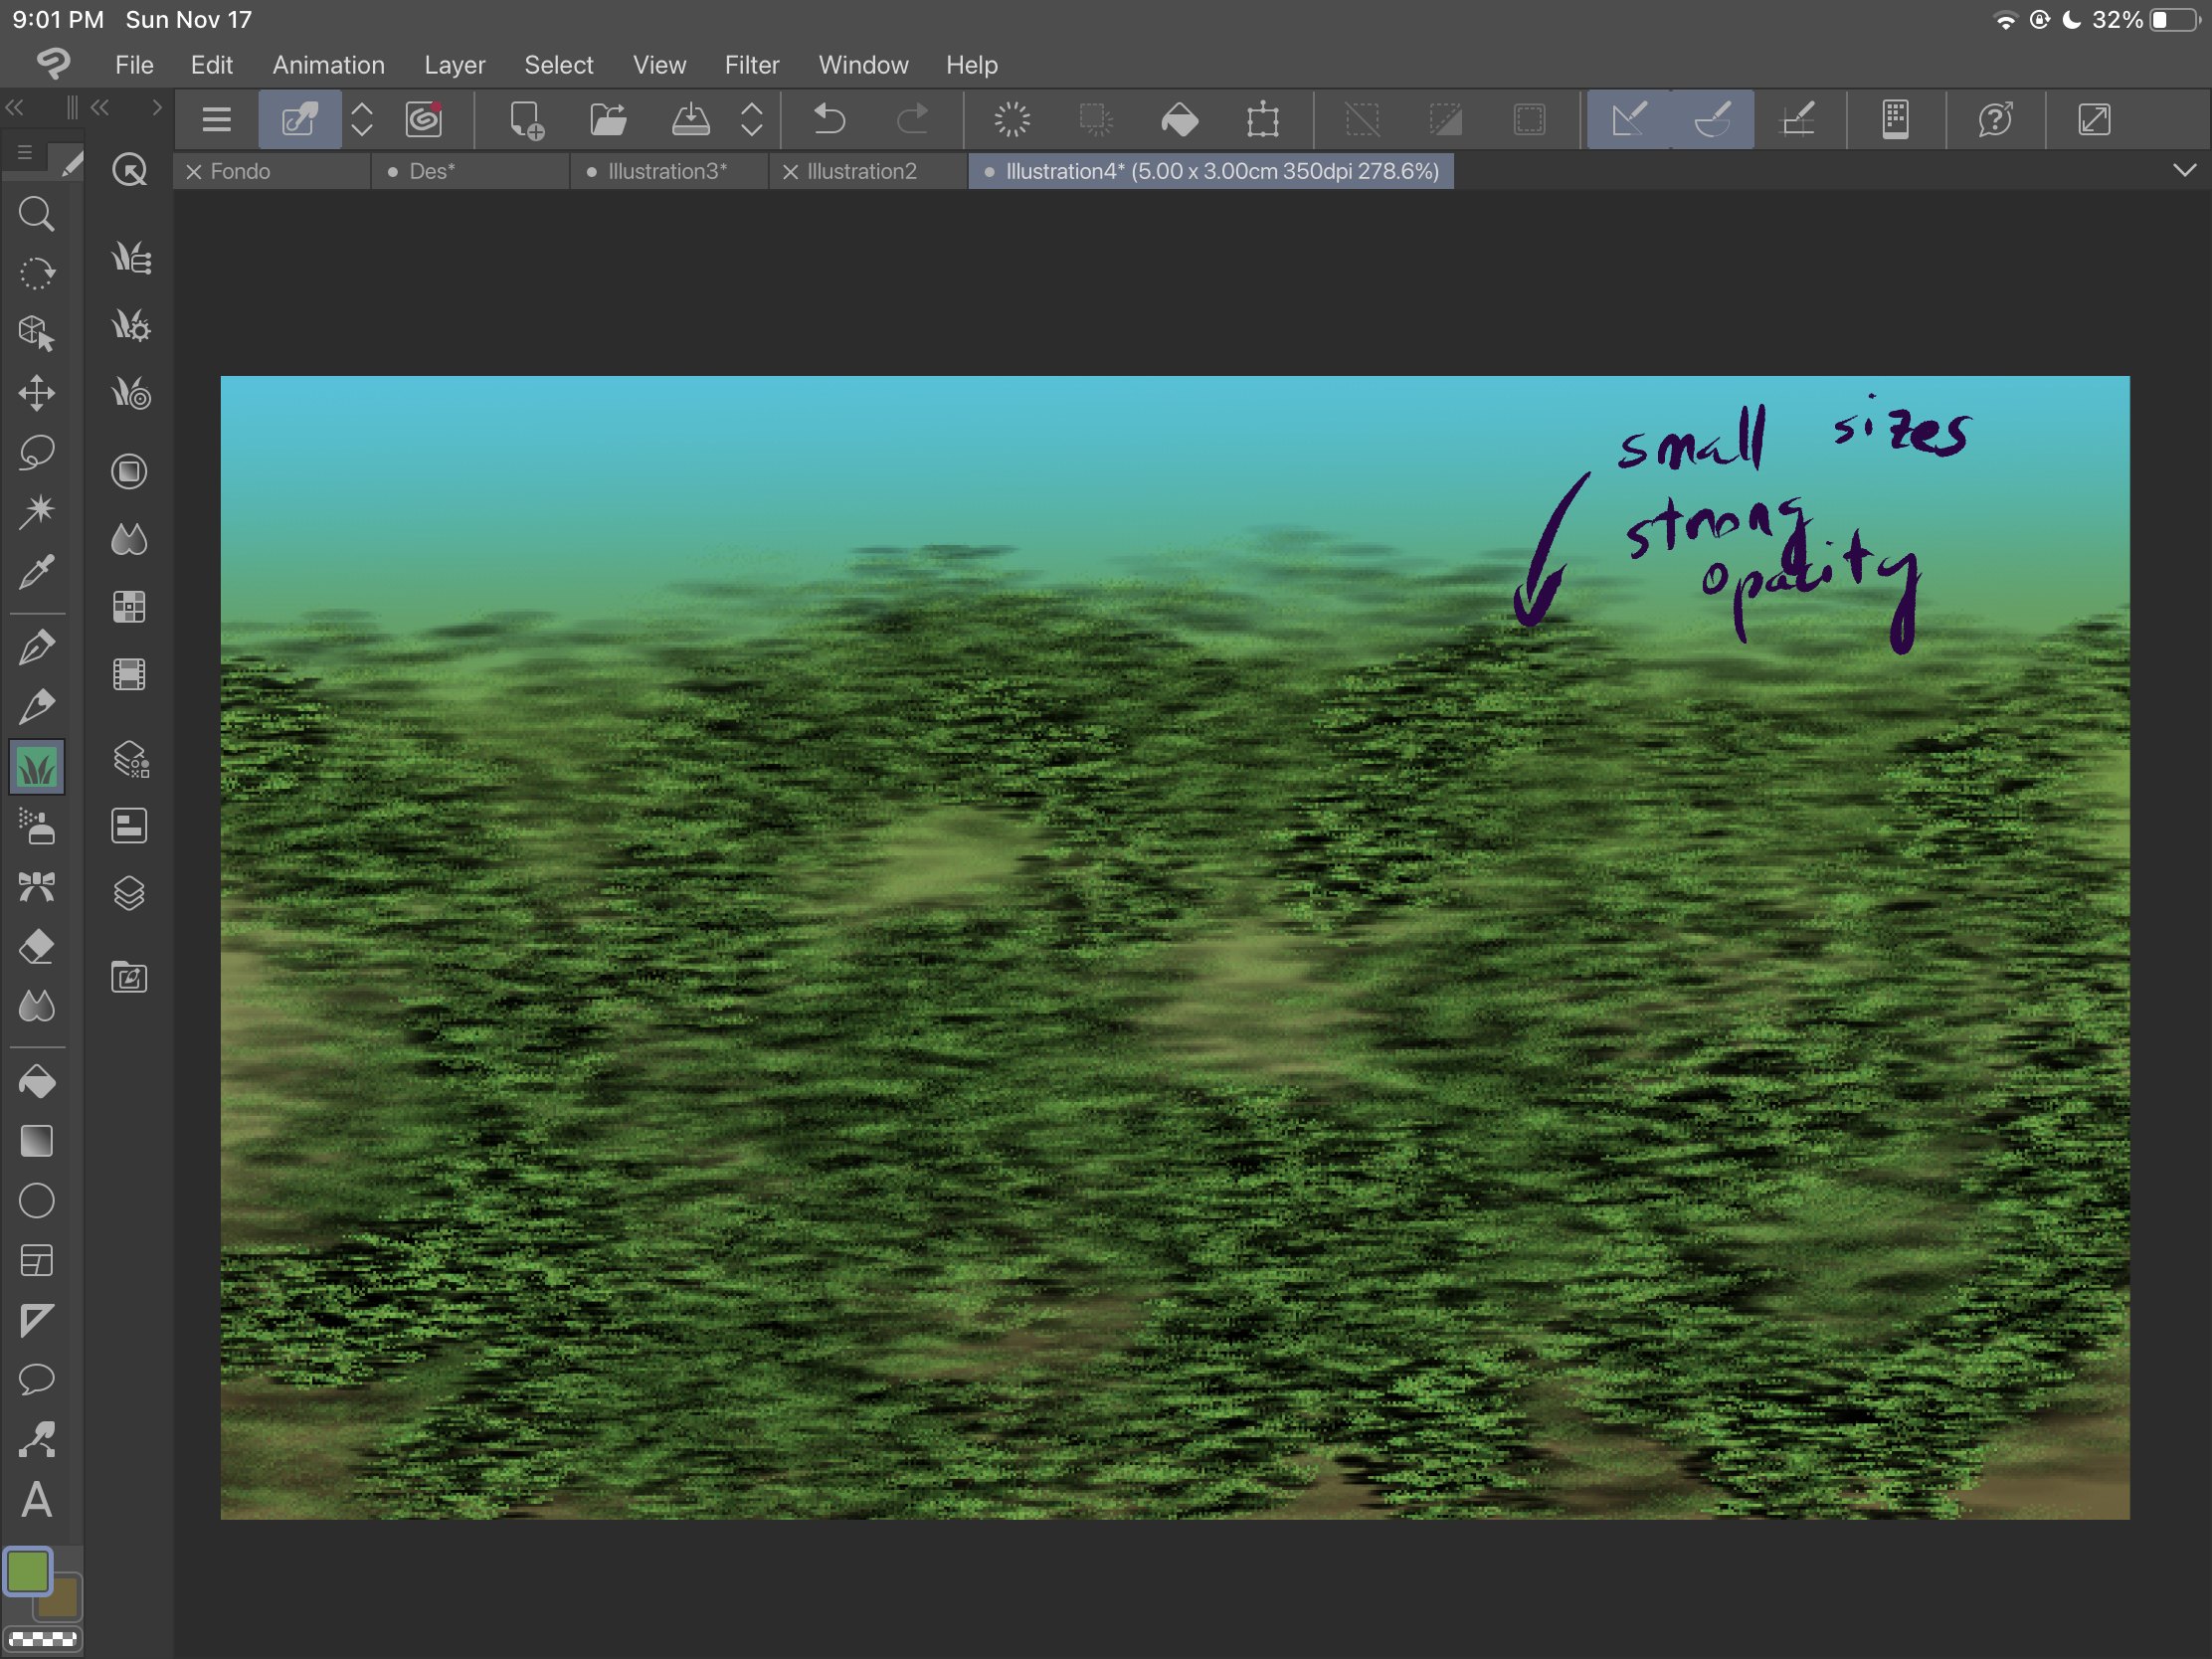
然後,使用 「grass」 刷子添加土壤。玩轉大小和

確保覆蓋空間並獲得更多紋理。

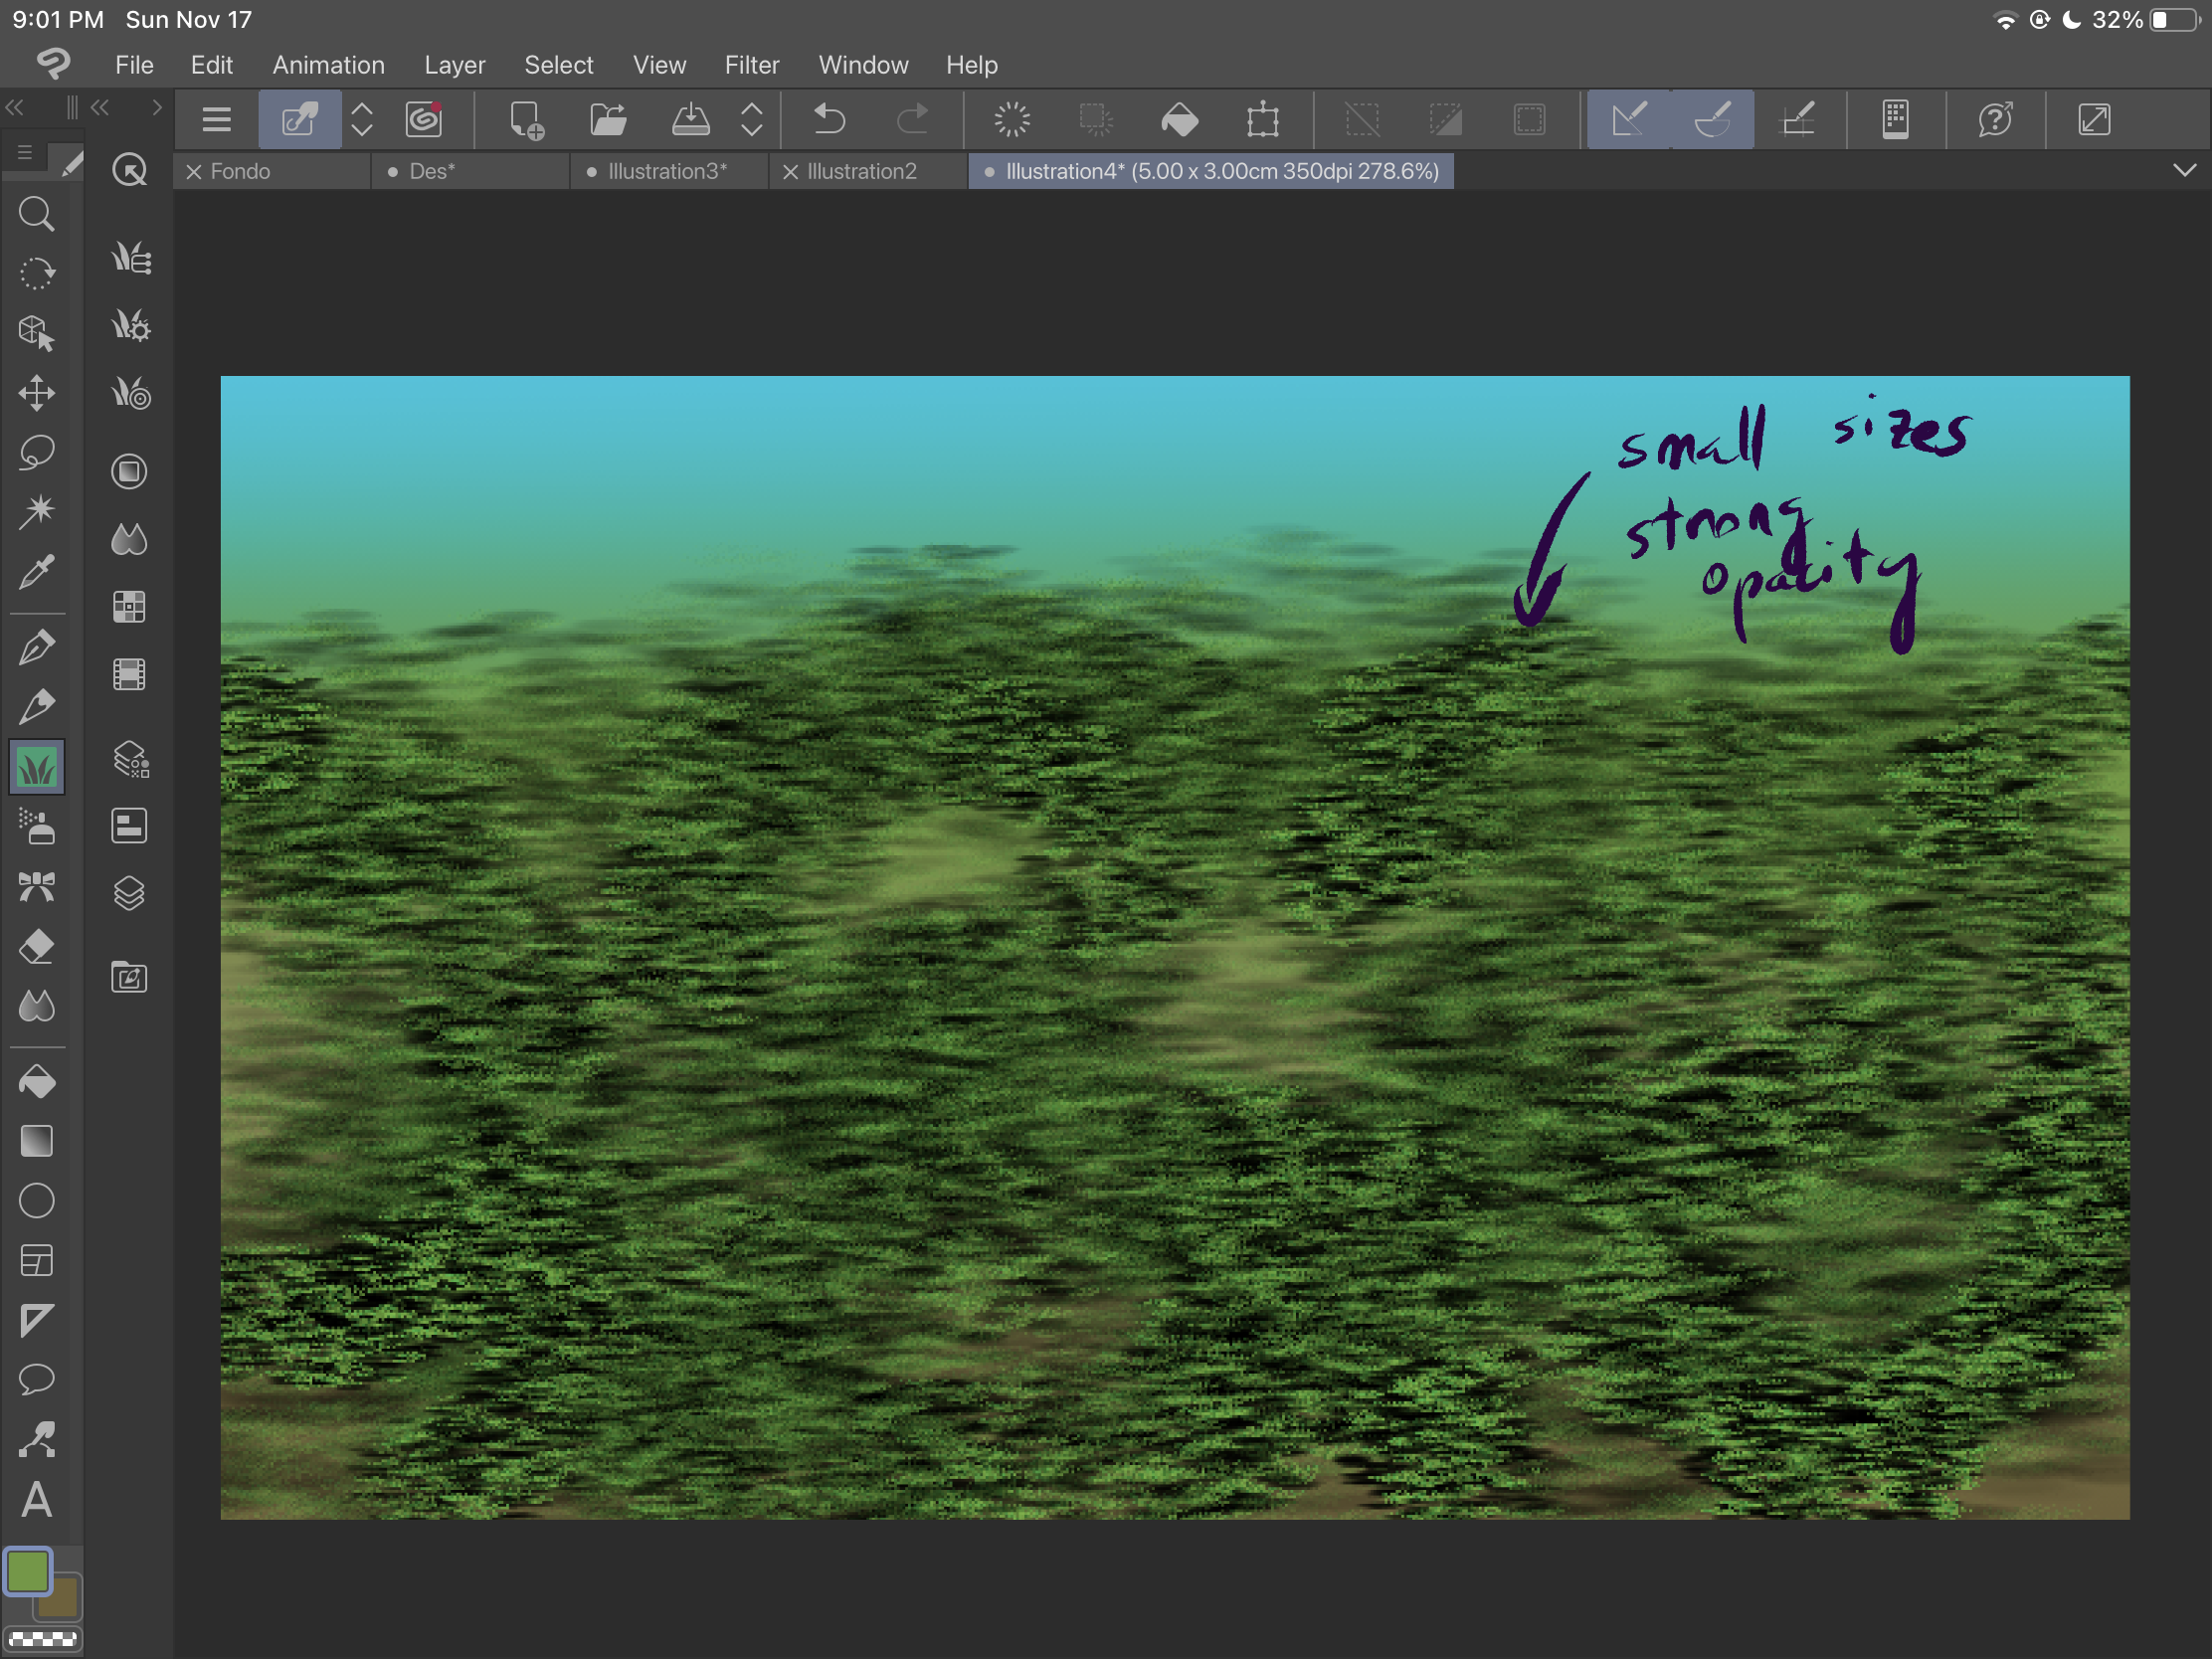
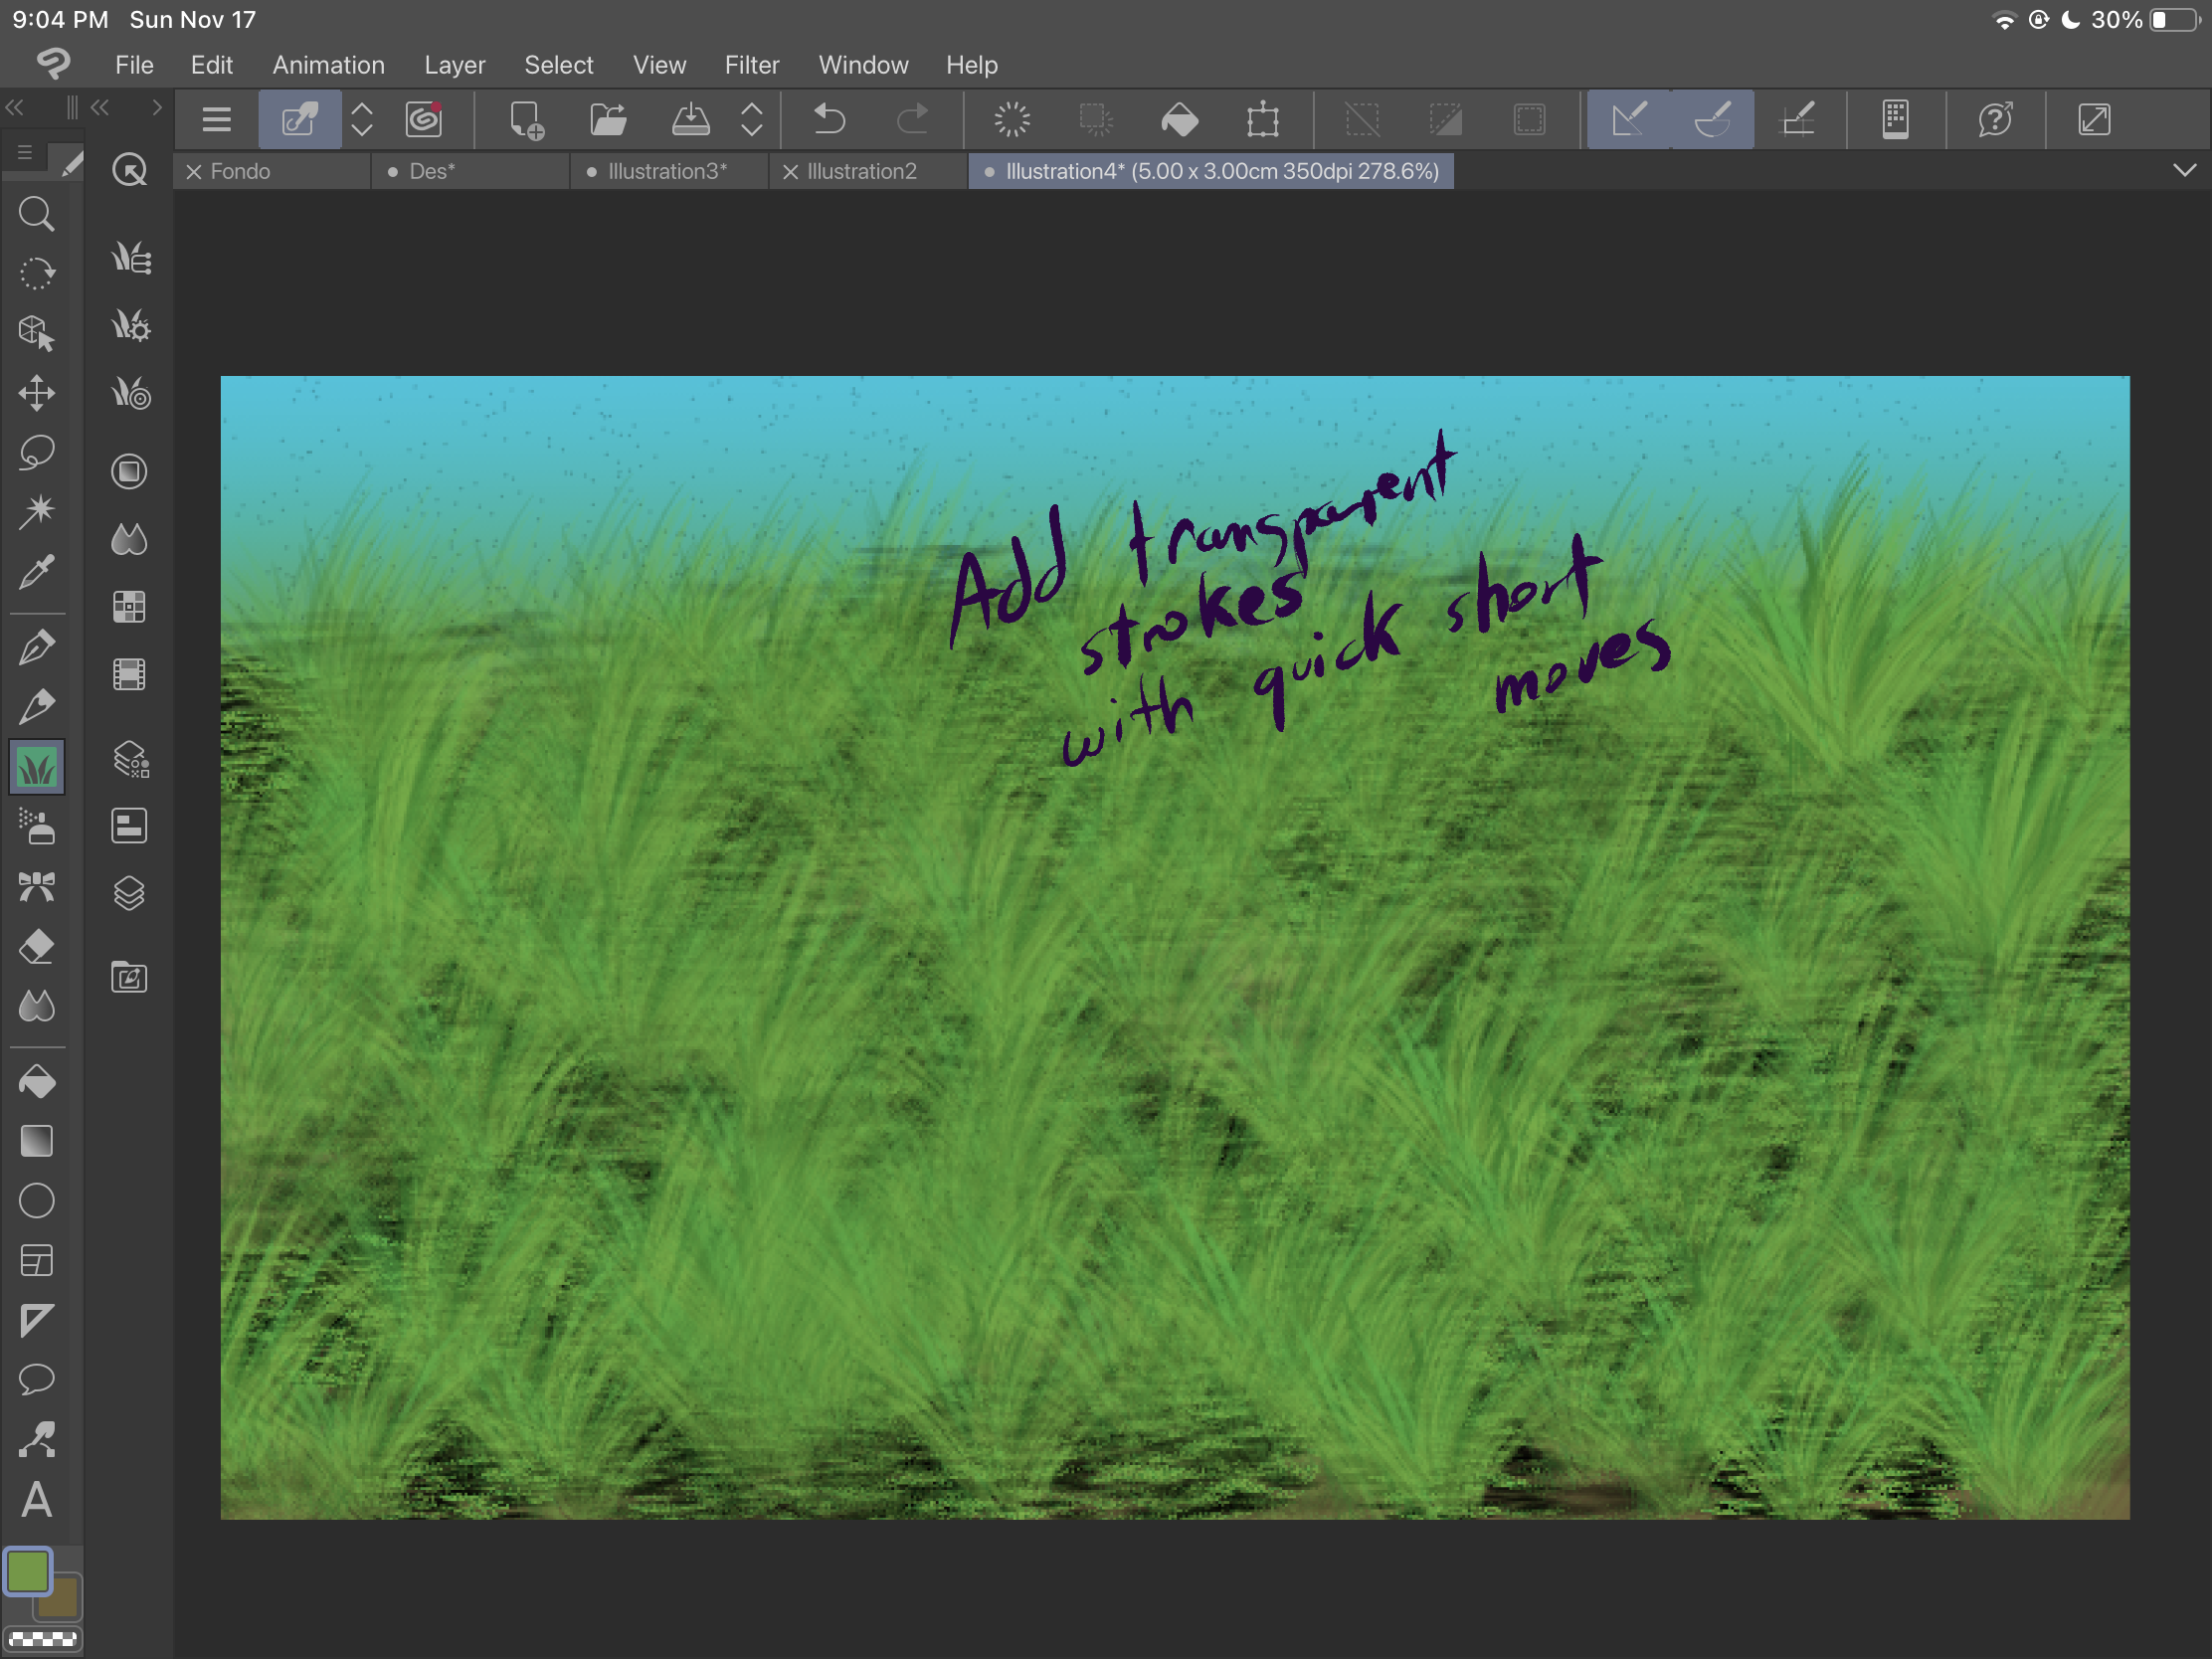
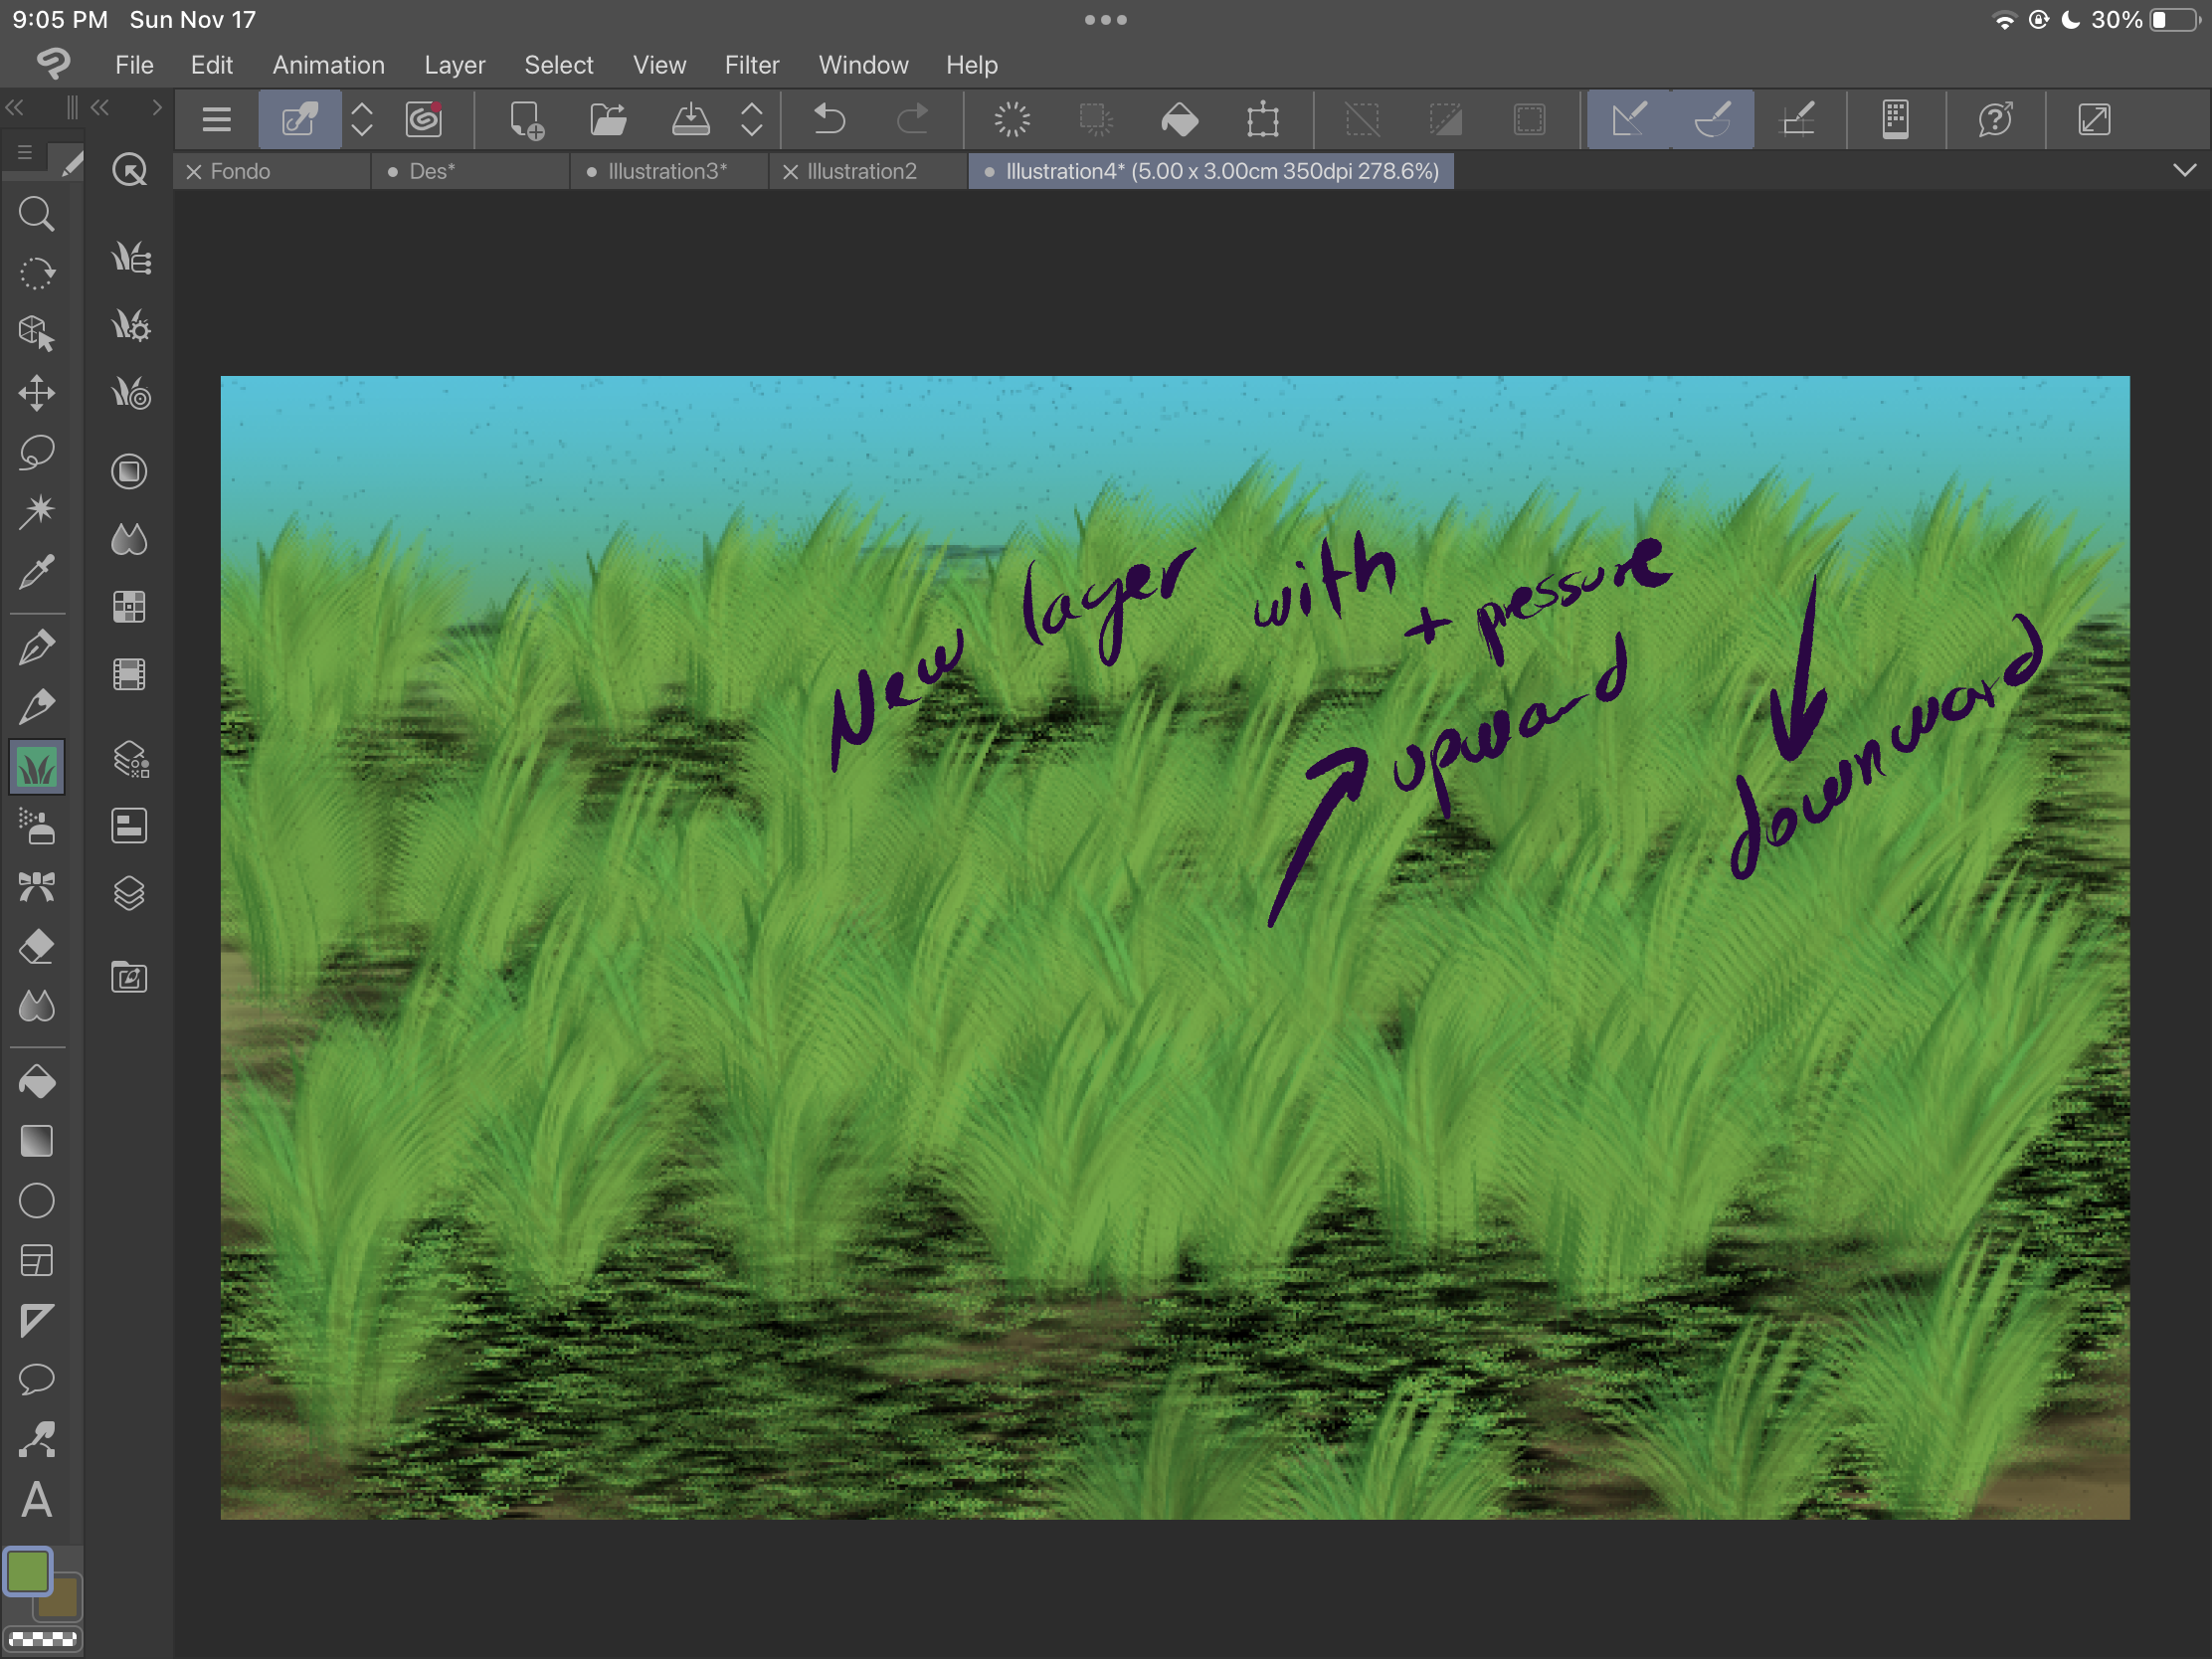
然後,您可以開始使用 「grass 2」 畫筆添加草叢:

使用不同的圖層,這樣你就可以得到不同種類的灌木,在這個例子中,我們有一個透明的和一個深色的。

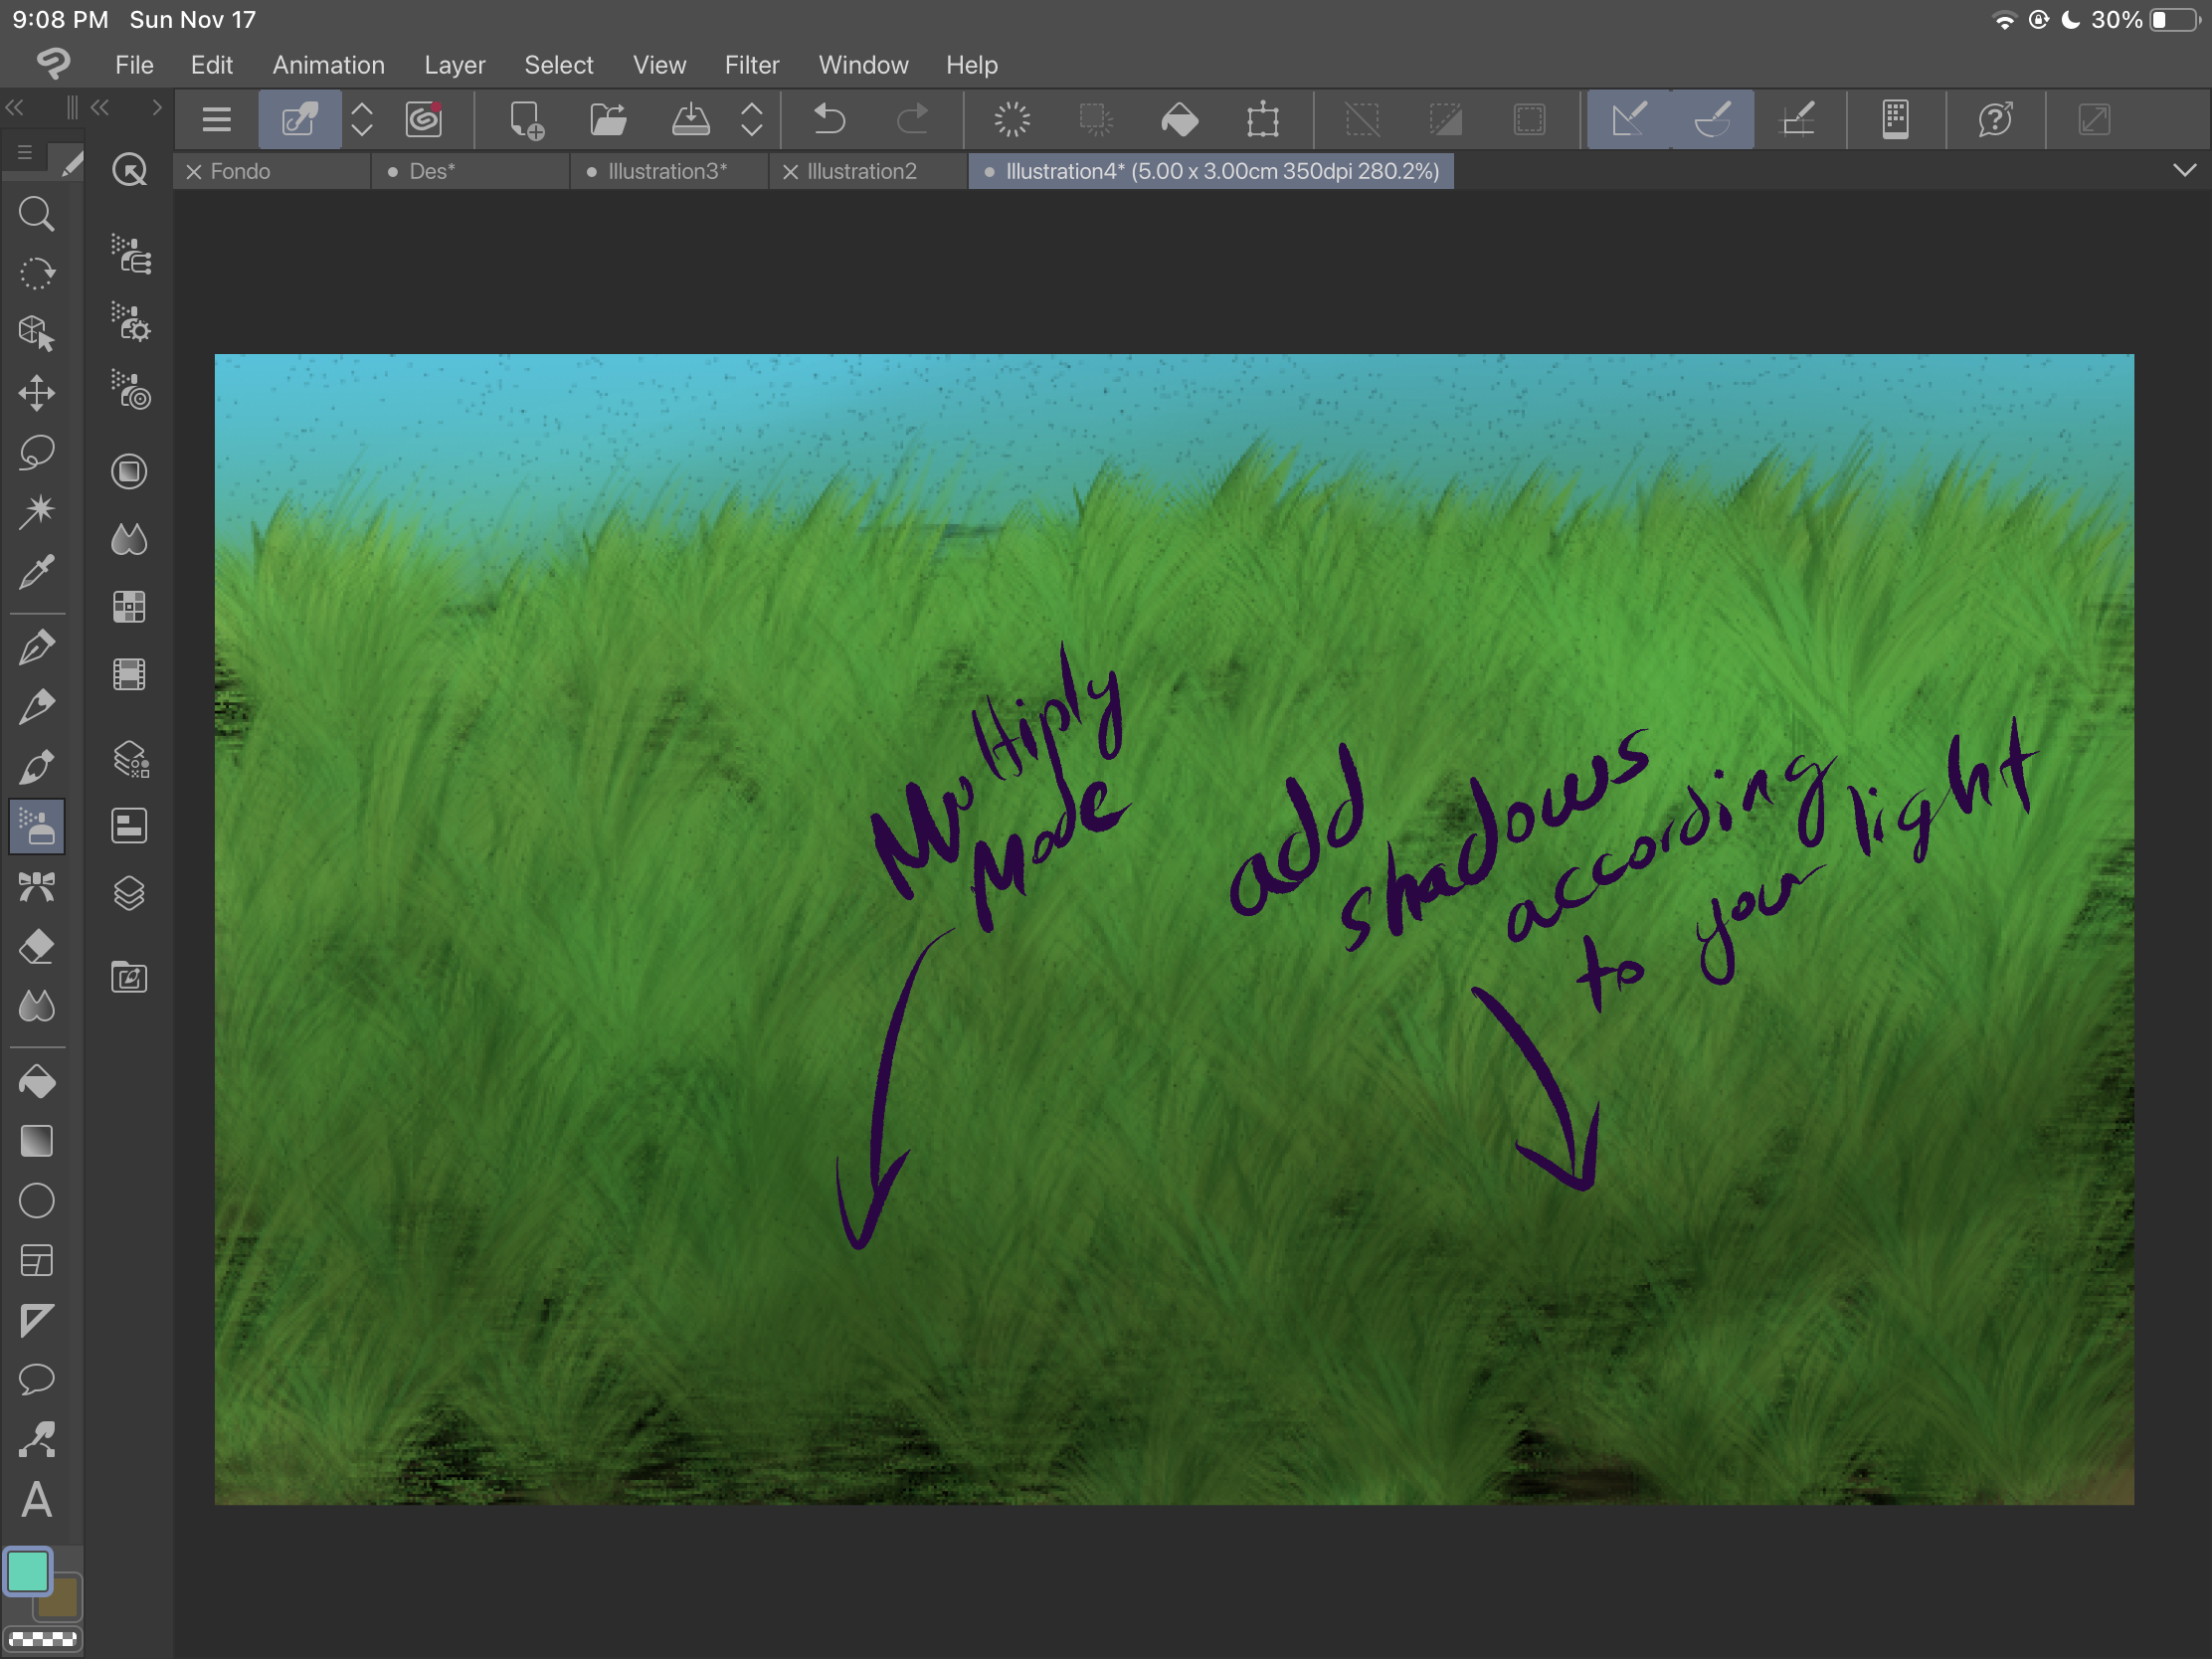
如果要調整底紋,可以在正片疊底圖層中添加軟畫筆描邊:

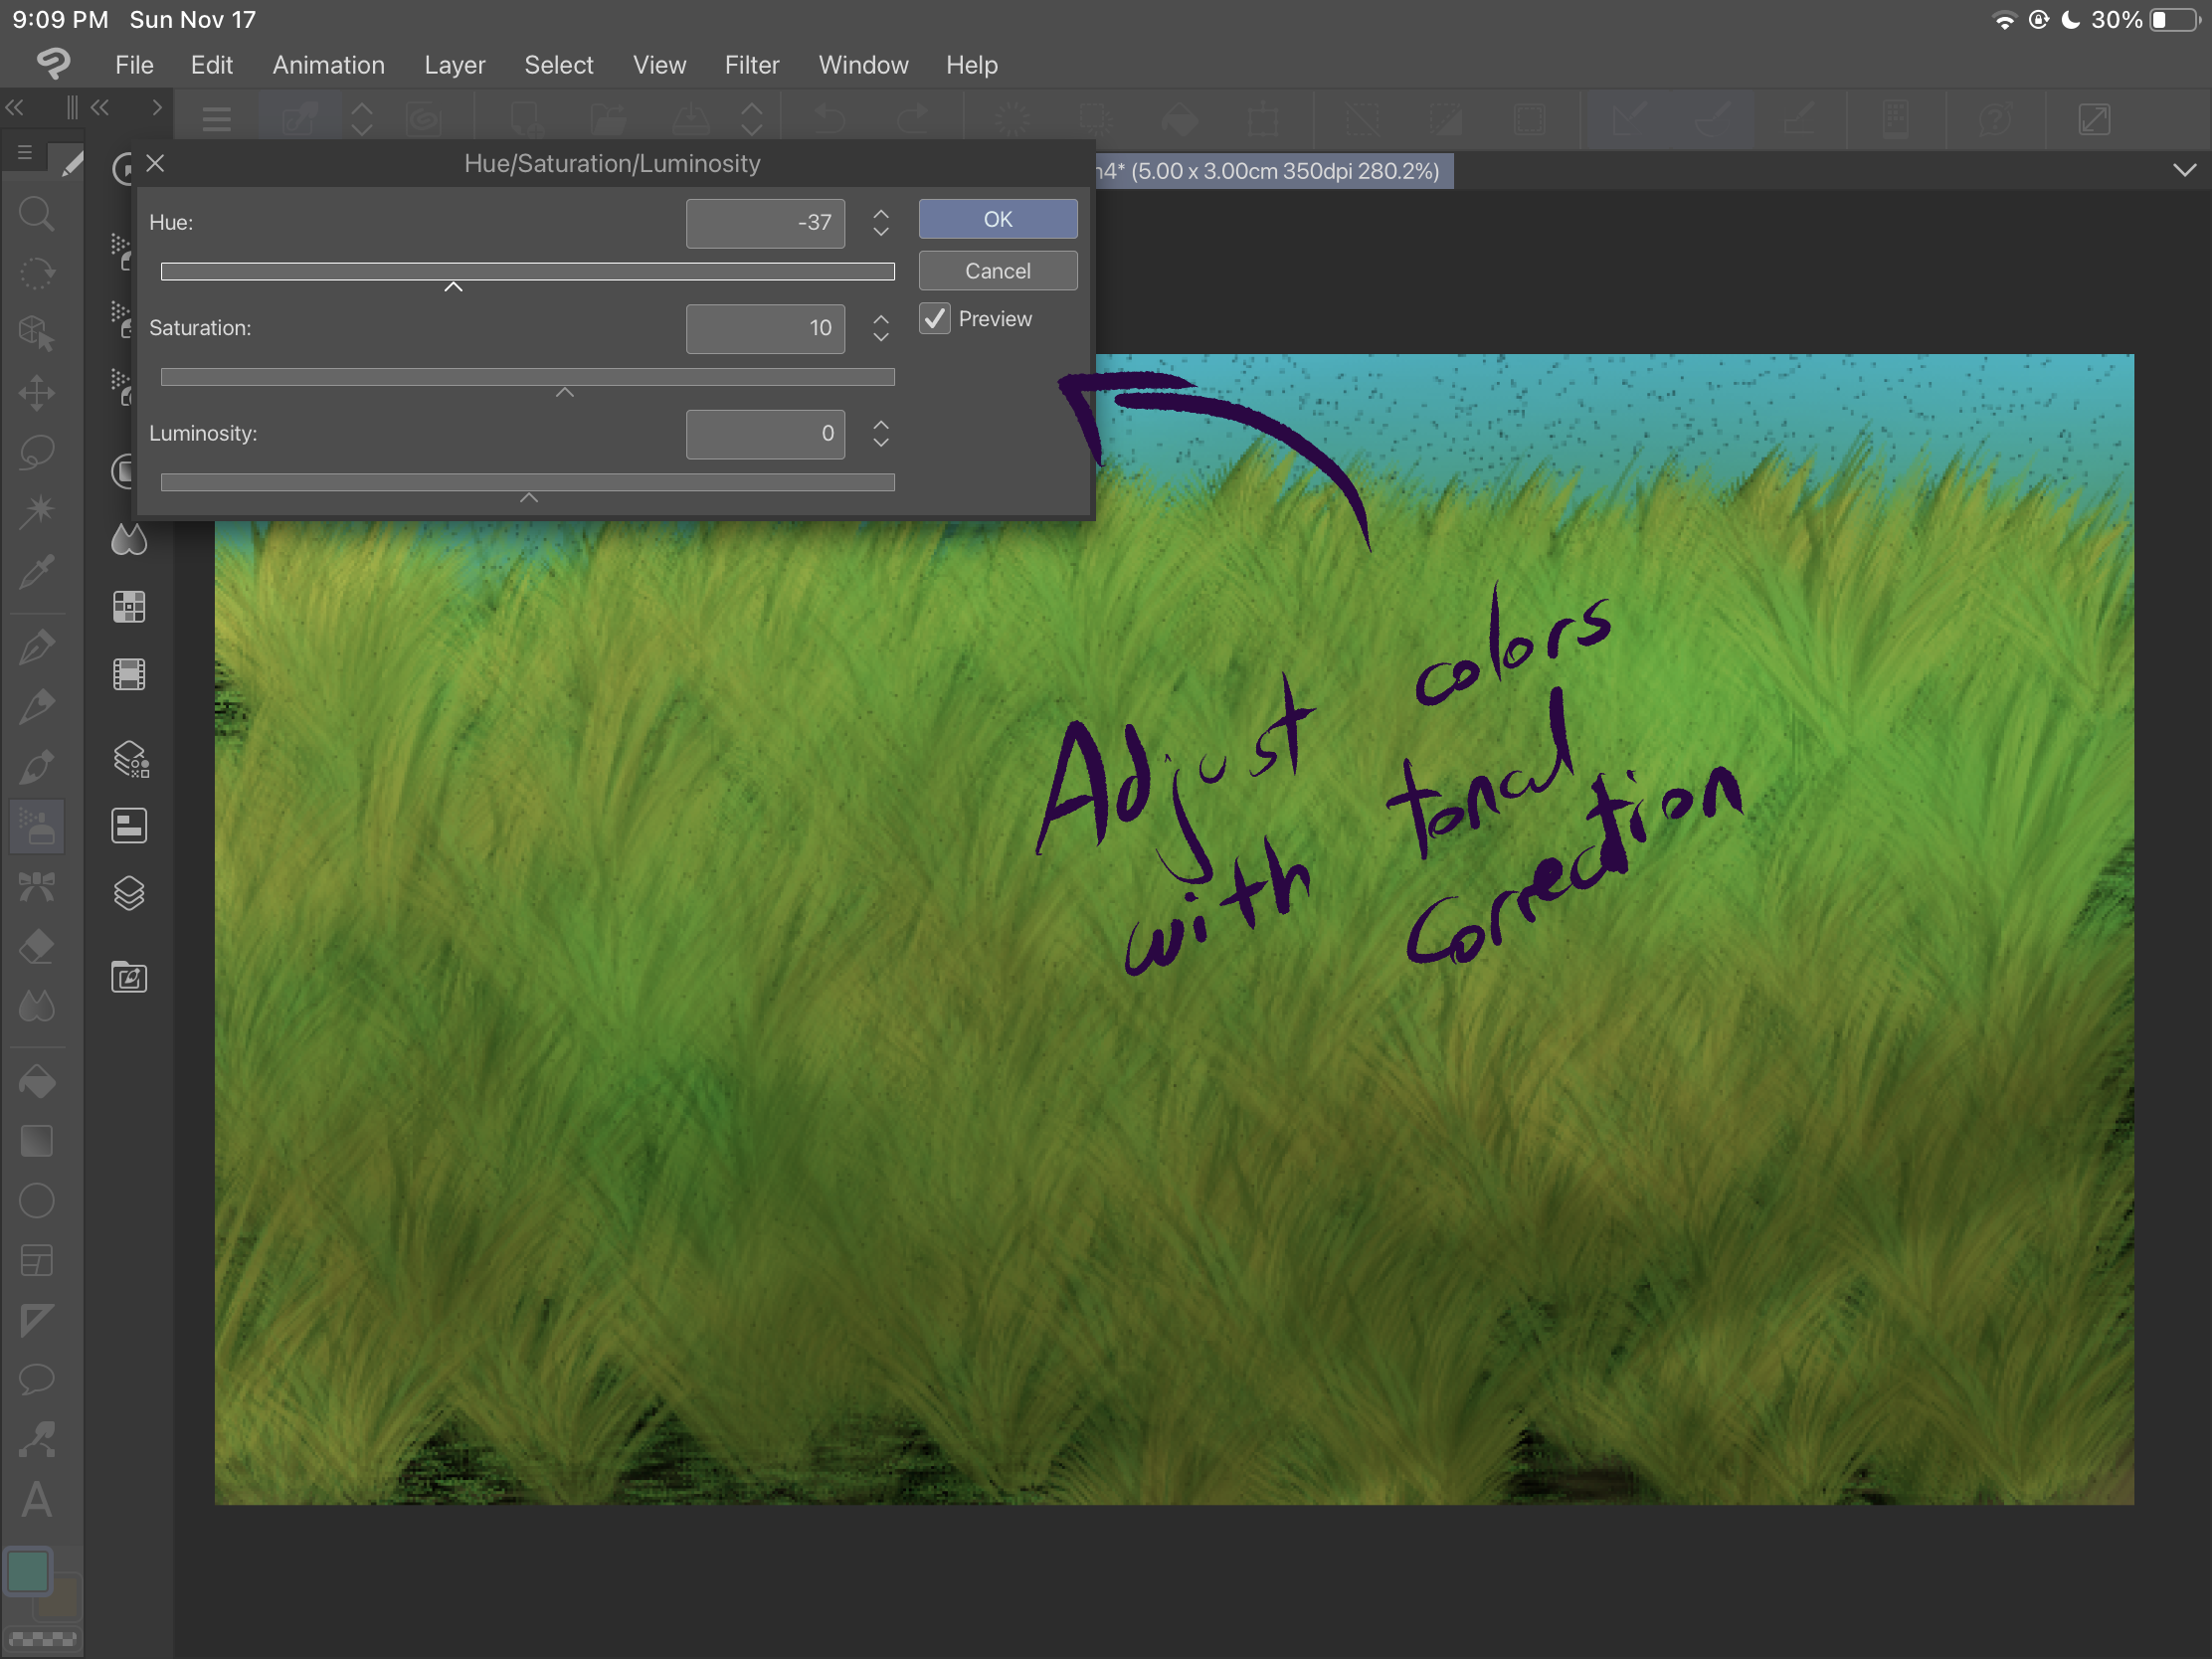
如果您想更改顏色,請始終記住您可以使用色調校正,在本例中,我們使用了色相和飽和度校正。

發揮創意並嘗試這些畫筆和效果,直到獲得驚人的結果。
First, I encourage you to experiment with both of the brushes. The first one, "grass" has a fixed form and it varies when you change the brush size. You can also get a spray effect by just pressing the brush without sliding it:


The second brush, "Grass 2" is specially designed for creating bushes. You can get different opacities according to the pressure of your static strokes. When you move the brush, you can get different sizes of bushes, angles and directions. According to the origin of the stroke, you can get different effects too:


Now, let's look at an example:
First start by creating some gradient backgrounds.

Then, use the "grass" brush to add soil. Play with sizes and

Be sure to cover the space and get more textures.

Then, you can start adding the grass bushes with the "grass 2" brush:

Use different layers so you can get different kinds of bushes, in this example, we have a transparent one and a dark one.

If you want to adjust the shading you can add soft brush strokes in a multiply layer:

And if you want to change colors, always remember that you can use tonal corrections, in this case we've used hue and saturation corrections.

Be creative and experiment with these brushes and effects until you get an amazing result.
刷 Brushes


