



一套刷子,將説明您更快,更輕鬆地繪製動漫/漫畫般的頭髮 A set of brushes that will help you to draw anime/manga-like hair faster and easier
這是一套用於繪製頭髮的刷子。主要適合漫畫/漫畫,但也適用于插圖
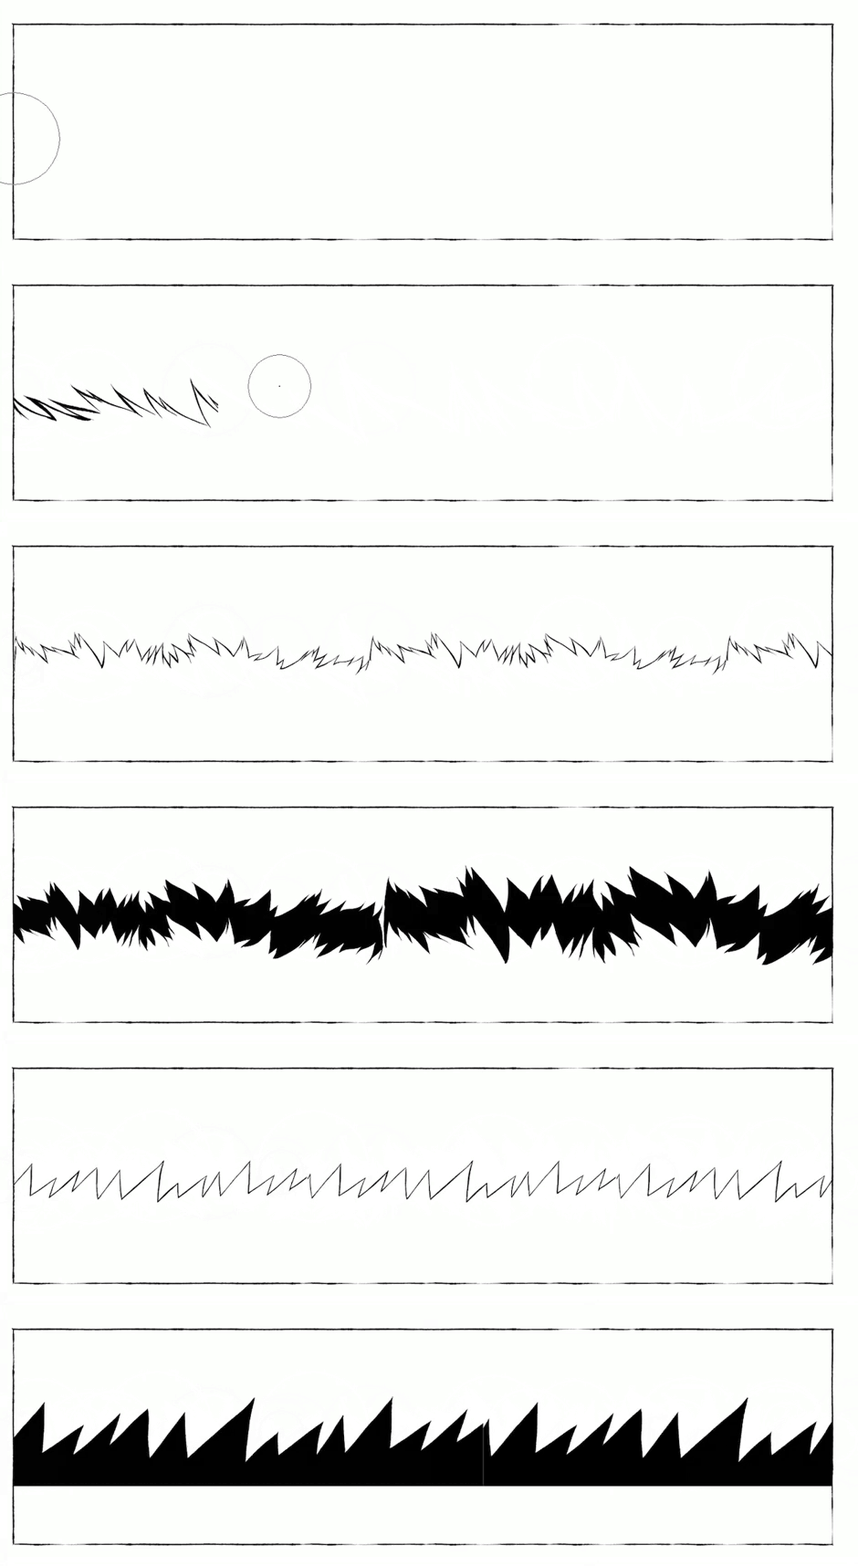
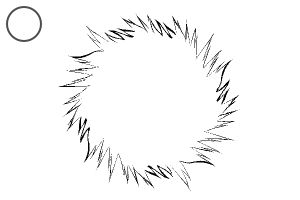
■ 以下是一些使用示例。
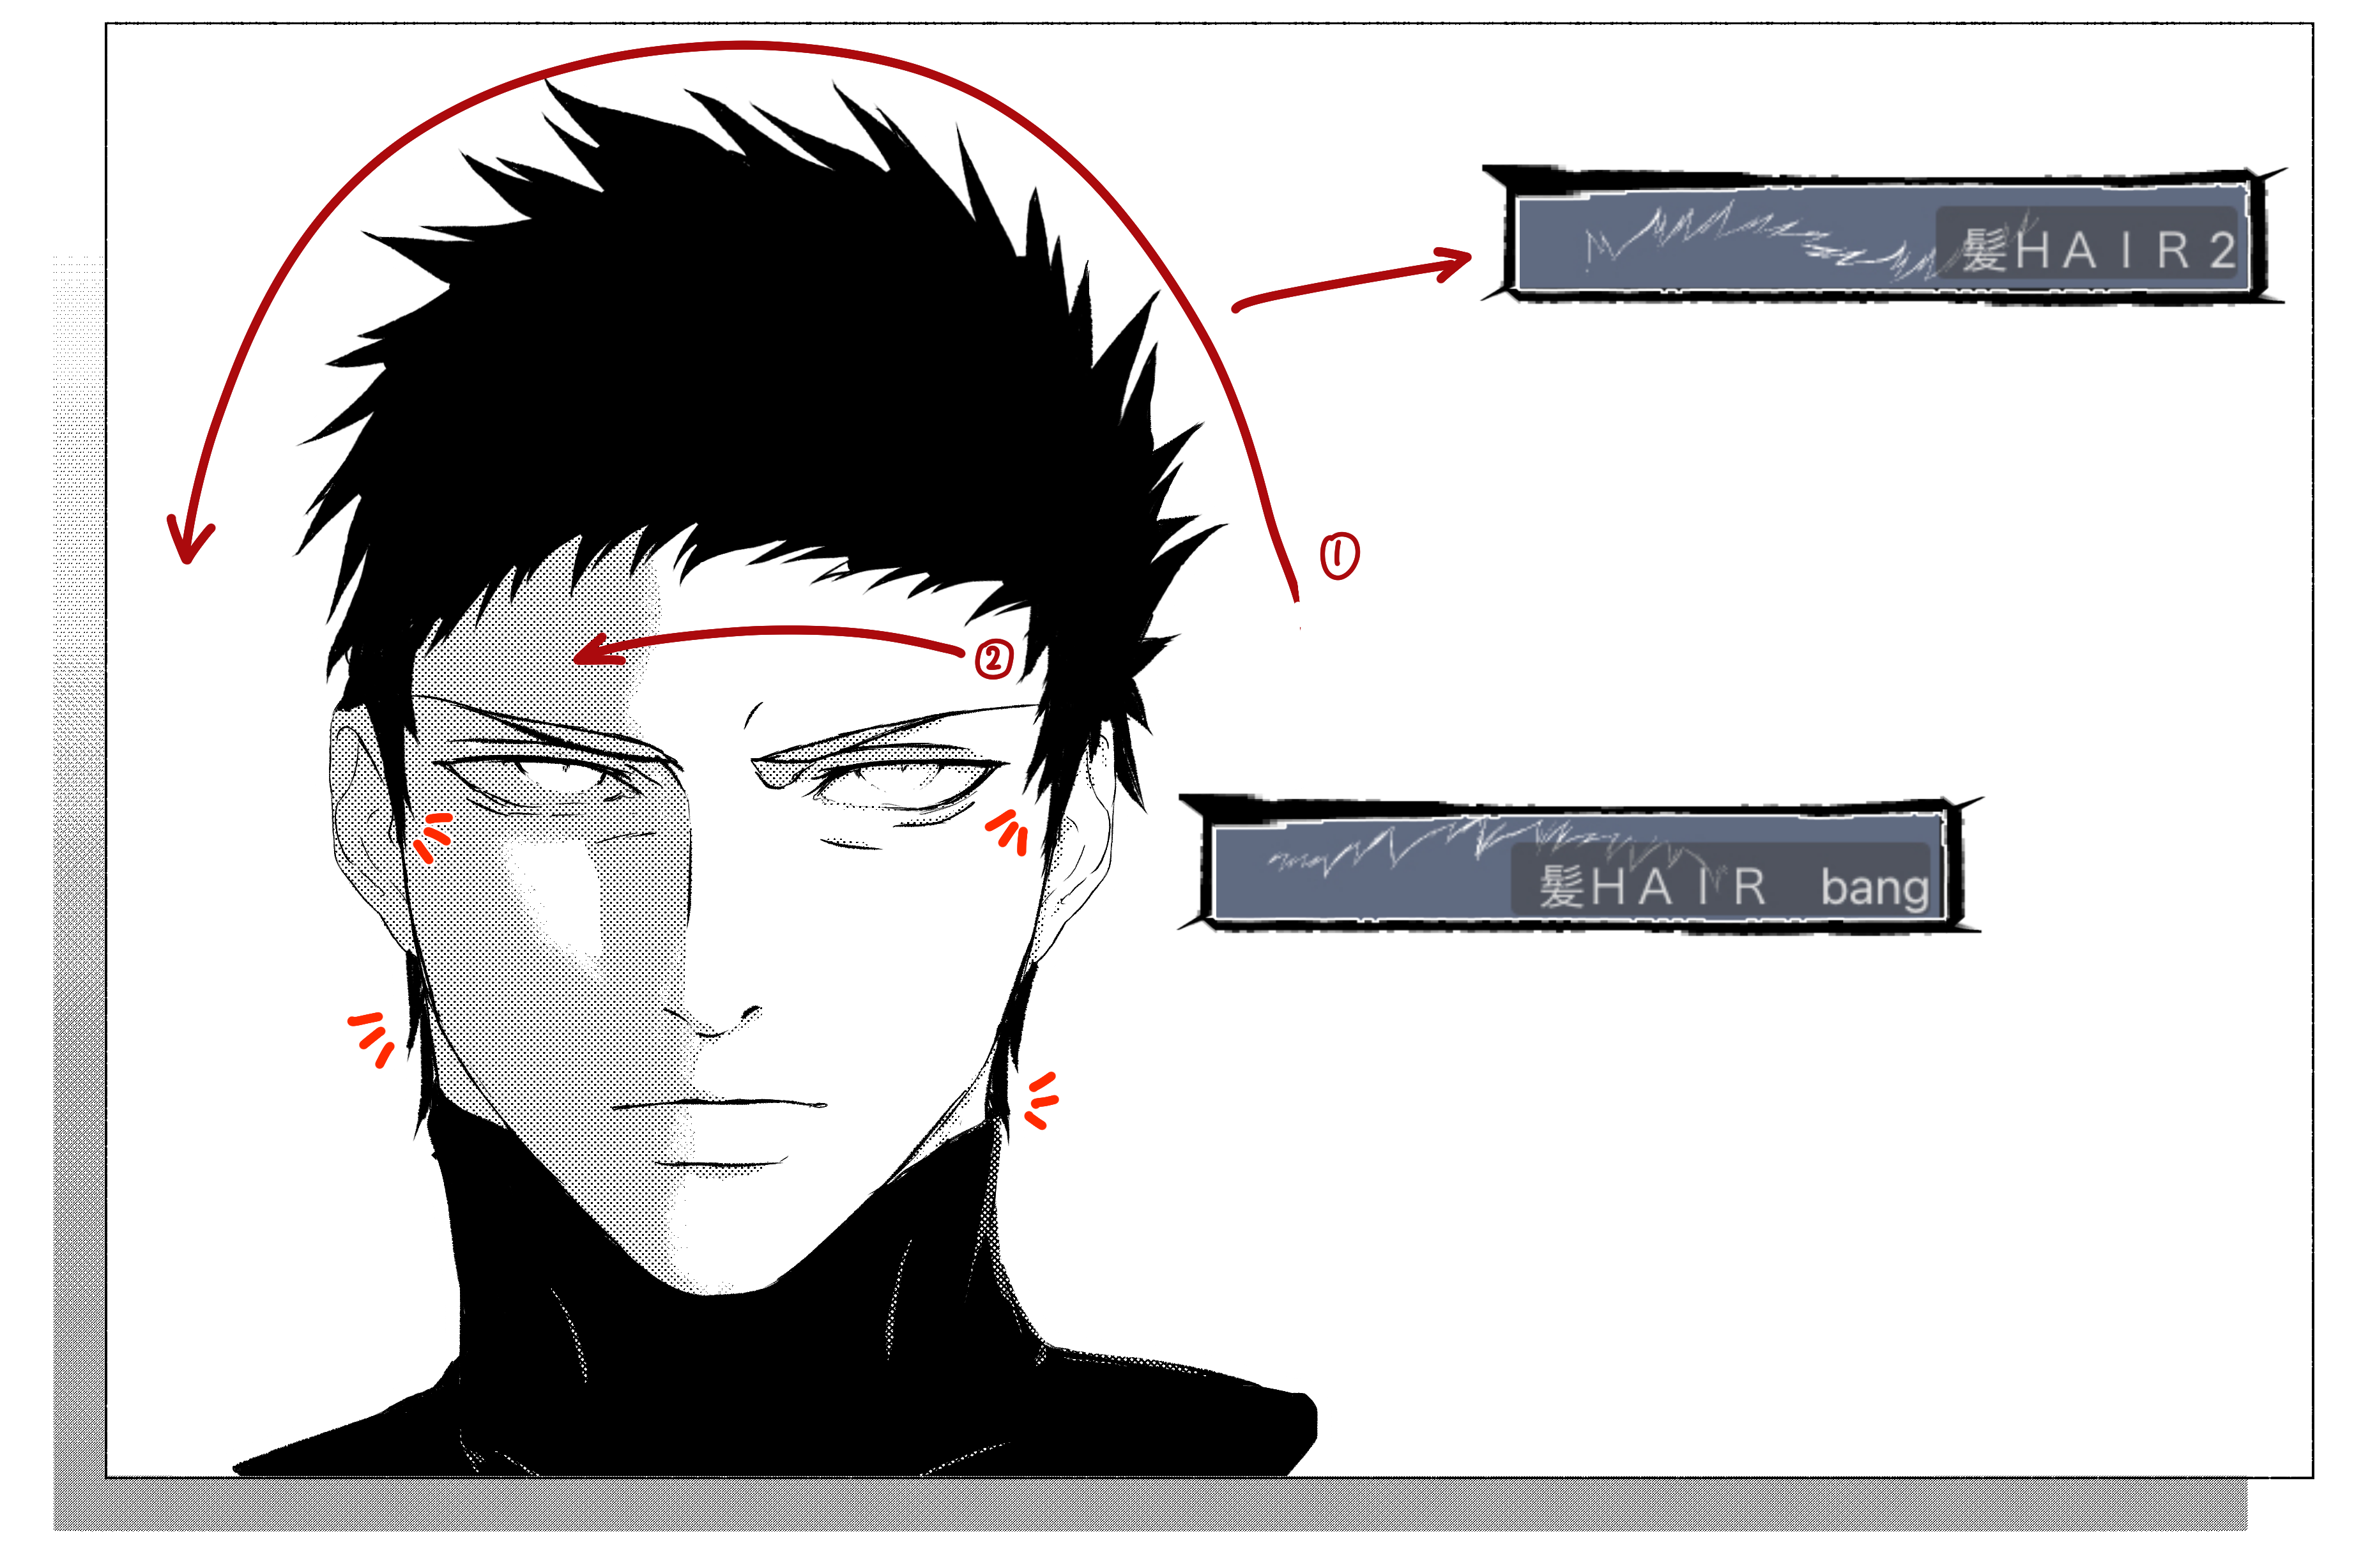
■ 曲線工具畫筆


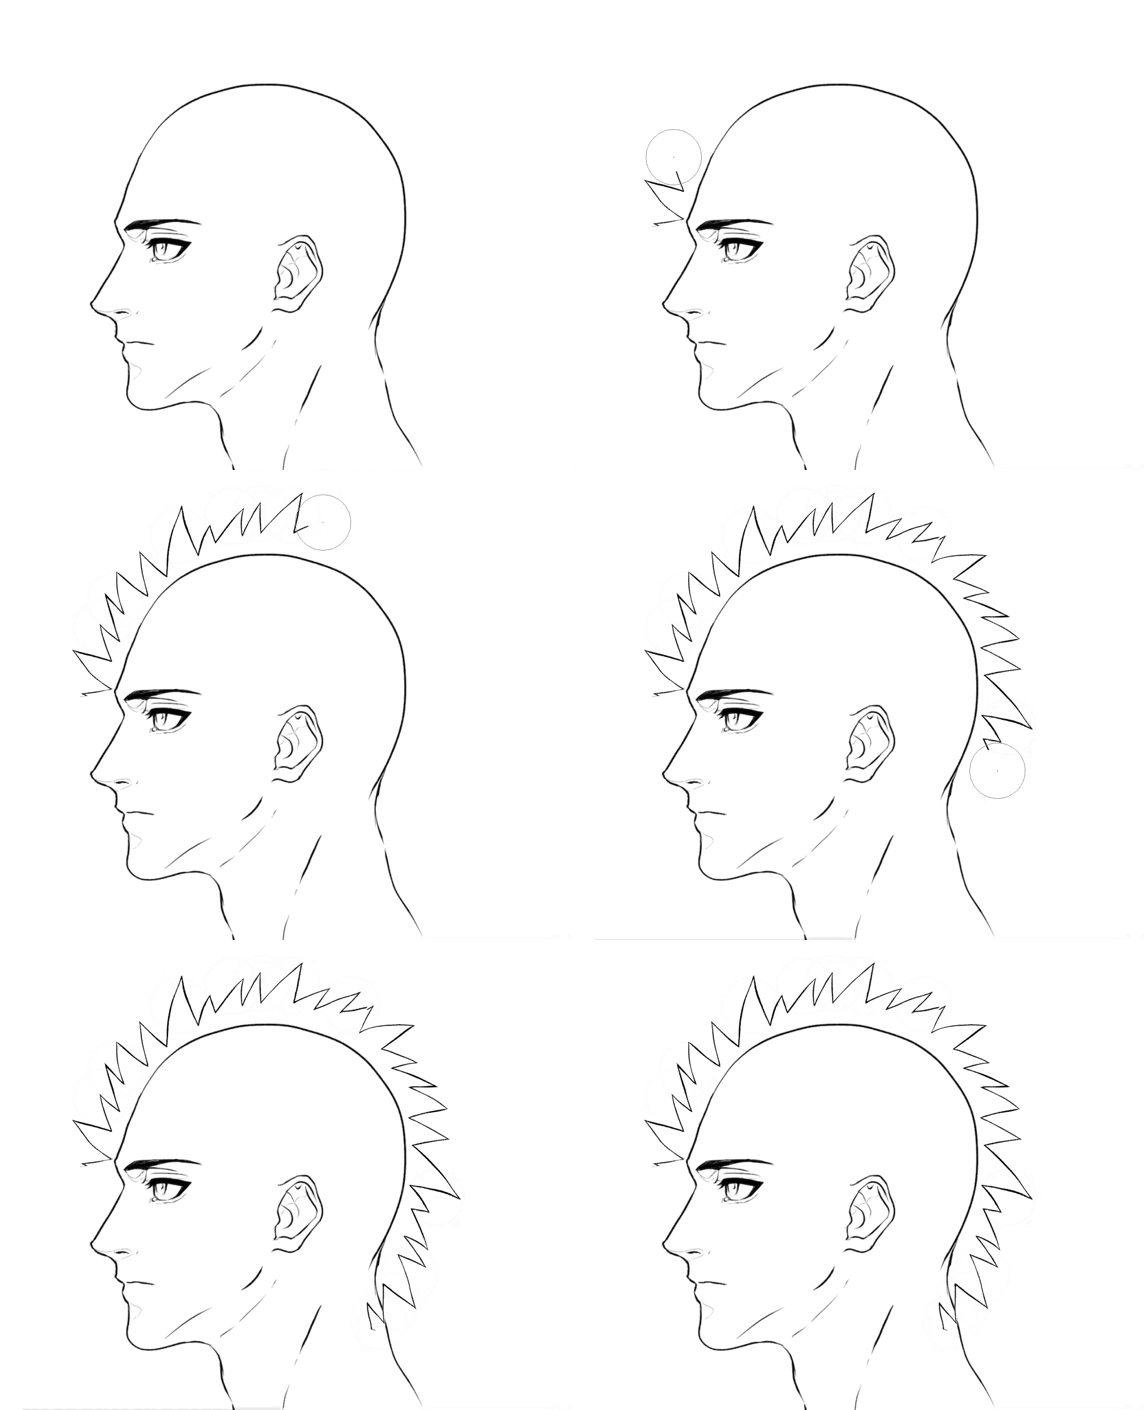
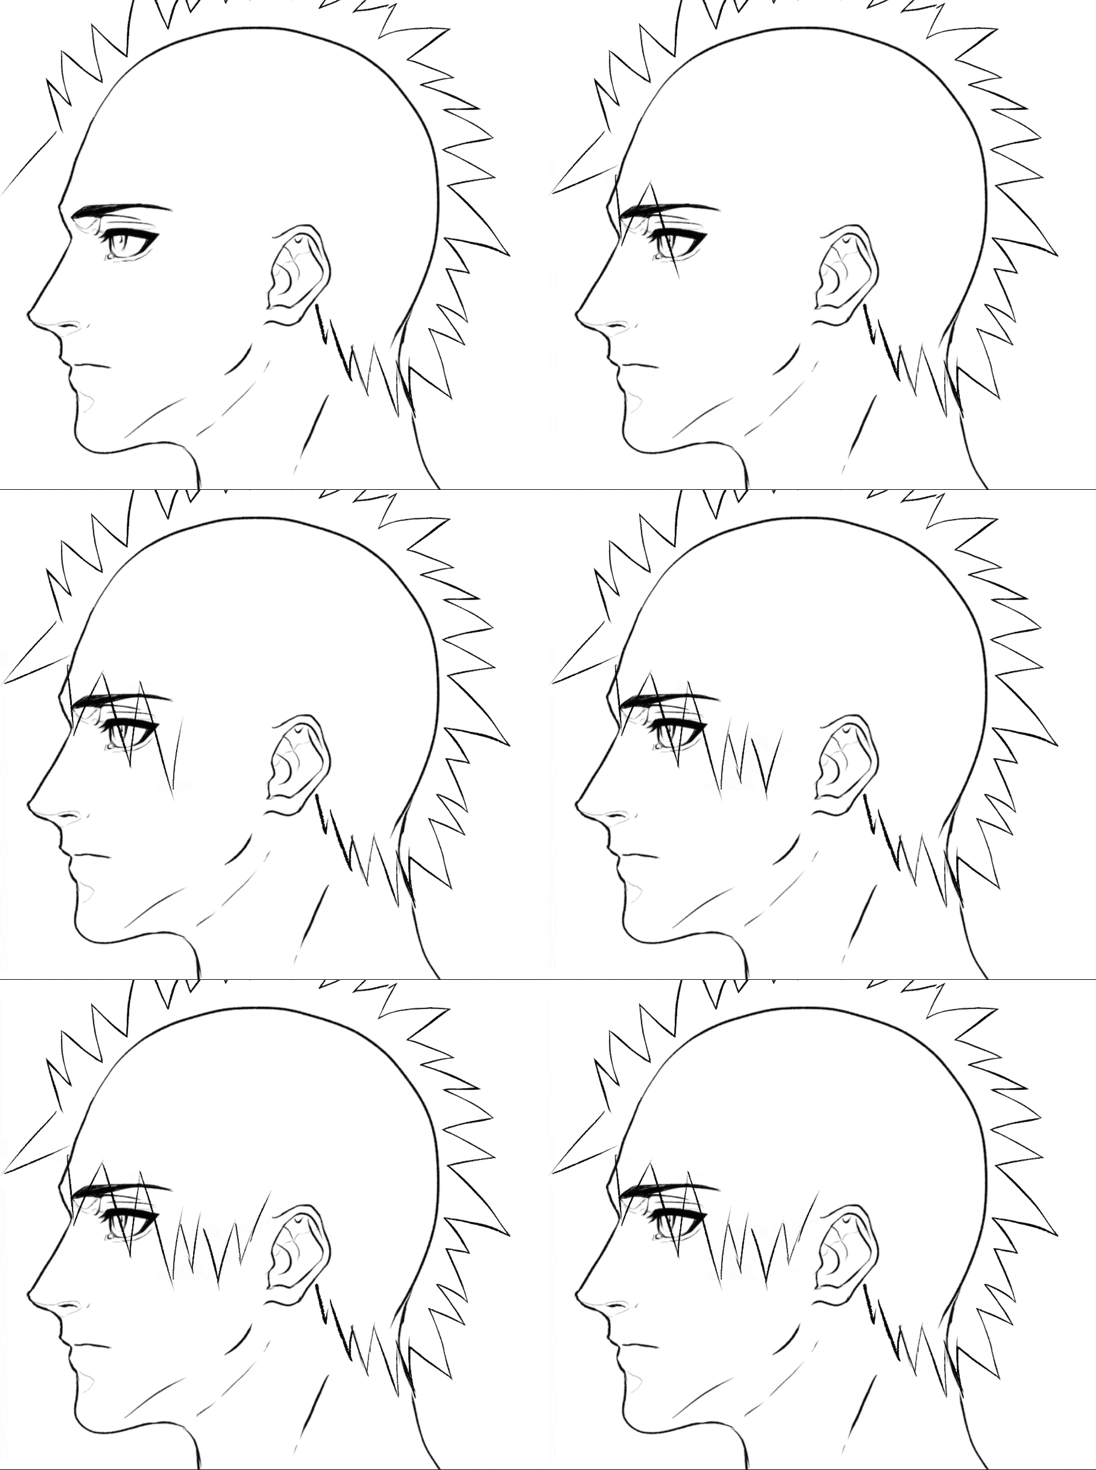
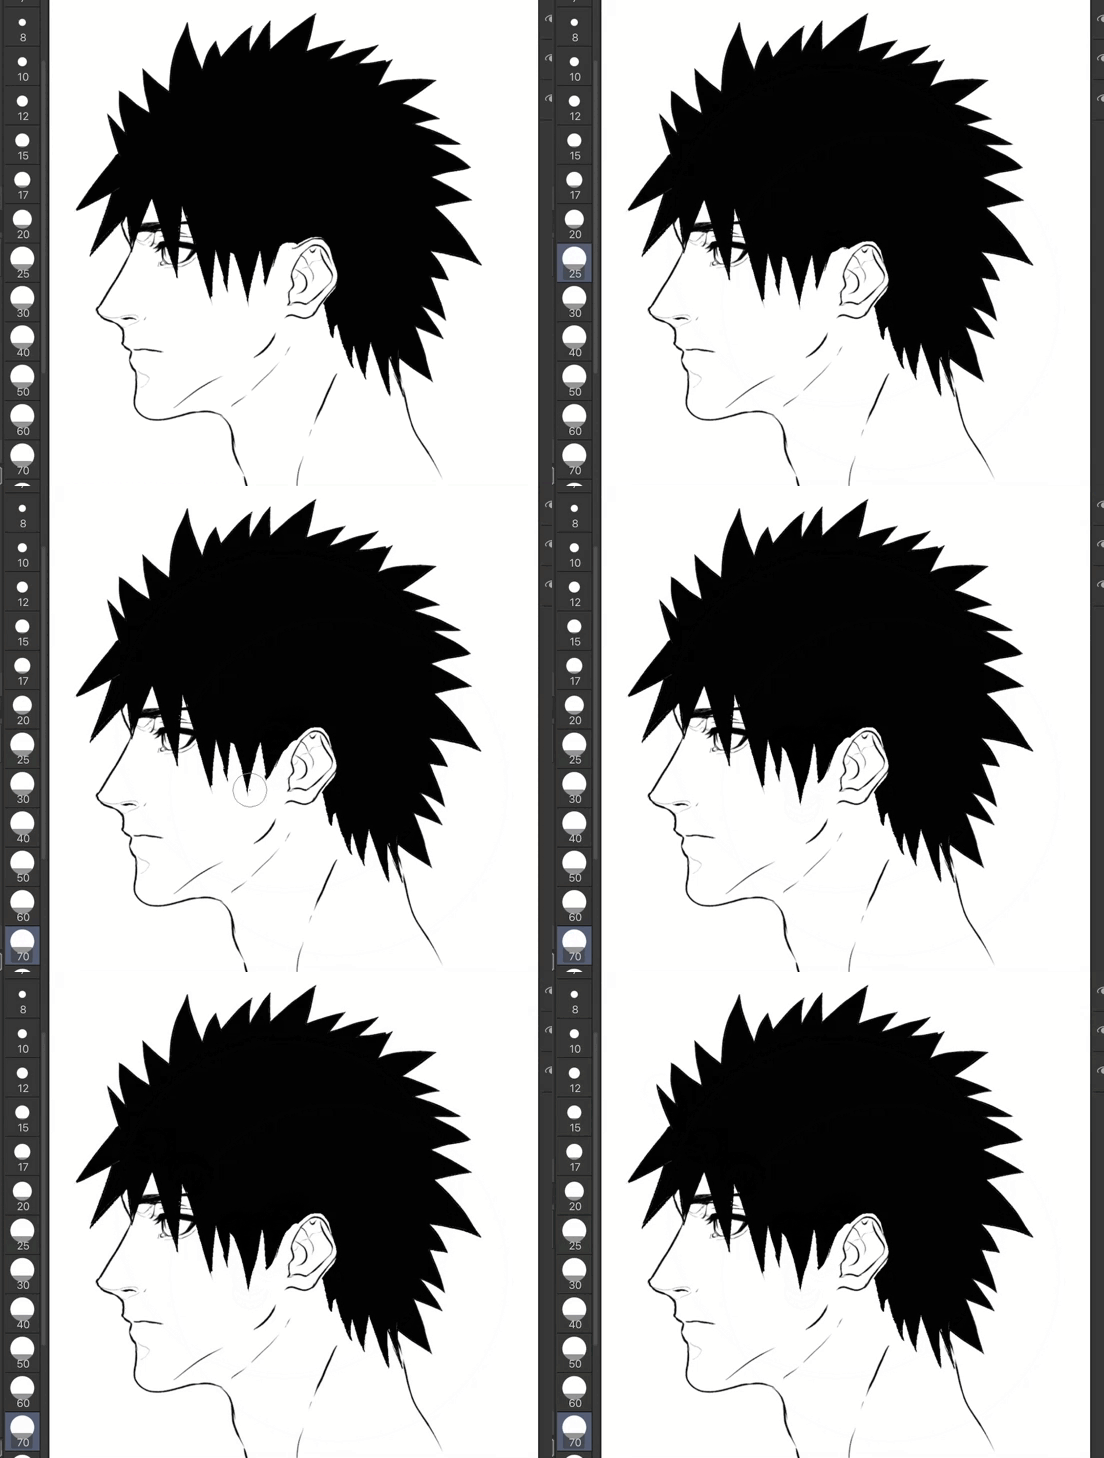
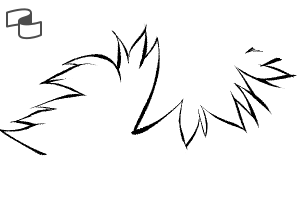
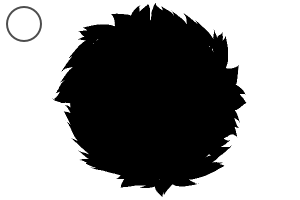
■ 橢圓畫筆
■ 當您點擊時,發環填充刷會自動填滿,但它會留下一些間隙。請注意。
■一些關於使用的建議。 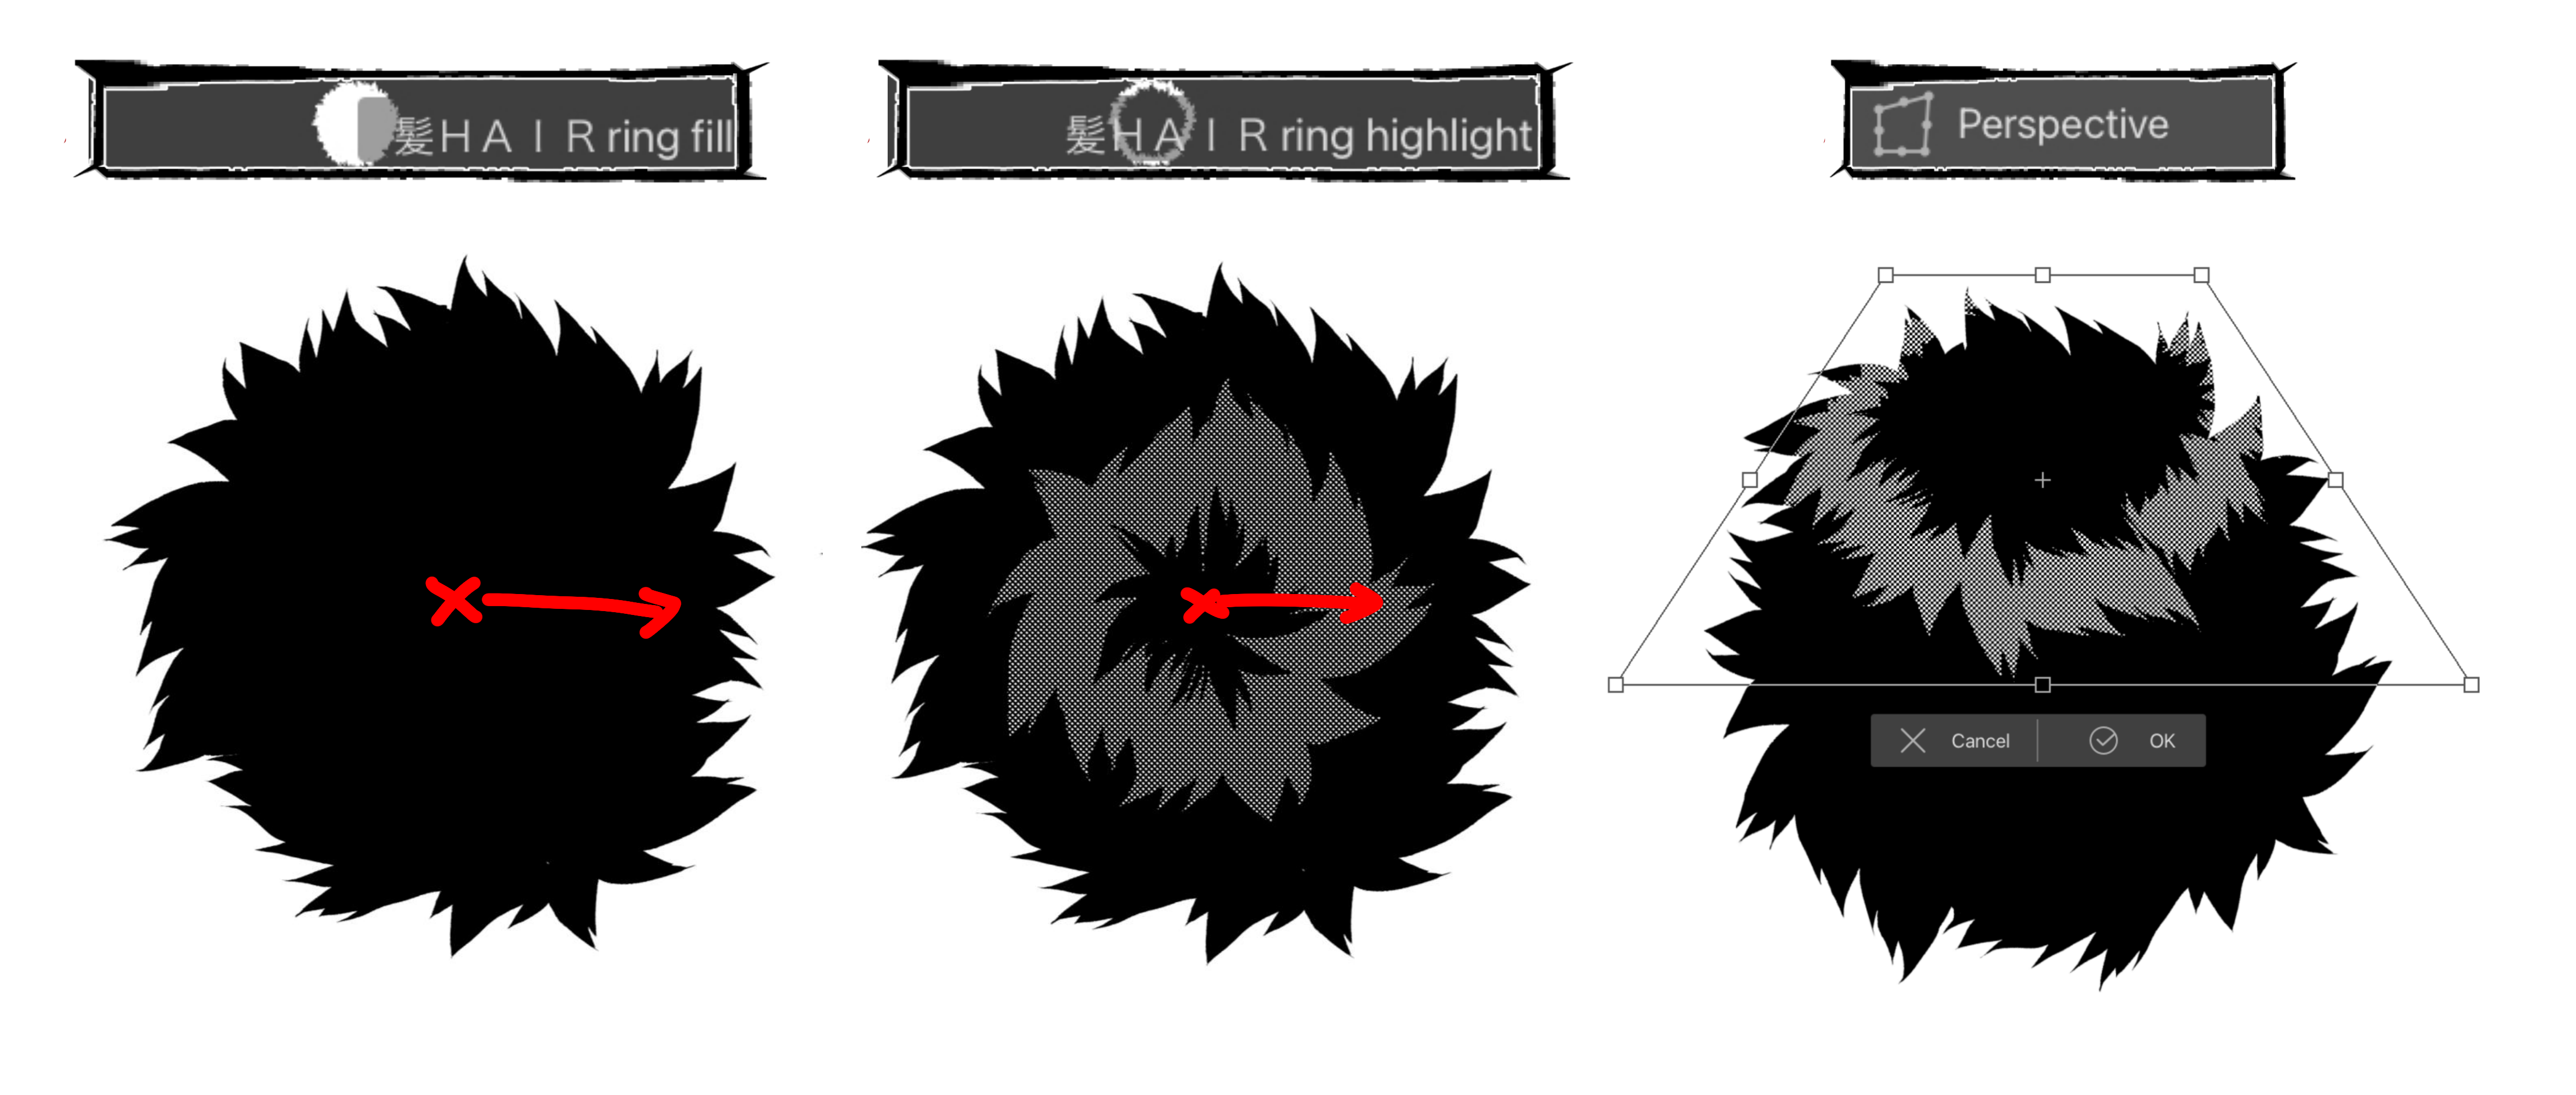
第一支毛 發刷 [1 筆劃] 從耳朵到耳朵繪製一條線。請使用此從前/後視圖繪製面部。
其他刷子適合任何角度。
尖刺的畫筆主要用於簡化/風格化的插圖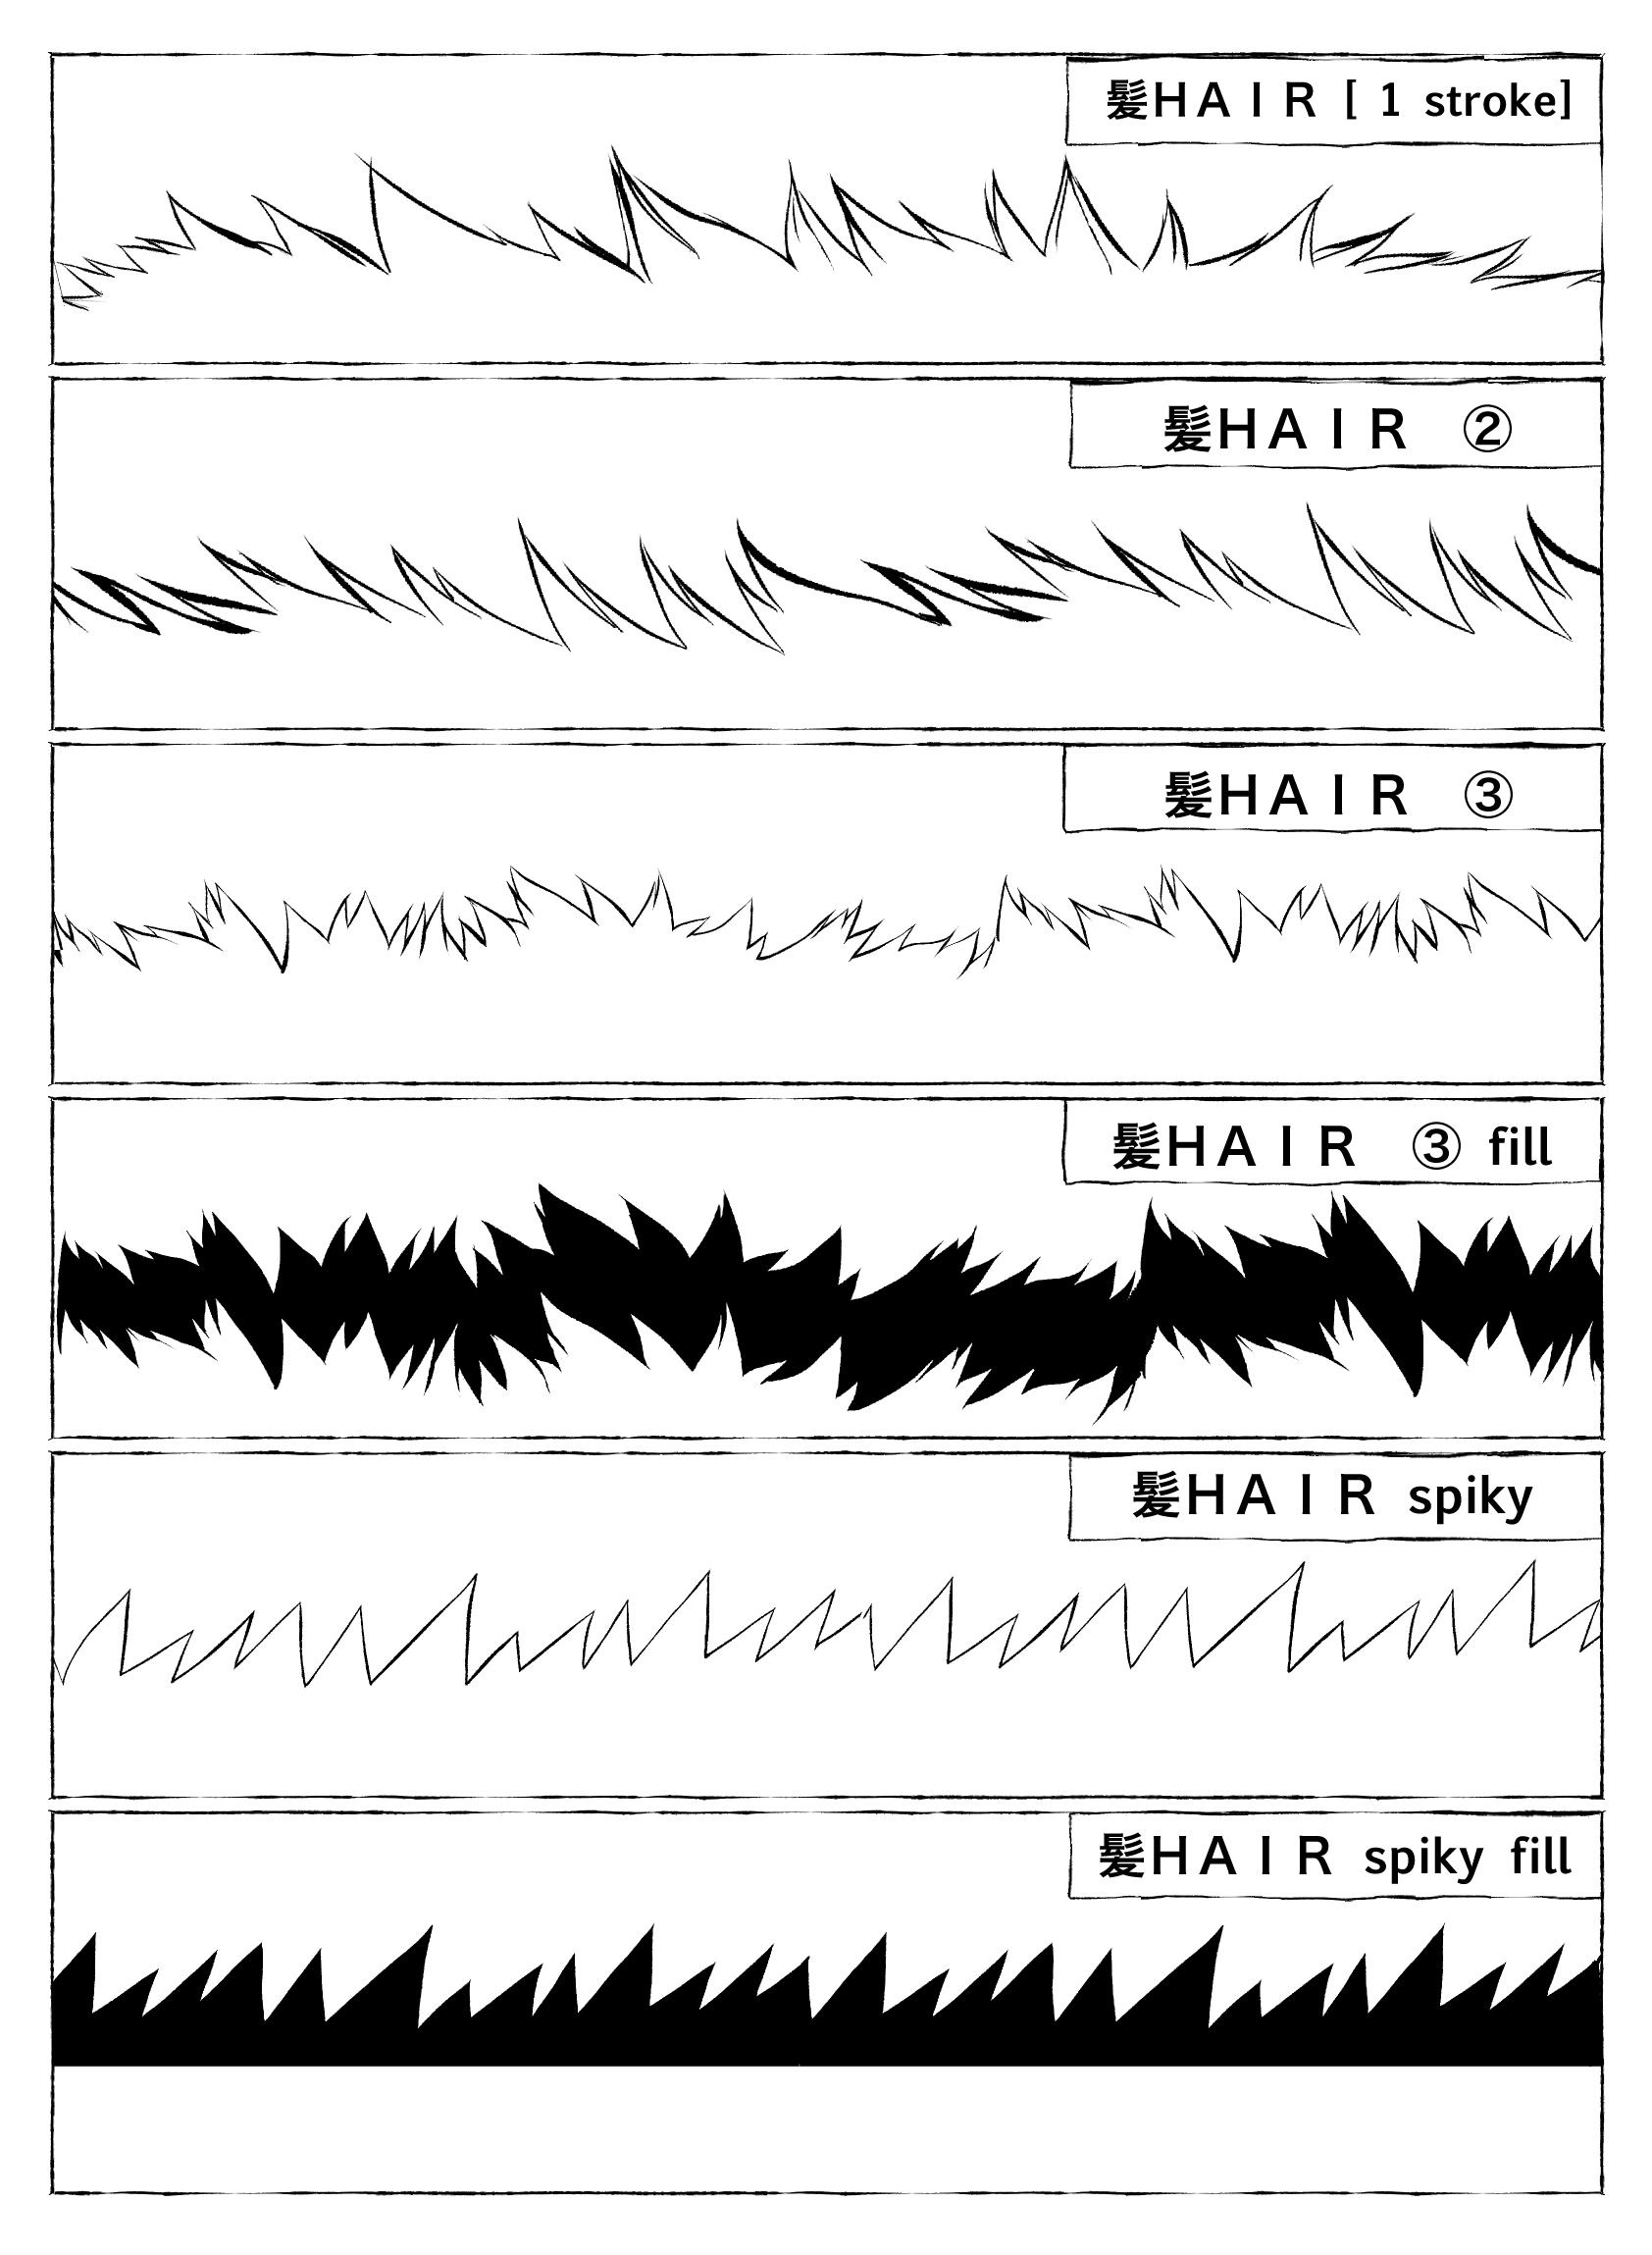
(1)在頭頂上畫一條線。
(2)用 BANG刷 子(曲線工具)在額頭上畫一條線。
(3)用鏟鬥工具填充,並給一些缺失的部分上色。
(4)做一些調整,填補缺失的部分,添加側面和背面的頭髮。
我用基本的 真正的G筆/ リアルGペン 創造了這些畫筆。請用它來調整。
(1)畫出砰砰聲。
(2) 調整所需的曲線。
[您也可以使用此刷子從後視圖繪製底部發線]
(1)從中心開始,畫一面。
(2)然後檢查垂直 翻轉 部分並選擇「翻轉」
(3)畫另一邊。
(4)我用同一把刷子畫了髮際線,但改變了 刷子的大小。
[您也可以檢查「 厚度 」部分以瞭解一些畫筆更改。嘗試將其設置為 50、100 或 150 以獲得不同的結果]
(5)做一些調整,在耳朵頂部和耳朵附近添加一些毛髮。

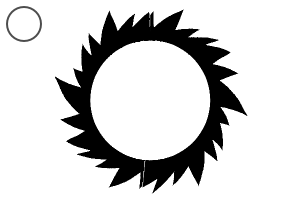
■ 頭髮尖 刷。
(1)在頭頂上畫線。
(2)加入背部和底部的頭髮。我用手畫了它們(畫筆不是很好,但你可以試試)
(3) 用鏟鬥工具填充
(4)我還使用 液化工具 來校正體積。
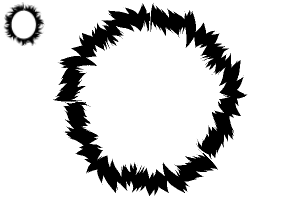
這些刷子創造了整個頭髮圈。將其用於俯視圖和後視圖。 更改 畫筆大小 以獲得不同的結果。 尺寸越小,頭髮的尖刺越短越小。
對於後視圖,請將 縱向類型 設置為 W 0,8-0,9 和 H 1.0。它將創造一個更自然的形狀。
您也可以擦除頸部的底部,然後使用 曲線刷 重新繪製。嘗試玩 透視/MASH轉換 。
[在需要的地方畫一些頭髮,以獲得更好的外觀]
(1)從頭部中心畫一個圓。
(2)創建一個新圖層,從同一中心繪製一個較小的白色圓圈。將圖層轉換為螢幕色調,並將不透明度降低到 30-50。
(3) 對高光圖層使用 透視變換 以創建某個角度。
This is a set of brushes for drawing hair. Mostly suits for manga/comics but works for illustration as well
■ Here are some examples of use.
■ Curve tool brush
■ Ellipse brushes
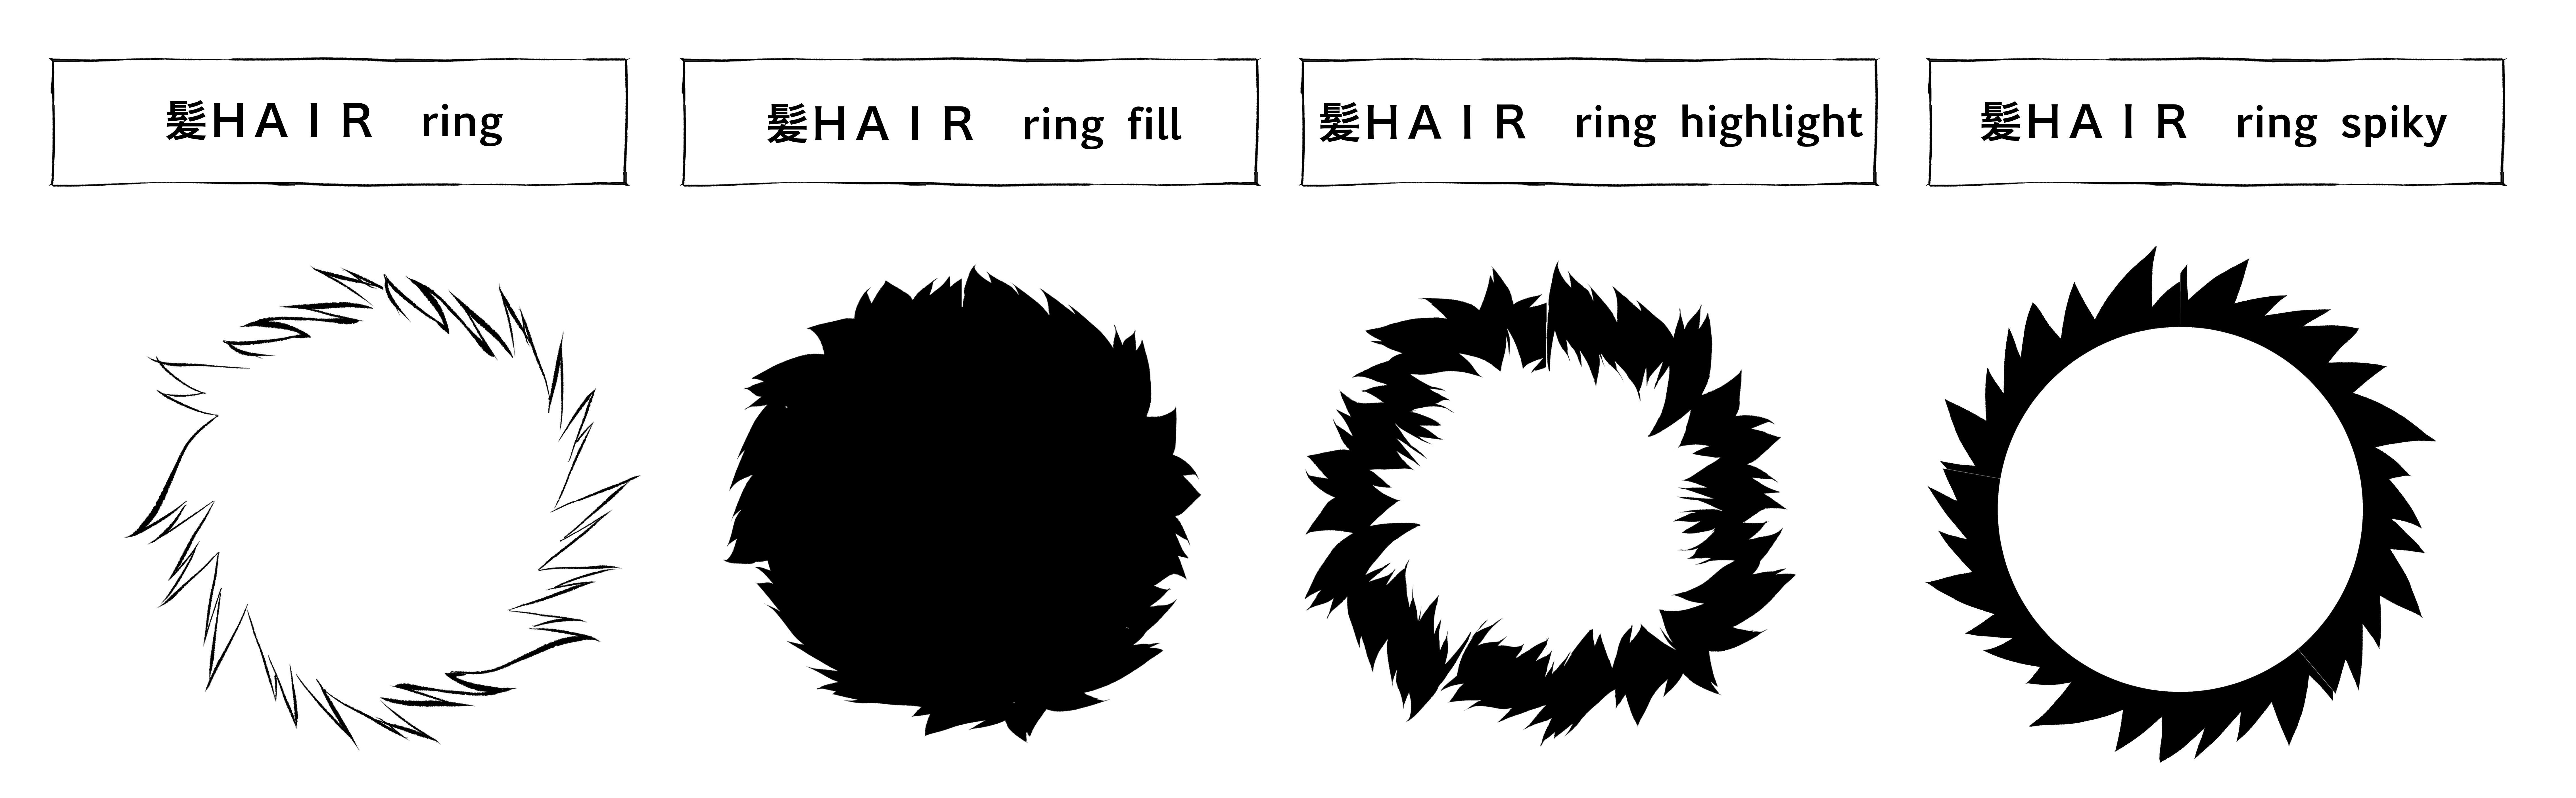
■ The HAIR ring fill brush fills automatically when you tap BUT it leaves some gaps. Pay attention, please.
■ Some tips on usage.
The 1st brush HAIR [1 stroke] draws a single line from ear to ear. Use this one for drawing faces from the front/back view, please.
Other brushes suit for any angle.
The spiky brushes are mostly for simplified/stylised illustrations
① Draw a line above the head.
② Draw a line on the forehead with BANG brush (curve tool).
③ Fill with bucket tool and colour some missing parts.
④ Make some adjustments and fill the missing parts, add side and back hair.
I created these brushes with basic real G pen / リアルGペン. Use it for adjustments, please.
① Draw the bang.
② Adjust the needed curve.
[You may also use this brush to draw the bottom hair line from the back view]
① Start from the center and draw one side.
② Then check the FLIP VERTICAL section and choose ‘flip’
③ Draw the other side.
④ I drew the hairline with the same brush but changed the brush size.
[You may also check the THICKNESS section for some brush changes. Try to set it to 50, or 100, or 150 for different results]
⑤ Make some adjustments, add some hairs on top and near ears.
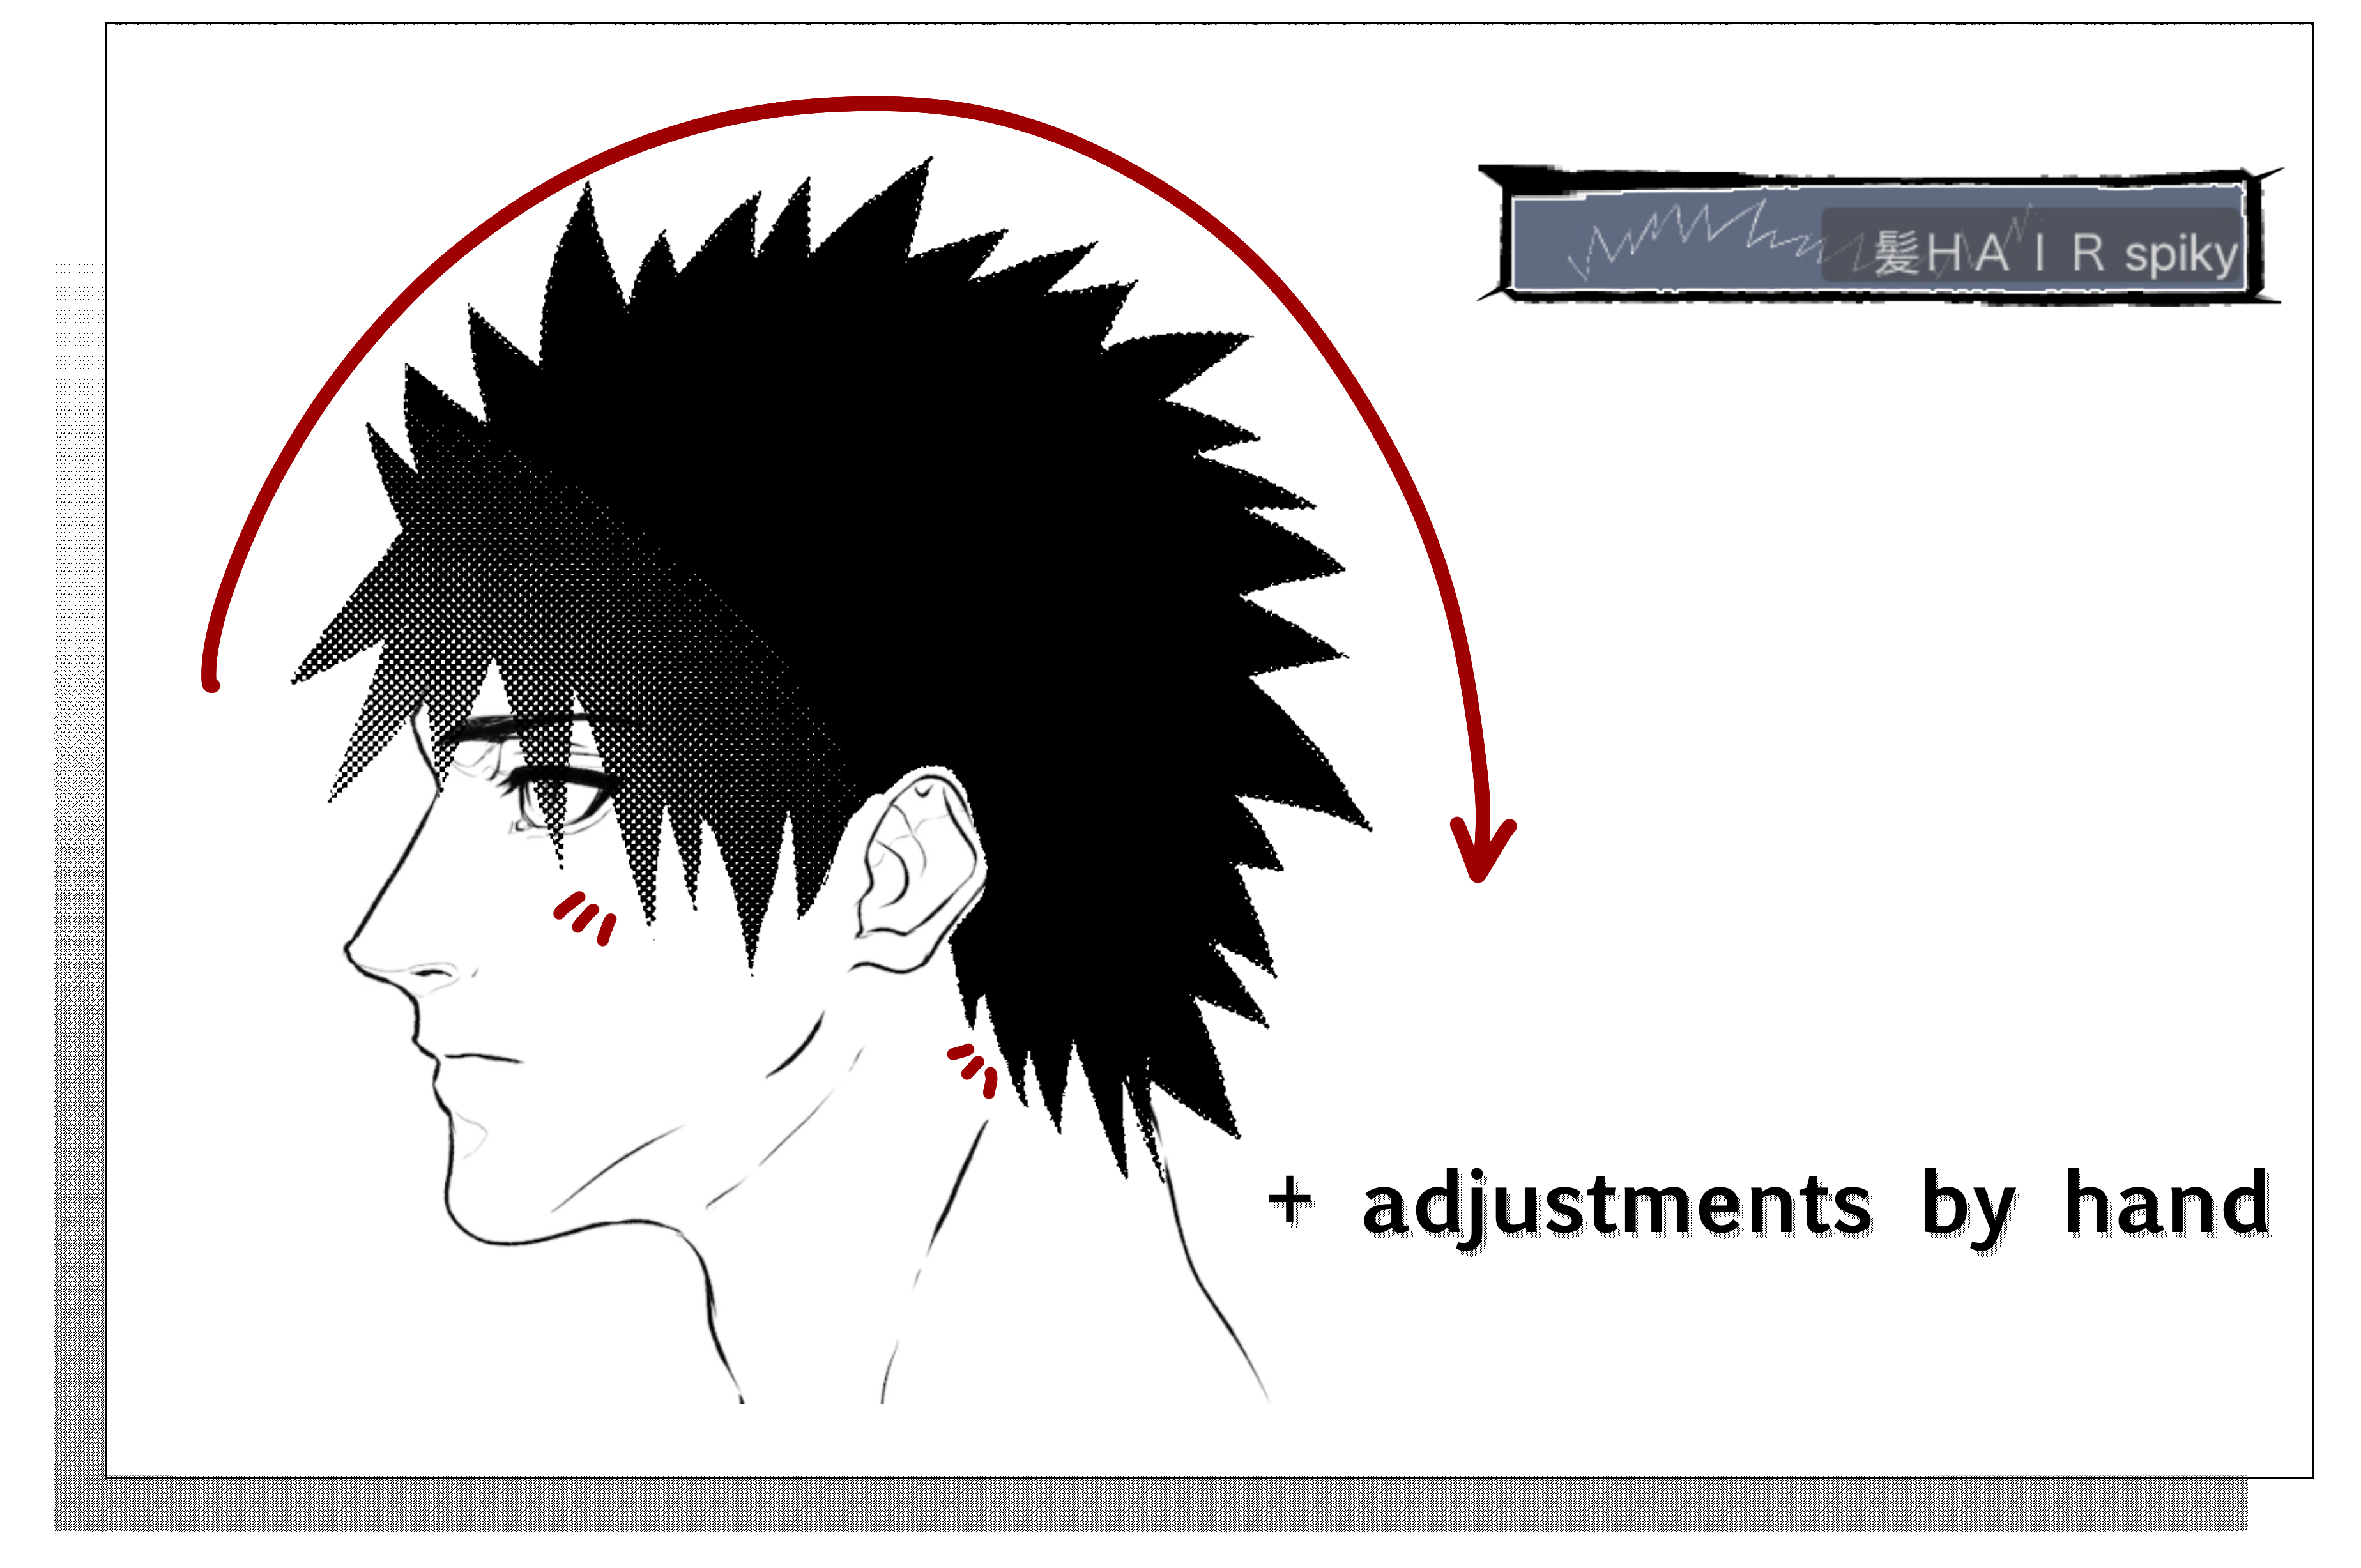
■ HAIR spiky brush.
① Draw the line above the head.
② Add back and bottom hair. I drew them by hand (the brush is not very good for it but you may try)
③ Fill with bucket tool
④ I also used LIQUIFY TOOL to correct the volume.
These brushes create the whole circle of hair. Use it for overhead and back views. Change the brush size for different results. The smaller the size the shorter and smaller the spikes of hair.
For a back view, please, set the ASPECT TYPE to W 0,8-0,9 and H 1.0. It will create a more natural-looking shape.
You may also erase the bottom part on the neck and redraw it with CURVE BRUSH. Try to play with PERSPECTIVE/MASH TRANSFORMATION as well.
[Draw some hairs, where needed, for a better look]
① Draw a circle from the center of the head.
② Create a new layer, draw a smaller white circle from the same center. Convert the layer to screentone and lower the opacity to 30-50.
③ Use a PERSPECTIVE TRANSFORMATION for the highlight layer to create some angle.
刷 Brush
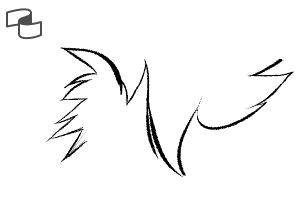
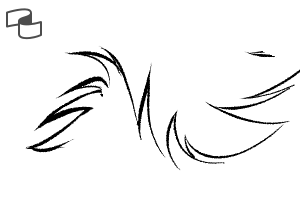
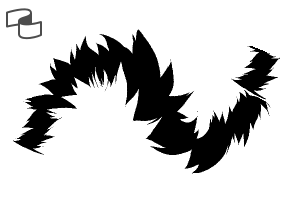
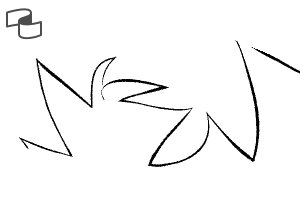
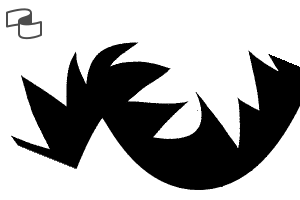
曲線工具 Curve tool
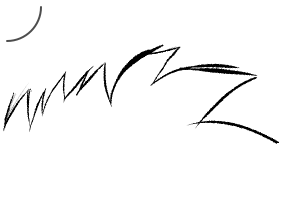
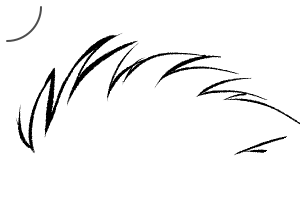
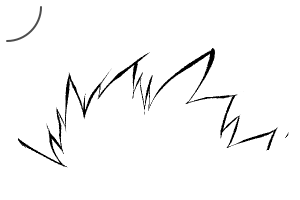
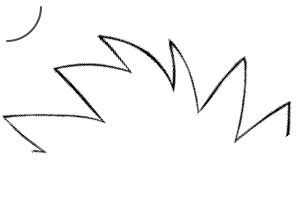
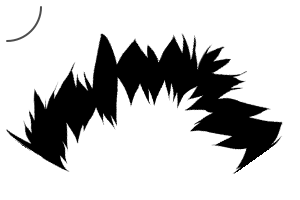
橢圓工具 Ellipse tool


「EnumaElishhhhh」的其他素材


「素材集」的人氣素材


最新素材


徽章
-
 MVP ◆針對問題投稿了眾多適切的回答,對社群有顯著貢獻的用戶。每3個月一次,會依據期間內獲得的點數選出MVP用戶,並進行表揚。
 -
 NVP(New Valuable Player) ◆繼MVP後,對社群營運做出良好貢獻的用戶。將從不曾獲選為MVP的用戶中,依據獲得的點數進行評選、表揚。
 -
 官方推廣大使 ◆從被證明為優良回答用戶的MVP獲獎者中選出社群中最優異的回答者。並經審查後由本社委託就任。※舊名稱為「Evangelist」
 -
 CELSYS公認Moderator ◆Moderator為會使用日文及其他語言的CELSYS公認工作人員。由於並非軟體或創作的專業人士,Moderator無法直接為用戶解決疑問,但能在語言、交流方面提供支援,幫助用戶們順利地進行溝通。
 -
 CELSYS官方為與營運相關的官方帳號。