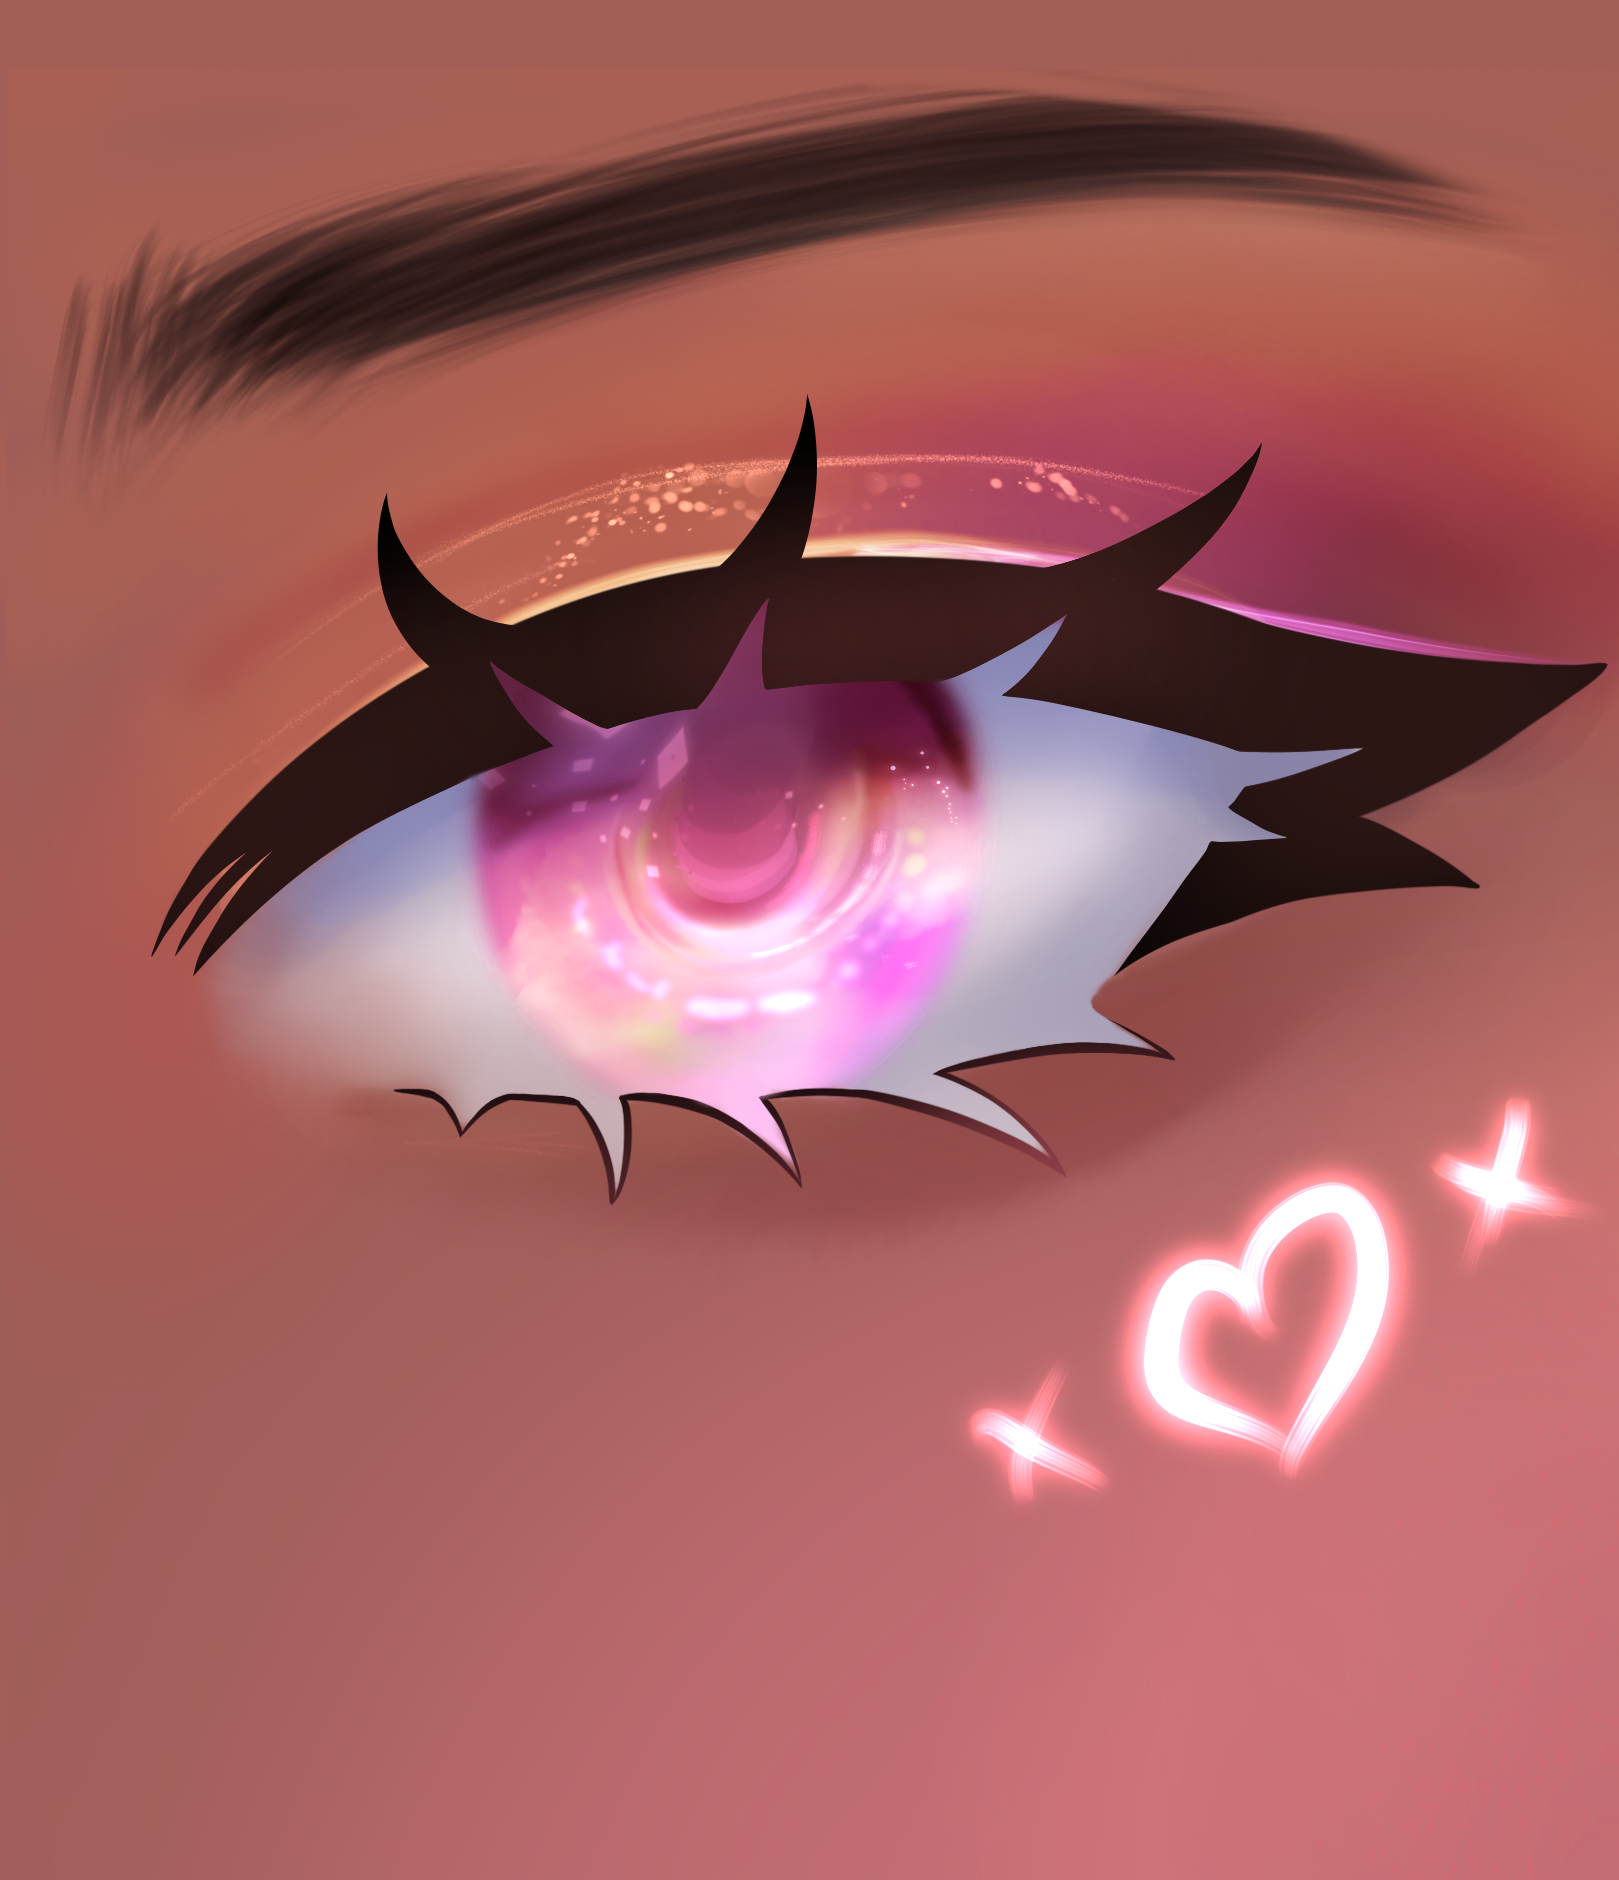
我希望你們喜歡我做的這雙眼睛〜

此清單僅適用于LINERIT,不包括虹膜。我製作的虹膜清單將在此後不久發佈。
在此圖片下方使用的提示和技巧:)

可選使用提示
- 在剪裁層(或 Alpha 鎖)上,向睫毛添加一些暖色,中間顏色最淺。一些插圖在眼睛上用黑色線線線設計會很好看,而如果眼睛的睫毛上有一絲顏色,其他插圖可能看起來最好。這完全取決於你想要的風格。
- 將虹膜放在眼睛的線線線下方。如果您使用的是預製的虹膜,則從線性圖中繪製虹膜的輪廓。
- 使用變換工具將虹膜變為所需的形狀
- 要更改顏色,您可以通過幾種方式執行此操作。
- 第一種方法是選擇光圈(不包括),從這裡轉到"編輯" - "色調校正" - "色調/飽和度/亮度"調整色調以更改顏色。
- 第二種方法是打開一個新圖層,並將圖層mod設置為疊加並在其上著色。
- 您還可以使用色彩變淺圖層來獲得一些美麗的鮮豔色彩
- 您可以通過進入新圖層並將其設置為多個來為其提供漂亮的陰影。使用藍色/紫色,並在鳶尾花和虹膜頂部塗上一條線。降低相乘圖層的不透明度,直到您喜歡它。我喜歡使用藍色和紫色,但你可以使用任何你想要的顏色。
I hope you guys enjoy this set of eyes that I made ~

this listing is for the LINEART ONLY, no iris is included. The listing for the iris that I made will be posted shortly after this one.
Tips and tricks for use below this picture :)

Optional tips for use
- On a cliping layer (or alpha lock) add some warm colors to the eyelashes with the lightest color in the middle. Some illustrations will look nice with black lineart for the eyes while others may look best if the eyes have a hint of color on the lashes. It all depends on the style you’re going for.
- Place the iris below the lineart for the eyes. If you are using a premade iris erace the outline for the iris from the lineart.
- Use the transform tool to get the iris to your desired shape
- To change the color you can do this a few ways.
- The first way is to select the iris (not included), go to “edit” - “tonal correction” - “hue/saturation/luminosity” from here adjust the hue to change the color.
- the second way is to open a new layer and set the layer mod to overlay and color on top of it.
- You can also use a color dodge layer for some beautiful vibrant colors
- You can give it a nice shadow by going on a new layer and setting it to multiple. Use a blue / purple color and color a line on top of the sclara and iris. Lower the opacity of the multiply layer until you like it. I like to use blue and purple but you can use any color that you want.
11 種眼睛形狀 - 線線型 11 eye shapes - lineart


