


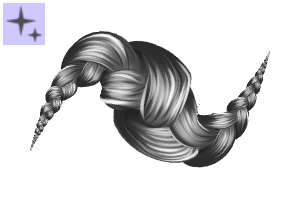
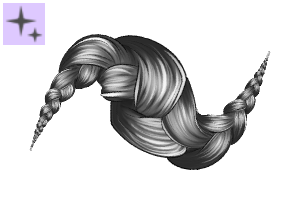
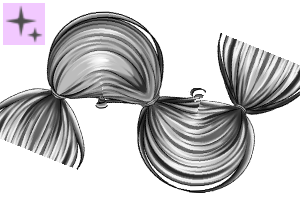
バブルブレイズ ボックスブレイズ 編み込み部品 (Bubble Braids Box Braids Braiding Parts) Bubble Braids Box Braids Braiding Parts
コンテンツID:2305860
-
330


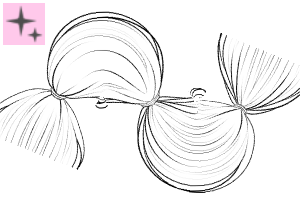
黒い保護用のヘアスタイルを描きやすくするために作られています。
この資料は9月19日まで無料です
Made to make drawing black protective hairstyles easier to draw.
This material will remain free until september 19th

編み込みの部分の参考に、上の写真にあるソフトウェブトゥーンの頭部を使いました。ただし、パーツを自分の頭に合わせるように変形させることは可能です
色は原色とサブカラーで変更可能です。原色は暗い部分と線画を制御し、サブカラーはハイライトを制御します。

編み込み部分を見栄えよくするために、私が作る方法の小さなチュートリアルを作りました。

ステップ1:
編み込み部分のレイヤーはグレースケールに設定されていますが、カラーに変更する必要があります。そうしないと部品に色を塗ることができません。
ステップ2:
エアブラシを使ってパーツの輪郭を描きます。エアブラシは柔らかすぎないようにしましょう。
ステップ3:
ほんの少しブレンドするブラシで色を選び、部品全体に小さなストロークで消していきます。ストロークはすべて、編み込みが付いている張力ポイントの方を向いていることを確認してください。
ステップ4:
柔らかい線画のブラシで、よければベビーヘアを加えることもできます。
顔を縁取るパーツだけを加えてください。
顔を縁取るパーツだけを加えてください。

このカタログが私以外の誰かの役に立てばいいのですが:)
追記:残念ながら問題を発見しました。参照レイヤーが筆致に干渉することをオフにするのを忘れていました。幸いにも簡単に直せます。
私のプログラムはドイツ語ですが、設定の場所は同じはずです。やり方が分かり次第、ブラシを更新します。皆さん、ご不便をおかけして申し訳ありません!
私のプログラムはドイツ語ですが、設定の場所は同じはずです。やり方が分かり次第、ブラシを更新します。皆さん、ご不便をおかけして申し訳ありません!
ブラシ設定を開き、「オーバーフローなし」または最後のオプションを見つけて、ここに表示されているオプションの切り替えを解除してください。

As a reference for the braiding parts, I used the soft webtoon head, pictured above. Though you can transform the parts to fit with your head
The color can be changed with the primary and sub color. The primary color controls the dark areas and lineart, the sub color controls the highlight.
In order to make the braiding parts look good, I've made a small tutorial on how I do it.
Step 1:
The layer of the braiding parts is set to grayscale, you must change it to color. Otherwise you won't be able to color the parts.
Step 2:
Using an airbrush, outline the parts. The air brush shouldn't be too soft.
Step 3:
Using a brush that blends just slightly, select no color and erase in small strokes all around the part. Make sure the strokes are all facing inwards towards the tension point, where the braid is attached.
Step 4:
Using a soft lineart brush, add some baby hairs if you'd like.
Only add them for the parts framing the face.
Only add them for the parts framing the face.
I hope this catalogue is of use to anyone besides myself :)
EDIT: I've discovered an issue unfortunately. I forgot to toggle off that the reference layer would interfere with the brush stroke. It's luckily an easy fix.
My program is in German, but the location of the settings should remain the same. I'll update the brushes as soon as I figure out how to. Sorry for the inconvenience everyone!
My program is in German, but the location of the settings should remain the same. I'll update the brushes as soon as I figure out how to. Sorry for the inconvenience everyone!
Open the brush settings, locate "no overflow" or the last option and untoggle the option shown here.
カテゴリー1 Kategorie 1
-
小規模な部分B small parts b
-
ミディアムパーツB medium parts b
-
大きな部分Bです large parts b
-
ジャンボパートB jumbo parts b
-
バック:パーツなし back no parts
-
小さな部分 small parts s
-
中程度のパーツ medium parts s
-
大きな部分 large parts s
-
ジャンボパーツ jumbo parts s
-
パーツなし no parts s
-
小部 f small parts f
-
中部 f medium parts f
-
大きな部分 f large parts f
-
ジャンボパートF jumbo parts f
-
f の部分はない no parts f
-
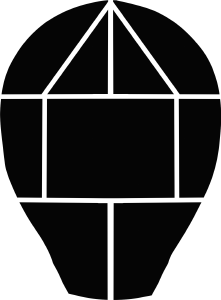
ボックスブレイドシェード box braid shade
-
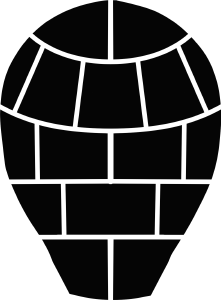
ボックスブレイドの線とシェード box braid line n shade
-
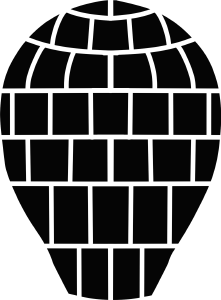
バブルブレイズは日陰で Bubble Braids shaded
-
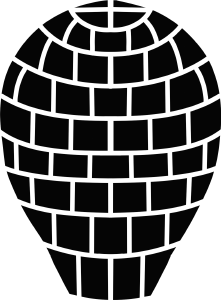
バブルブレイズプレーン Bubble Braids plain

















"ShokoLate"さんの別の素材


"素材集"の人気素材


新着素材


バッジ
-
 MVP ◆質問に対して適切な回答を数多く投稿し、コミュニティの運営に大きく貢献したユーザーです。MVPは3ヶ月に一度、その間に獲得したポイントを元に決定し、表彰を行っています。
-
 NVP (New Valuable Player) ◆MVPに次いでコミュニティの運営に貢献したユーザーです。これまでMVPの受賞経験のない方から、獲得したポイントを元に決定し、表彰を行なっています。
-
 公式エキスパート ◆優れた回答者の証であるMVP受賞者の中からさらに選ばれた、コミュニティで最も優良な回答者の証です。審査を経て当社から依頼し就任いただいています。※旧名称「エバンジェリスト」
-
 セルシス公認モデレーター ◆モデレーターは、日本語とその他の言語が話せるセルシス公認のスタッフです。ソフトウェアや創作のエキスパートではないので、直接疑問を解決することはできませんが、みなさんがスムーズにコミュニケーションできるように、言葉やコミュニケーションの側面からサポートします。
-
 セルシス公式運営に関連した公式アカウントです。