




これはAzizDrawsが動画で作成したものを基にしているシンプルなシェーダーグラデーションマップです:https://www.youtube.com/watch?v=R022uQR2akA&t=2s。
最初の写真は動画で使われているもので、2つ目は私の好みの編集版です。
This is a simple shader gradient map that I like to use based on the one AzizDraws made in their video here: https://www.youtube.com/watch?v=R022uQR2akA&t=2s.
The first one is the exact one he uses in the video, the second one is my preferred edit.
自分のスタイルやワークフローに最も合った方法で行えます。私が使っているのはこういう方法です。
まず、フラットカラーをセットアップします:

次に、シェーディングフォルダ(ノーマル設定)を作成し、白のベースレイヤー、グレーの中間レイヤー、黒レイヤーでシェーディングします:
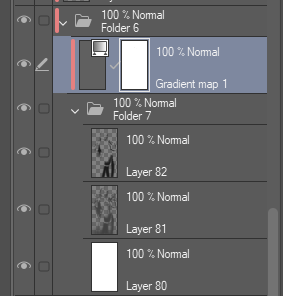

それが終わったら、レイヤーフォルダをDarken、Multiply、Overlayのいずれかに設定します。あとはあなたとあなたの画像次第です。これは暗く設定しました。
その後、上部バーでグラデーションマップのレイヤー「Layer > New Correction Layer > Gradient Map」を選択し、使いたいもの(今回はShader 2を使いました)を選択してグラデーションマップレイヤーを作成しました。
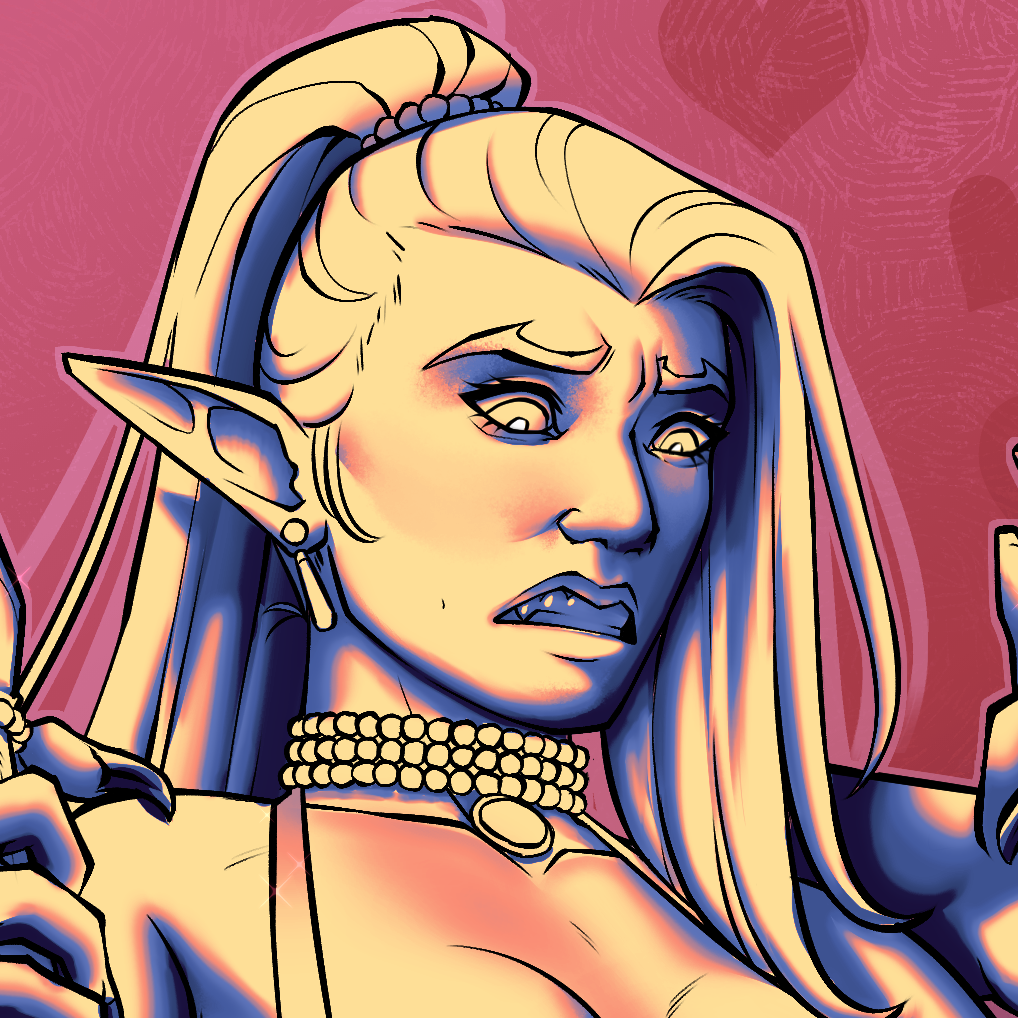
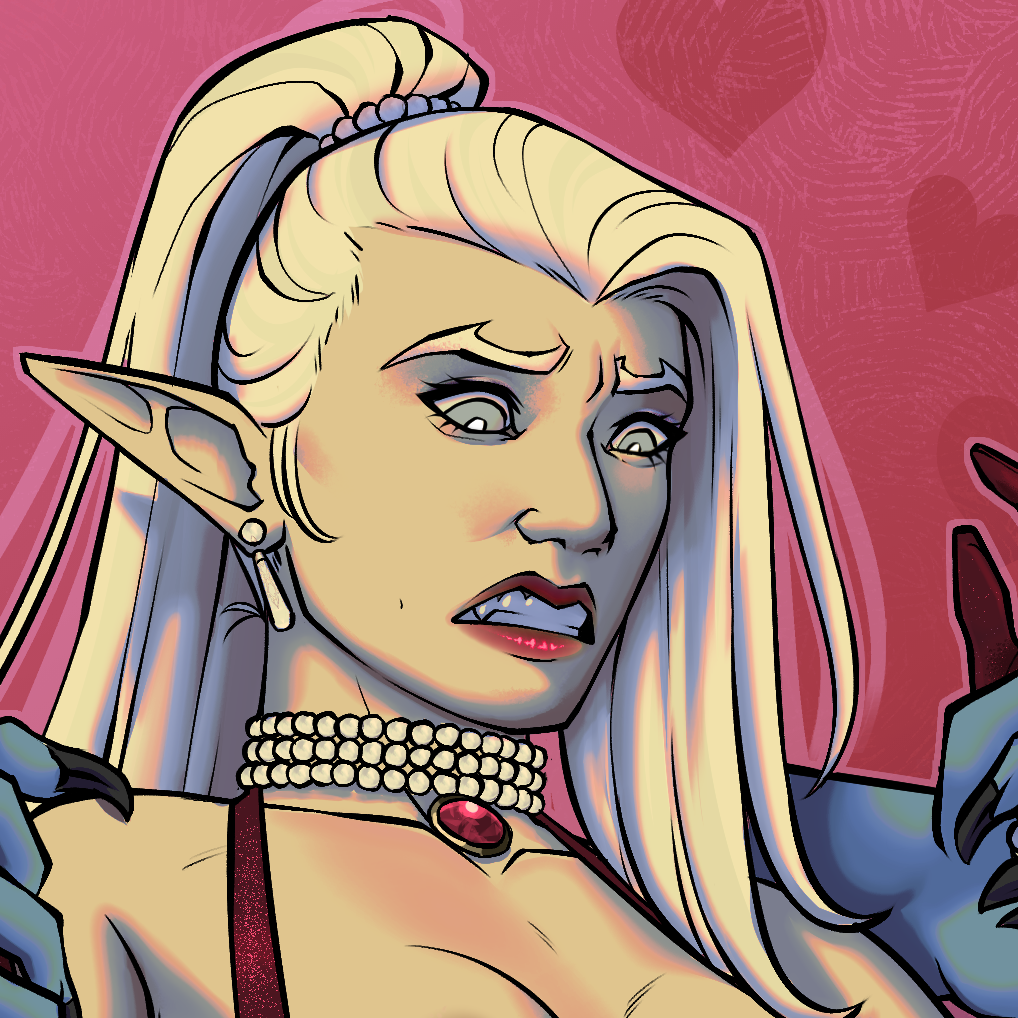
その後、グレーと黒のレイヤーの不透明度を調整して、見た目が気に入るまで調整します。
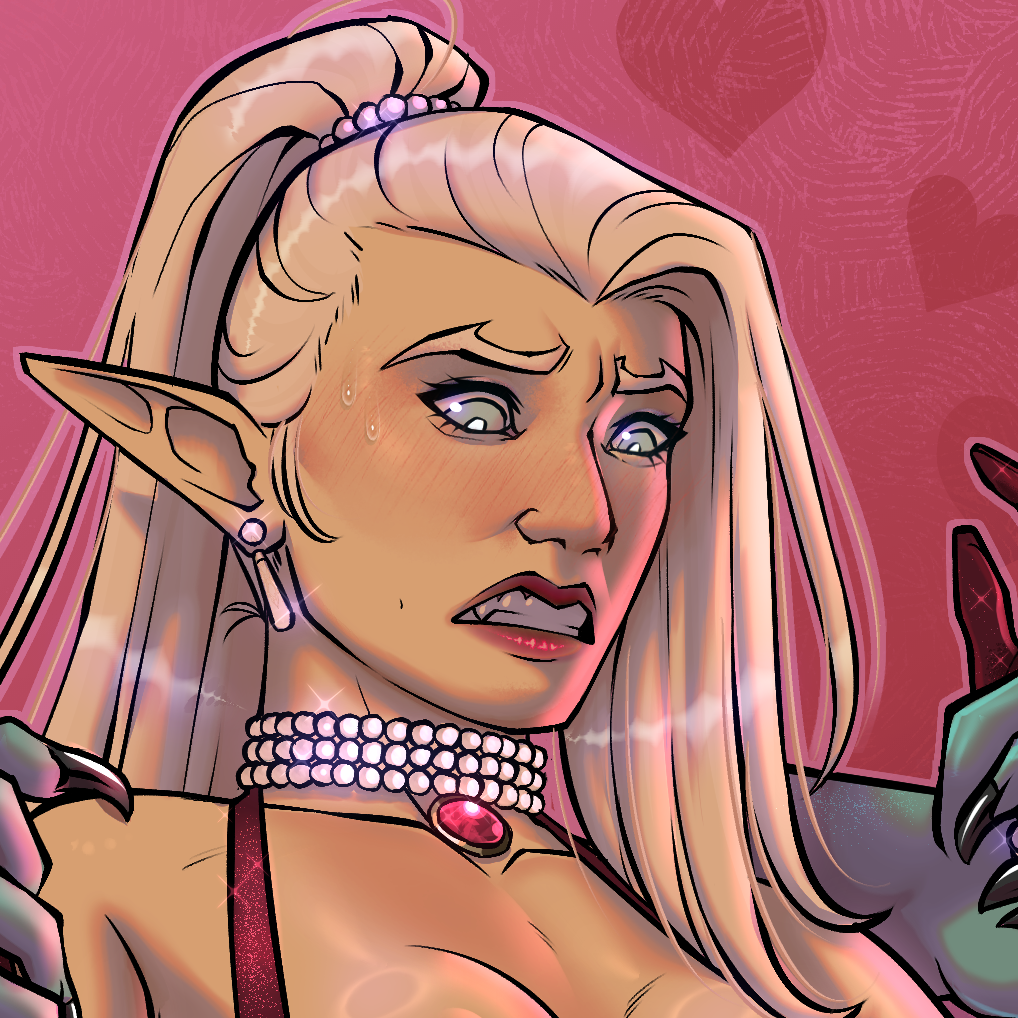
それが終わったら、見た目が気に入るまでフィルターとハイライトを重ねます
簡単な:)
まず、フラットカラーをセットアップします:

次に、シェーディングフォルダ(ノーマル設定)を作成し、白のベースレイヤー、グレーの中間レイヤー、黒レイヤーでシェーディングします:

それが終わったら、レイヤーフォルダをDarken、Multiply、Overlayのいずれかに設定します。あとはあなたとあなたの画像次第です。これは暗く設定しました。
その後、上部バーでグラデーションマップのレイヤー「Layer > New Correction Layer > Gradient Map」を選択し、使いたいもの(今回はShader 2を使いました)を選択してグラデーションマップレイヤーを作成しました。
その後、グレーと黒のレイヤーの不透明度を調整して、見た目が気に入るまで調整します。
それが終わったら、見た目が気に入るまでフィルターとハイライトを重ねます
簡単な:)
You can do this in any way that best fits your style and work flow, this is the way that I use it.
First, I set up my flat colors:
Then, I make a shading folder (set to normal) and shade with a white base layer, a grey mid layer, and a black layer:
Once I've done that, I set my layer folder to either Darken, Multiply, or Overlay, its up to you and your image. This one, I set to darken.
I then make a gradient map layer by going to the top bar and selecting Layer > New Correction Layer > Gradient Map and then selecting the one I wish to use, this one used Shader 2.
After that I mess with the grey and black layer's opacities until I Like how it looks.
When that's done, I filter and highlight until I like how it looks
Easy Peasy :)
First, I set up my flat colors:
Then, I make a shading folder (set to normal) and shade with a white base layer, a grey mid layer, and a black layer:
Once I've done that, I set my layer folder to either Darken, Multiply, or Overlay, its up to you and your image. This one, I set to darken.
I then make a gradient map layer by going to the top bar and selecting Layer > New Correction Layer > Gradient Map and then selecting the one I wish to use, this one used Shader 2.
After that I mess with the grey and black layer's opacities until I Like how it looks.
When that's done, I filter and highlight until I like how it looks
Easy Peasy :)




"BigMFRat"さんの別の素材


"グラデーションセット"の人気素材


新着素材




バッジ
-
 MVP ◆質問に対して適切な回答を数多く投稿し、コミュニティの運営に大きく貢献したユーザーです。MVPは3ヶ月に一度、その間に獲得したポイントを元に決定し、表彰を行っています。
 -
 NVP (New Valuable Player) ◆MVPに次いでコミュニティの運営に貢献したユーザーです。これまでMVPの受賞経験のない方から、獲得したポイントを元に決定し、表彰を行なっています。
 -
 公式エキスパート ◆優れた回答者の証であるMVP受賞者の中からさらに選ばれた、コミュニティで最も優良な回答者の証です。審査を経て当社から依頼し就任いただいています。※旧名称「エバンジェリスト」
 -
 セルシス公認モデレーター ◆モデレーターは、日本語とその他の言語が話せるセルシス公認のスタッフです。ソフトウェアや創作のエキスパートではないので、直接疑問を解決することはできませんが、みなさんがスムーズにコミュニケーションできるように、言葉やコミュニケーションの側面からサポートします。
 -
 セルシス公式運営に関連した公式アカウントです。