
ビデオテープスタイルのオートアクション (Video Tape-style Auto Action) Video Tape-style Auto Action
コンテンツID:2178936
-
26,162
レトロなビデオテープスタイルのエフェクトを作成するオートアクション。 Auto action to create a retro videotape-style effect.
VHSなどのアナログテープ形式で生成される信号の劣化に似た、レトロな雰囲気を図面に作成してください。作業する新しいファイルを作成するため、元のファイルの元に戻す履歴が詰まることはありません。


VHSの技術的な詳細を、全体の解像度の低下、クロマサブサンプリング、色収差、色相シフト、ノイズなど、私の能力を最大限に発揮してエミュレートします。いつか詳細を追加しようとするかもしれません。
指示
図面を開き、自動アクションを実行します。新しいファイルを保存する名前と場所を選択します。「画像サイズの変更」ウィンドウがポップアップします。デフォルトは高解像度のファイルに適していますが、約 4K より小さいファイルの場合は、スケールを 1 に近づけるか (デフォルトは .22 で、4K キャンバスの高さは 480px になります)、高解像度の場合はスケールを下げることができます。さまざまな設定で数回試して、気に入ったものを確認してください。
フィルタリングされた画像を使用して新しいファイルが作成されます。結果が気に入らない場合は、ファイルを削除しても、元の図面には変更が加えられません。
フィルタリングされた画像を使用して新しいファイルが作成されます。結果が気に入らない場合は、ファイルを削除しても、元の図面には変更が加えられません。
サンプル

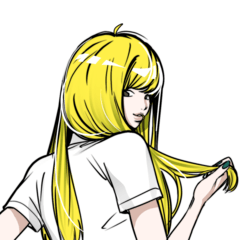
変更前: 開始時の解像度 4K (3840x2160 px)

変更後:デフォルト設定(スケール= 0.22、垂直解像度= 480px)で実行

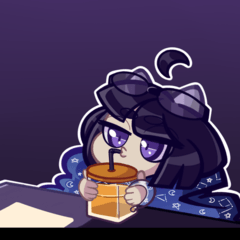
変更前: 開始時の解像度 = 1080p (1920x1080 px)

変更後: スケール = 0.75 で実行 (出力解像度 = 1440x810 px)

変更前: 開始時の解像度 = A4 300 dpi (2480x3508 px)

変更後: スケール = 0.75 で実行 (出力解像度 = 1860x2631 px)
オートアクションについて
これまでオートアクションを使用したことがない場合は、オートアクションの使用方法に関するガイドをご覧ください。
https://support.clip-studio.com/en-us/faq/articles/20210077 (英語)
https://support.clip-studio.com/en-us/faq/articles/20220025
Create a retro feel for your drawings, similar to the signal degradation produced by analog tape formats like VHS. Creates a new file to work on, so it won't clog up your undo history for the original file.


Emulates a number of the technical details of VHS to the best of my ability, including decreasing the overall resolution, chroma subsampling, chromatic aberration, hue shifting, and noise. I may attempt to add more details at some point.
Instructions
Open a drawing and run the auto action. Choose a name and location to save the new file. The "Change image size" window will pop up. The default is good for higher-resolution files, but for files smaller than roughly 4K you may want to move the scale closer to 1 (defaults to .22, which will make a 4K canvas 480px tall), or lower it for higher resolutions. Try it out a few times with different settings to see what you like.
A new file will be created with the filtered image. If you don't like the results, you can delete the file and no changes will have been made to your original drawing.
A new file will be created with the filtered image. If you don't like the results, you can delete the file and no changes will have been made to your original drawing.
Samples

Before: Starting resolution 4K (3840x2160 px)

After: Run with default settings (scale = 0.22, vertical resolution = 480px)

Before: Starting resolution = 1080p (1920x1080 px)

After: Run with scale = 0.75 (output resolution = 1440x810 px)

Before: Starting resolution = A4 300 dpi (2480x3508 px)

After: Run with scale = 0.75 (output resolution = 1860x2631 px)
About Auto Actions
If you've never used an Auto Action before, here's some guides on how to use them:
https://support.clip-studio.com/en-us/faq/articles/20210077
https://support.clip-studio.com/en-us/faq/articles/20220025


