このブラシセットを使用すると、特にアニメスタイルの描画で草の効果を簡単に実現できます。 This brush set can give you an easy way to achieve a grass effect for your drawings, specially for anime- style ones.
まず、両方のブラシを試してみてください。1つ目は「草」は形が決まっており、ブラシのサイズを変えると形が変わります。ブラシをスライドさせずに押すだけでスプレー効果を得ることもできます。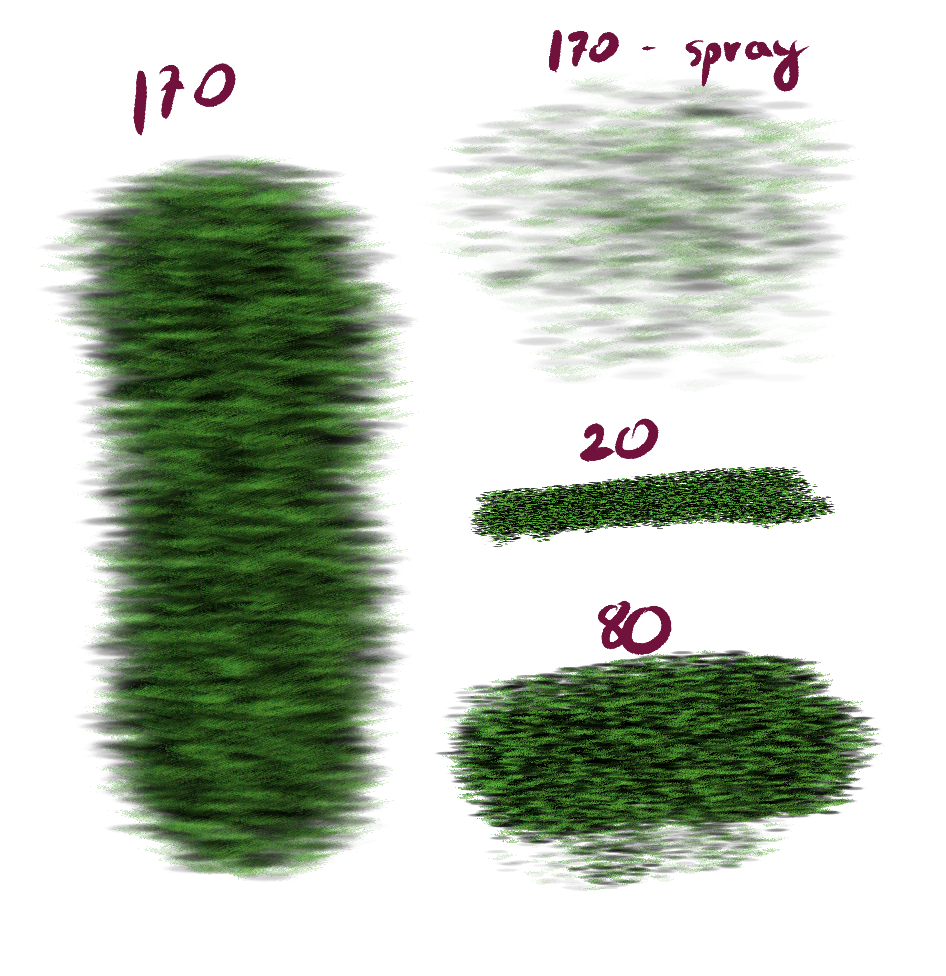
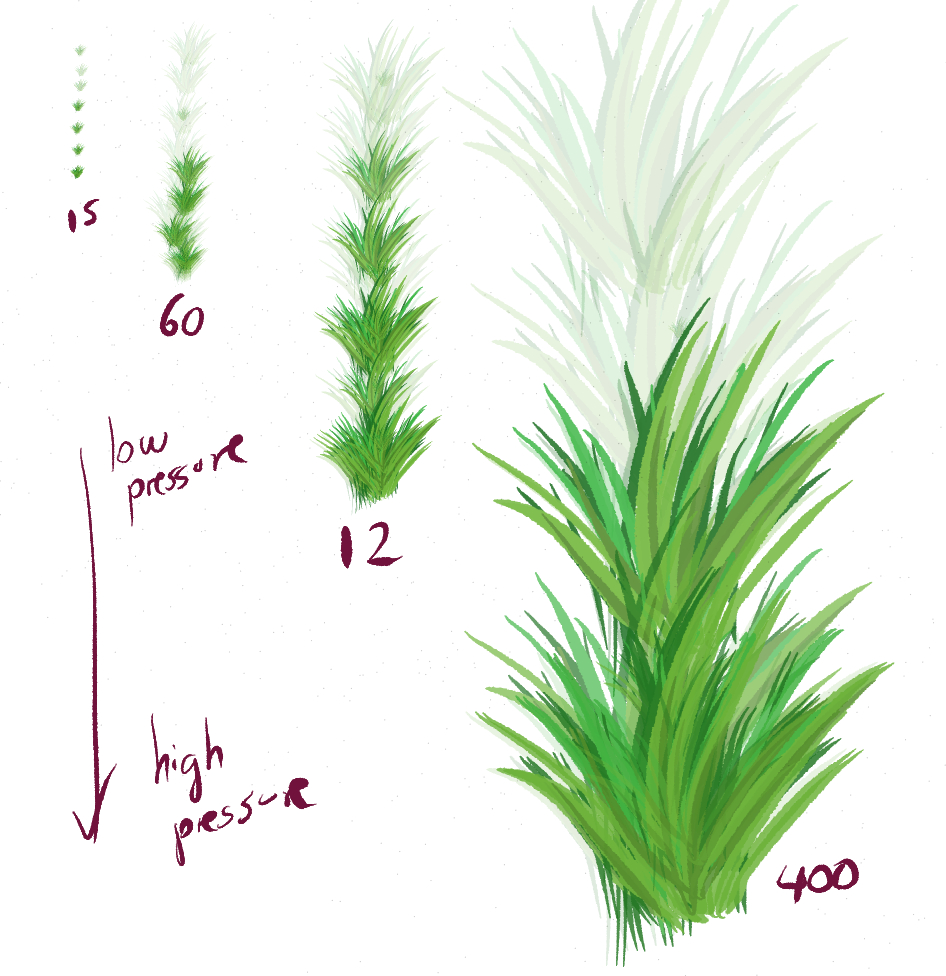
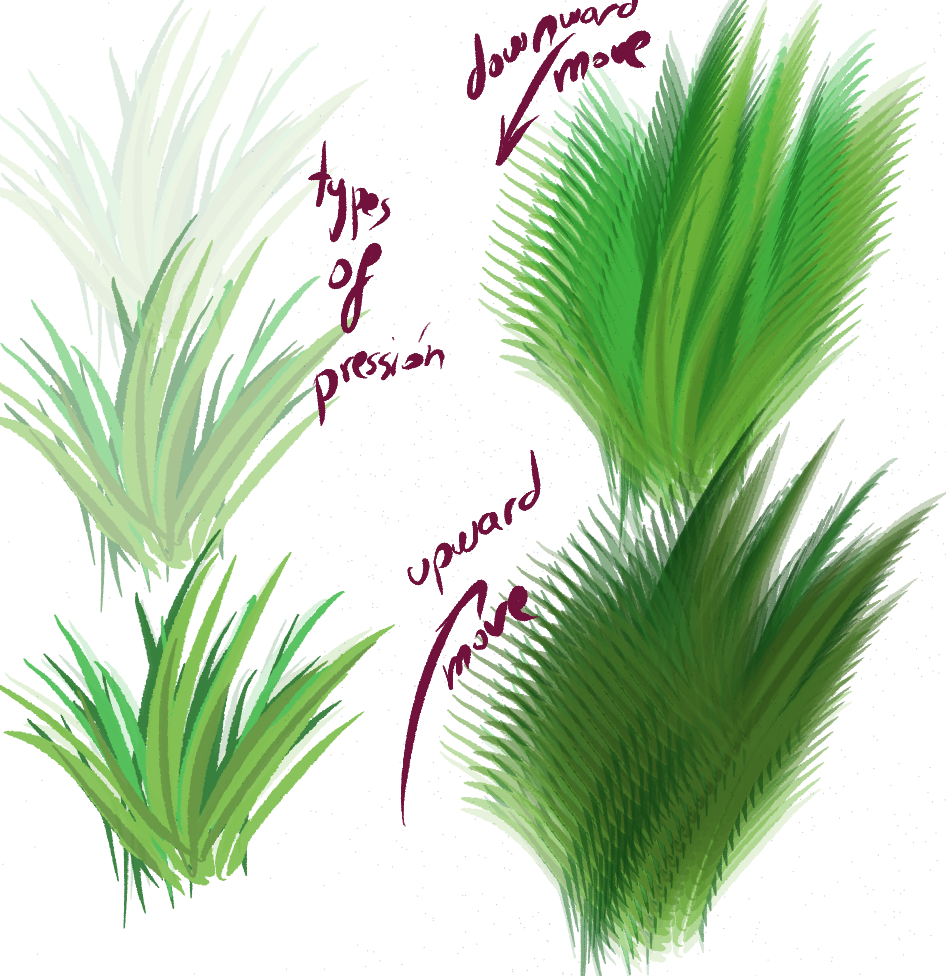

2番目のブラシ「Grass 2」は、茂みを作成するために特別に設計されています。静的ストロークの圧力に応じて、さまざまな不透明度を得ることができます。ブラシを動かすと、さまざまなサイズの茂み、角度、方向を取得できます。ストロークの起源に応じて、さまざまな効果も得ることができます。


次に、例を見てみましょう。
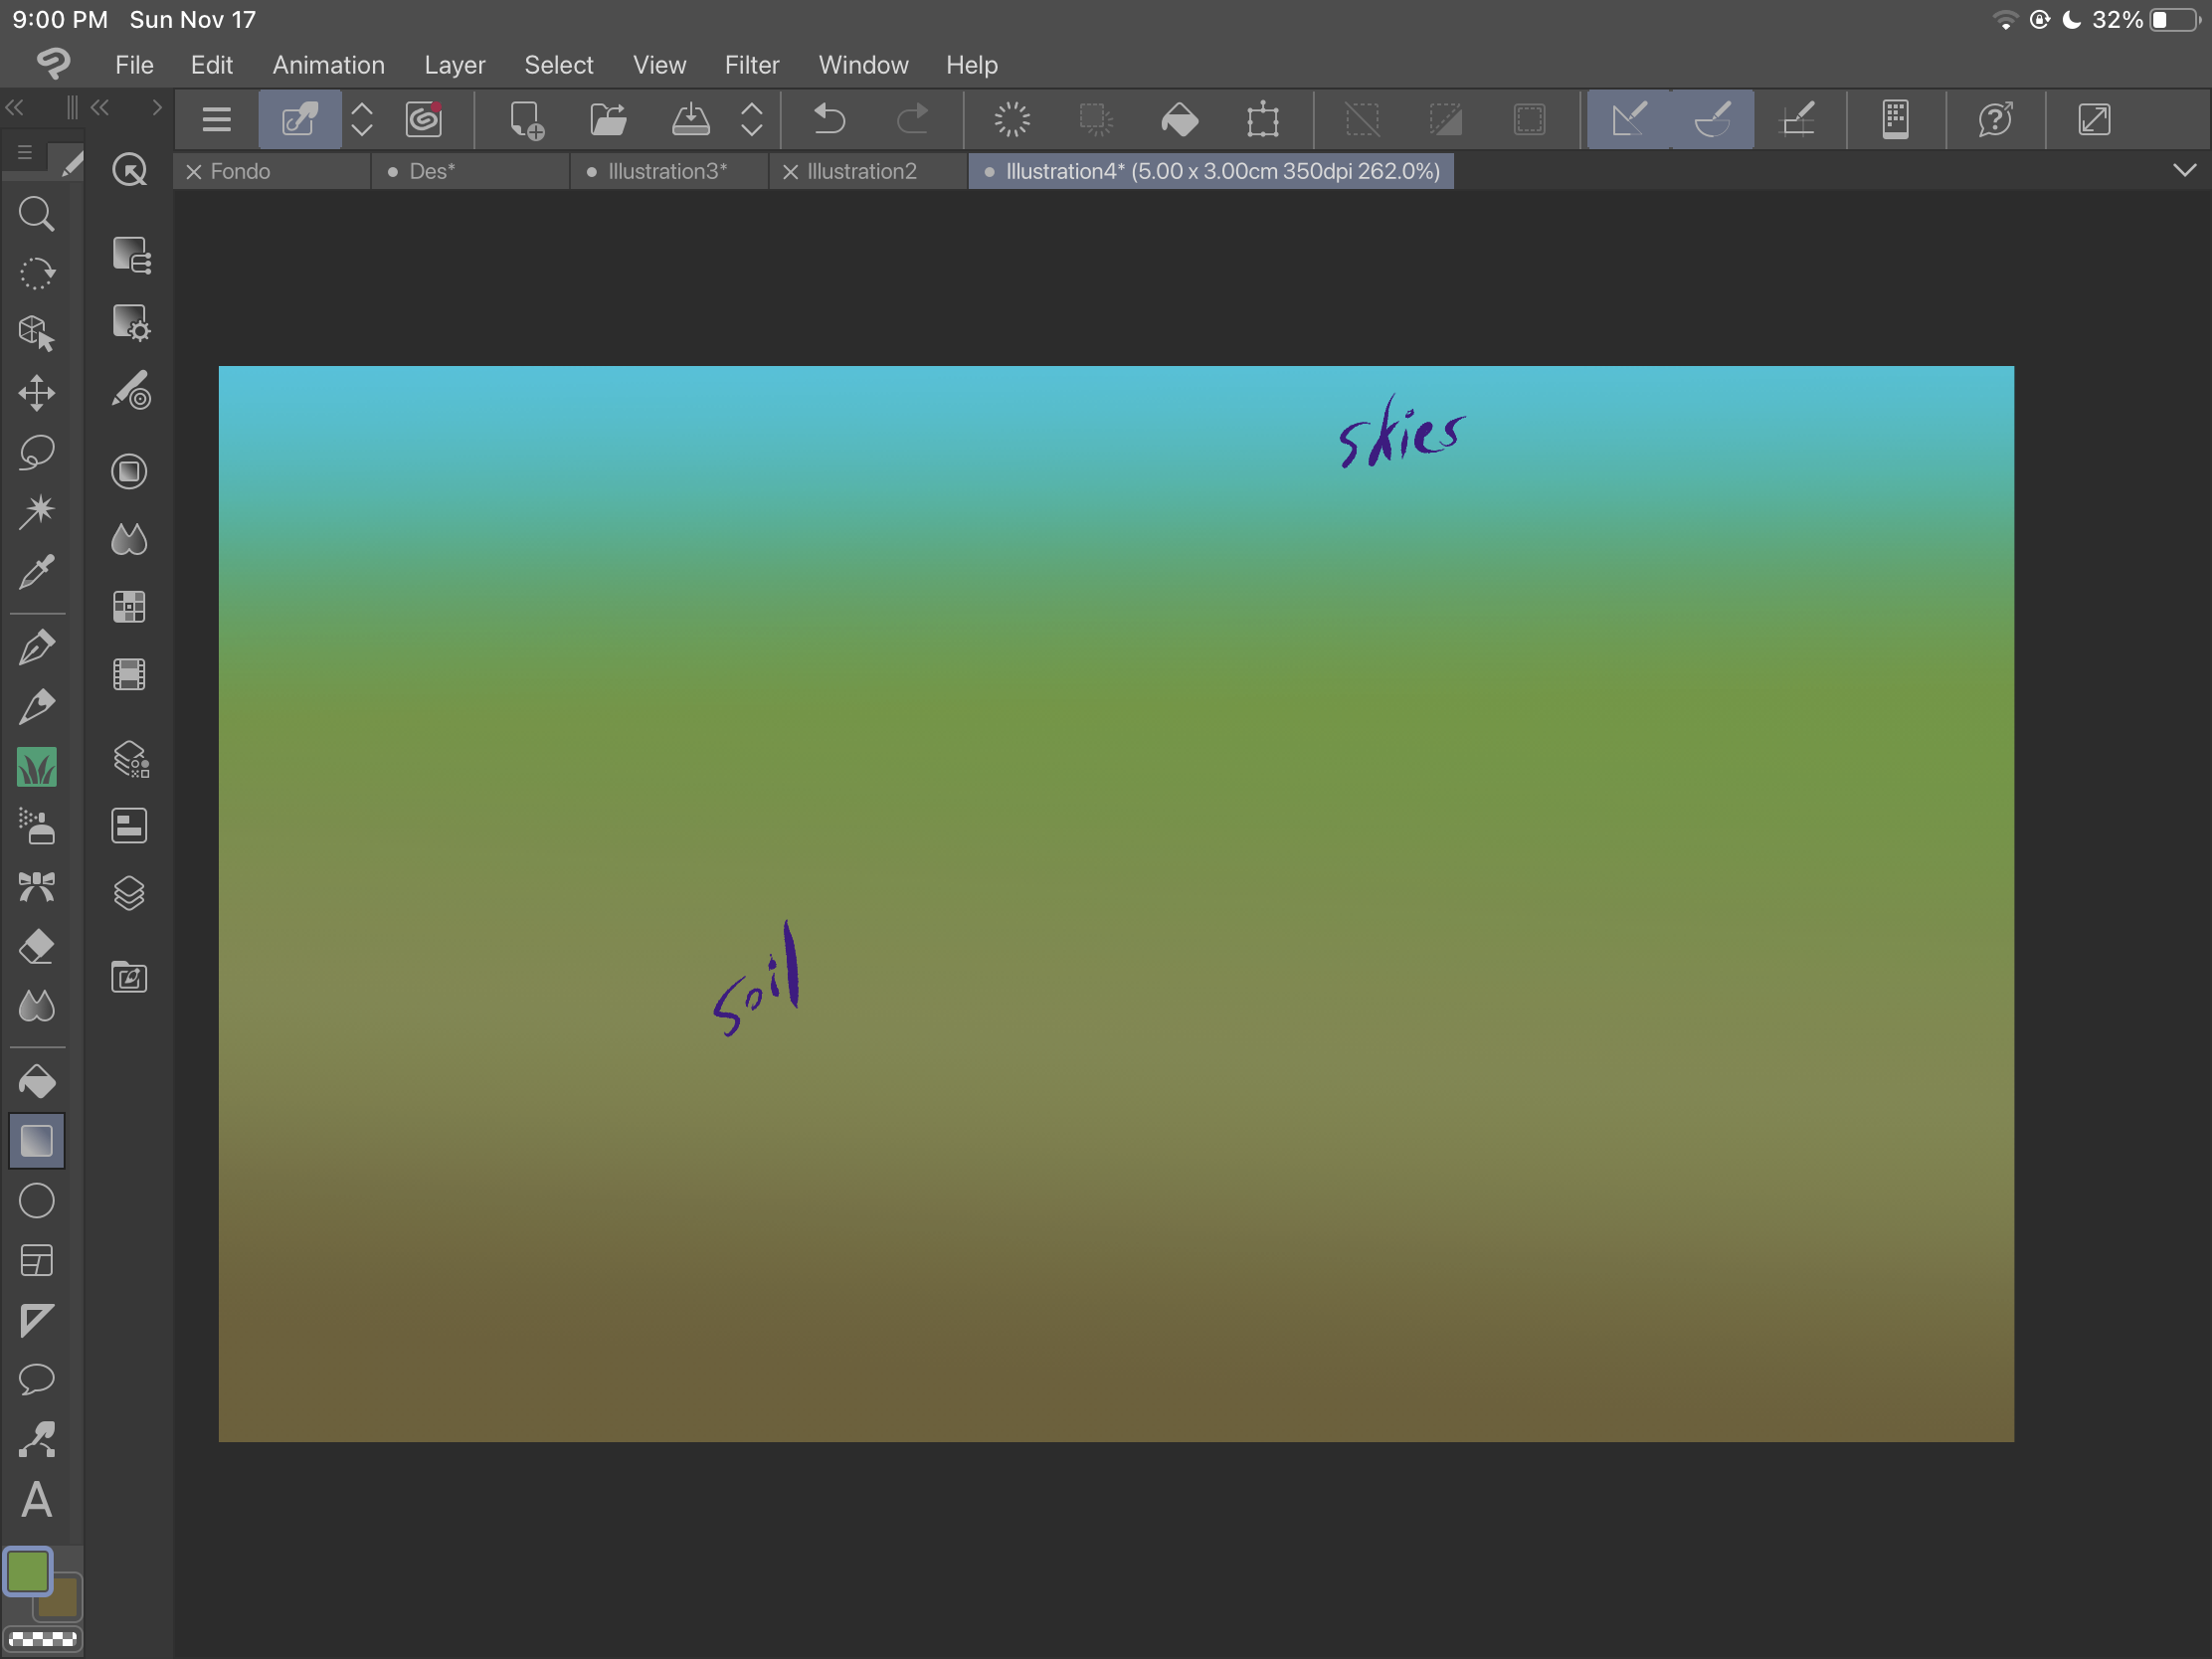
まず、グラデーションの背景を作成することから始めます。

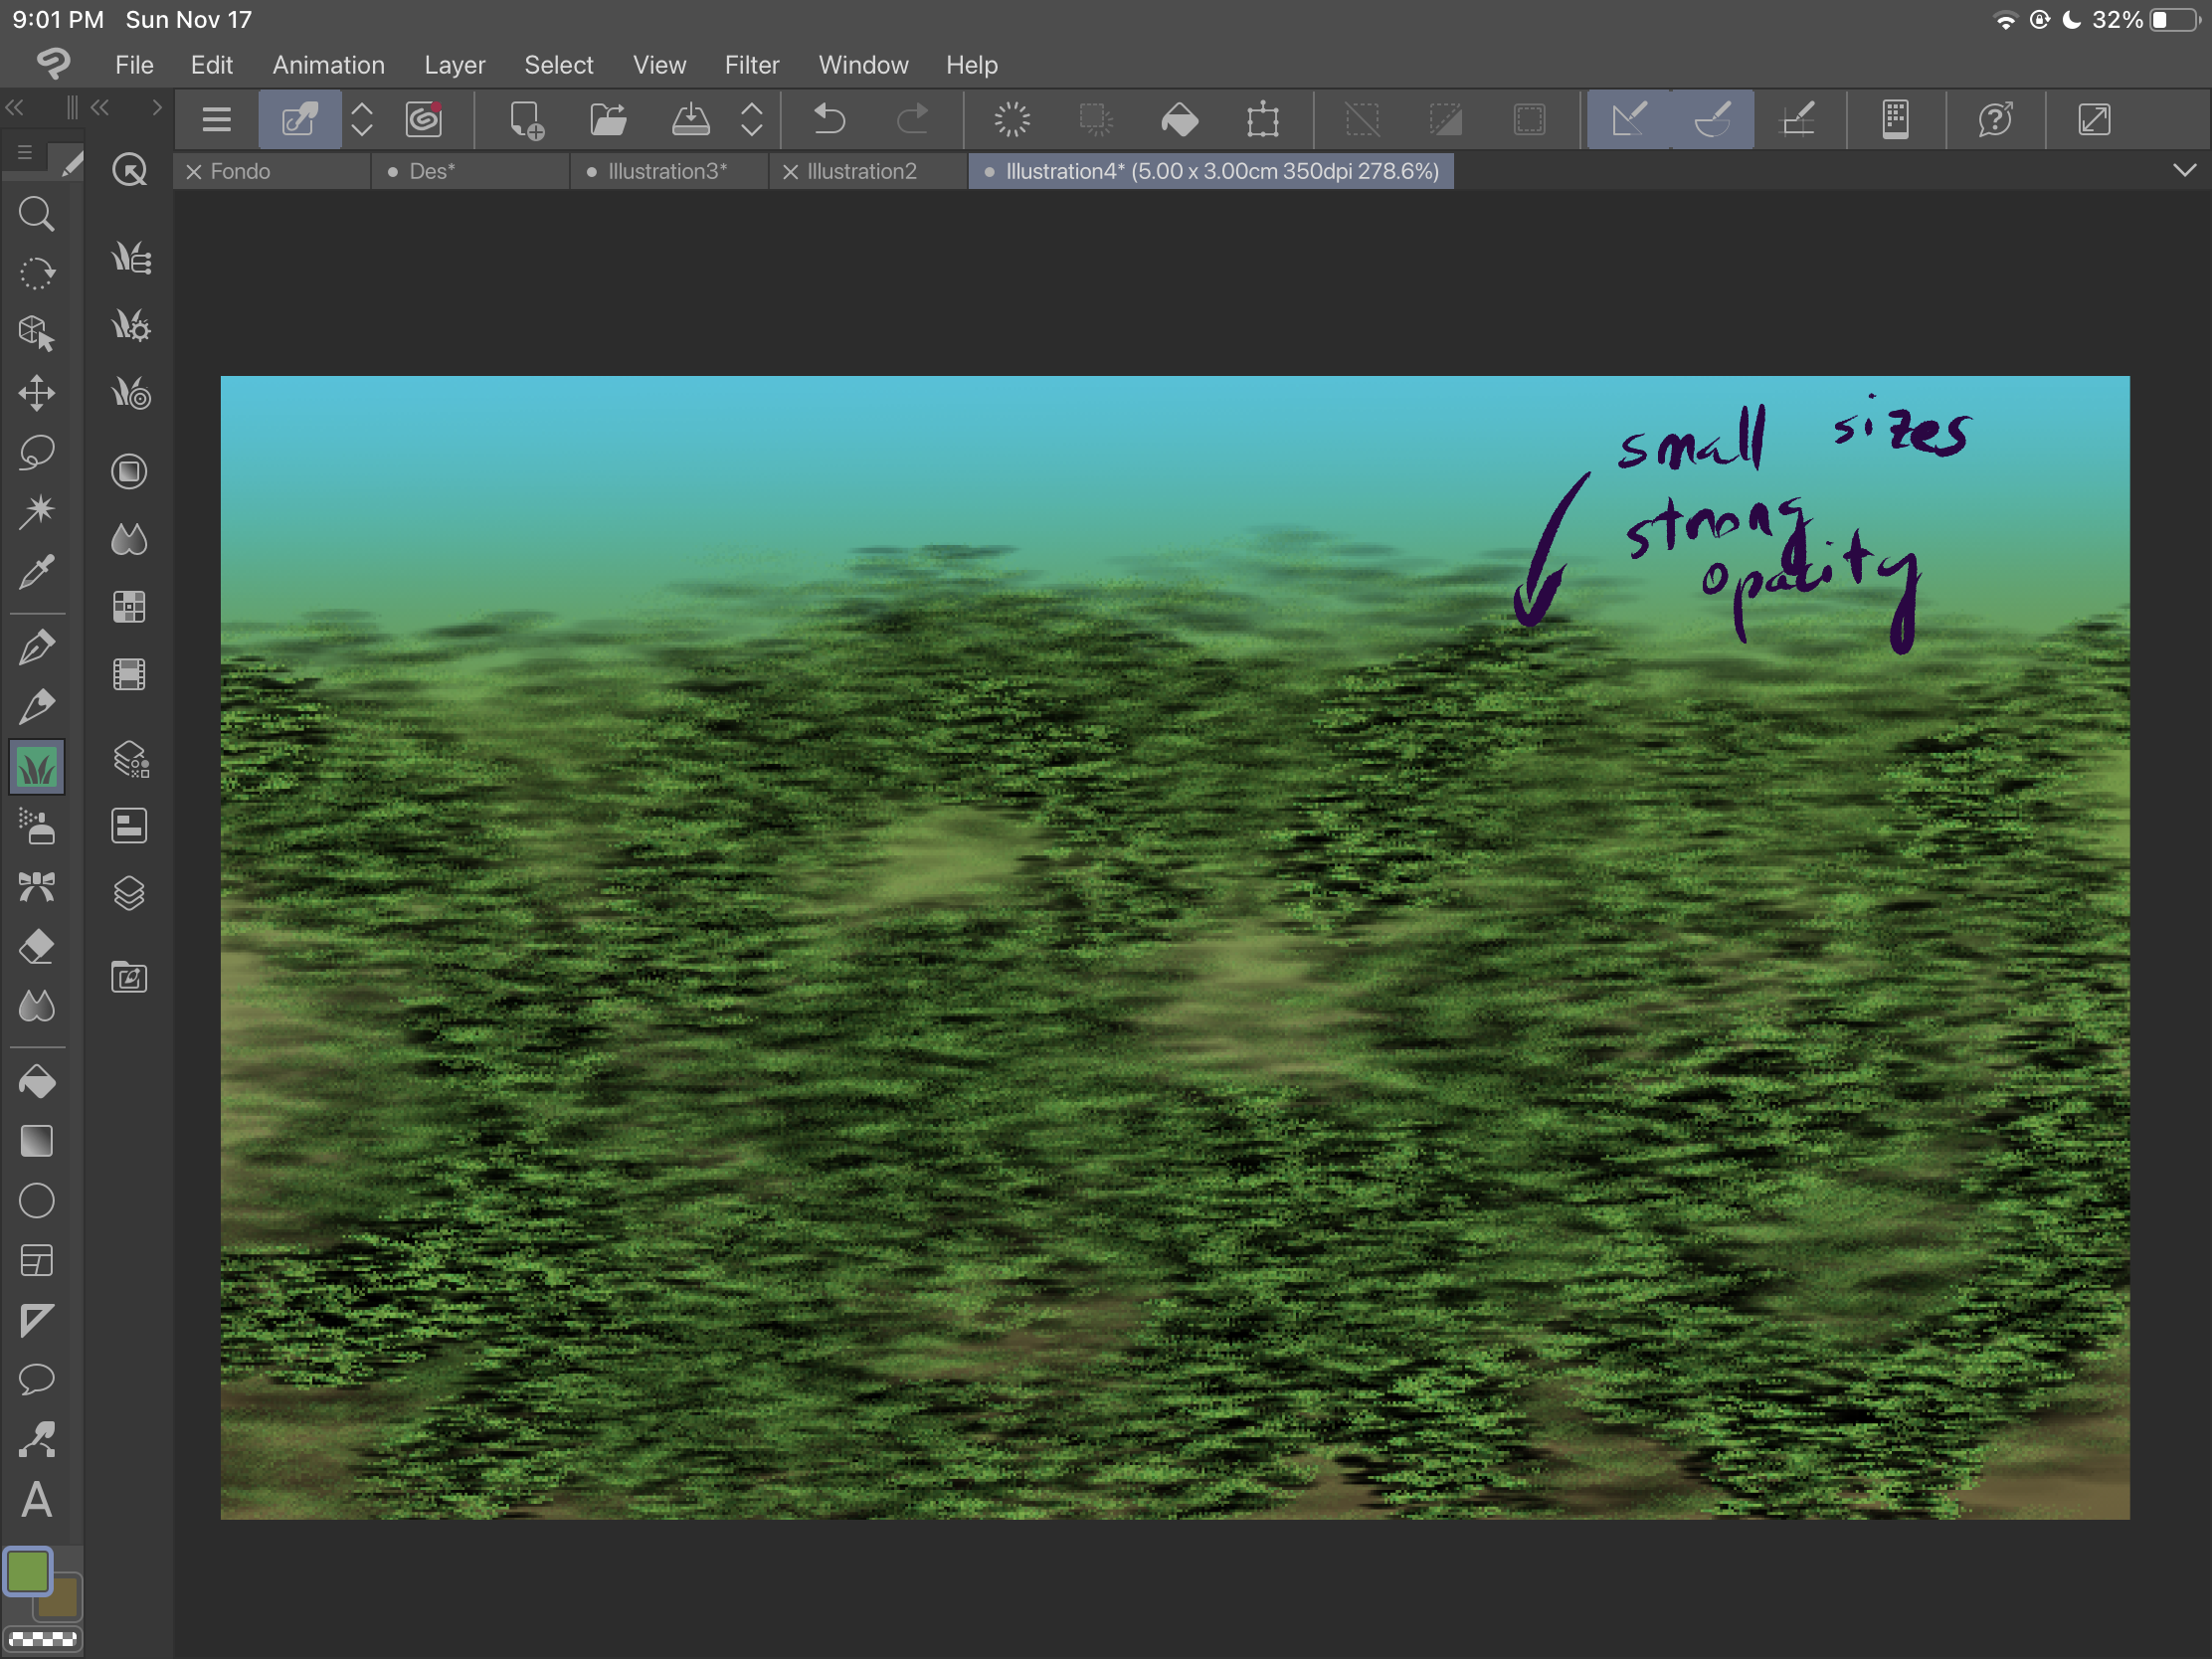
次に、「草」ブラシを使用して土を追加します。サイズで遊び、

スペースを覆い、より多くのテクスチャを取得するようにしてください。

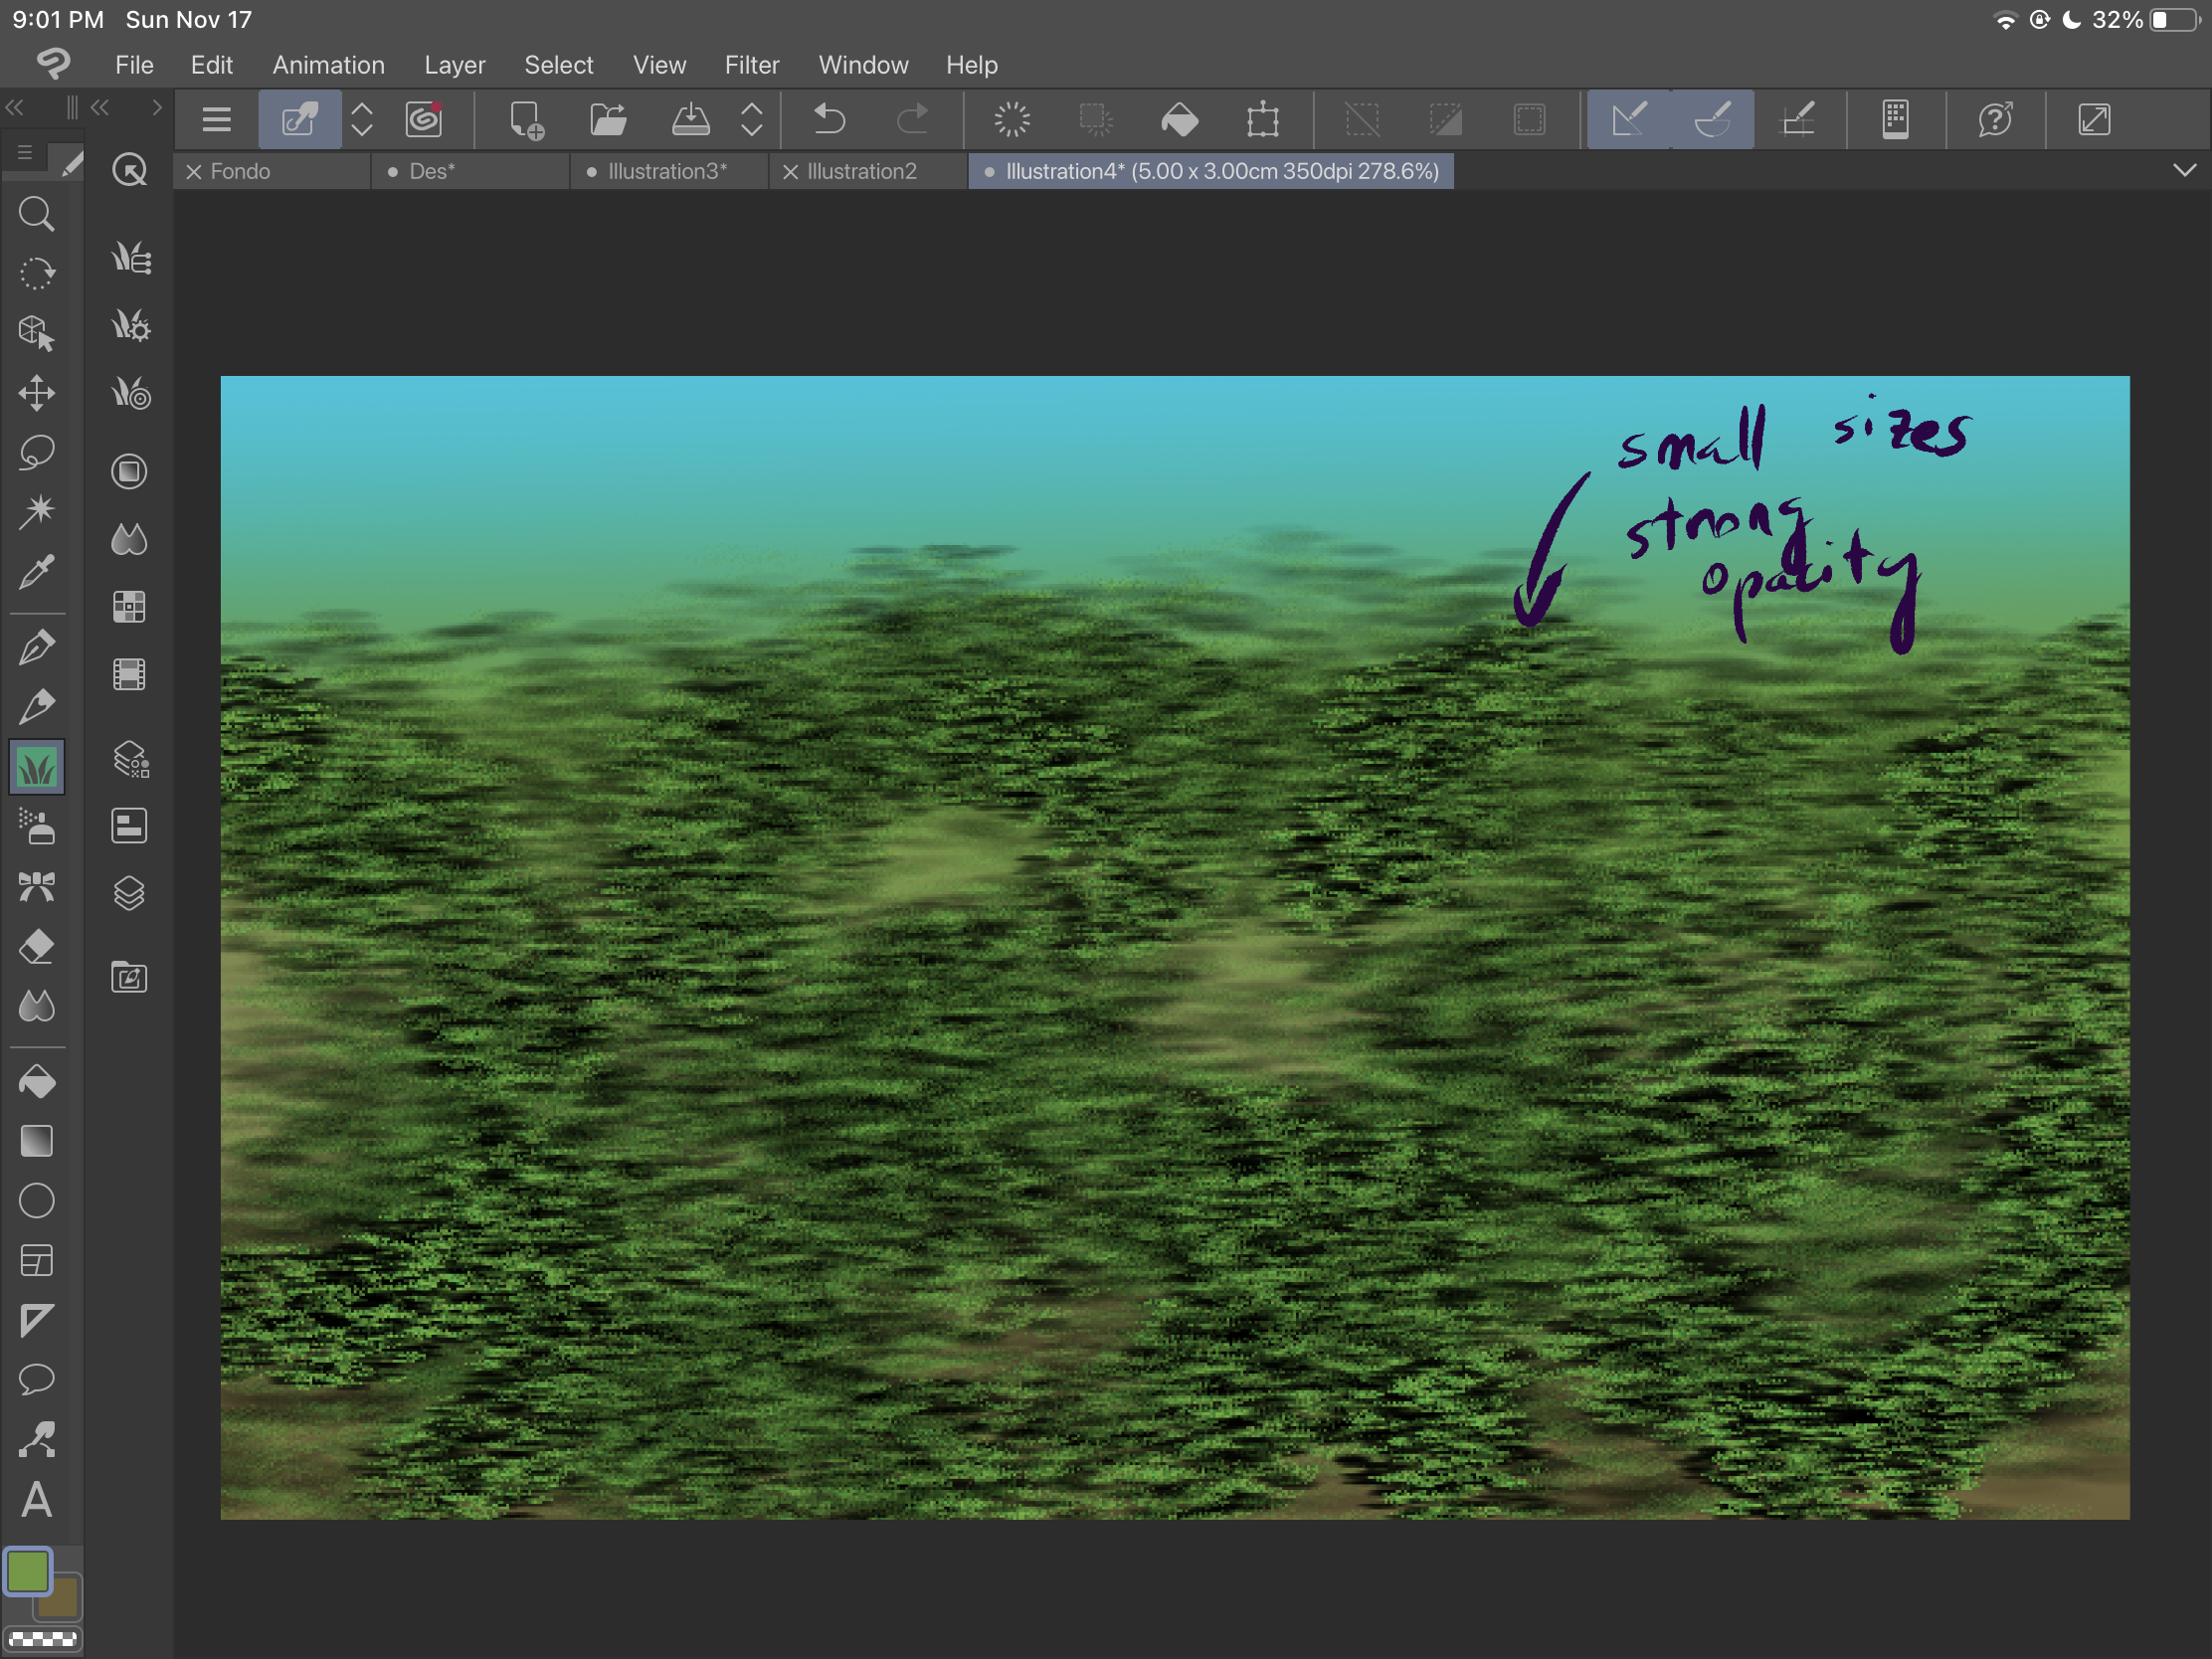
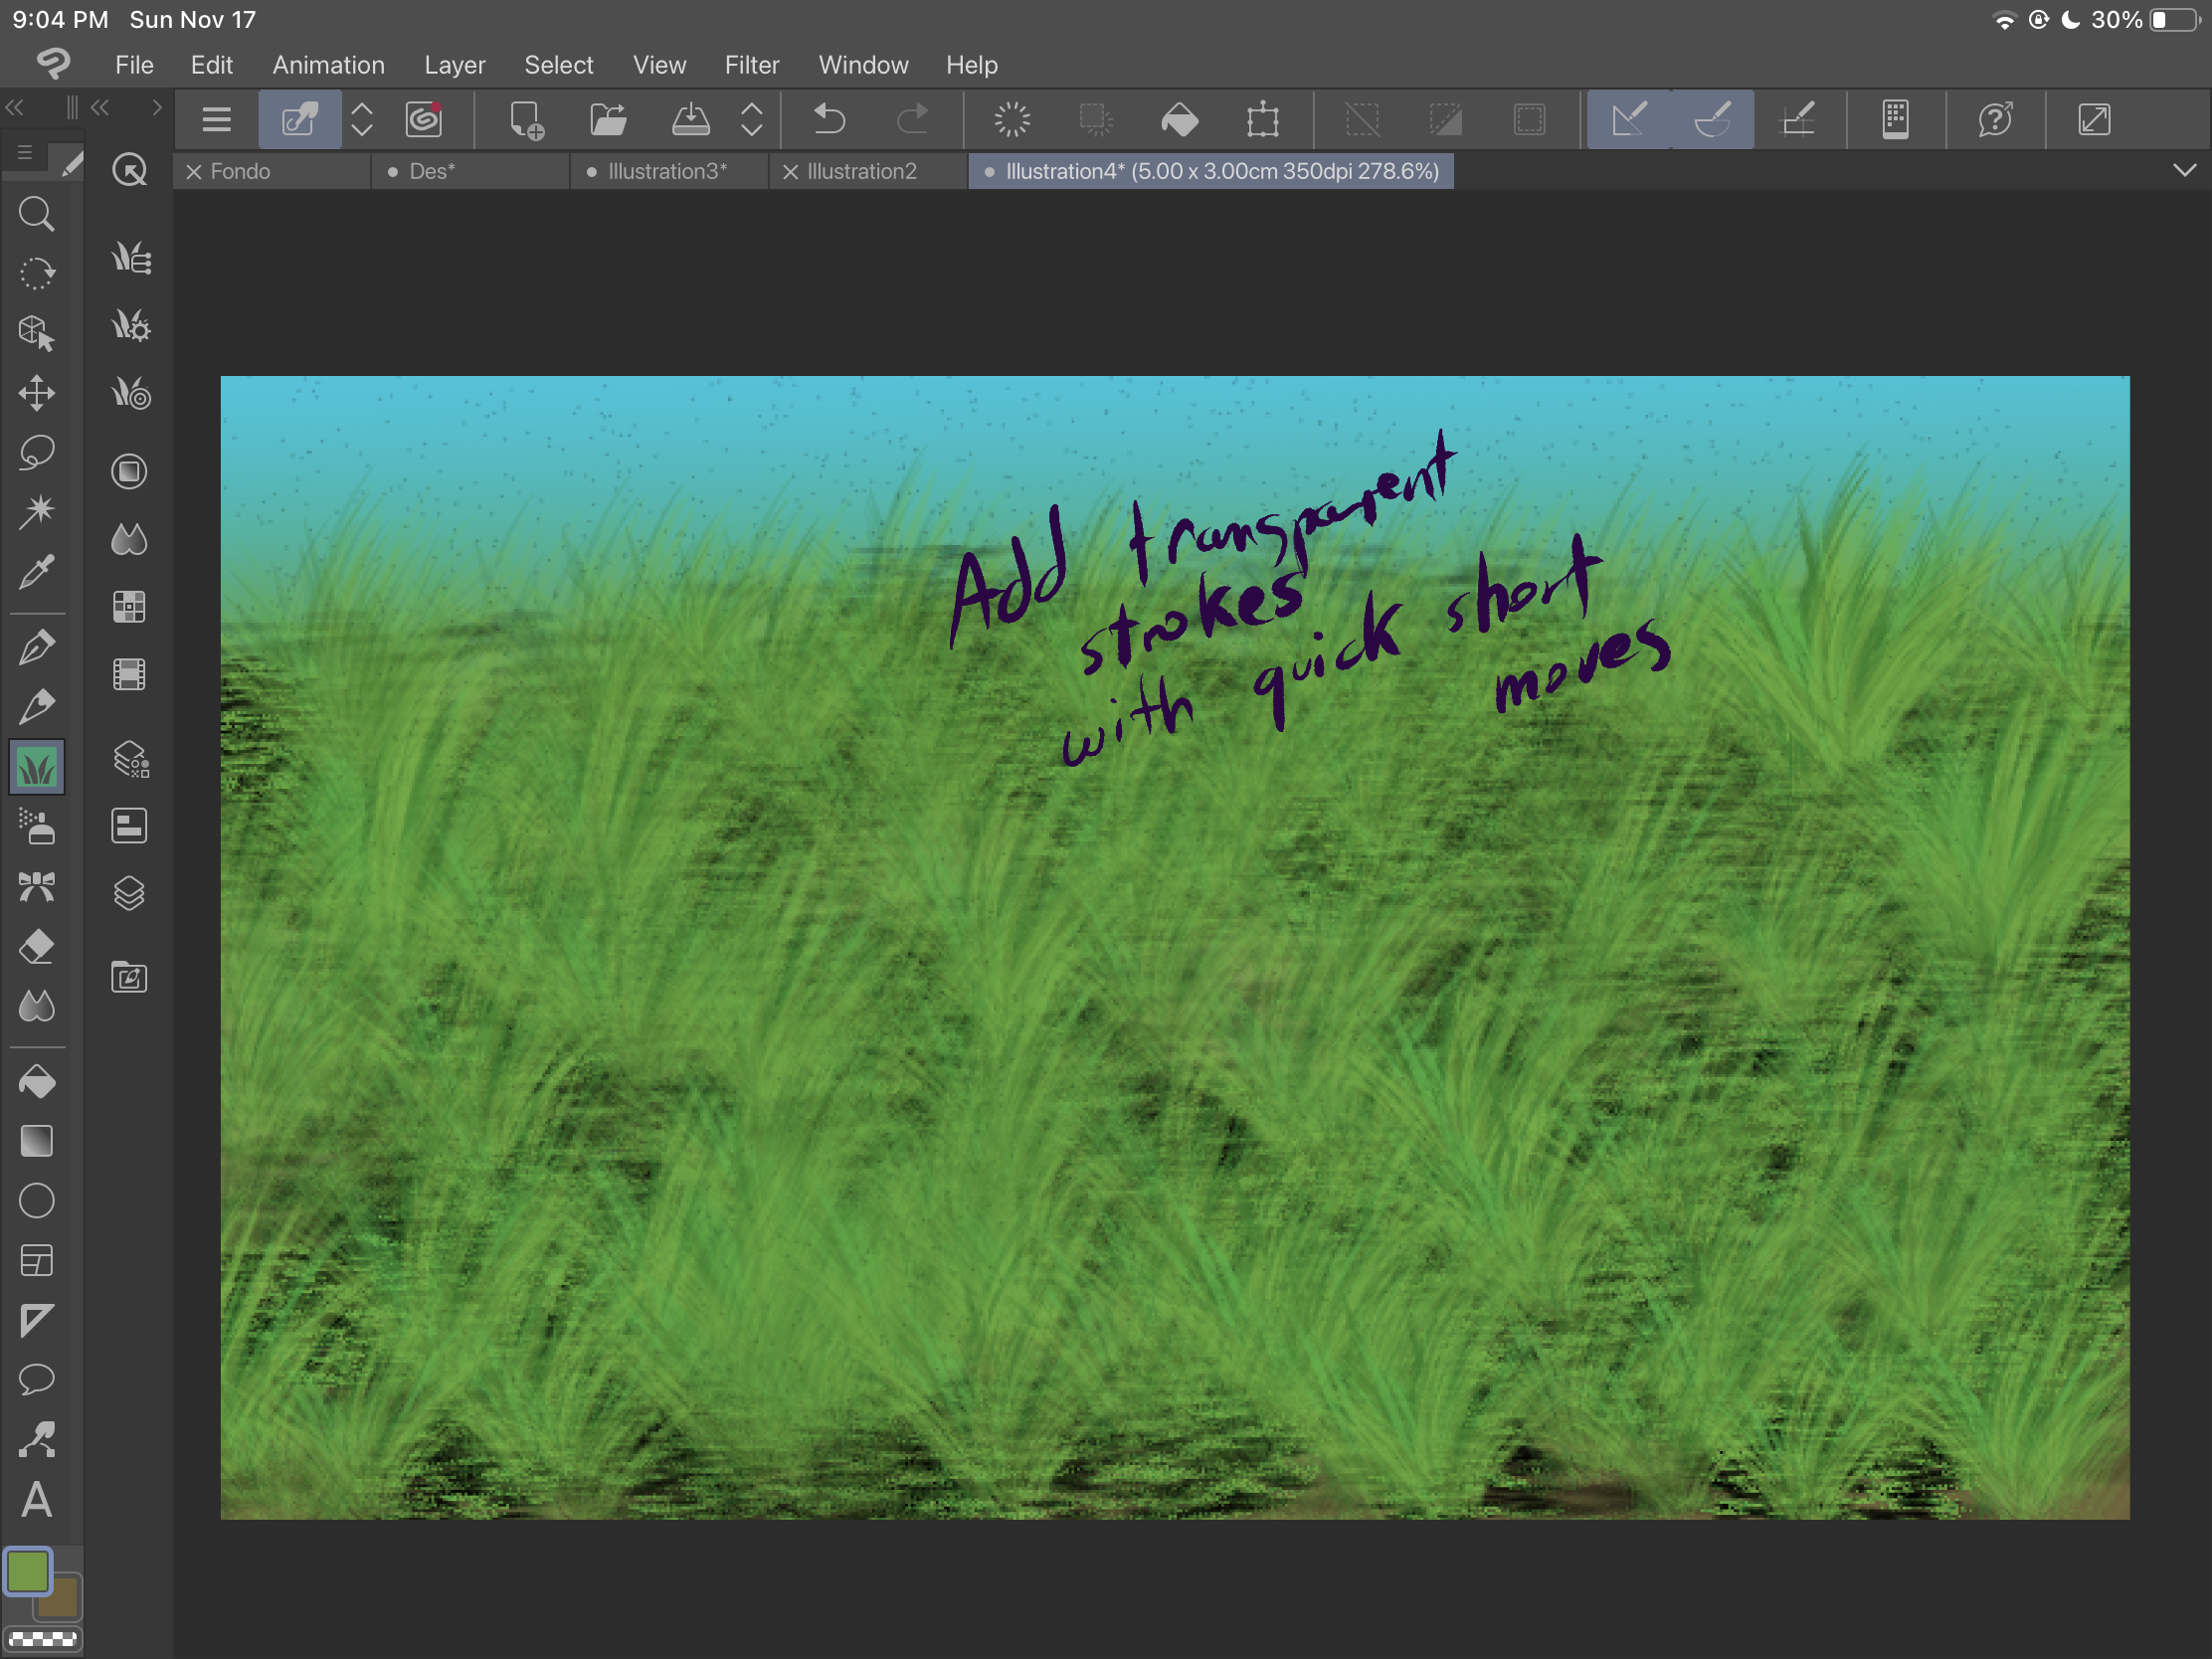
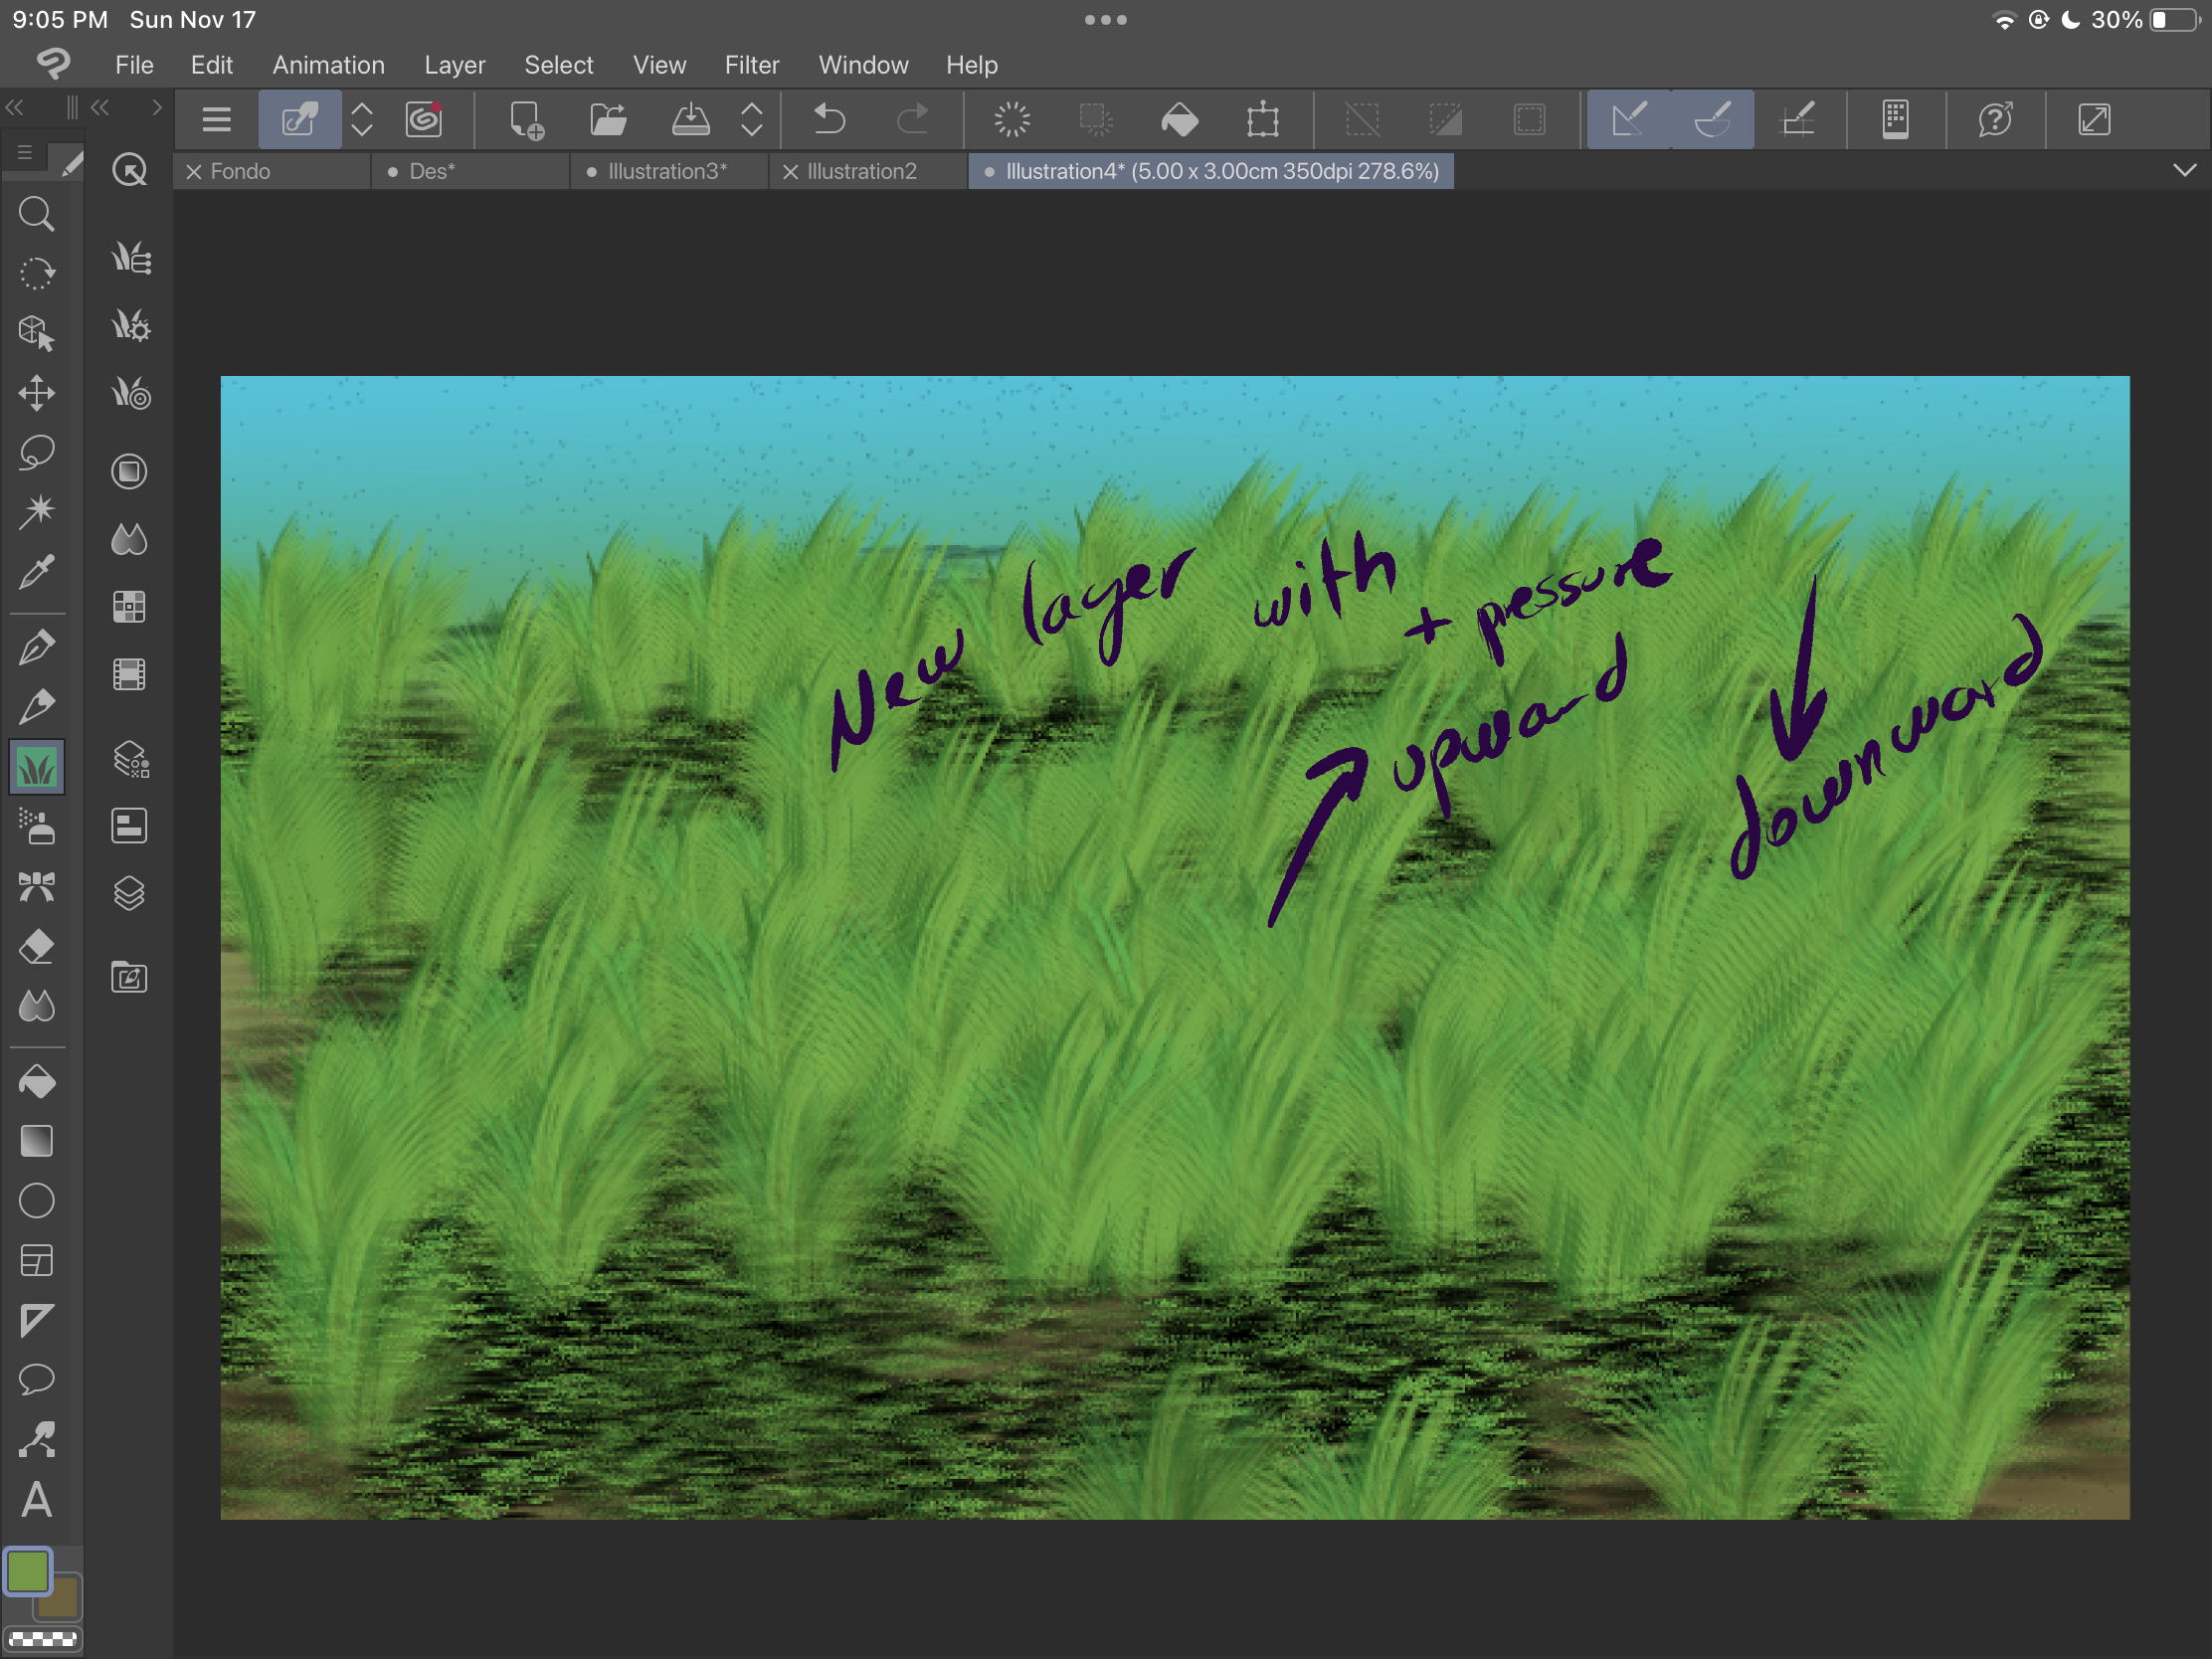
次に、「grass 2」ブラシで草の茂みの追加を開始できます。

異なるレイヤーを使用して、さまざまな種類の茂みを得ることができますが、この例では、透明なものと暗いものがあります。

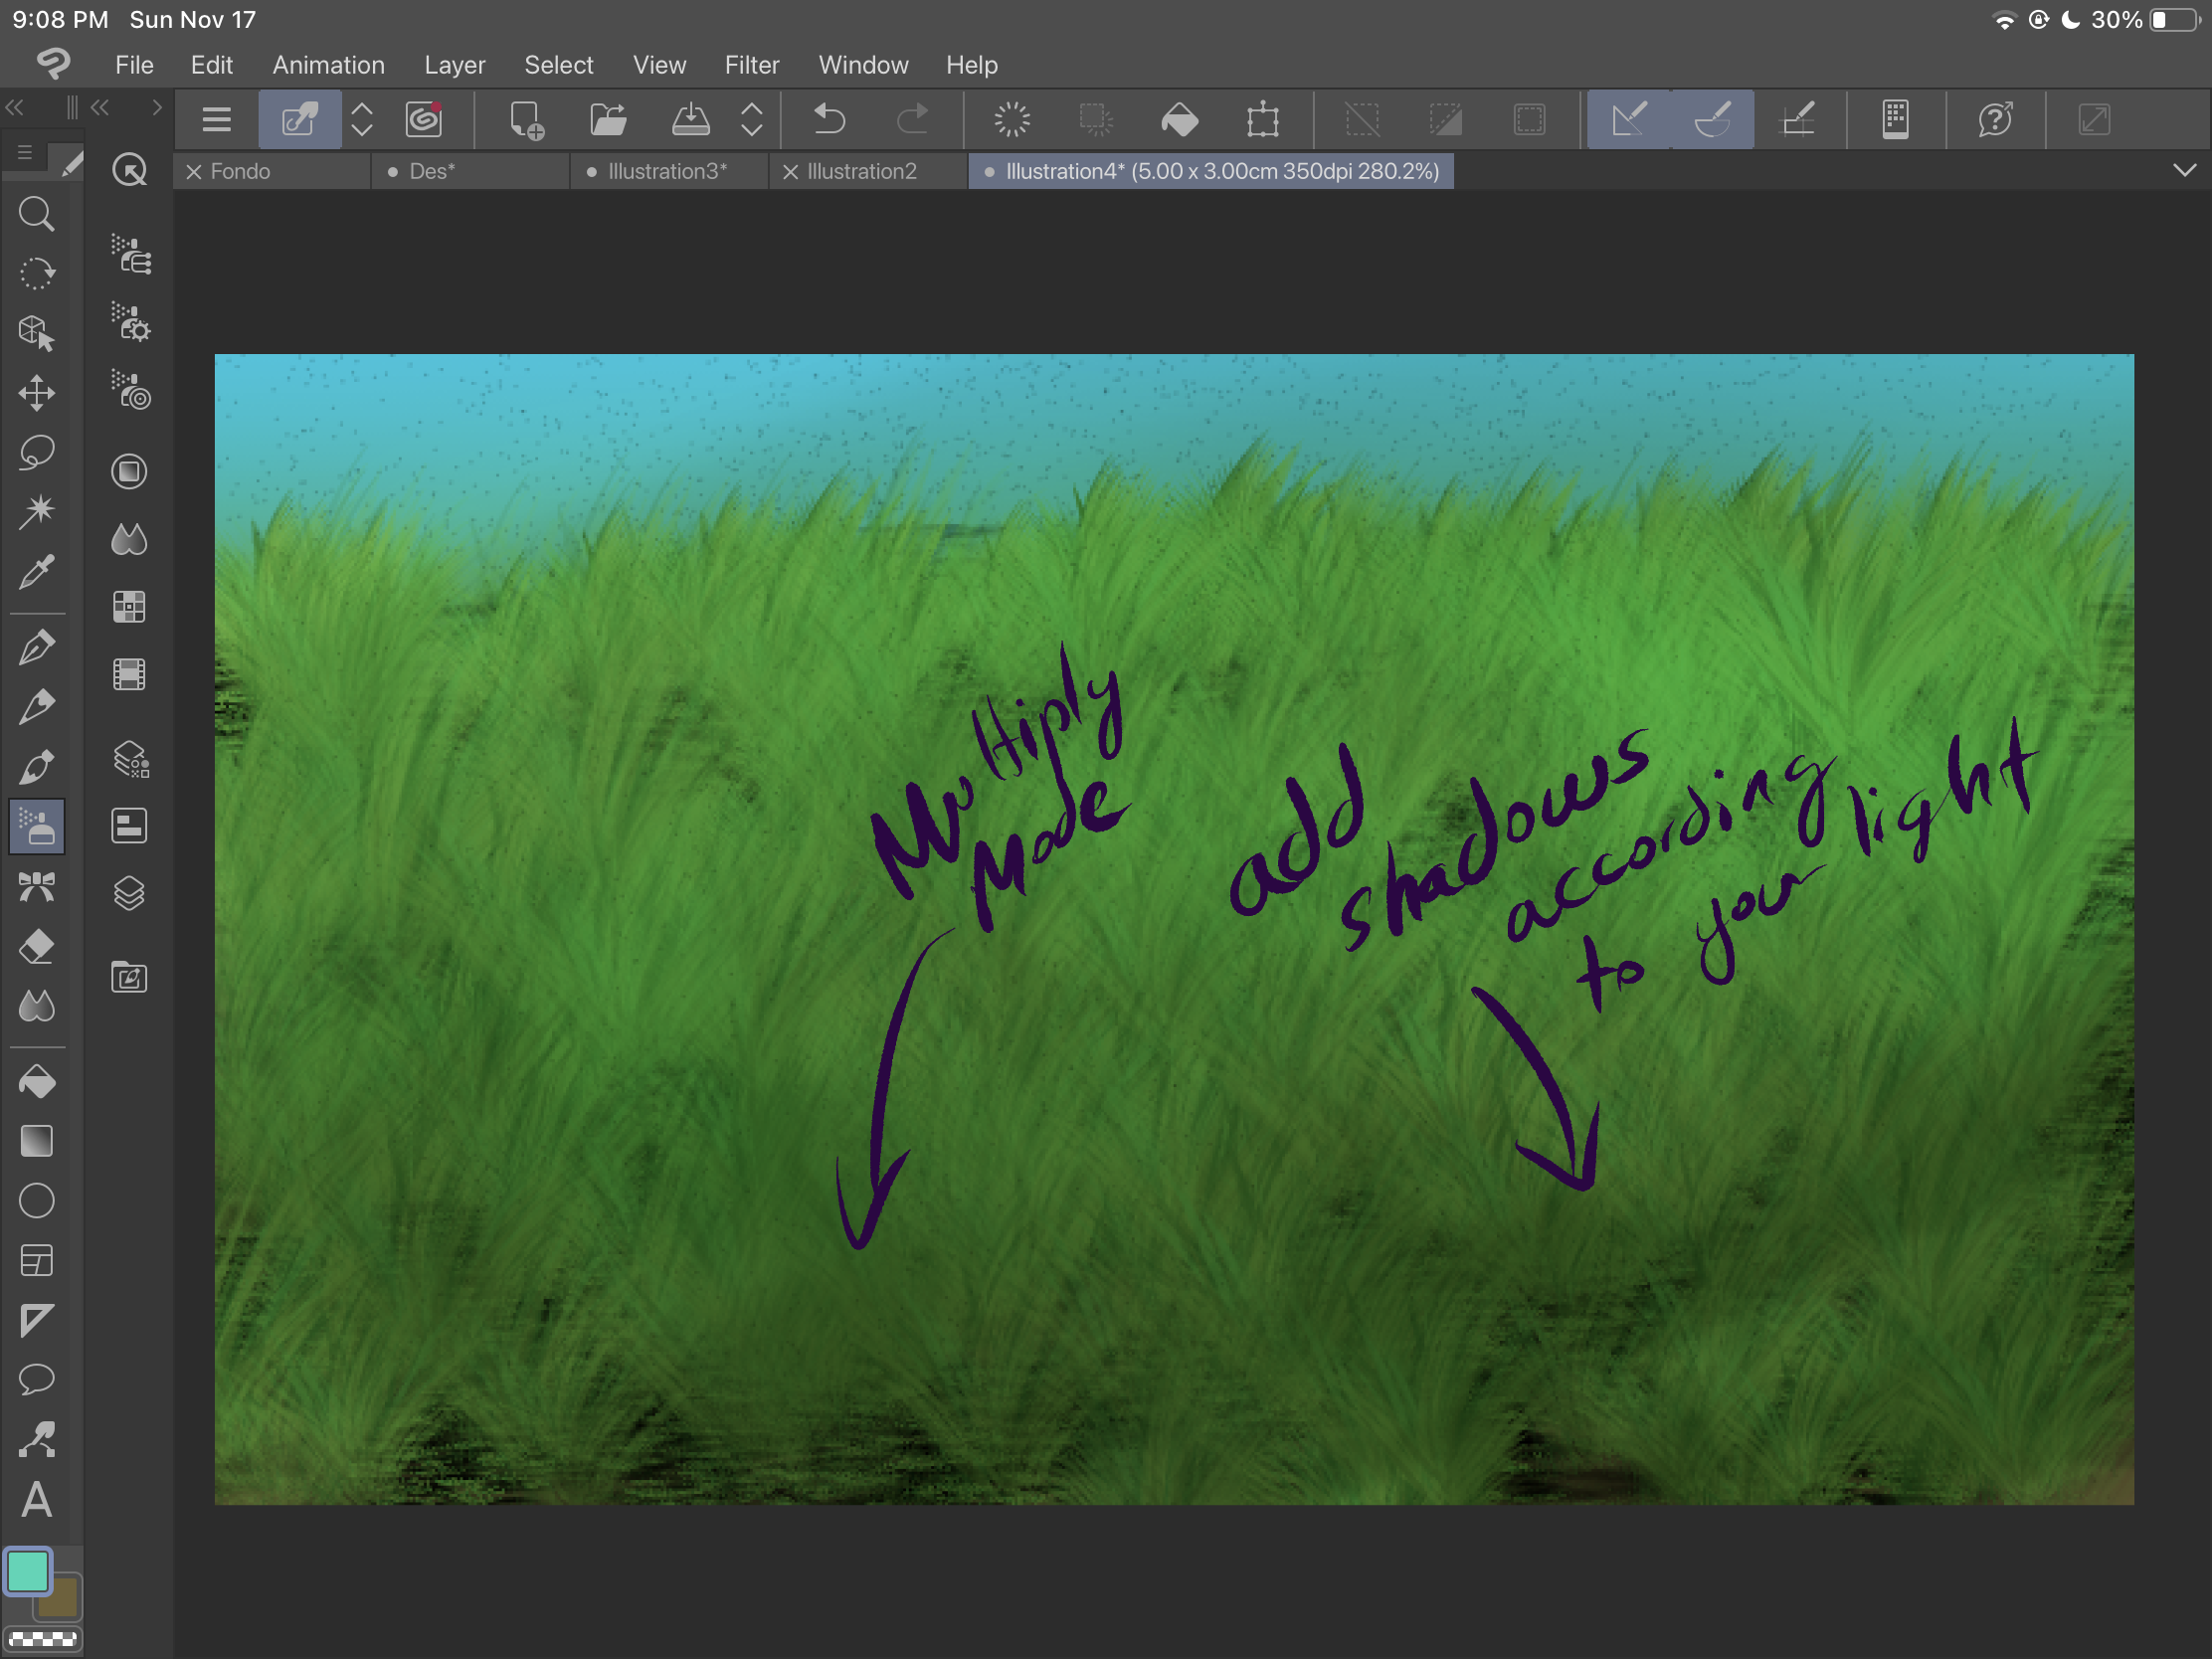
シェーディングを調整する場合は、乗算レイヤーにソフトブラシストロークを追加できます。

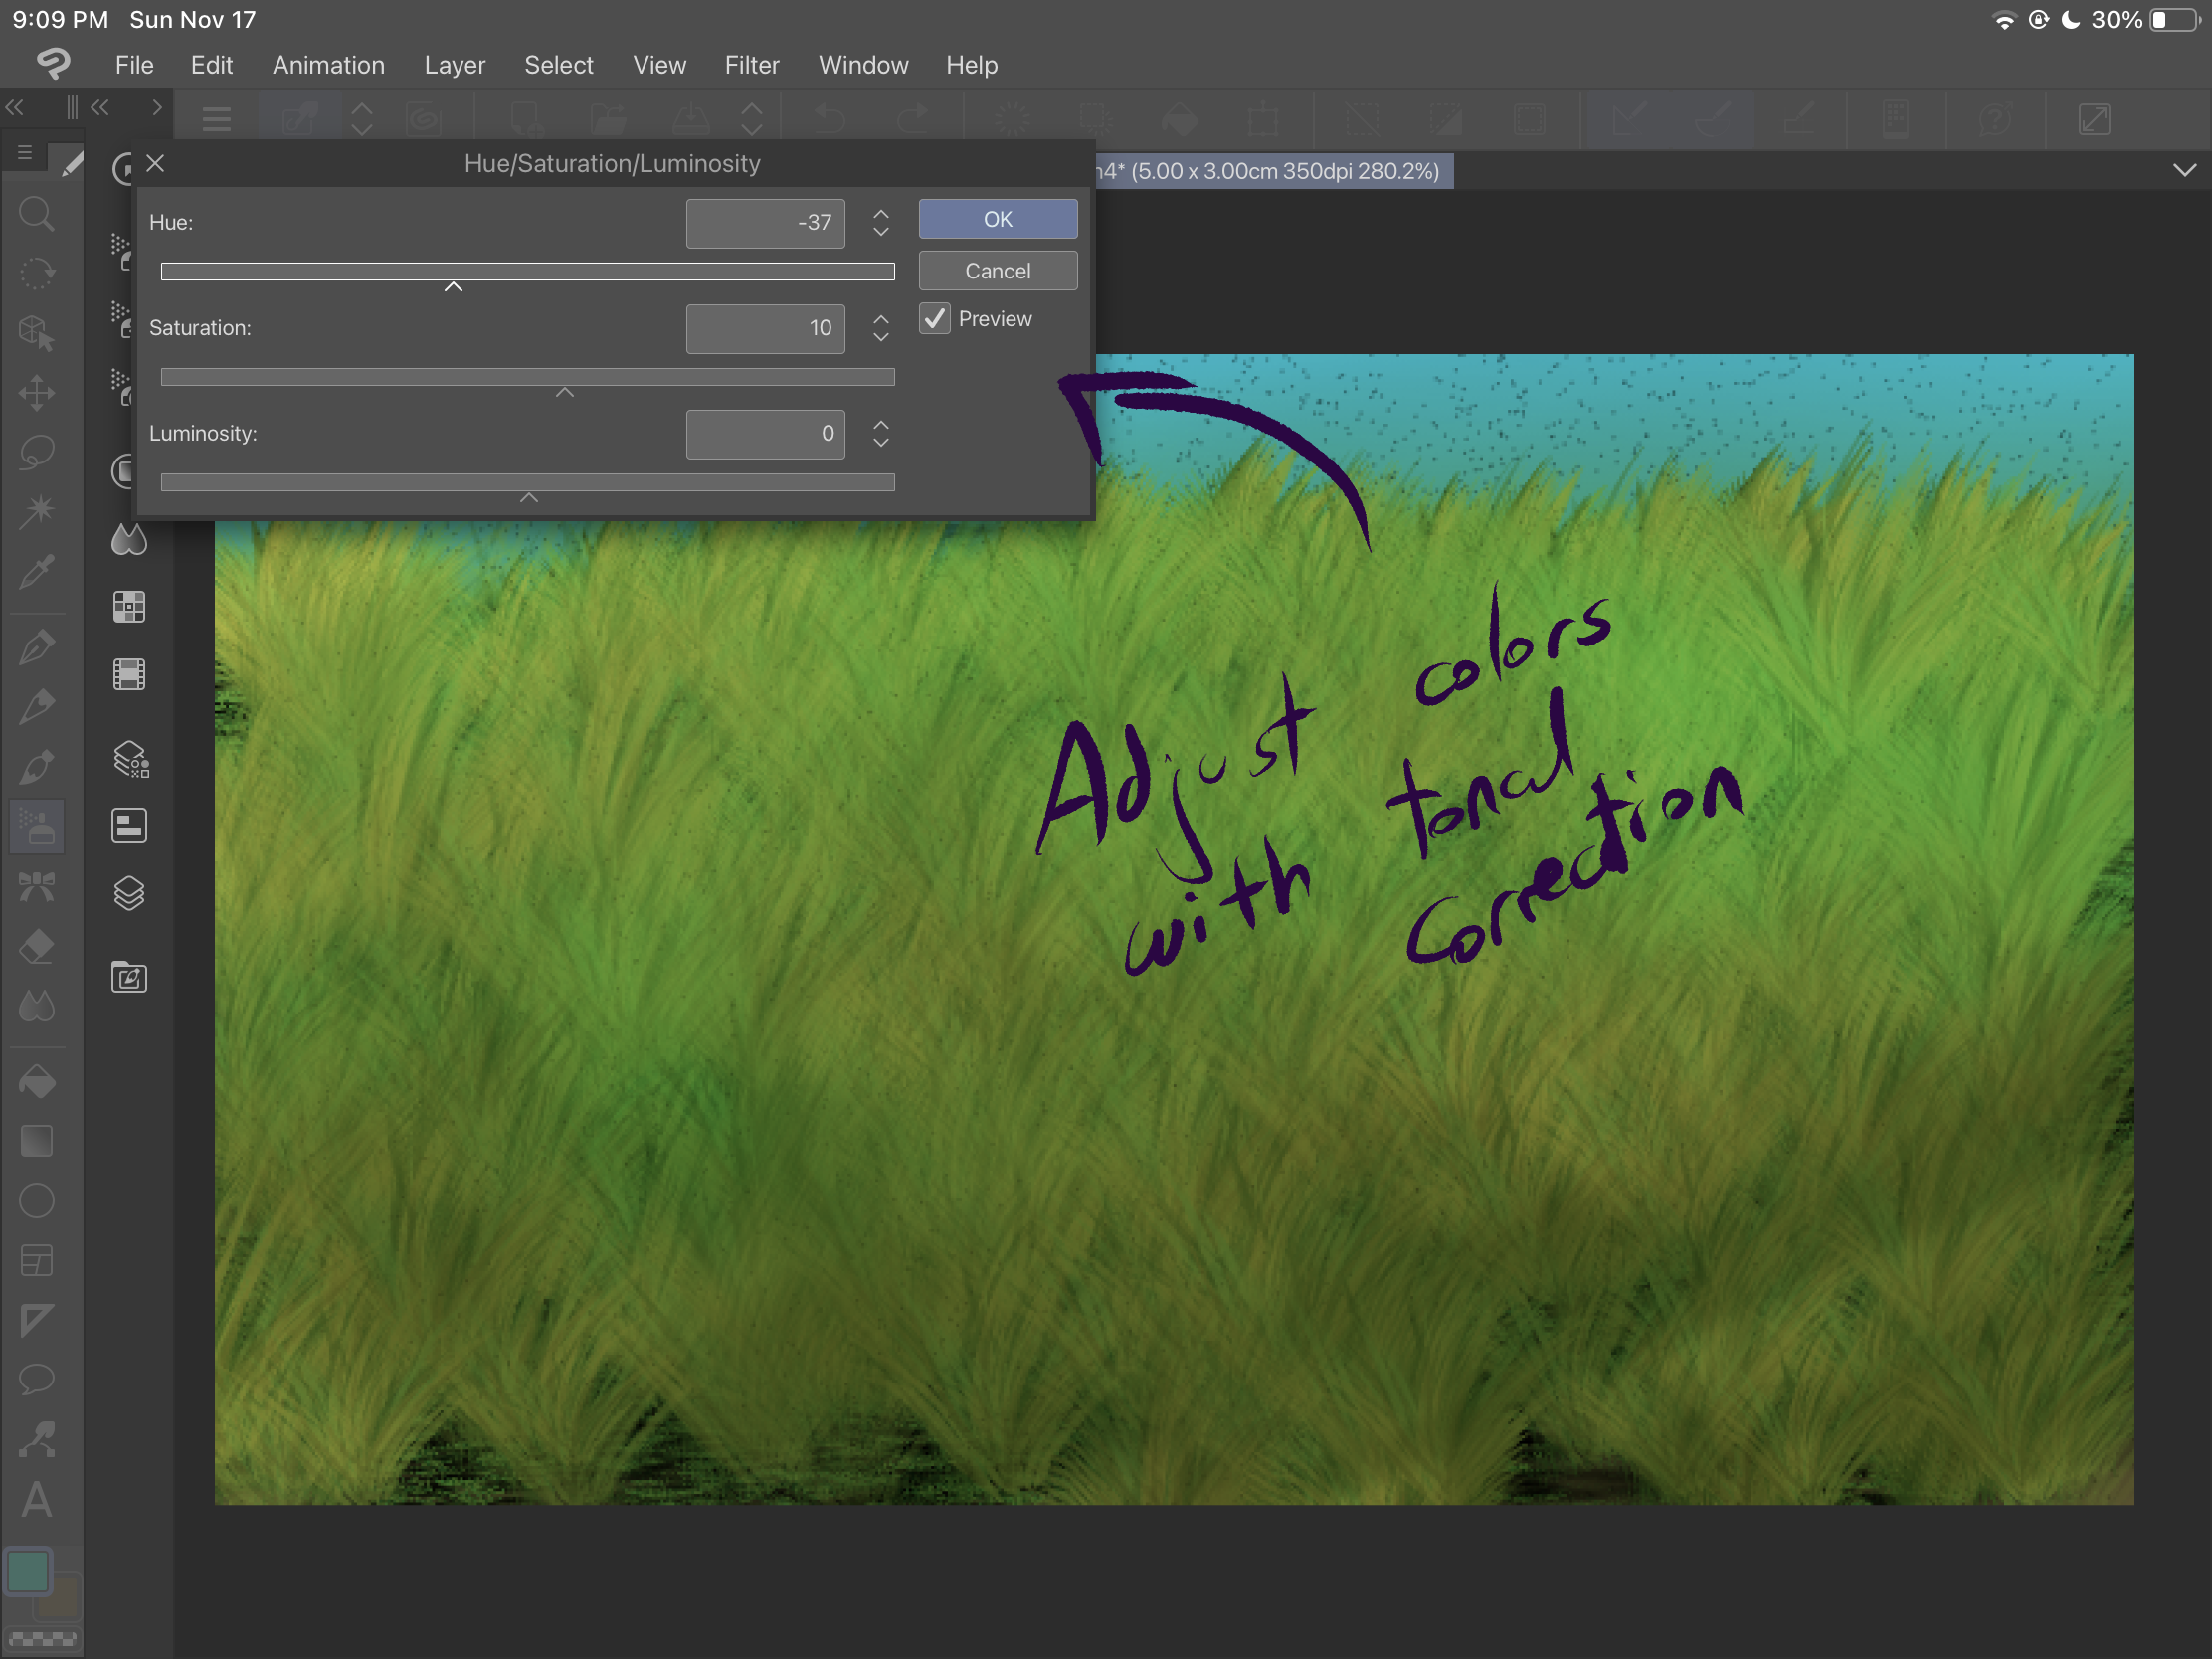
また、色を変更したい場合は、色調補正を使用できることを常に覚えておいてください(この場合は、色相と彩度の補正を使用しています)。

創造力を発揮し、驚くべき結果が得られるまでこれらのブラシとエフェクトを試してみてください。
First, I encourage you to experiment with both of the brushes. The first one, "grass" has a fixed form and it varies when you change the brush size. You can also get a spray effect by just pressing the brush without sliding it:


The second brush, "Grass 2" is specially designed for creating bushes. You can get different opacities according to the pressure of your static strokes. When you move the brush, you can get different sizes of bushes, angles and directions. According to the origin of the stroke, you can get different effects too:


Now, let's look at an example:
First start by creating some gradient backgrounds.

Then, use the "grass" brush to add soil. Play with sizes and

Be sure to cover the space and get more textures.

Then, you can start adding the grass bushes with the "grass 2" brush:

Use different layers so you can get different kinds of bushes, in this example, we have a transparent one and a dark one.

If you want to adjust the shading you can add soft brush strokes in a multiply layer:

And if you want to change colors, always remember that you can use tonal corrections, in this case we've used hue and saturation corrections.

Be creative and experiment with these brushes and effects until you get an amazing result.
ブラシ Brushes


