
液体の火の効果コミックスタイル (liquid fire effect comic style) liquid fire effect comic style
コンテンツID:2049809
-
7,846
あなたがあなたの色付きの漫画のための戦闘シーンの効果が欲しいなら、私はあなたをカバーしてもらいました。 If you want fight scene effect for your colored comic i got you covered.
この画像をどのように作成したかを説明します。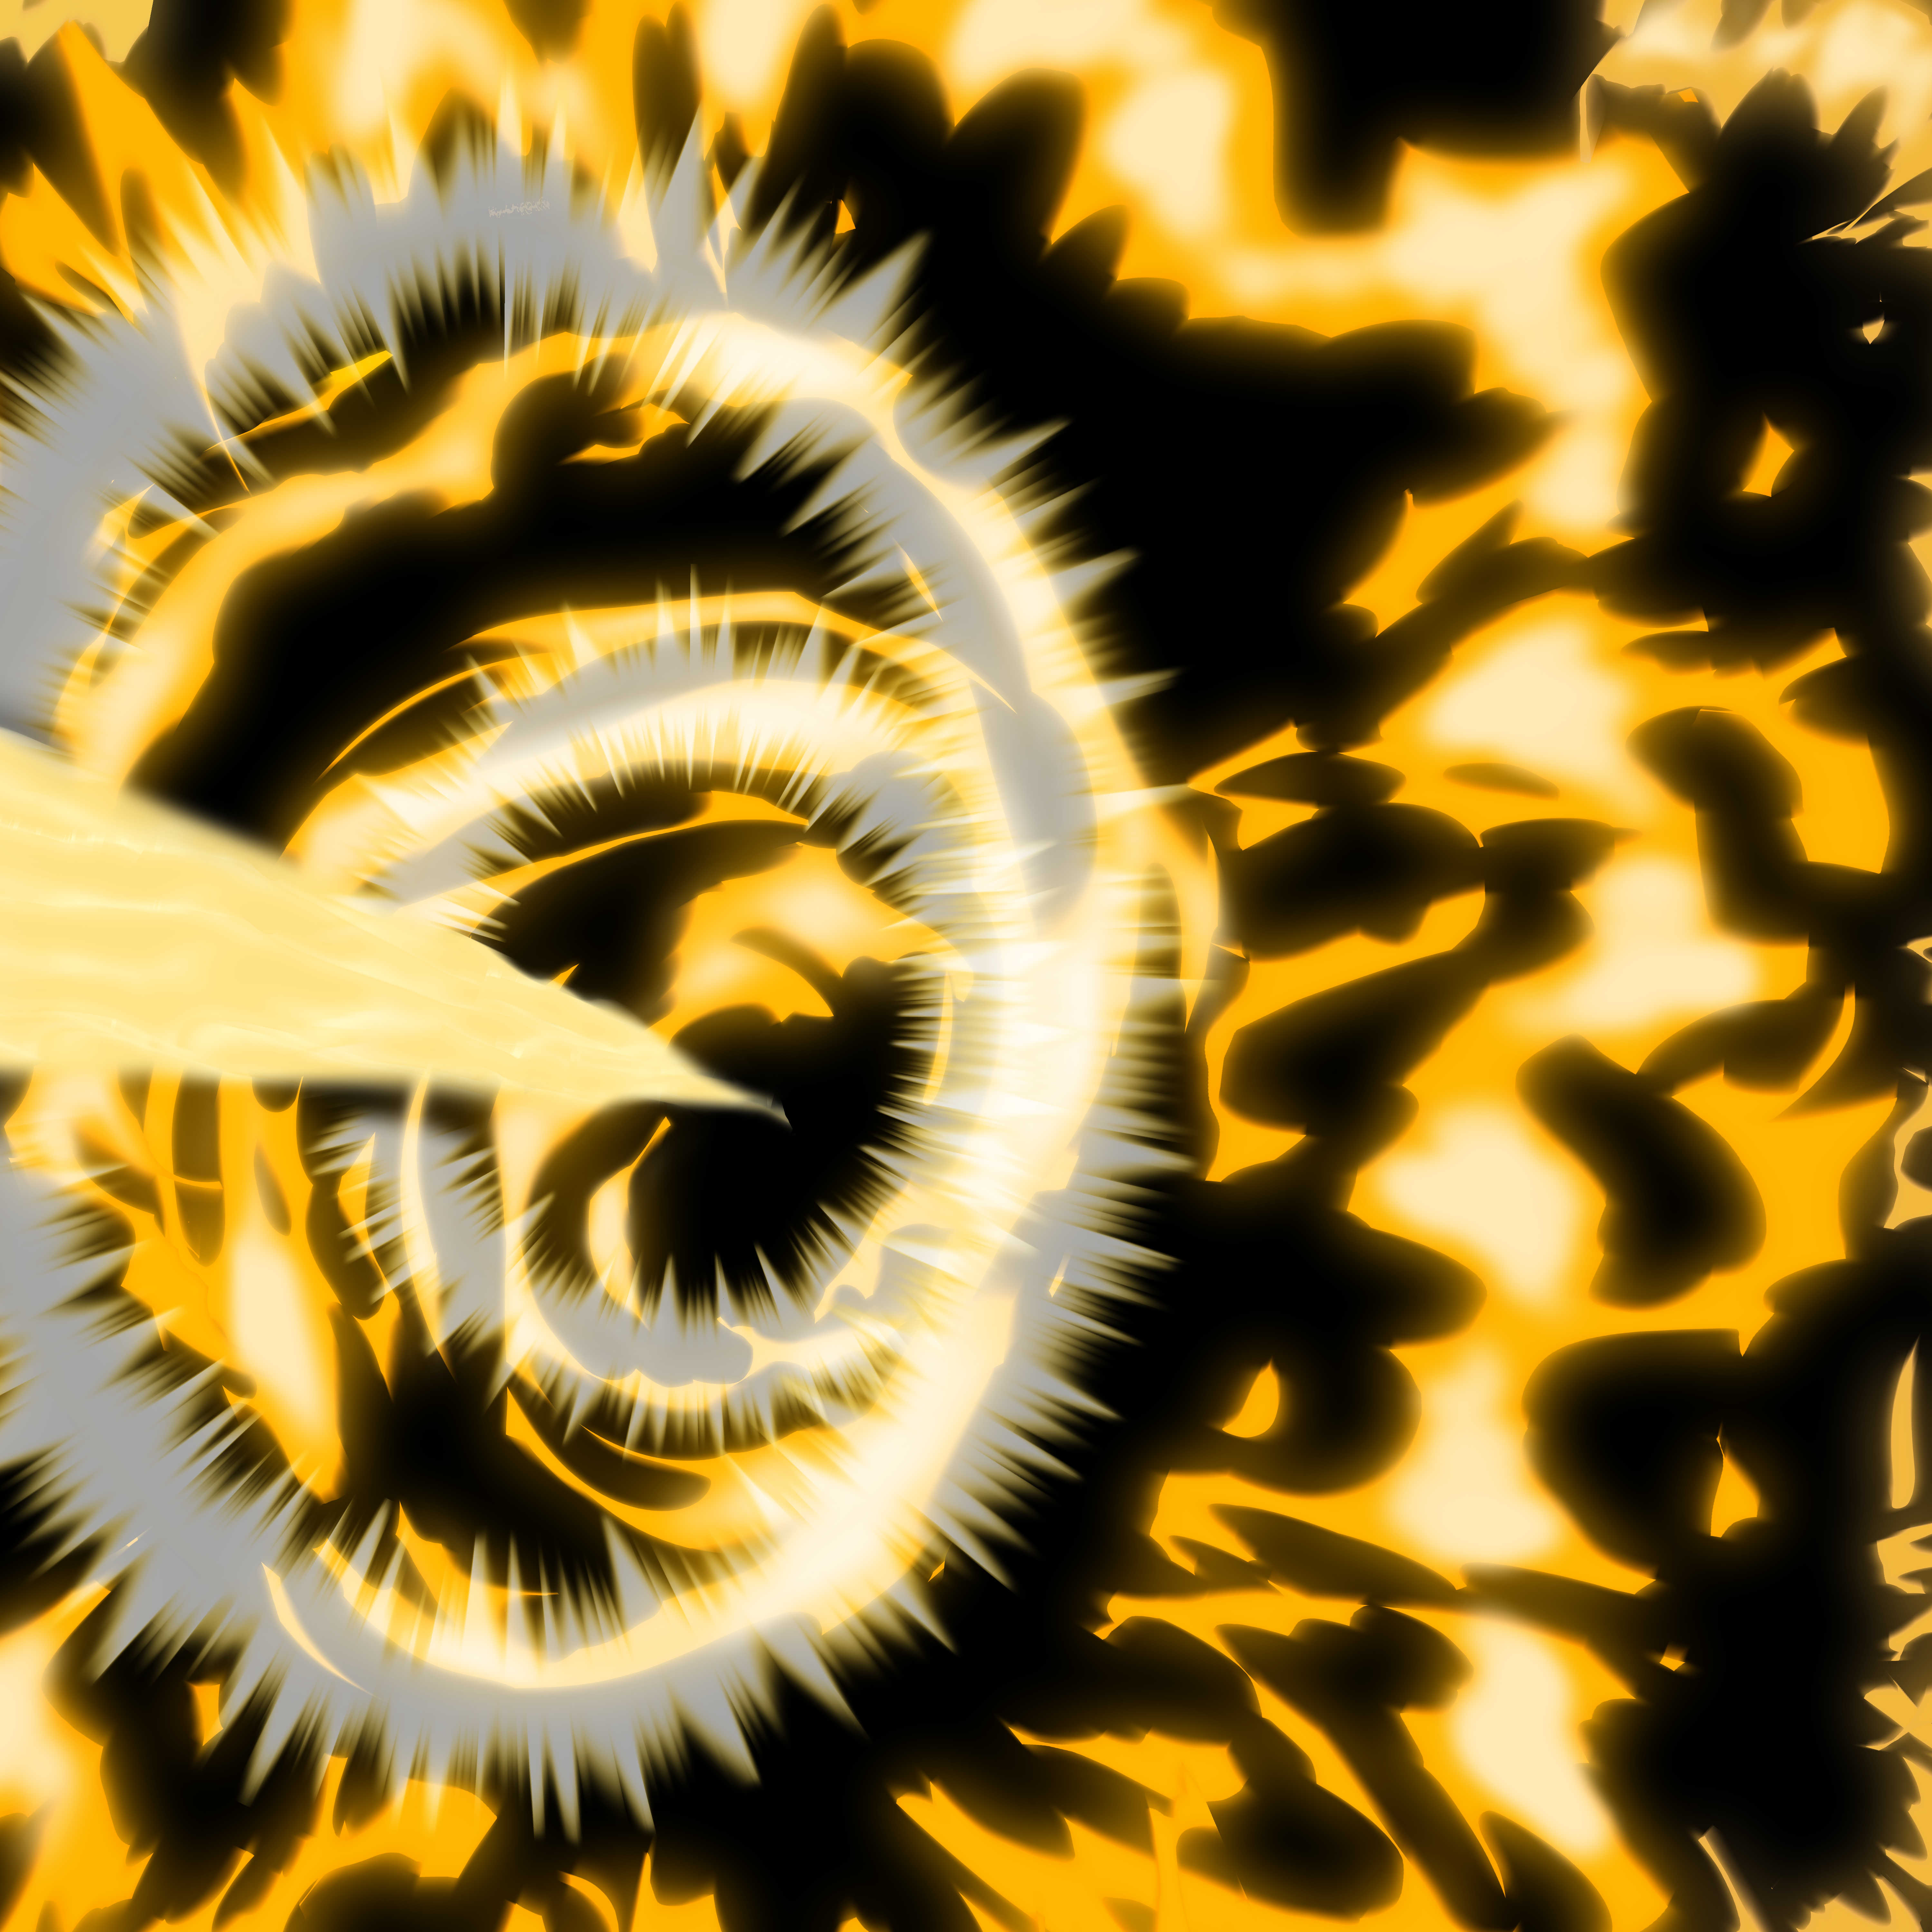

まず、2色を選択し、原色は明るくする必要があります。

バケツのようなサブツールで黒いレイヤーを作成します


次に、ストロークを実行する別のレイヤー。
隠されたレイヤーを気にしないで、念のためそこに置いておきます。

円を描くように動かして細いストロークを作成し、周囲の効果を作成するためにサイズではなくブラシの太さを大きくしました。

レイヤーを複製し、グロー効果のために200でガウスぼかしを適用しました。
作成したストロークの下のレイヤーを使用しました。

解像度が高すぎる場合は、同じレイヤーでこのプロセスをできるだけ何度も繰り返す必要があります。

次に、魔法のタッチです。
ストロークの間に描画する別のレイヤーを作成しました。
このために、スプレーブラシでメインカラーを使用します。火のブラシの外側に行くストロークには、ソフト消しゴムを使用しました。

その結果、次のようになります。

最終結果については、アップロードした「風のハロー効果」と「細い風の通り道の滑らかなスタイル1レイヤー」ブラシを使用します。
さあ、戦闘シーンです。

SFXの作成頑張ってください。
I will explain how i created this image.

First of all choose 2 colors the primary color should be lighter.

Create a black layer with the bucket looking subtool


Then another layer to execute the stroke.
Don't mind the layer hidden i put it there just in case.

I used a circular motion to create the thin stroke then increased the brush thickness not the size to create the surrounding effects.

I duplicated the layer then applied a gaussian blur at 200 for the glow effect.
I used the layer under the created strokes.

If your resolution is too high you will have to repeat this process in the same layer as many time as possible.

Then for the magic touch.
i created another layer to draw between the strokes.
For this i use the main color with a spray brush. For the strokes that go outside the fire brush i used the soft eraser.

The result:

For final results use the 'wind halo effect' and "thin wind path smooth style 1 by layer" brush i uploaded.
Here you go for your fight scene.

Good luck creating sfx.


