




Este es un mapa de gradiente de shaders sencillo que me gusta usar basado en el que AzizDraws hizo en su vídeo aquí: https://www.youtube.com/watch?v=R022uQR2akA&t=2s.
La primera es exactamente la que usa en el vídeo, la segunda es mi edición preferida.
This is a simple shader gradient map that I like to use based on the one AzizDraws made in their video here: https://www.youtube.com/watch?v=R022uQR2akA&t=2s.
The first one is the exact one he uses in the video, the second one is my preferred edit.
Puedes hacerlo de la manera que mejor se adapte a tu estilo y flujo de trabajo, así es como yo lo uso.
Primero, preparo mis colores planos:

Luego, hago una carpeta de sombreado (en normal) y sombreo con una capa base blanca, una capa media gris y una capa negra:
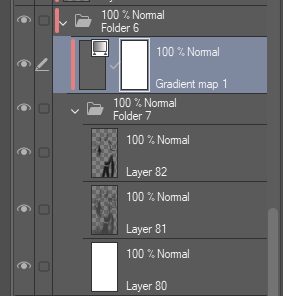

Una vez hecho eso, pongo mi carpeta de capas en Oscurecer, Multiplicar o Superponer, depende de ti y de tu imagen. Este, lo puse para oscurecer.
Luego hago una capa de mapa de degradado yendo a la barra superior y seleccionando Capa > Nueva Capa de Corrección > Mapa de Gradiente y luego seleccionando la que quiero usar, esta usaba Shader 2.
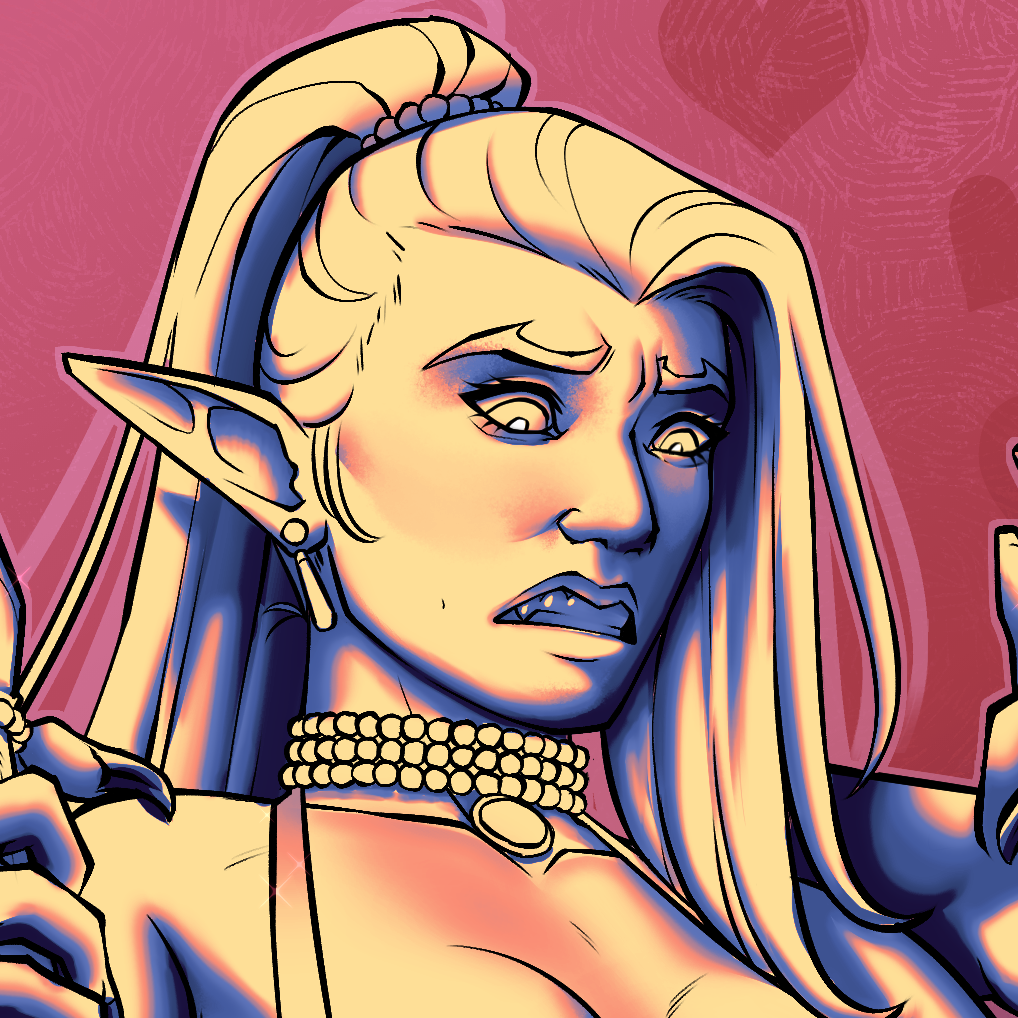
Después de eso, modifico las opacidades de las capas gris y negras hasta que me gusta cómo queda.
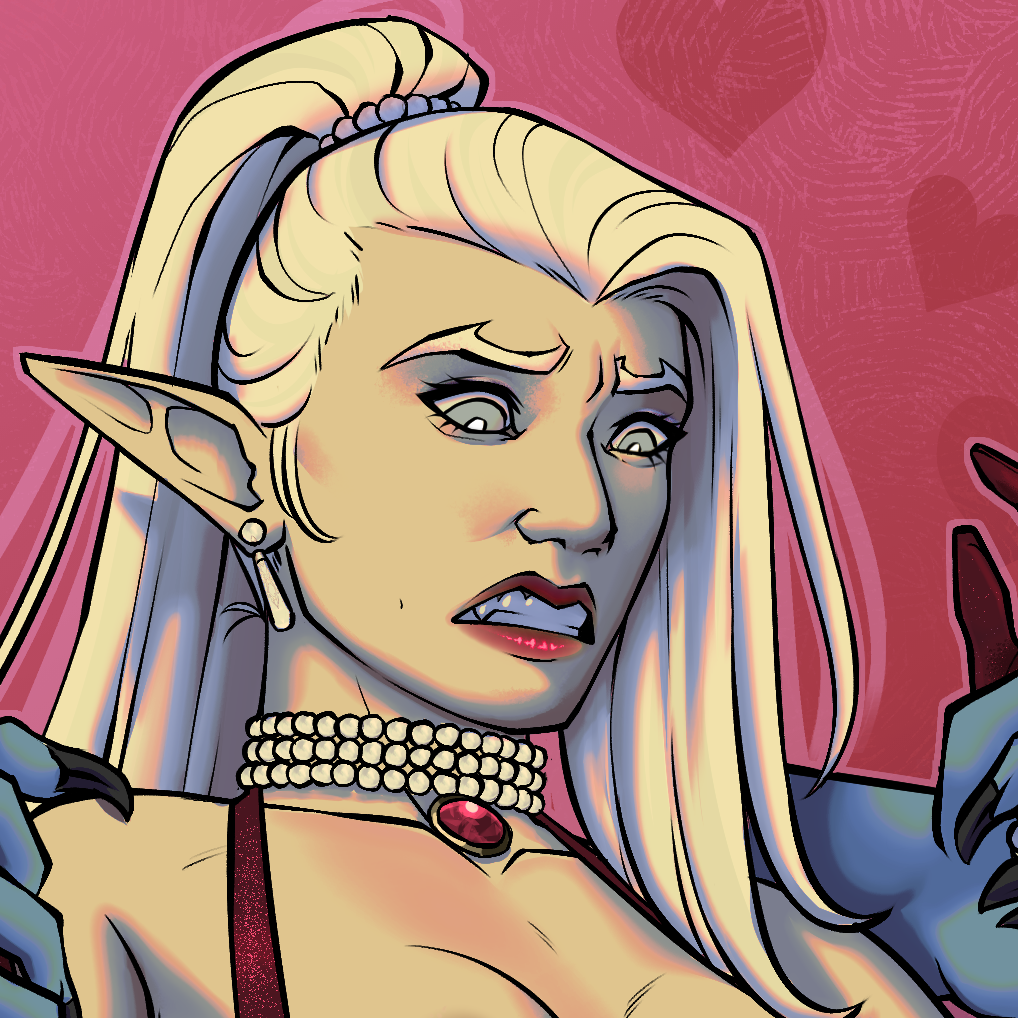
Cuando termino, filtro y resalto hasta que me gusta cómo queda
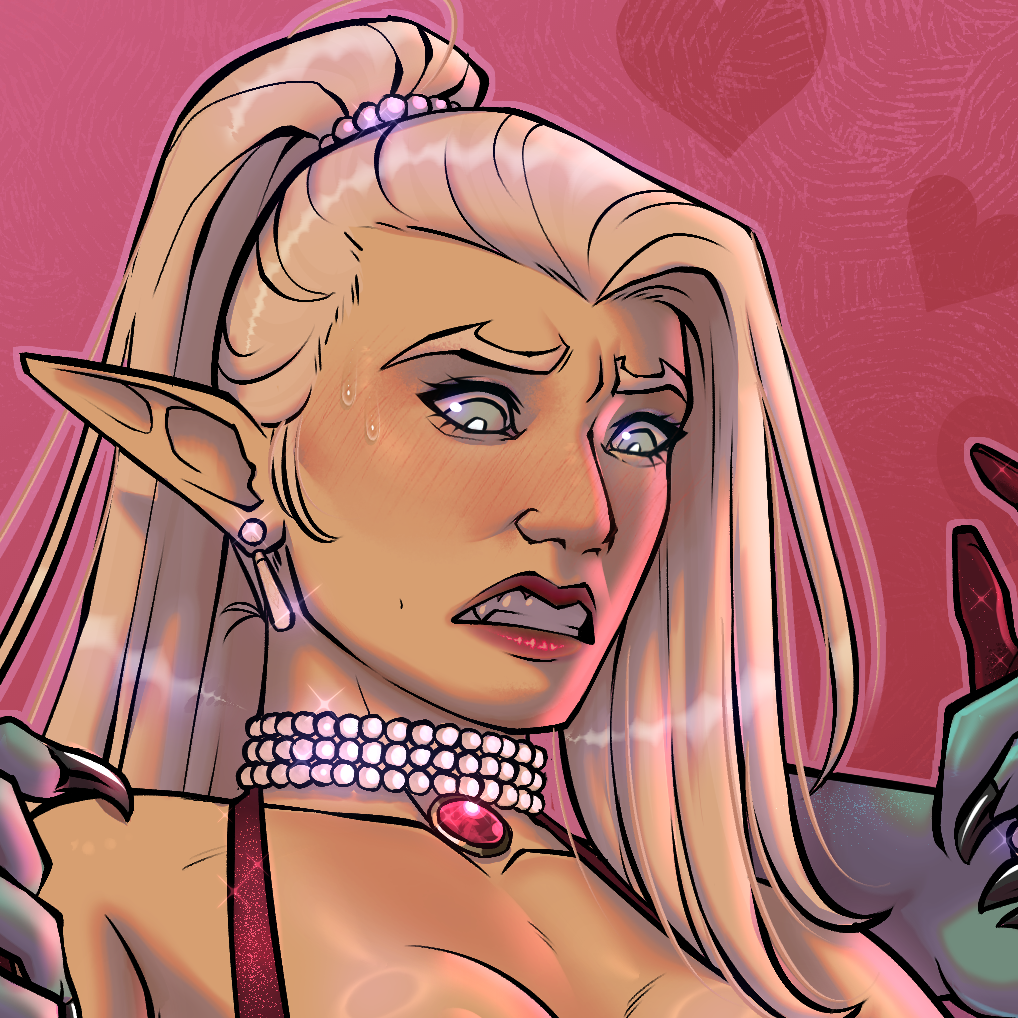
Facilísimo :)
Primero, preparo mis colores planos:

Luego, hago una carpeta de sombreado (en normal) y sombreo con una capa base blanca, una capa media gris y una capa negra:

Una vez hecho eso, pongo mi carpeta de capas en Oscurecer, Multiplicar o Superponer, depende de ti y de tu imagen. Este, lo puse para oscurecer.
Luego hago una capa de mapa de degradado yendo a la barra superior y seleccionando Capa > Nueva Capa de Corrección > Mapa de Gradiente y luego seleccionando la que quiero usar, esta usaba Shader 2.
Después de eso, modifico las opacidades de las capas gris y negras hasta que me gusta cómo queda.
Cuando termino, filtro y resalto hasta que me gusta cómo queda
Facilísimo :)
You can do this in any way that best fits your style and work flow, this is the way that I use it.
First, I set up my flat colors:
Then, I make a shading folder (set to normal) and shade with a white base layer, a grey mid layer, and a black layer:
Once I've done that, I set my layer folder to either Darken, Multiply, or Overlay, its up to you and your image. This one, I set to darken.
I then make a gradient map layer by going to the top bar and selecting Layer > New Correction Layer > Gradient Map and then selecting the one I wish to use, this one used Shader 2.
After that I mess with the grey and black layer's opacities until I Like how it looks.
When that's done, I filter and highlight until I like how it looks
Easy Peasy :)
First, I set up my flat colors:
Then, I make a shading folder (set to normal) and shade with a white base layer, a grey mid layer, and a black layer:
Once I've done that, I set my layer folder to either Darken, Multiply, or Overlay, its up to you and your image. This one, I set to darken.
I then make a gradient map layer by going to the top bar and selecting Layer > New Correction Layer > Gradient Map and then selecting the one I wish to use, this one used Shader 2.
After that I mess with the grey and black layer's opacities until I Like how it looks.
When that's done, I filter and highlight until I like how it looks
Easy Peasy :)




Más materiales de BigMFRat


Materiales populares de Conjuntos de degradados


Nuevos materiales


Insignias
-
 MVP ◆Estos usuarios han contribuido en gran medida a la gestión de la comunidad, al publicar multitud de útiles respuestas a las preguntas planteadas. Una vez cada tres meses, los MVP son seleccionados en base a los puntos obtenidos durante ese período y, en consecuencia, son reconocidos por su esfuerzo.
 -
 New Valuable Player (NVP) ◆Son las personas que más han contribuido a la comunidad después de los MVP. Este galardón se otorga según los puntos conseguidos a los usuarios que aún no han obtenido ningún premio MVP.
 -
 Especialista oficial ◆Elegidos de entre todos los MVP, quienes ya han demostrado ser de inestimable ayuda, esto es un testimonio de su excepcional apoyo para con la comunidad. Tras un minucioso escrutinio, son nombrados por Celsys para ocupar dicho cargo.Nota: Anteriormente denominados "evangelistas".
 -
 Moderador oficial de Celsys ◆Los moderadores son miembros del personal de Celsys que pueden comunicarse en japonés y otros idiomas. No son expertos en software o ilustración, por lo que no pueden responder directamente a las preguntas. Sin embargo, tratarán de asegurarse de que la comunicación entre usuarios de distintas lenguas sea tan fluida y comprensible como sea posible.
 -
 Cuenta oficial de CelsysCuenta oficial del administrador